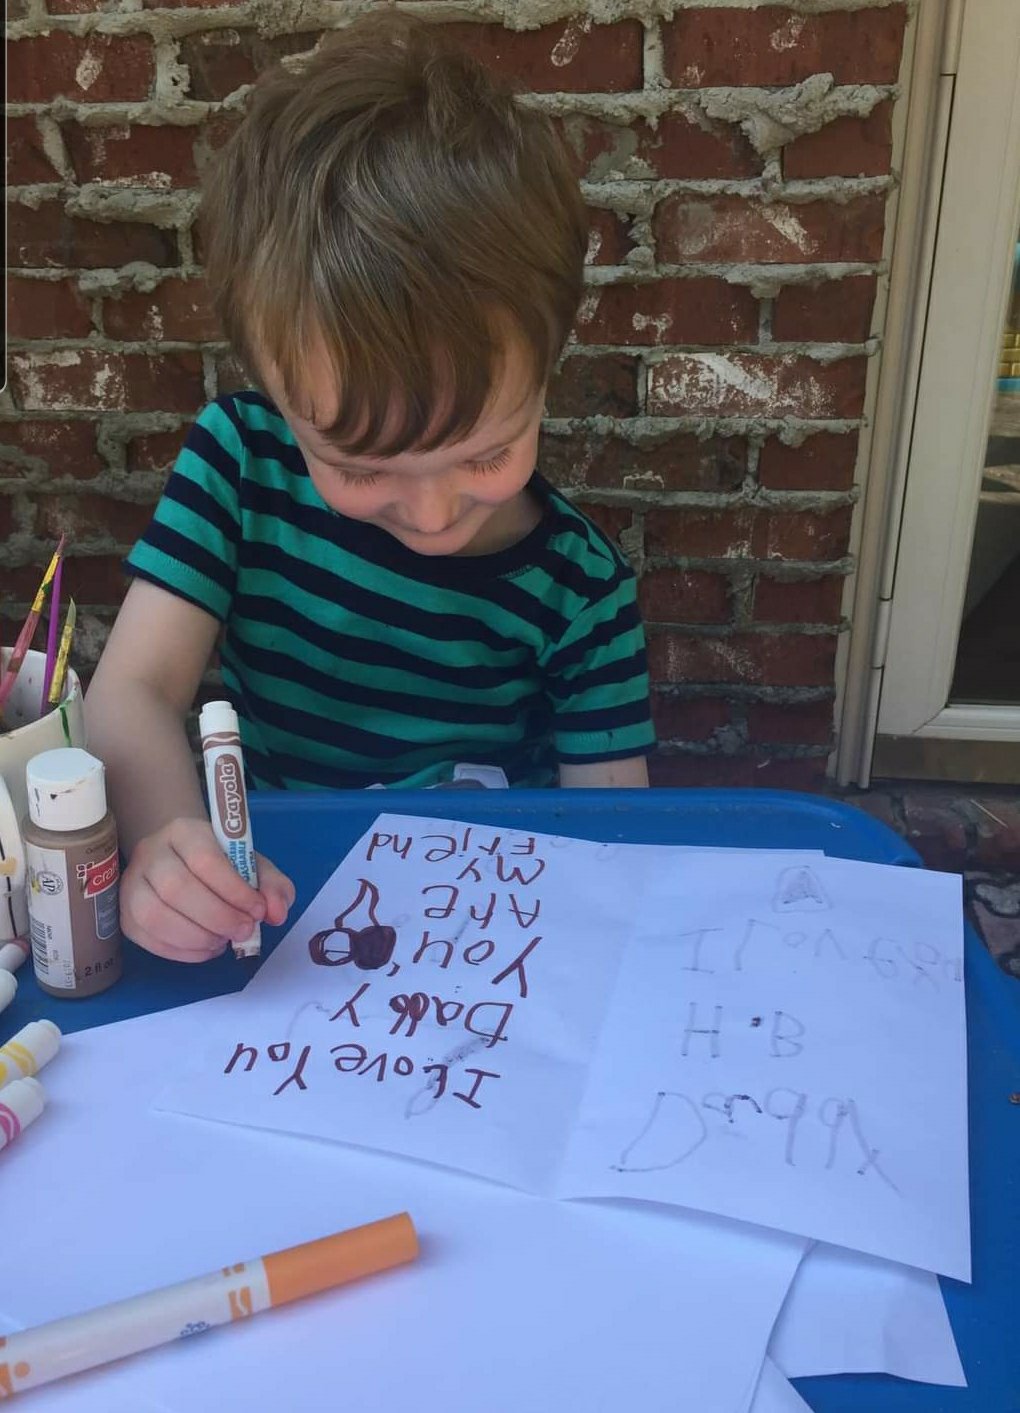
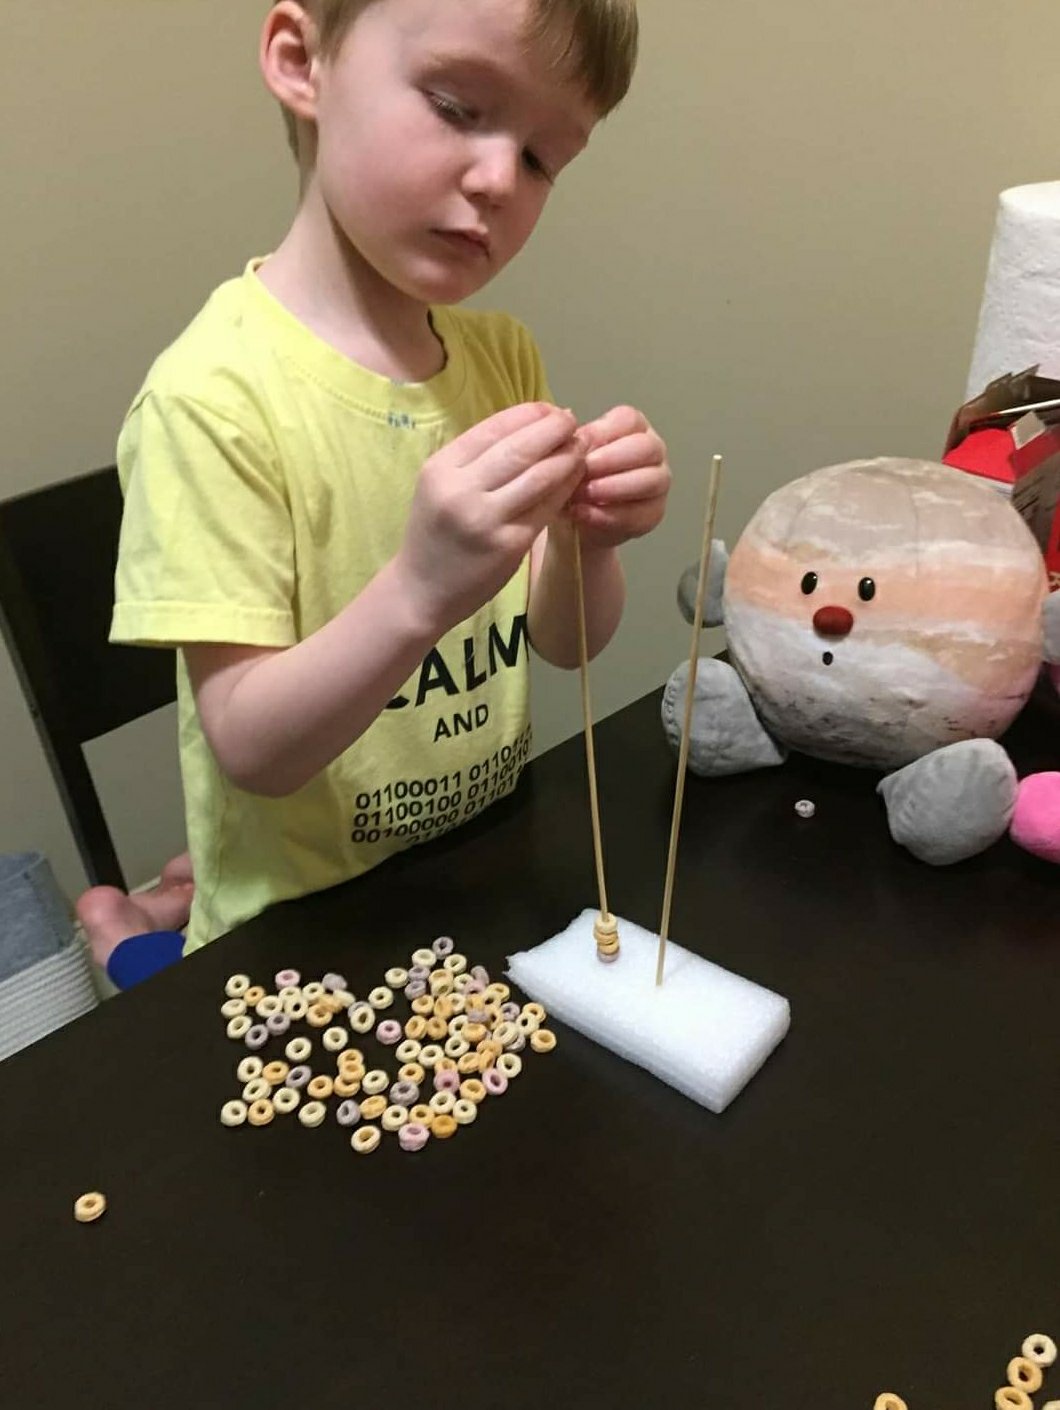
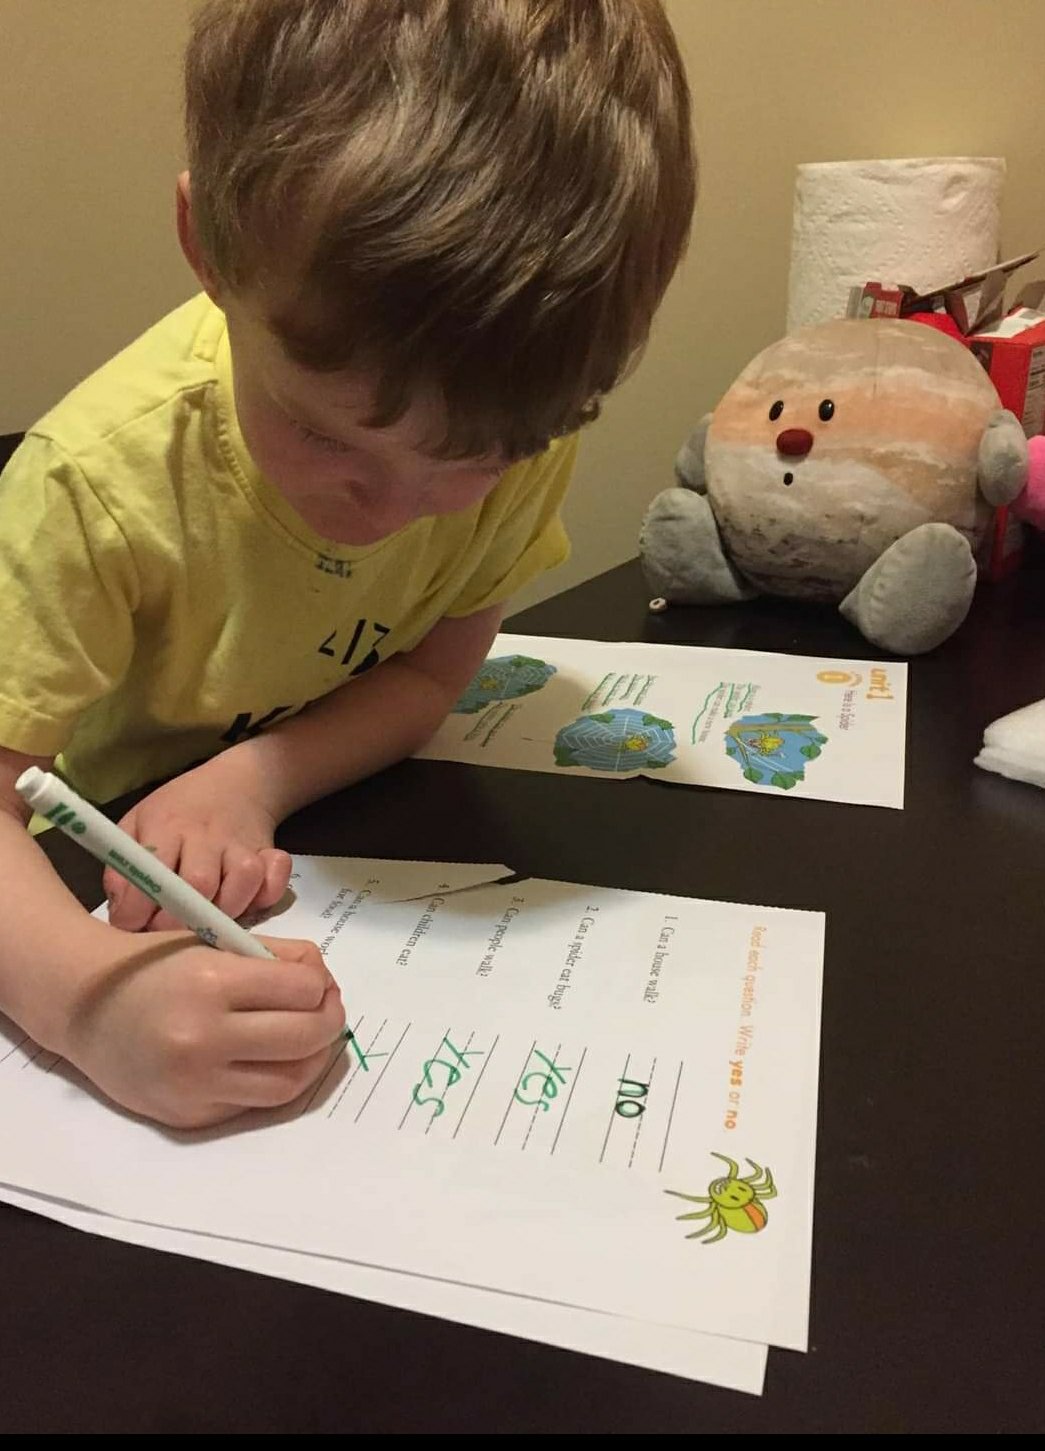
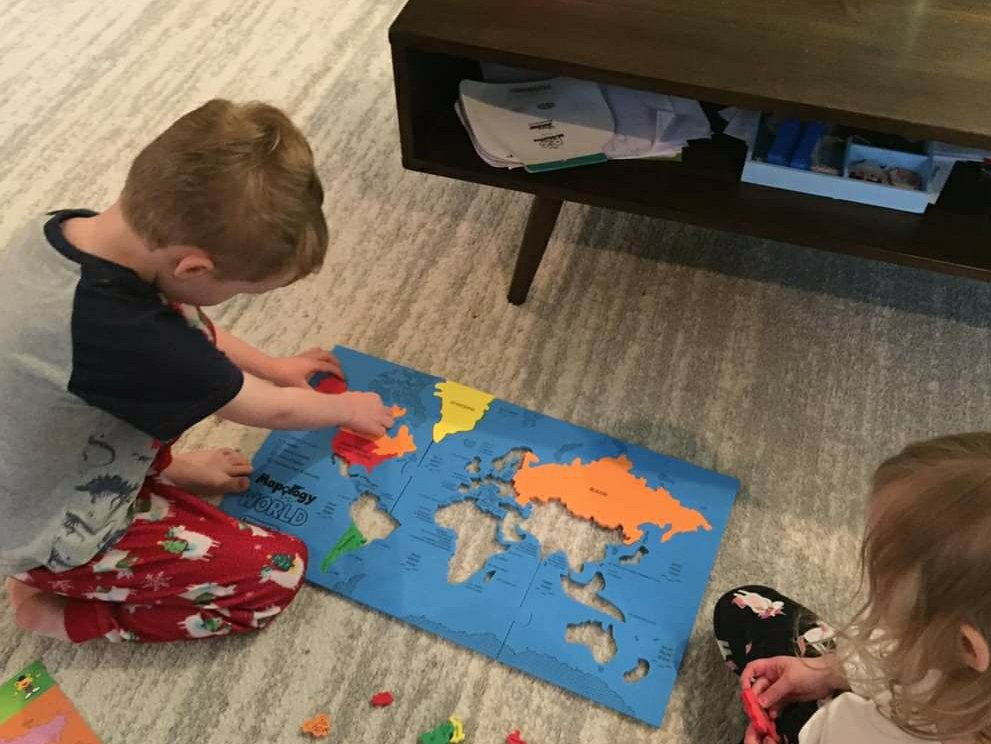
Living Life On The Spectrum, Homeschool Edition Read More »
The post Living Life On The Spectrum, Homeschool Edition appeared first on Not So SuperMom VS Society.
]]>
It’s nice to have another mom to talk to, especially a local one, who has a child with similar issues the same age. The thing is, even though our boys have similar issues, they deal with them different ways. Hence why Autism is called a spectrum.
This year, while I decided Everett actually needed to be in school to thrive, Marjorie made the opposite decision. I felt like it’s a decision a lot of Autism Moms are faced with, even when there isn’t a global pandemic, and I loved her reasoning behind it. I invited her to write a post for the NSSM blog to help out other mothers in a similar situation. I hope you love it as much as I did!
Buckling In: Why I Chose to
Homeschool My Neurodivergent Child

It started with a preschool teacher’s accusatory finger pointed toward my face and ended with me in tears so heavy I could barely catch my breath. Was it all my fault? I felt like an amateur and a failure as a parent.
We moved from Ohio to Alabama only two months prior. This wasn’t our first cross-country move, but it was certainly the hardest on our 5-year-old son, Connor. Connor is on the autism spectrum, and while he has low-support needs, changes as big as moving to a new state can be incredibly difficult for him. He has “invisible” struggles that are, as I’ve learned, hard for others—even educators—to understand.
We were able to get him a last-minute spot in a public preschool program here in our current nook of greater Birmingham. Connor did very well during his 4-hour per day program—just as he did in Ohio, just as I expected. But likewise, just like in Ohio, he was becoming overloaded due to the complicated expectations of school (this isn’t something we were fully able to grasp at the time, however).
Each afternoon when I would pick him up from preschool, he fell apart. He would hold it together in school, and then when I arrived at pick-up, he would immediately let that composure go. It would, on some days, be a momentous struggle to get him buckled in his car seat. He would kick and run around. He would sometimes throw fits and yell. By this point, I was normally sweating with rising anxiety.
When we would arrive at home a short one-minute drive later, he would let it all go. And I mean all of it. He was back in his safe space. At this time, after school each day, he was having legitimate meltdowns—the kind that depleted all of the energy he had and all of the energy I had. While the meltdowns eventually ended each day, he was often left in a very irritable state for nearly the rest of each evening. He would continuously grab and pull things at home and in public in order to gain input to calm himself. He was easily triggered by seemingly small occurrences. My husband and I were both struggling to handle these behaviors and struggling to find an answer. We weren’t perfect, but we were absolutely trying.
On that day the teacher put her finger in my face, I was already close to my mental breaking point. I politely asked her if she had noticed Connor’s struggles to get into his car seat and I asked her if she had any suggestions to help. To my surprise, she said to me, finger pointed toward my face: “I’m probably going to say this the wrong way, but that’s on you.” I was told that I simply needed “clearer boundaries” for him. She did not see him as struggling because she was blinded by his ability to mask in school.
That might not sound like the most terrible thing to hear, but in that moment, it felt like a huge slap in the face. I was a struggling parent and simply asked for advice. Even after I tried explaining during an IEP meeting what I saw happening (no, clear instructions and a social story were NOT working, per her suggestions), she seemed to completely disregard those thoughts.
The consideration that maybe there was something more going on that she couldn’t see was obviously not something that would be entertained during this meeting. I started to question if I could continue to participate in IEP meetings and continue to have teachers misunderstand me and my child.
Unfortunately, kids like Connor are often misunderstood. Behaving in school and academically advanced? Clearly his after-school behavior is simply a result of a lack of parental boundaries.
Oddly enough, we saw a psychologist during this time period and he was able to witness the meltdowns and behaviors I was seeing. Maybe teachers didn’t believe me, but he saw it. He said, “Marjorie, I need you to know that this is not parenting related. He is struggling with anxiety and impulsivity and overload. This is nothing you are responsible for. I’m glad I got to see it so I can get the full picture.”
“Marjorie, I need you to know that this is not parenting related. He is struggling with anxiety and impulsivity and overload. This is nothing you are responsible for. I’m glad I got to see it so I can get the full picture.”
THIS.
THIS lifted me away from anger. I think I called everyone I knew that day to tell them how validated I felt. I wasn’t a failure. I had a kid who was struggling and now it was time to “buckle in” and figure out how to drive all over again.
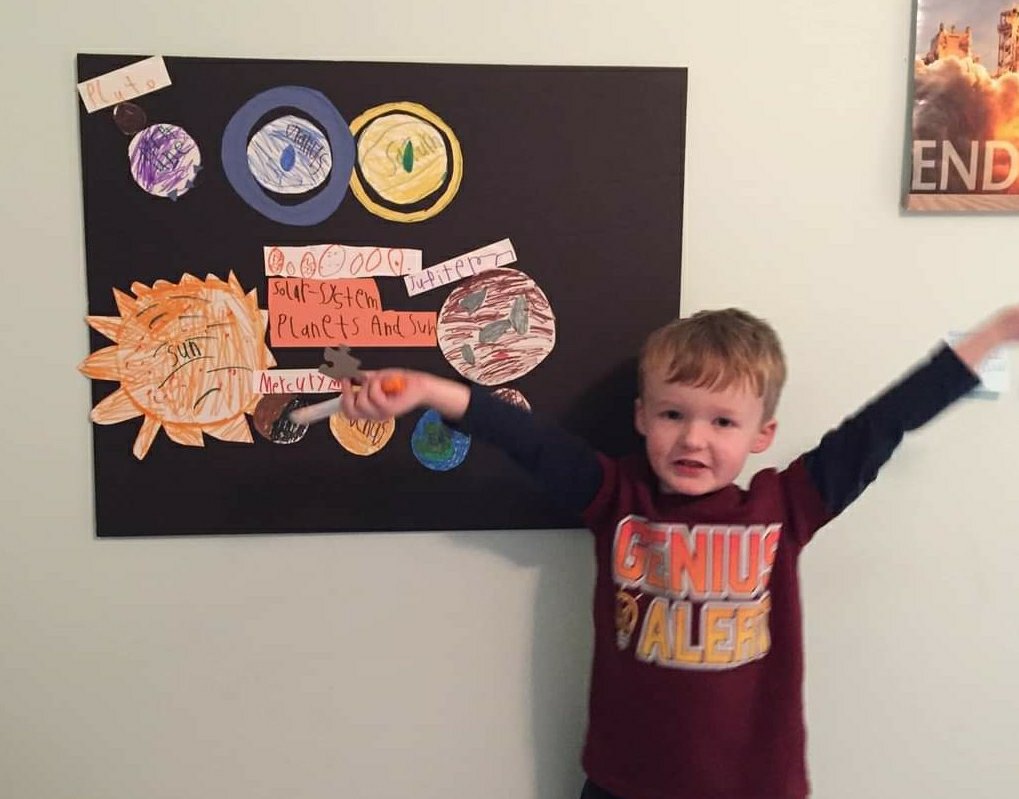
Shortly after, to the shock of everyone around the world, covid-19 happened. And our worlds changed drastically. While many others were struggling, we were, for the first time in years, finding peace and calm and happiness.
This is not to say everything was immediately perfect. But once school abruptly ended, we were able to study our son more closely. We started to figure out his triggers, his limits, and what was overstimulating for him. We noticed that his moods were getting better. He wasn’t as irritable or as easily frustrated. I can’t say it was all due to school, but that was certainly a huge part of his life that had been taken away completely. It only made sense.
We’re now starting to see and understand that Connor “masks” in some situations like school and then lets go of that mask when he’s no longer forced in that situation, or when he just can’t take it anymore. We have since witnessed this in other circumstances (after long outings or especially overwhelming environments like restaurants or chaotic playgrounds, for instance).
As the weeks went by, I was able to create the type of peaceful routines I noticed that he needed. I utilized some strategies taught to me in OT. When I noticed him becoming overloaded, I pumped the brakes and allowed him to do things like use his iPad, draw, use materials like play-doh, and just generally unwind. It was starting to work. My husband and I were in true disbelief. He hadn’t had a single meltdown in weeks. He was listening better. He was behaving better. He was connecting more than ever before with his sister and with us.

When it came time to make a decision about homeschooling, we decided it was worth giving a shot. After all, at the time it didn’t seem like schools would be a safe place anyway, and I knew the addition of wearing masks would be even more overwhelming for Connor. Not to mention going from a 4-hour preschool day to a 7-hour Kindergarten day.
I consider myself to be a very quietly stubborn person—as in you might not realize how much I will fight or push or work to make something I care about happen. And that’s exactly what I did when it came to homeschooling. I researched and learned along the way. I ended up switching curriculums just two months in, because I found one that better met my son’s needs. I fiddled around with schedules and observed how much time my son could spend learning each subject before needing a sensory break. I was able to fully advance him a grade level (and sometimes more depending on the subject). As a child who is academically strong, he was both struggling in school and not working at his ability levels.
Talk about a less-than-ideal situation.
Now, he gets to work exactly where he’s at and even pursue topics of interest that are not covered in kindergarten—he loves studying countries, cells, computer animation, you name it! He also has more time to participate in wonderful social skills groups, martial arts (which is proving to be an awesome outlet for him), and I am able to help guide and process social interactions with him. For the first time in years, I can take deep breaths again.
I can honestly say that, right now, I rarely have moments where I sit and cry because I’m so overwhelmed and feeling hopeless. And goodness, my child really seems like a happy child, which is all I’ve ever wanted for him. He really isn’t having meltdowns anymore, like, at all. Sure, he certainly doesn’t always behave or listen, he still gets overloaded and irritable sometimes. Life isn’t perfect, and I’m still learning as we go.) But, it’s been five months since schools shut down in March and we’ve only had a few meltdowns here and there. He used to have them everyday, sometimes multiple times a day. His general mood is so much calmer and happier. He follows directions well and even volunteers to help around the house. He does really kind things for everyone in his family, and because he’s happy, we can see how that impacts our entire family. We are all happier. There is a sense of peacefulness in our home that we’ve never experienced. And I’m no longer as anxious when I take him to parks or around other kids. He’s making a lot of progress. I think because we are now in this calmer place, we’ve been able to actually focus on skills like socializing and good behavior.
Before, it just felt like getting through the day was all we could do. I know new challenges may arise (actually, undoubtedly, they will), but I’m ready for them. And through this experience and transition to homeschooling, I’ve learned that I have the tools and ability to figure it out. I have more trust and confidence in myself as a parent. Even on days I feel discouraged, I remind myself that I love my child more than anyone on this planet, and that has to be enough. I will always do what’s best for him and tweak our situation and environment as needed.
Homeschooling was never something I thought I’d do. But I was given a child who is a little “different” and is honestly more amazing than I can put into words. The way his brain works astonishes me. That may mean that he doesn’t fit neatly into the box others expect him to fit into, but that’s the beauty of homeschooling—he doesn’t have to be in a box. Actually, his space and capacity to learn is now wide open. I cannot say with certainty that we will homeschool forever. I have no idea what the future holds.
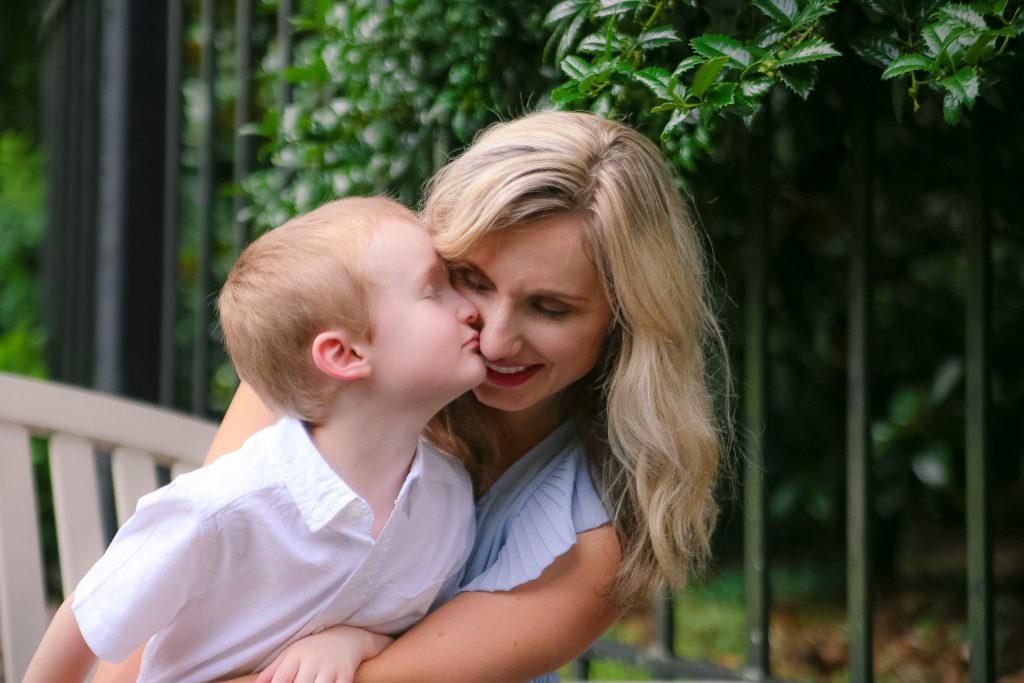
I do know that this is absolutely working for now. Even on days we have setbacks, it’s still so much better. Homeschooling I’m sure will not or does not work for all neurodivergent children, but I do know that it works for some. (Sidenote: there are numerous Facebook groups just for autism and homeschooling!)
Oh, and in case you’re wondering, Connor now gets in his car seat for me with no issues. He buckles himself in and it’s no longer a stressful experience. I think it’s safe to say it took a whole lot more than clearer boundaries and a social story attached to the back of my seat.
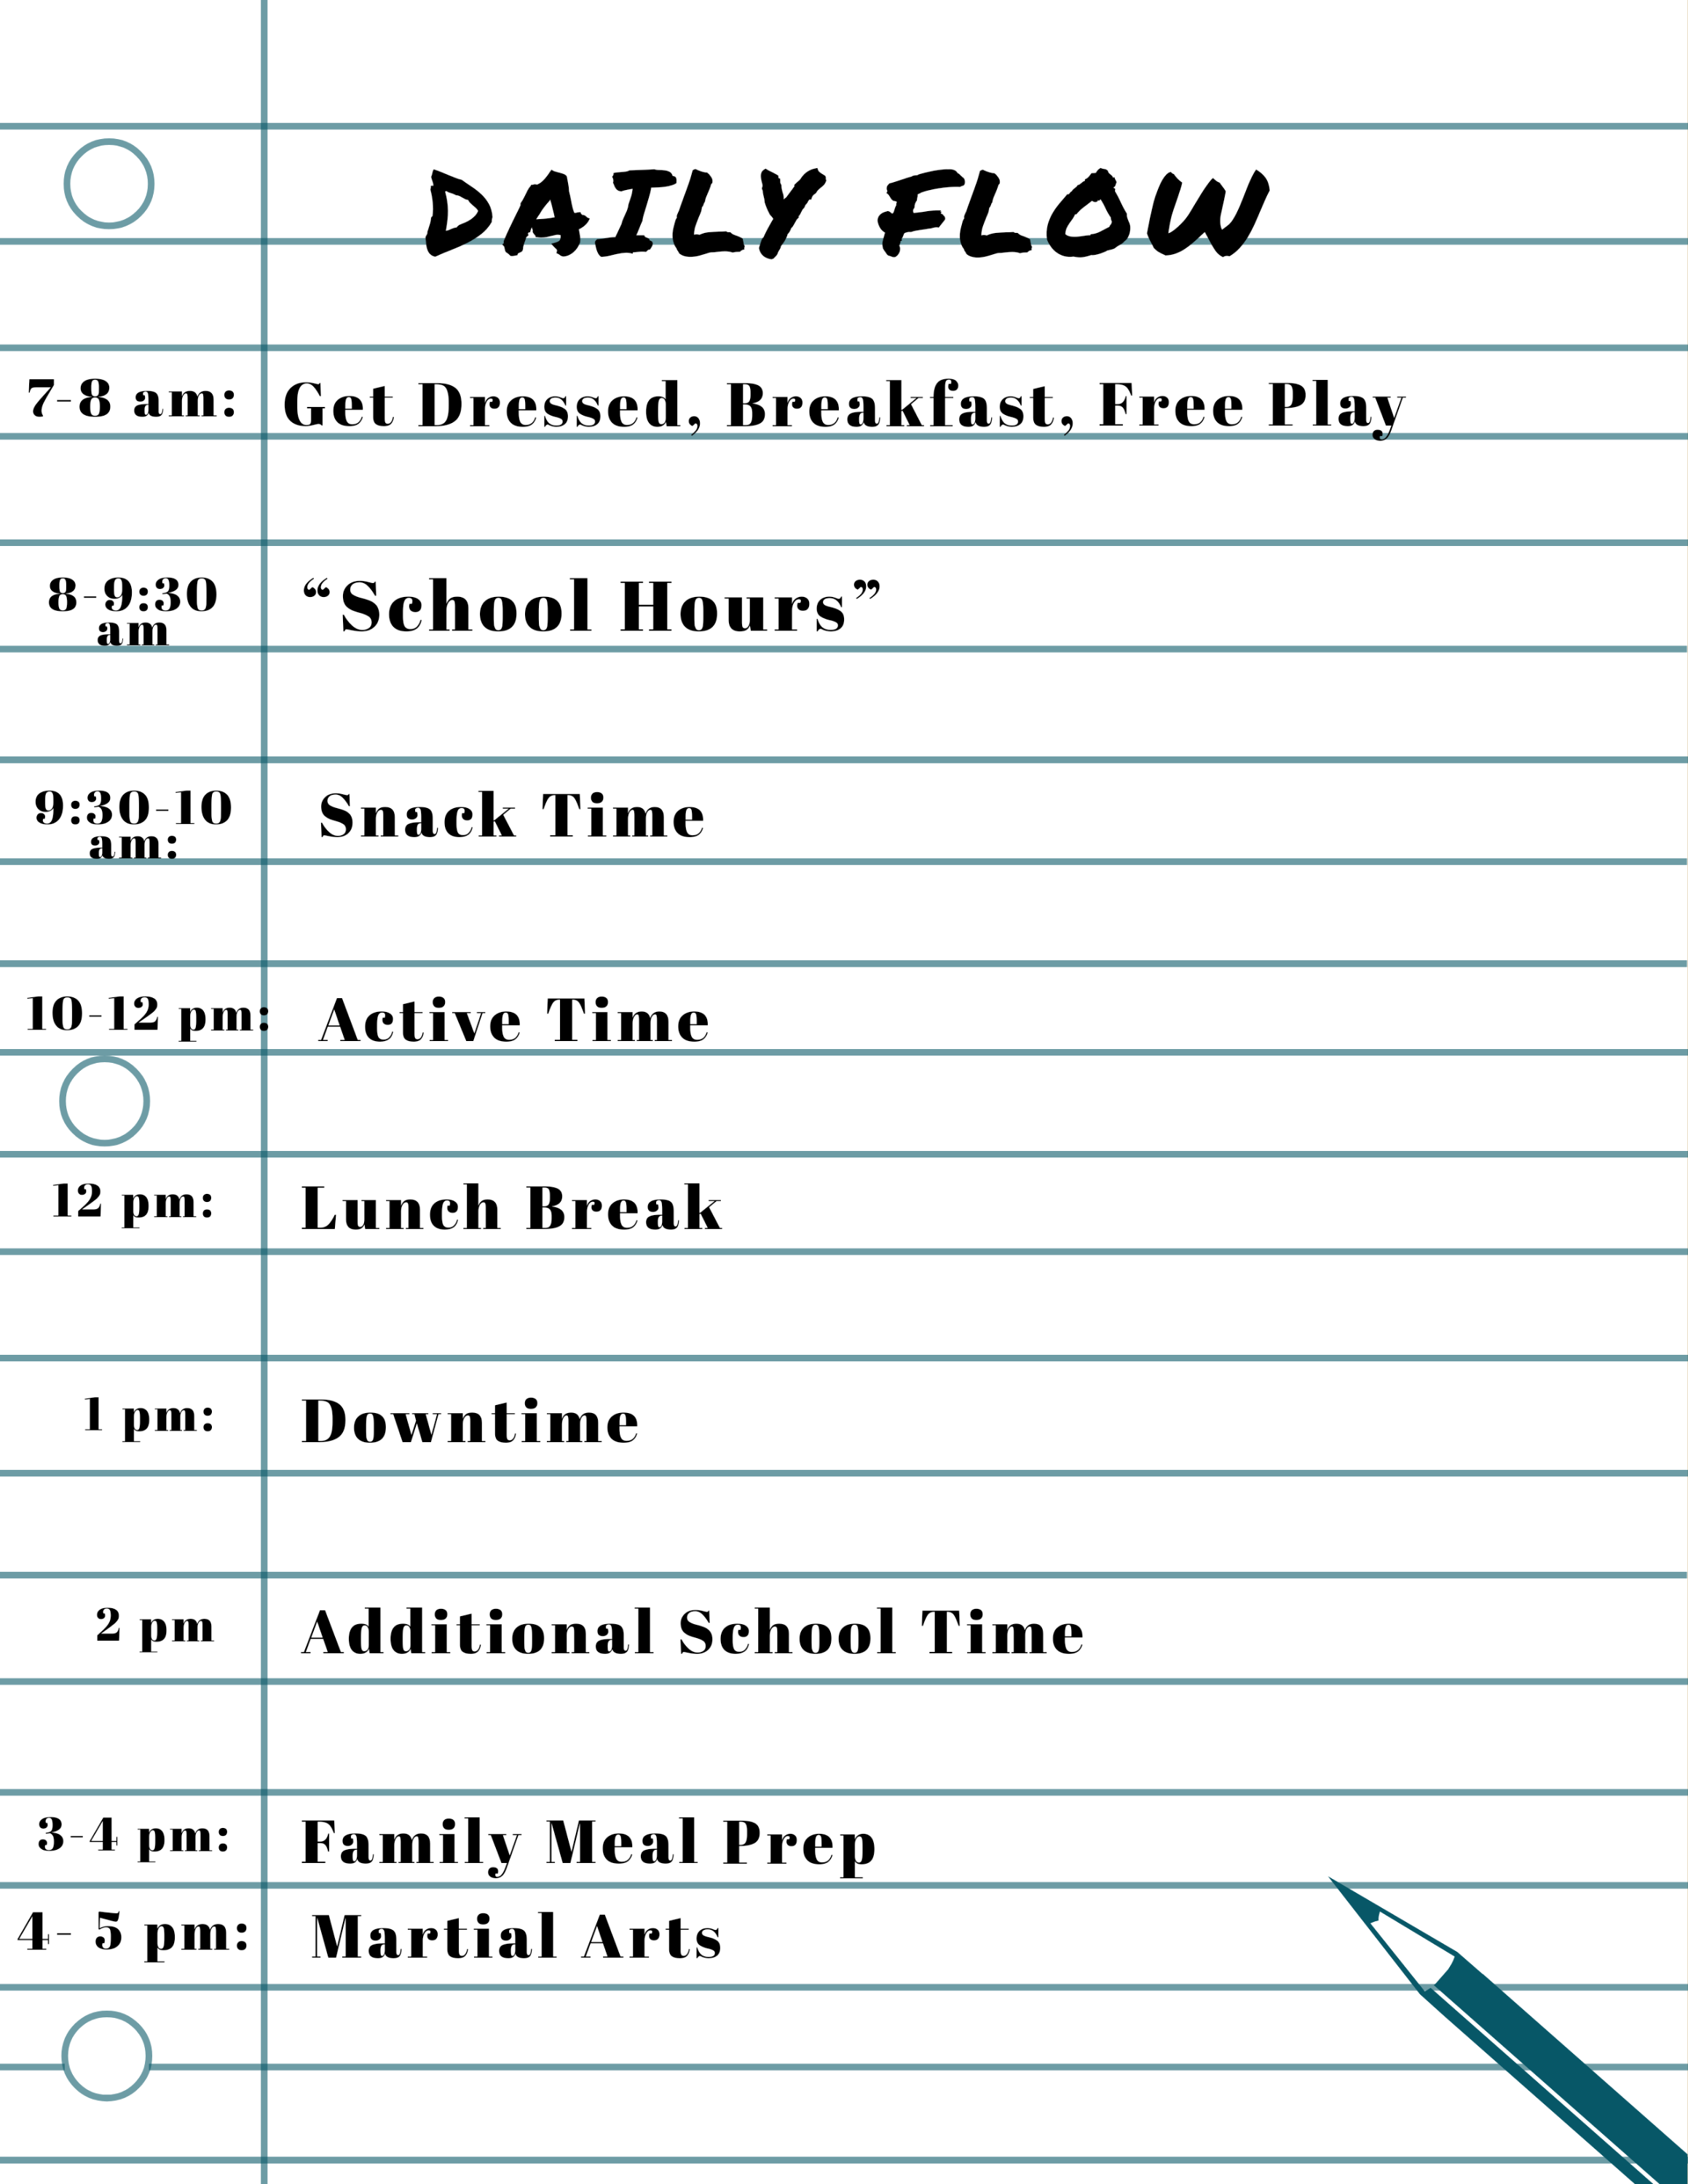
Daily schedule (times vary by the day, but this is a “typical day”)
7-8 am: get dressed (we get dressed even on days we stay home!), breakfast, free play
8-930 am: our typical “school hours” where we cover core subjects, including ELA, math, and handwriting (we use “The Good & The Beautiful” curriculums, primarily). I also have activities from “The Peaceful Preschool” for my 3-year-old daughter.
9:30-10 am: snack time
10-12 pm: active time – we like (have to!) to get out of the house, so usually this means a playground, a visit to the science center, a playdate with friends, etc.
12 pm: lunch out or at home
1 pm: usually our “down time,” which can mean anything from a little bit of iPad time, sensory bin play, doodling with art supplies, etc.
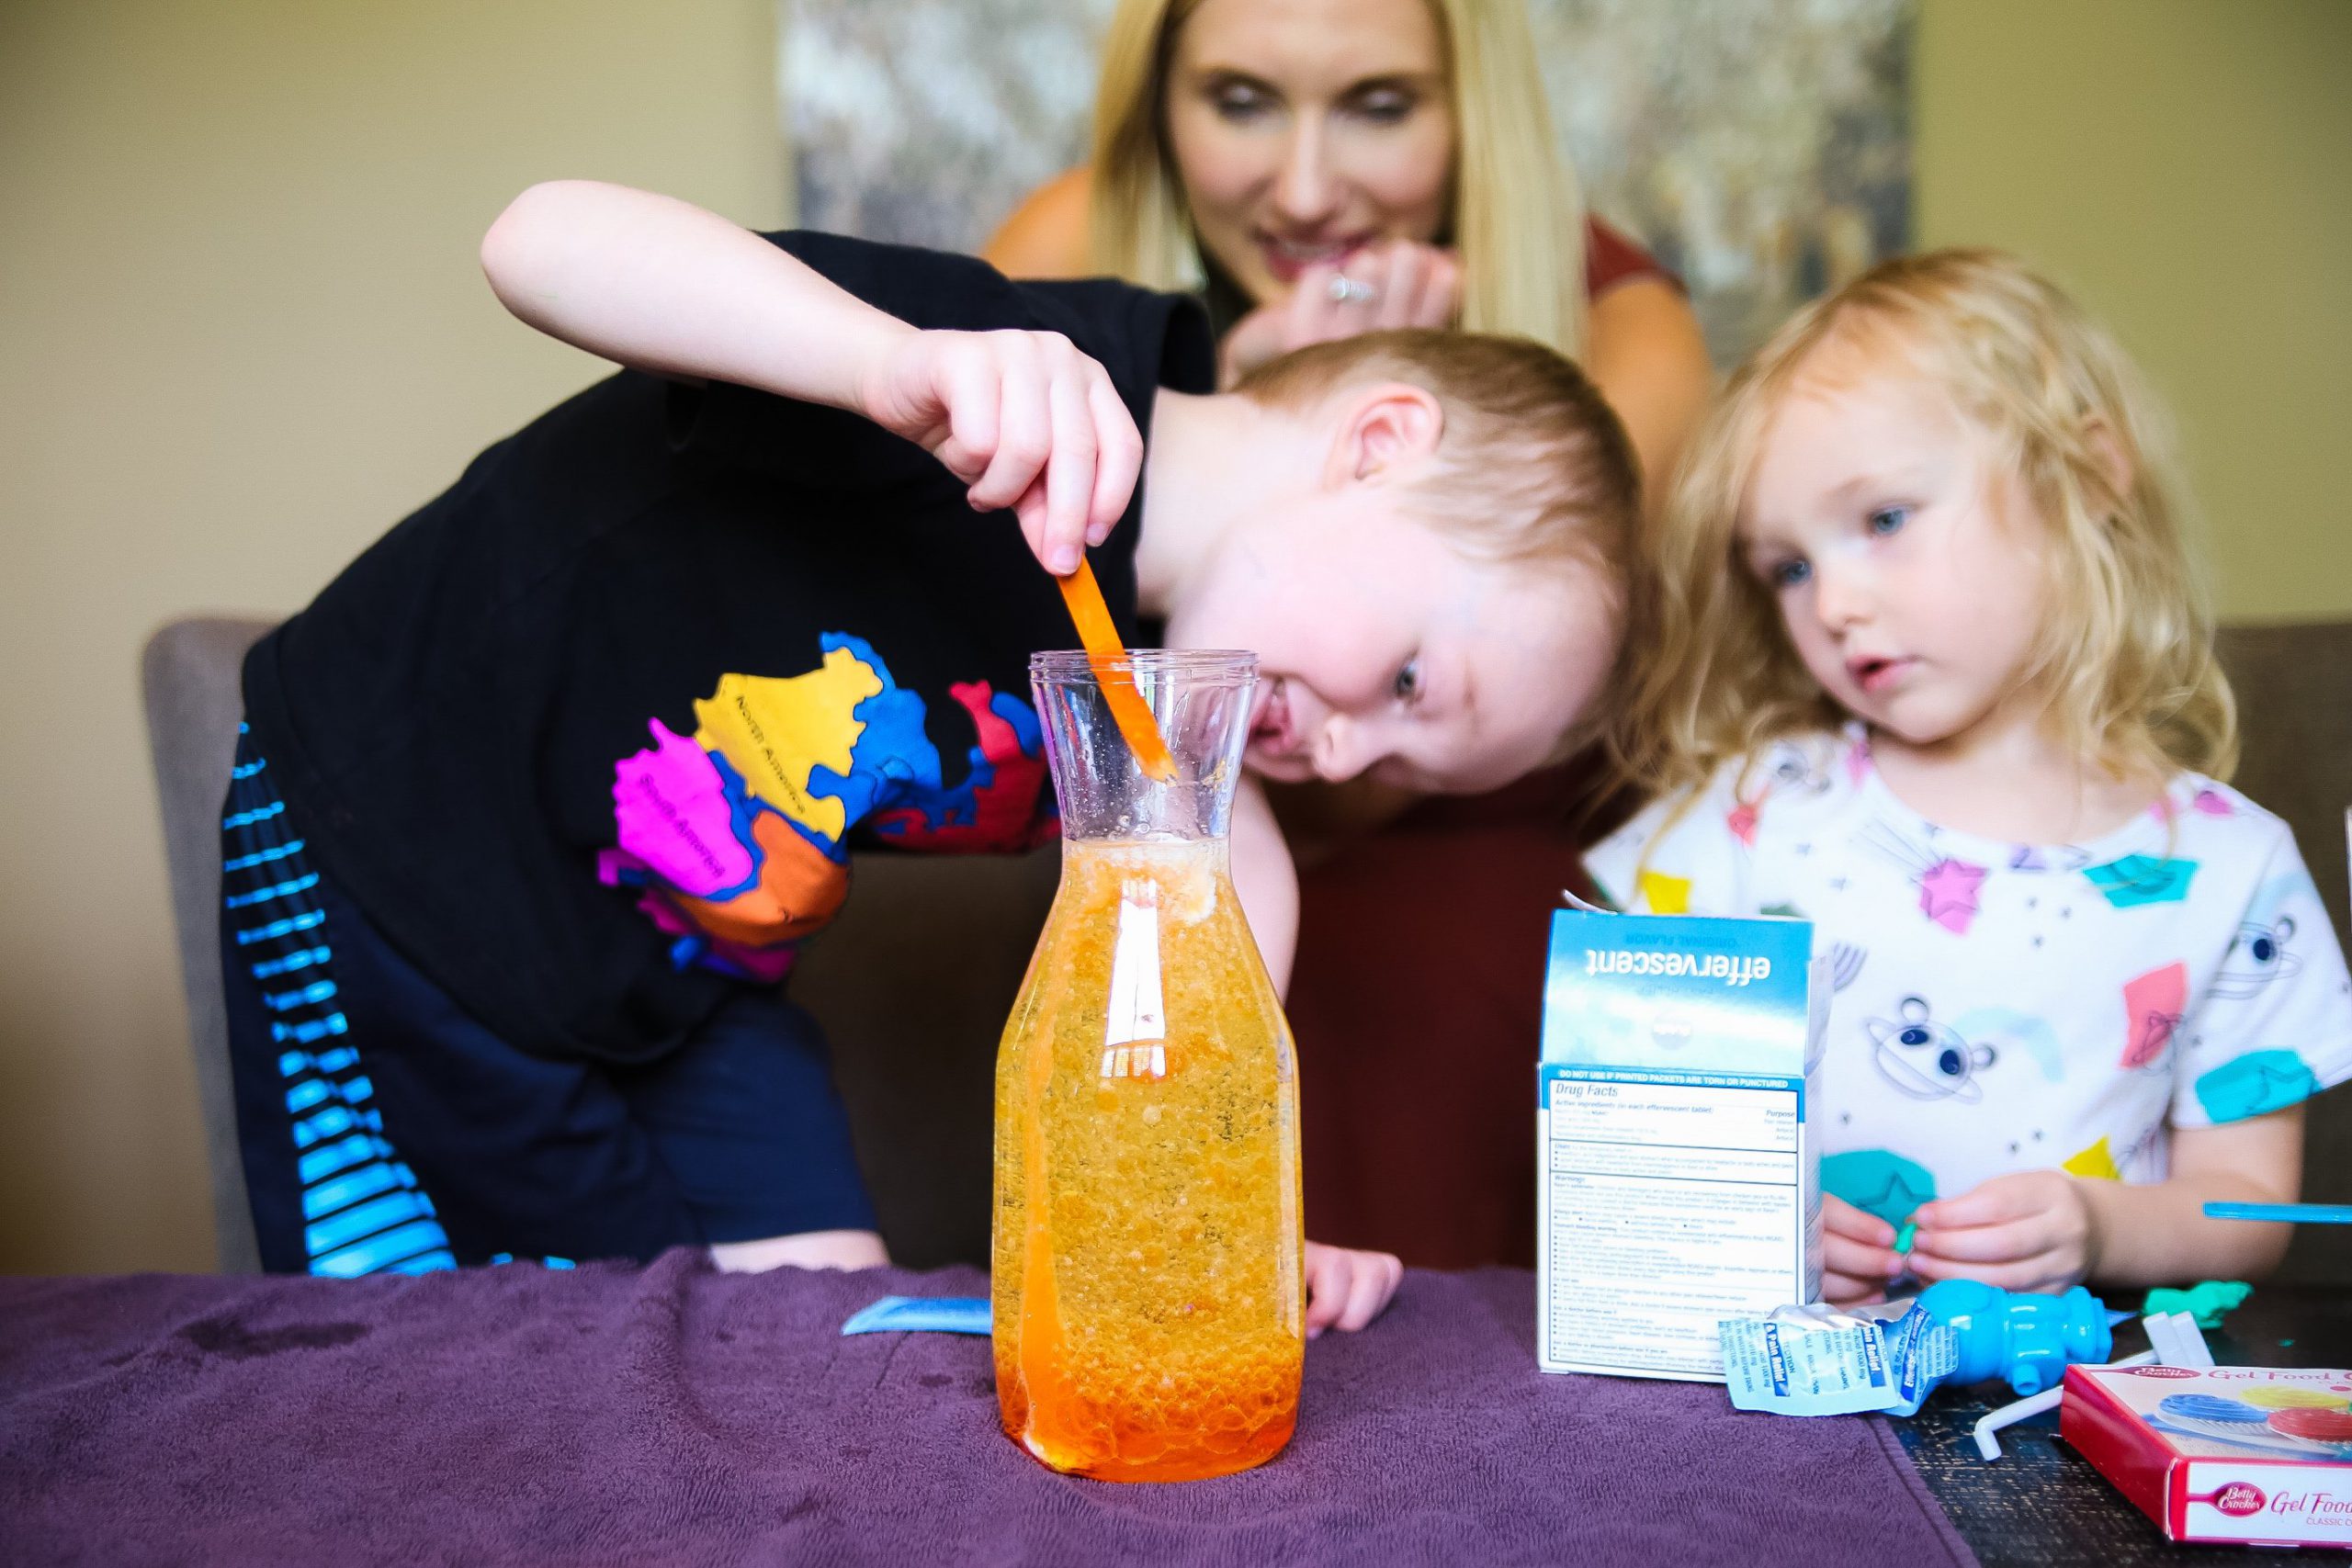
2 pm: This is when we often do other subjects, like science and social studies. We do science experiments (a favorite!), read books on social studies topics, art projects, etc.
3-4 pm: I try to cook most days and include the kids! So we are typically getting things prepped and cooked for dinner at this time.
4-5 pm: Connor just started taking martial arts classes, so usually this is the time we are heading there or participating in martial arts

The post Living Life On The Spectrum, Homeschool Edition appeared first on Not So SuperMom VS Society.
]]>Throwing The Ultimate Harry Potter Party Post-Covid Read More »
The post Throwing The Ultimate Harry Potter Party Post-Covid appeared first on Not So SuperMom VS Society.
]]>
This last weekend, we loaned out our basement & backyard to some very dear friends for a surprise Harry Potter themed 40th birthday.
When our friend asked about using our house to surprise her partner, I said, of course, as long as we keep it safe. After all, one of the reasons we moved into this house was it’s potential for entertaining.

Ground Rules
Given that we are in the middle of a pandemic, one of the things I was adamant about was safety. We quickly established that the party would be primarily outdoors, where everyone could easily social distance and that we were capping the # of guests at 15- which included the 7 of us.
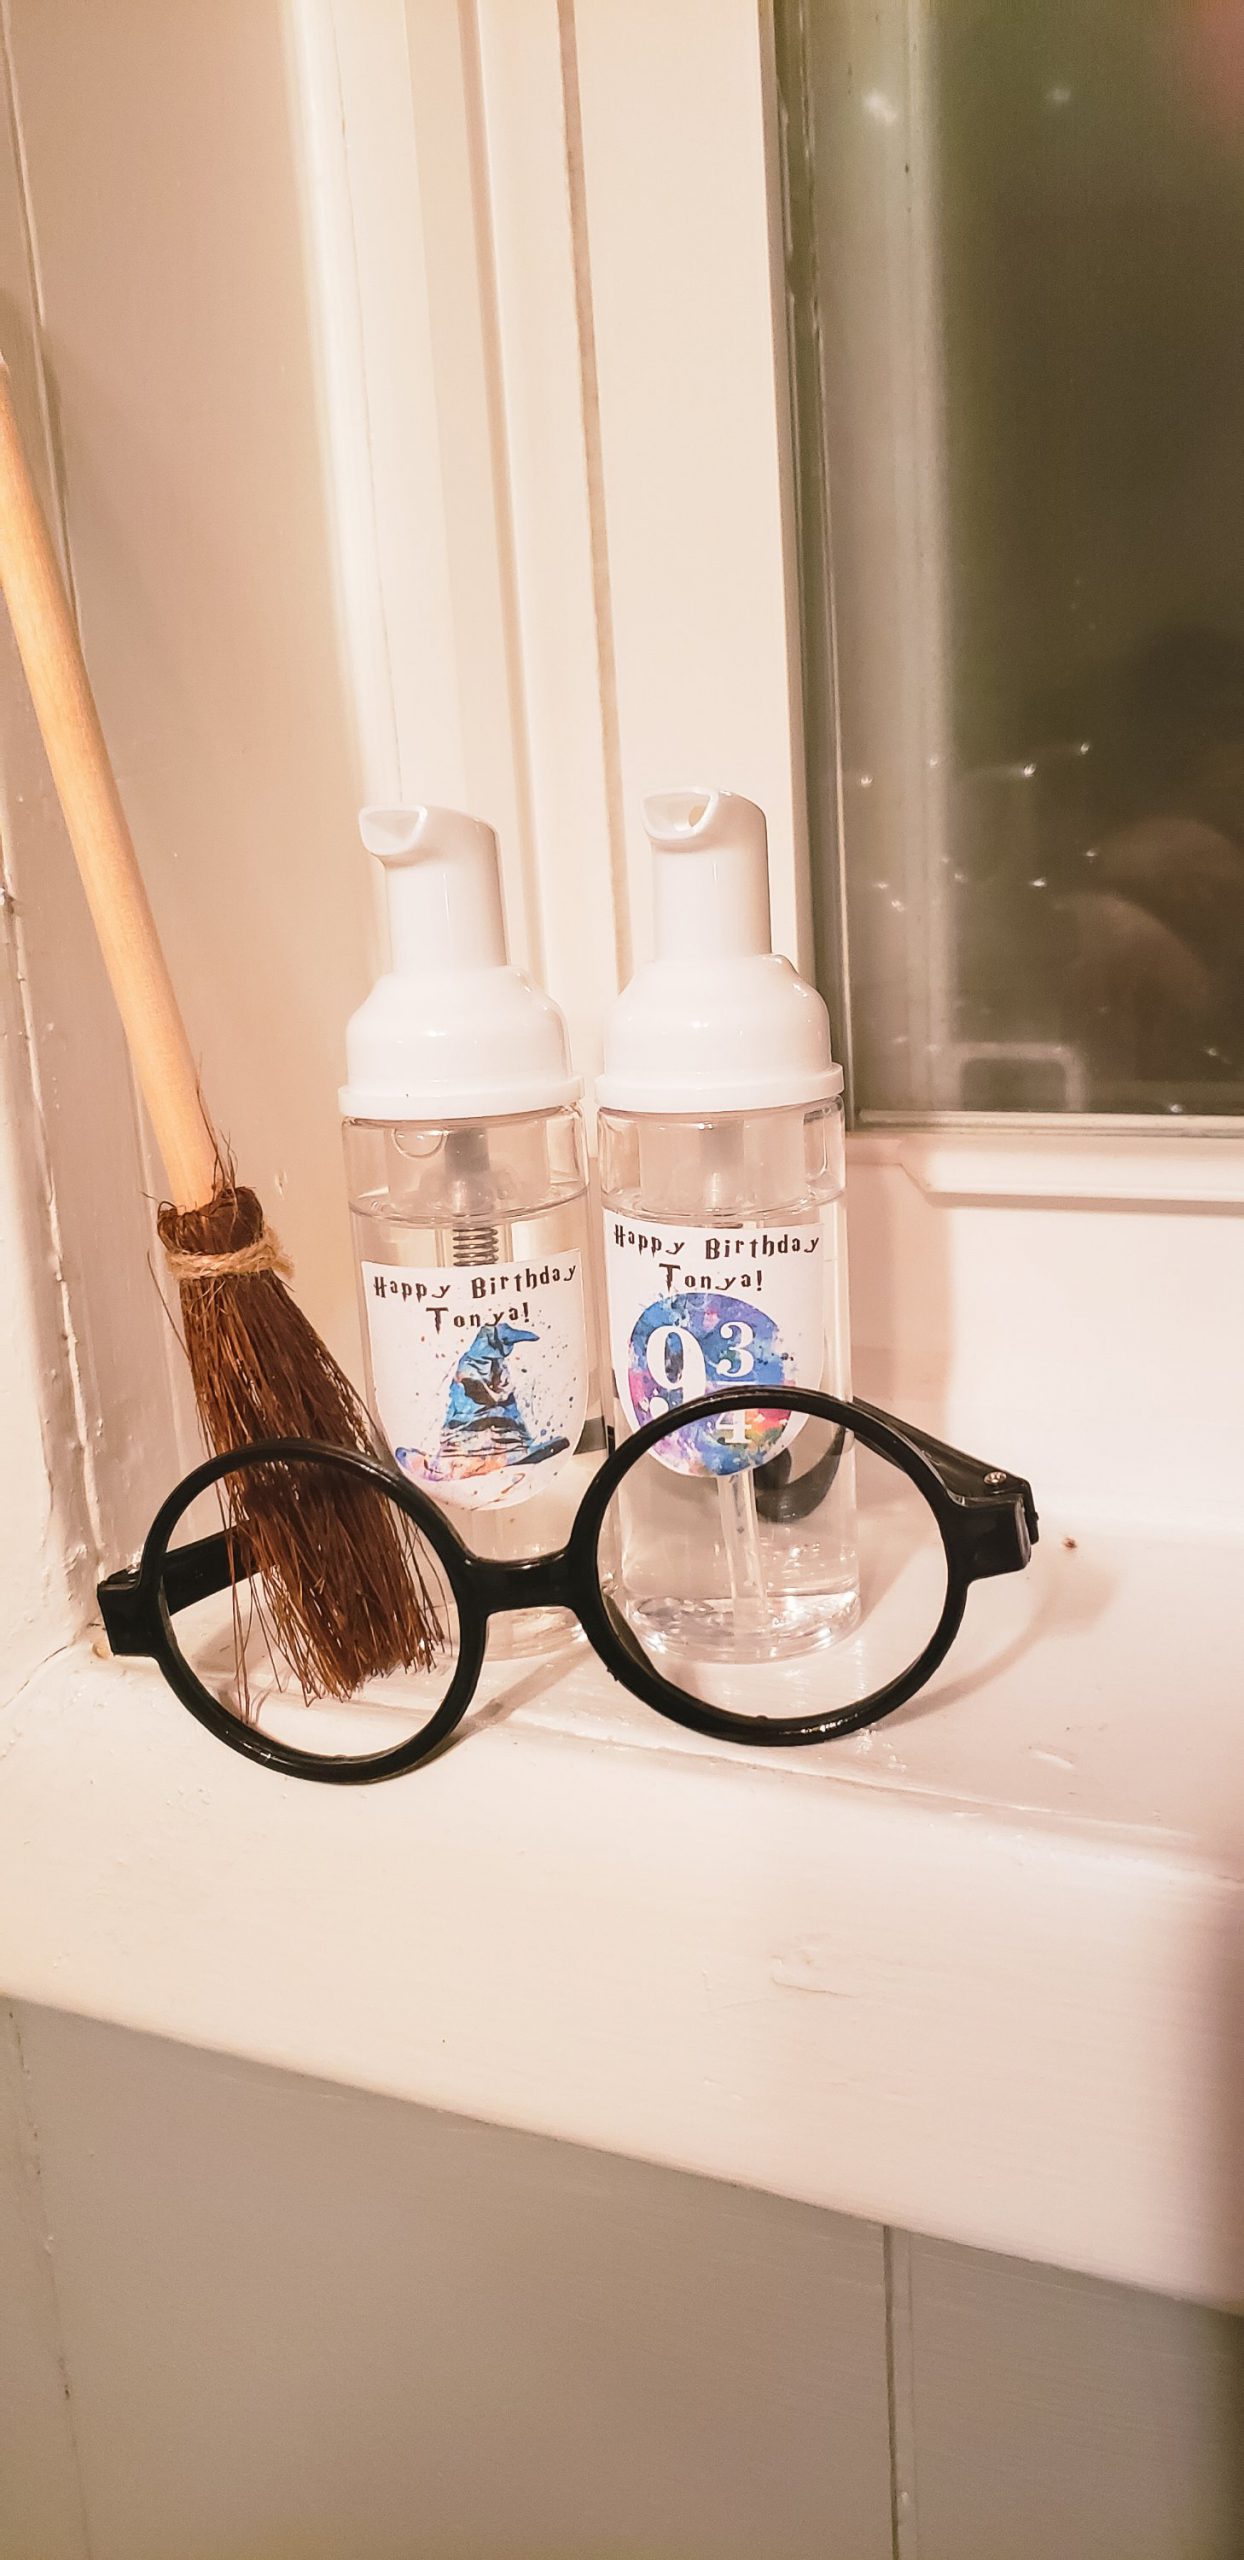
Guests were instructed to enter the party via our back gate, grab a Harry Potter themed mask & personal hand sanitizer. Given that the majority of the guests were in the healthcare profession, this wasn’t an issue.
Guests were encouraged to stay outdoors, however we did set up food and drinks inside. When they came inside, masks were required & they were only allowed in the room with food & the downstairs bathroom. Upstairs was completely off limits-my children were going to spend the majority of the party up there and I wanted them kept as distant as possible from the crowd.
Ground rules for any party are important, but especially mid-pandemic. If your guests can’t respect them, then you shouldn’t be inviting them.
The Details
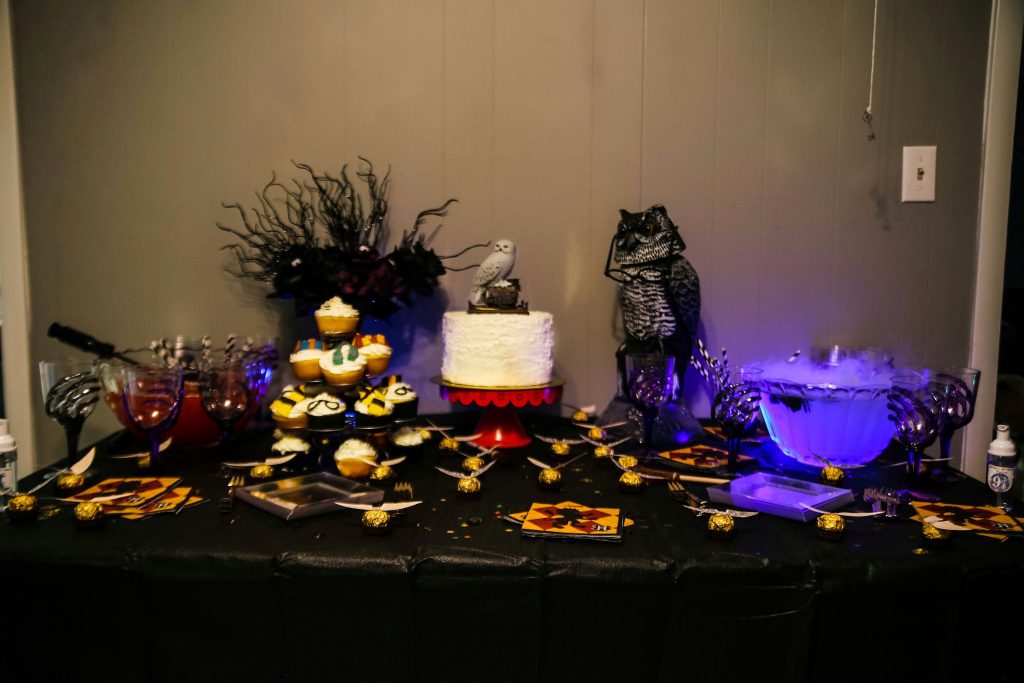
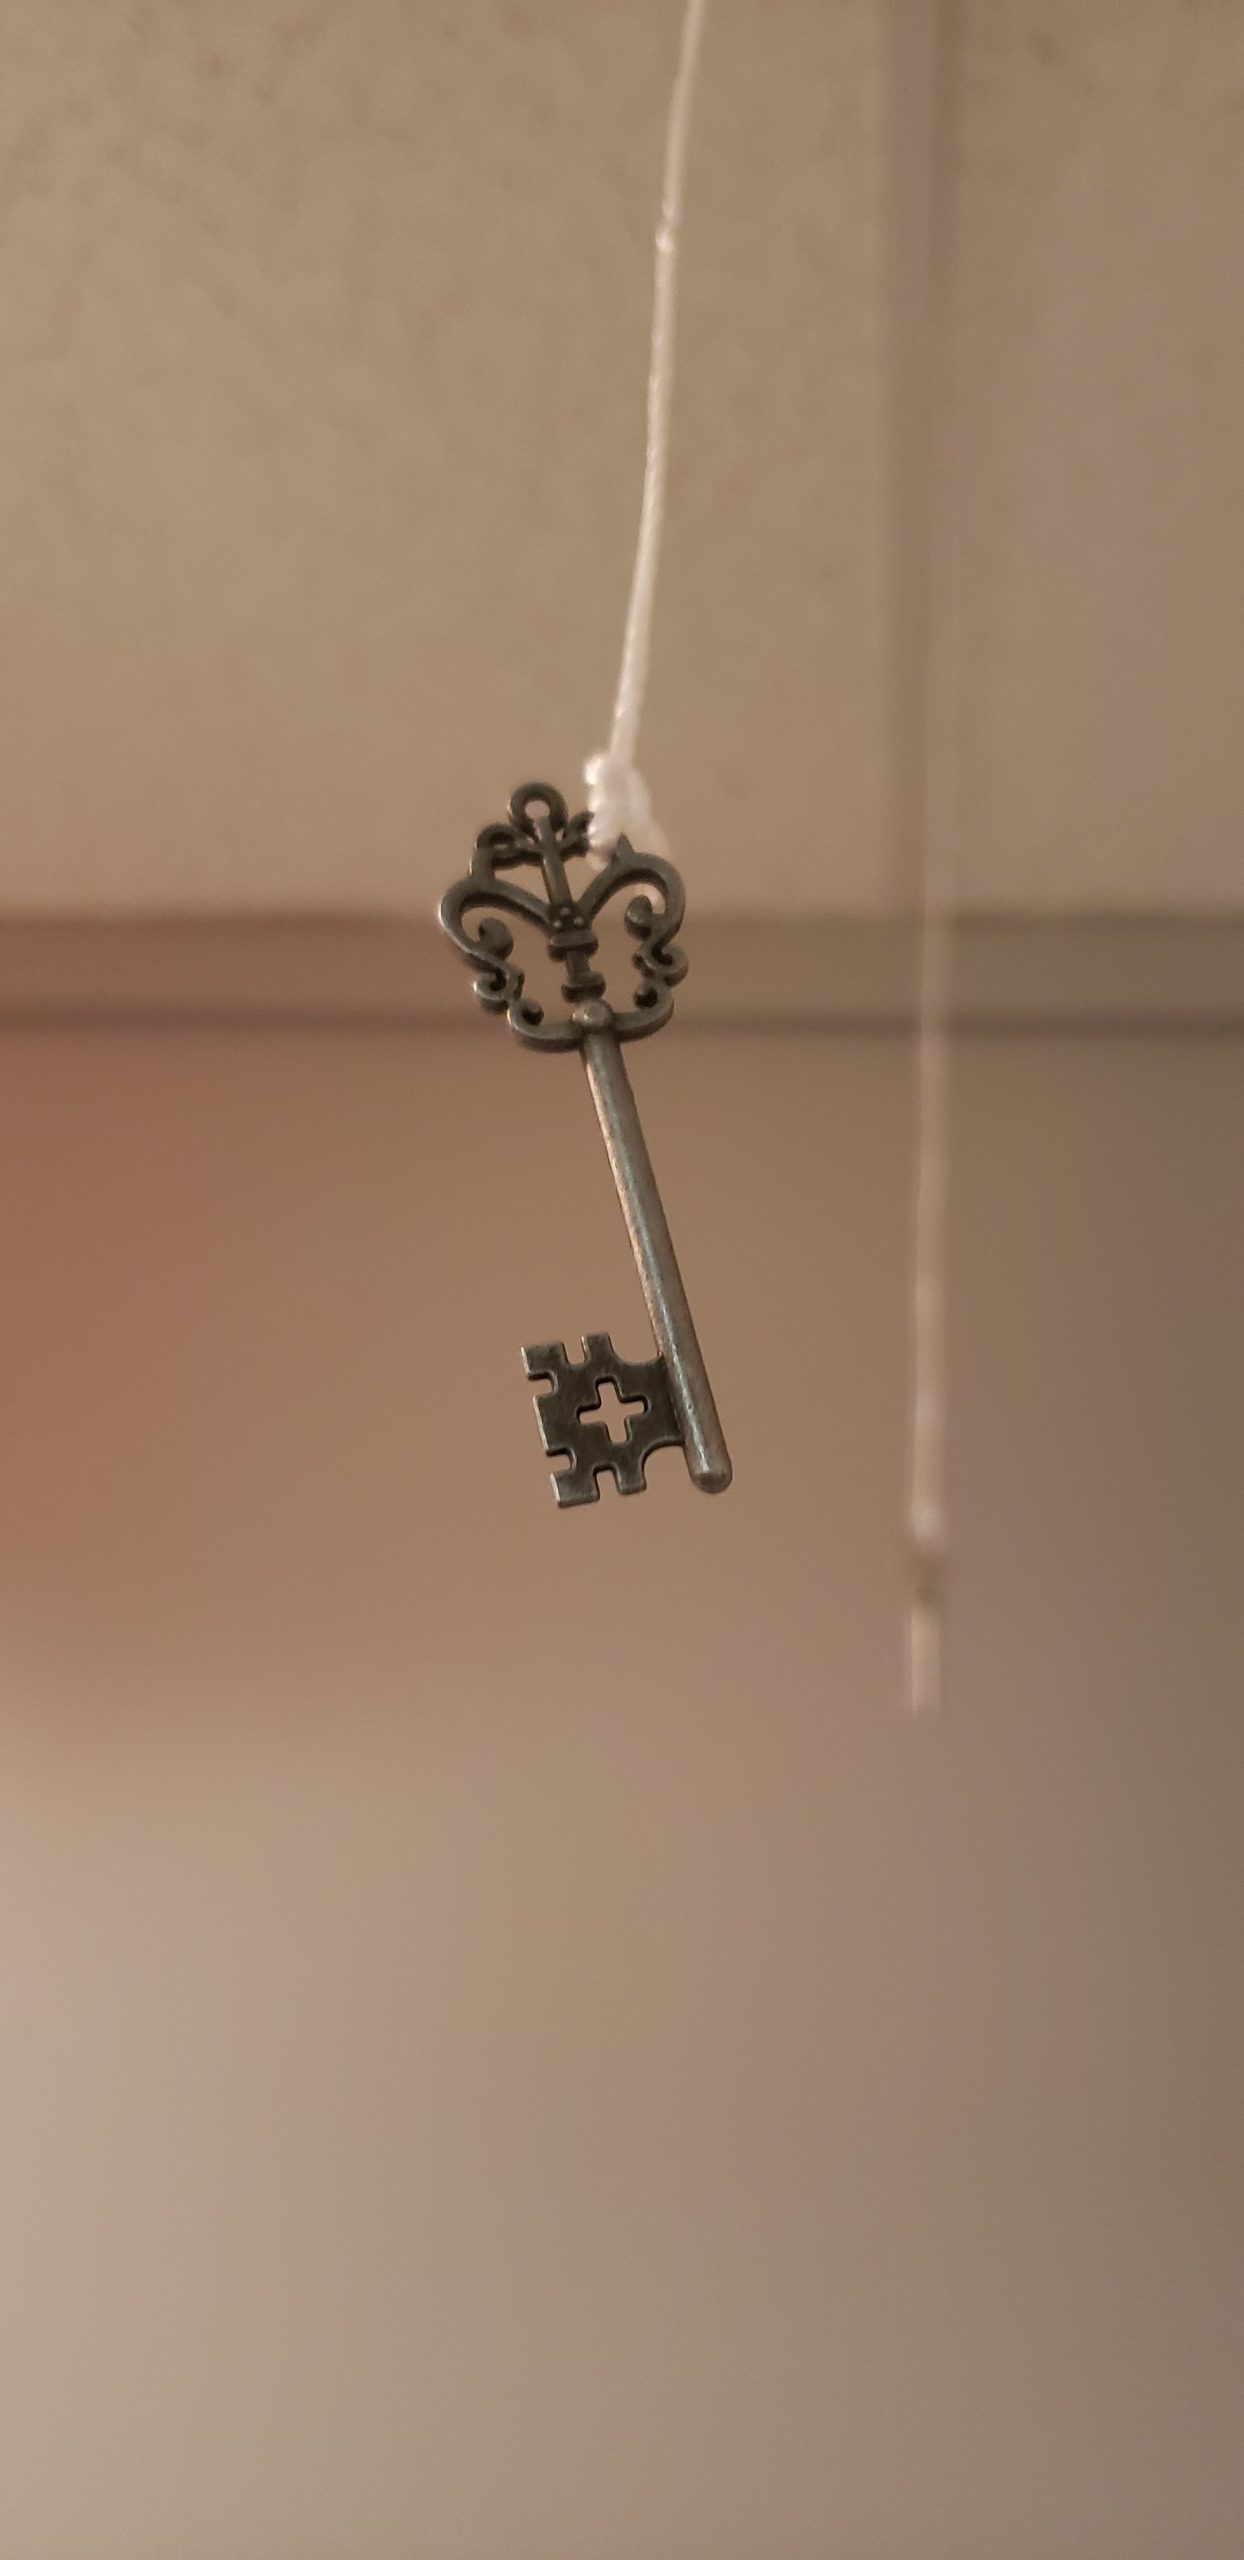
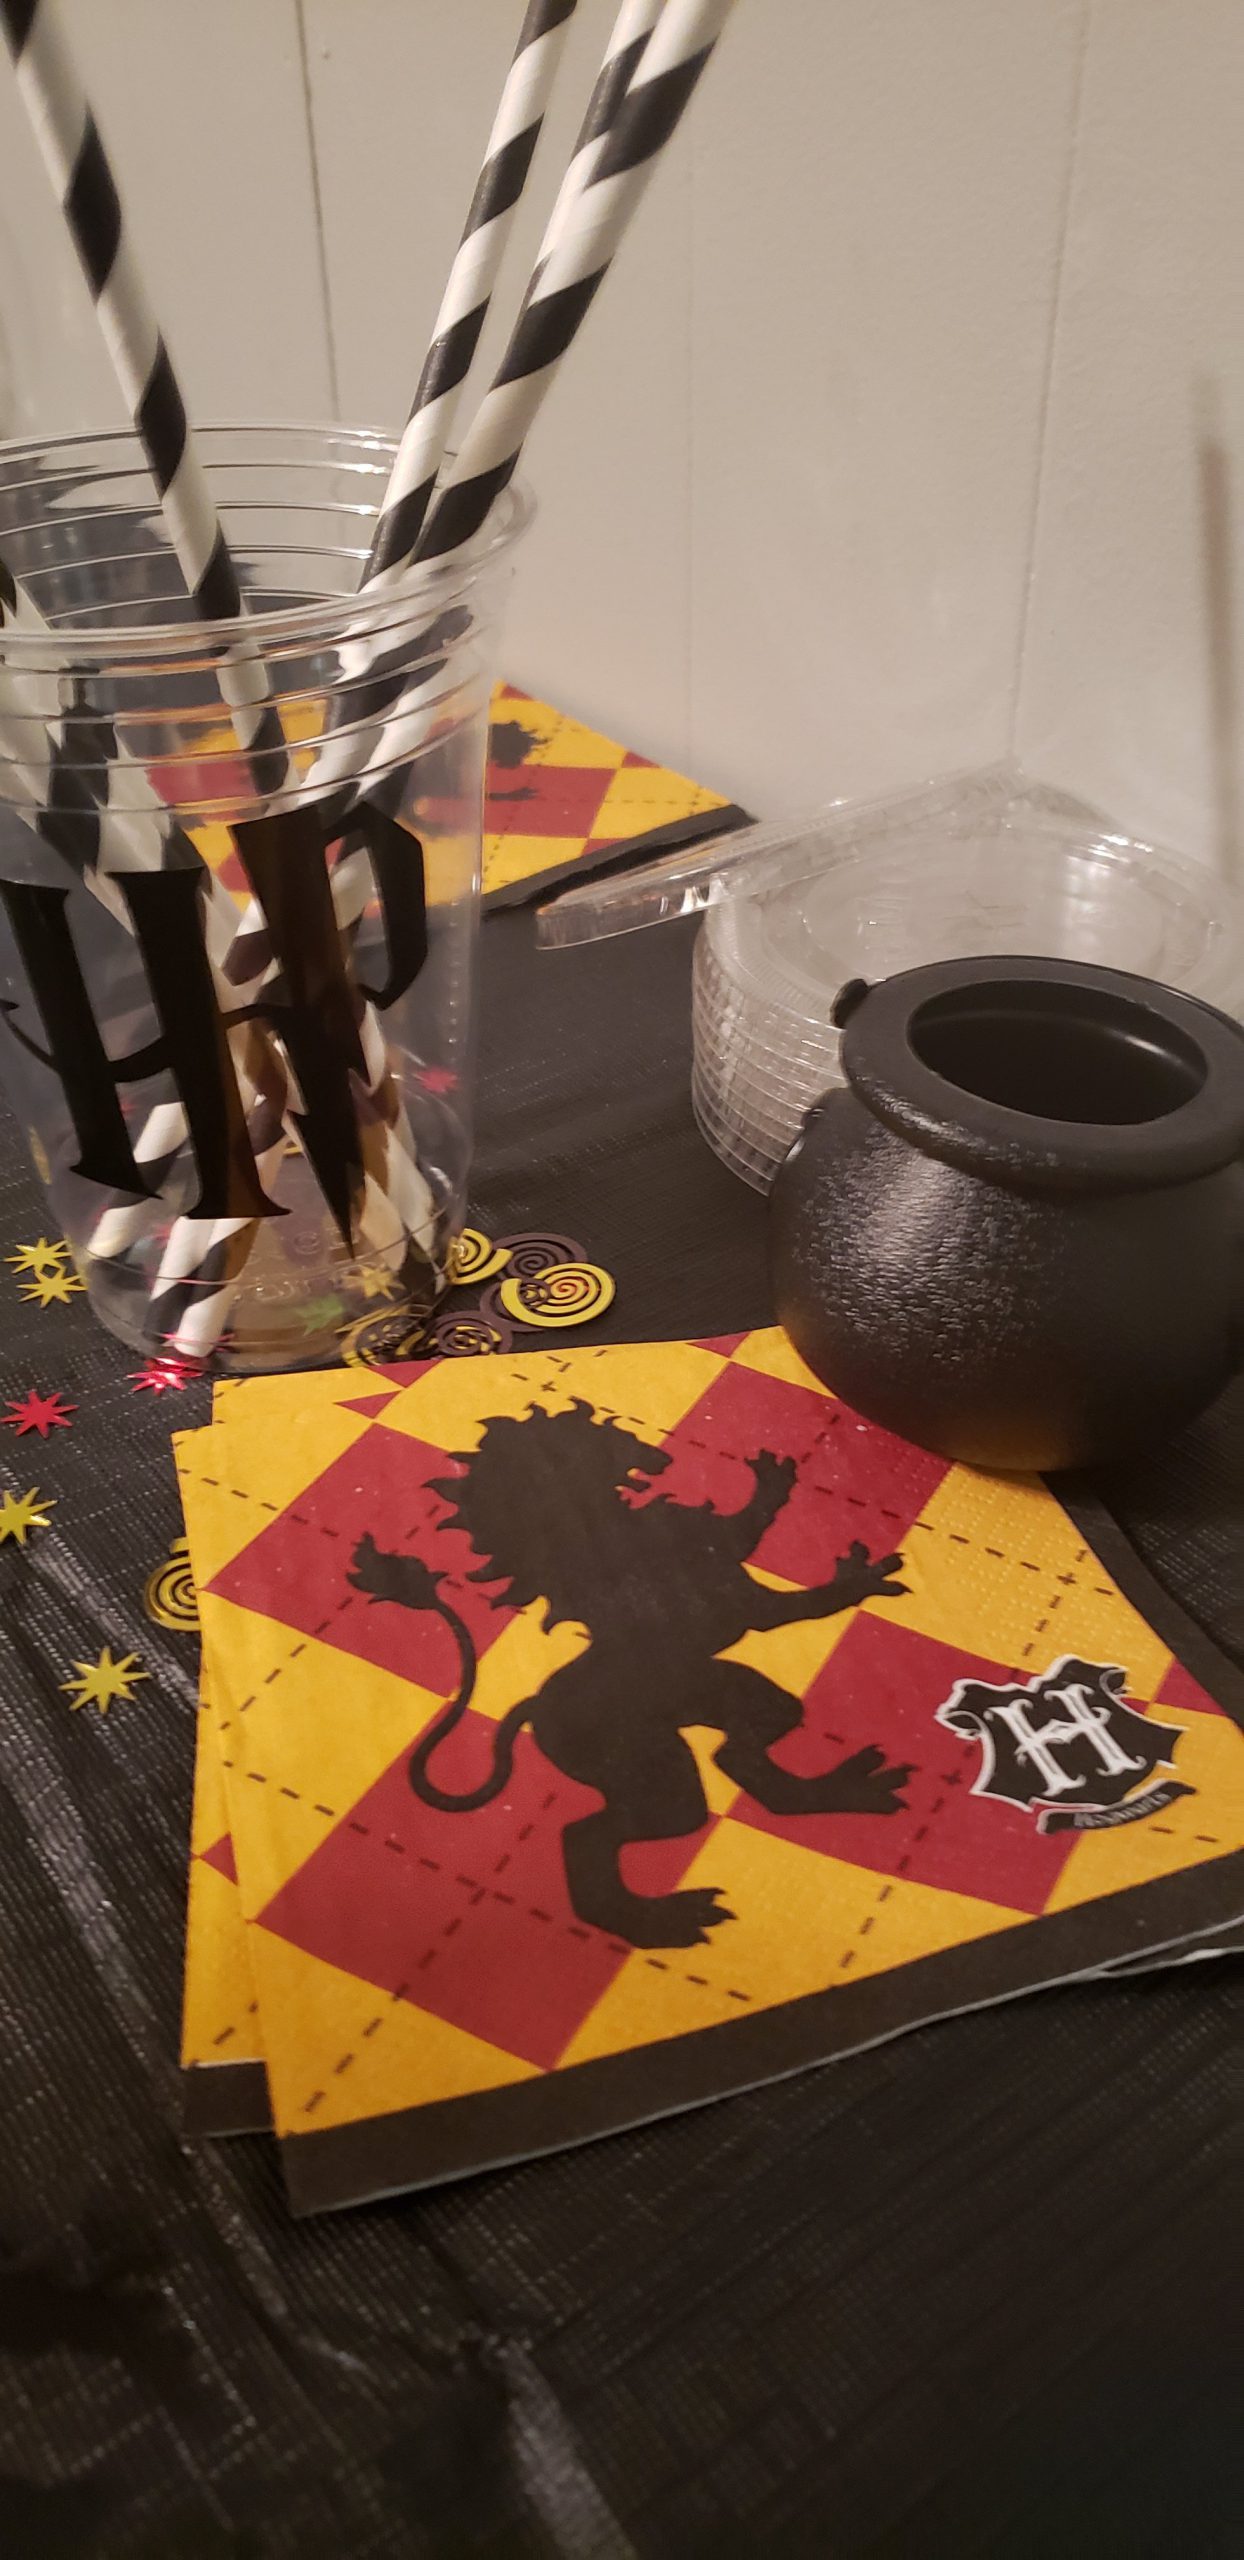
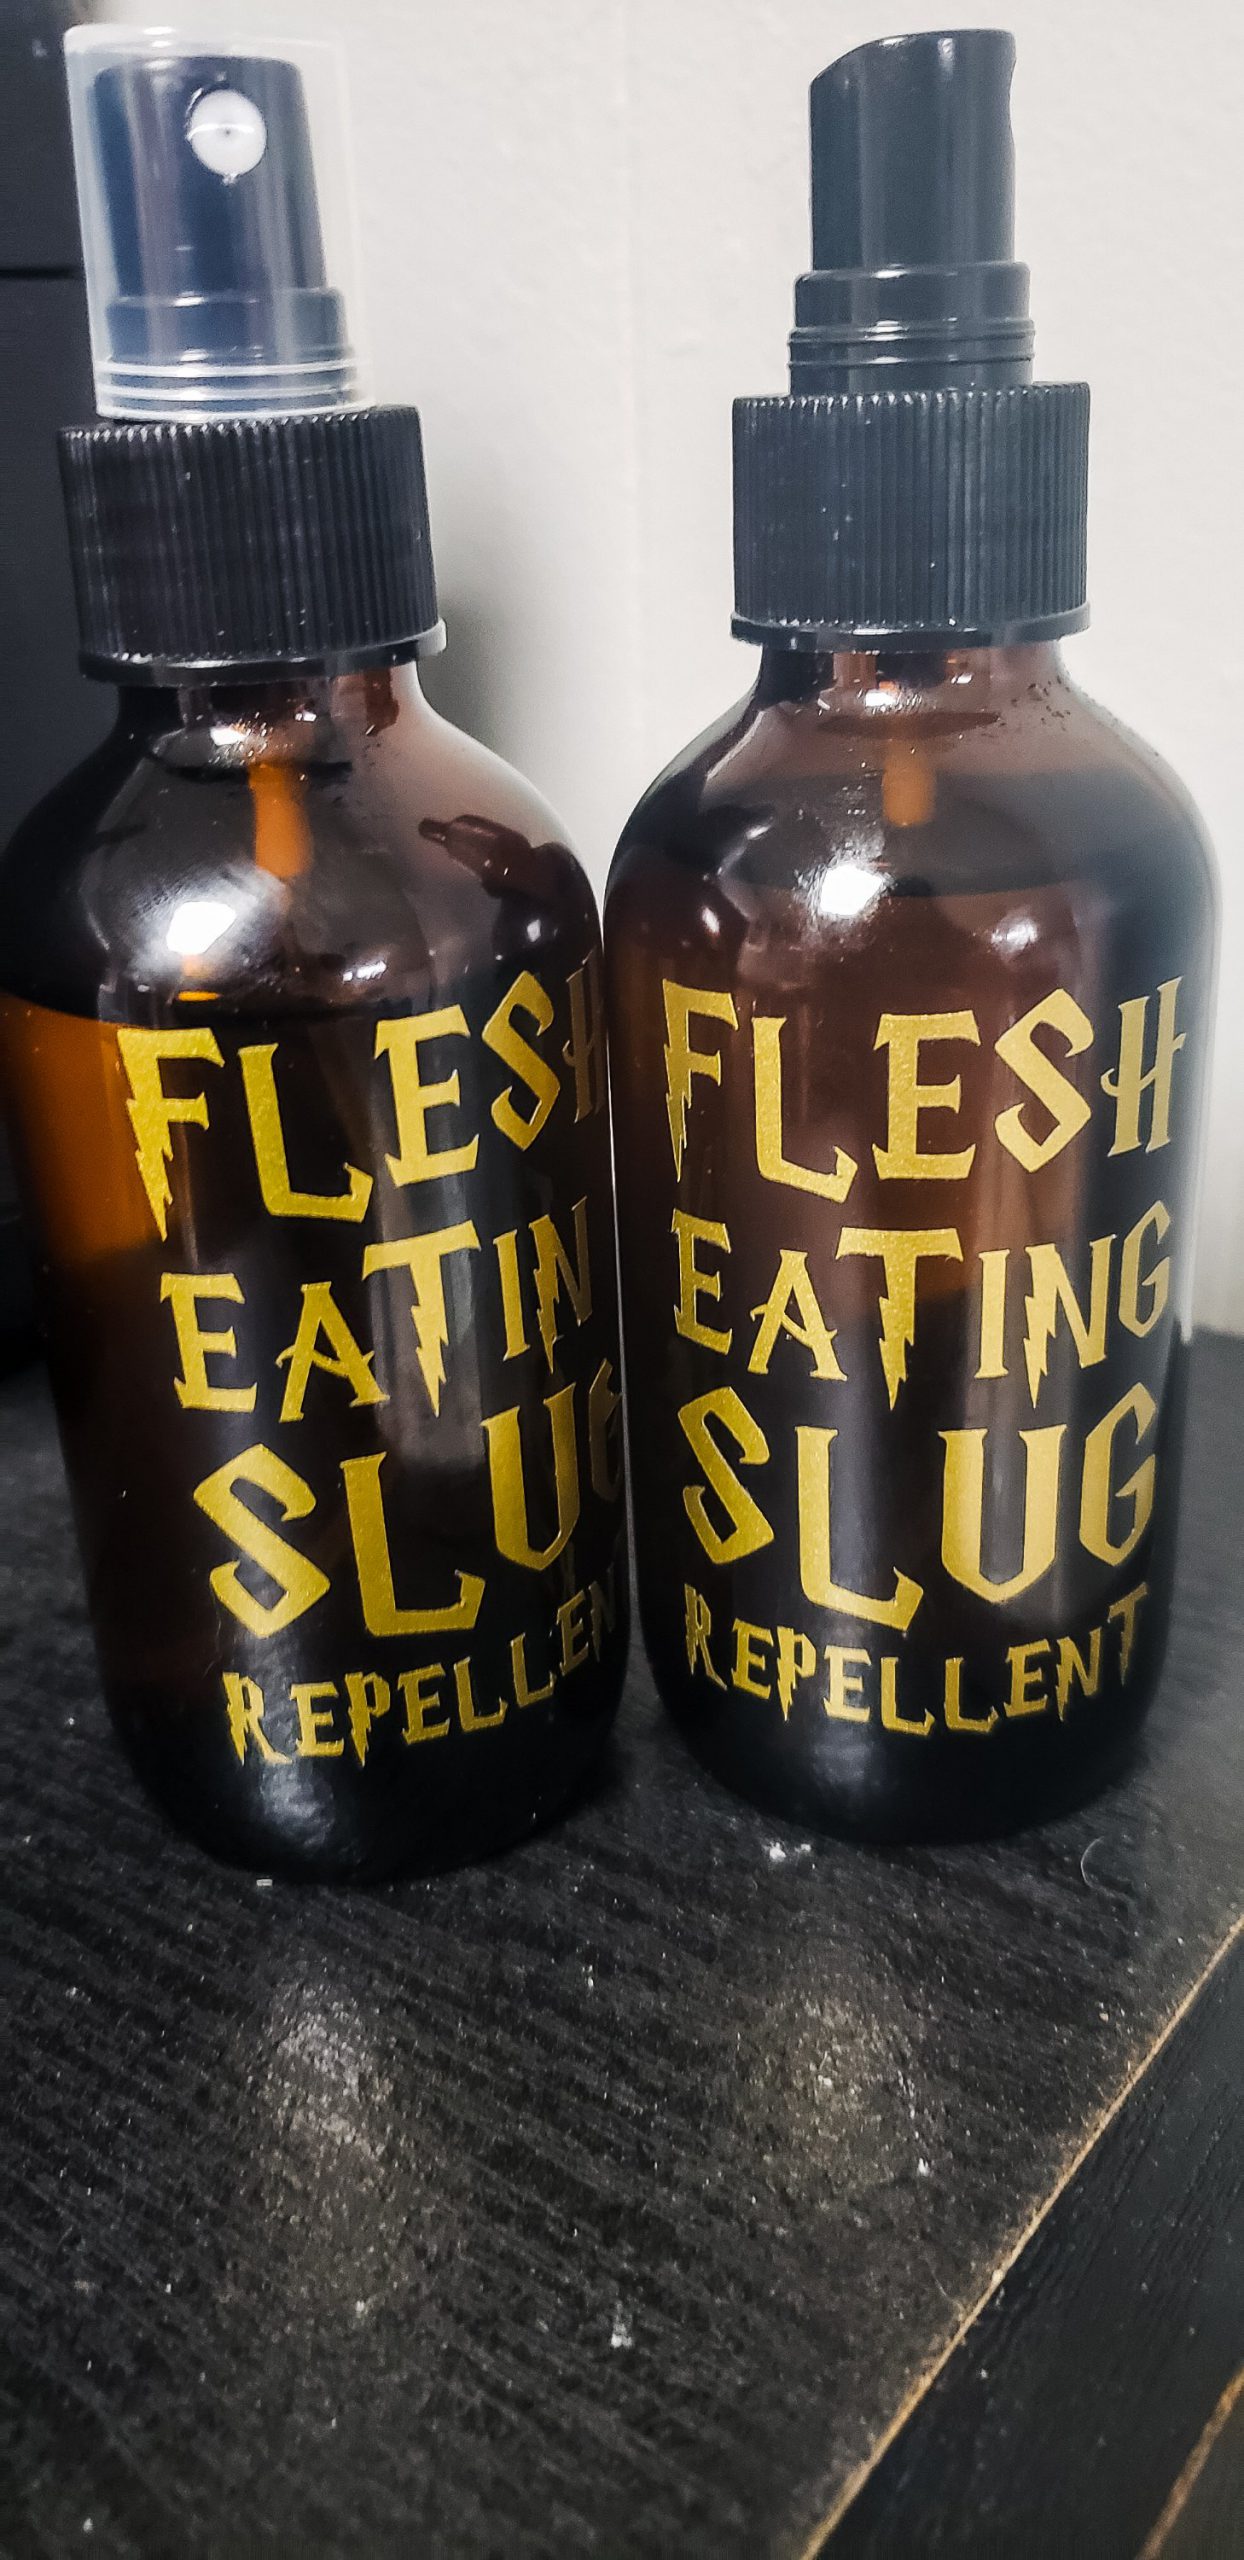
We had some really cute themed items for this party. In addition to the themed sanitizer & masks mentioned above, we also had HP glasses for guests to wear. We hung “flying keys” from the ceiling, and kept to the main colors from the 4 Hogwarts Houses. We also decorated the tables with cute confetti and mini cauldrons. I purchased some refillable spray bottles from Amazon, we placed “Flesh Eating Slug Repellent” labels on them and filled them with bug spray to minimize bug issues.
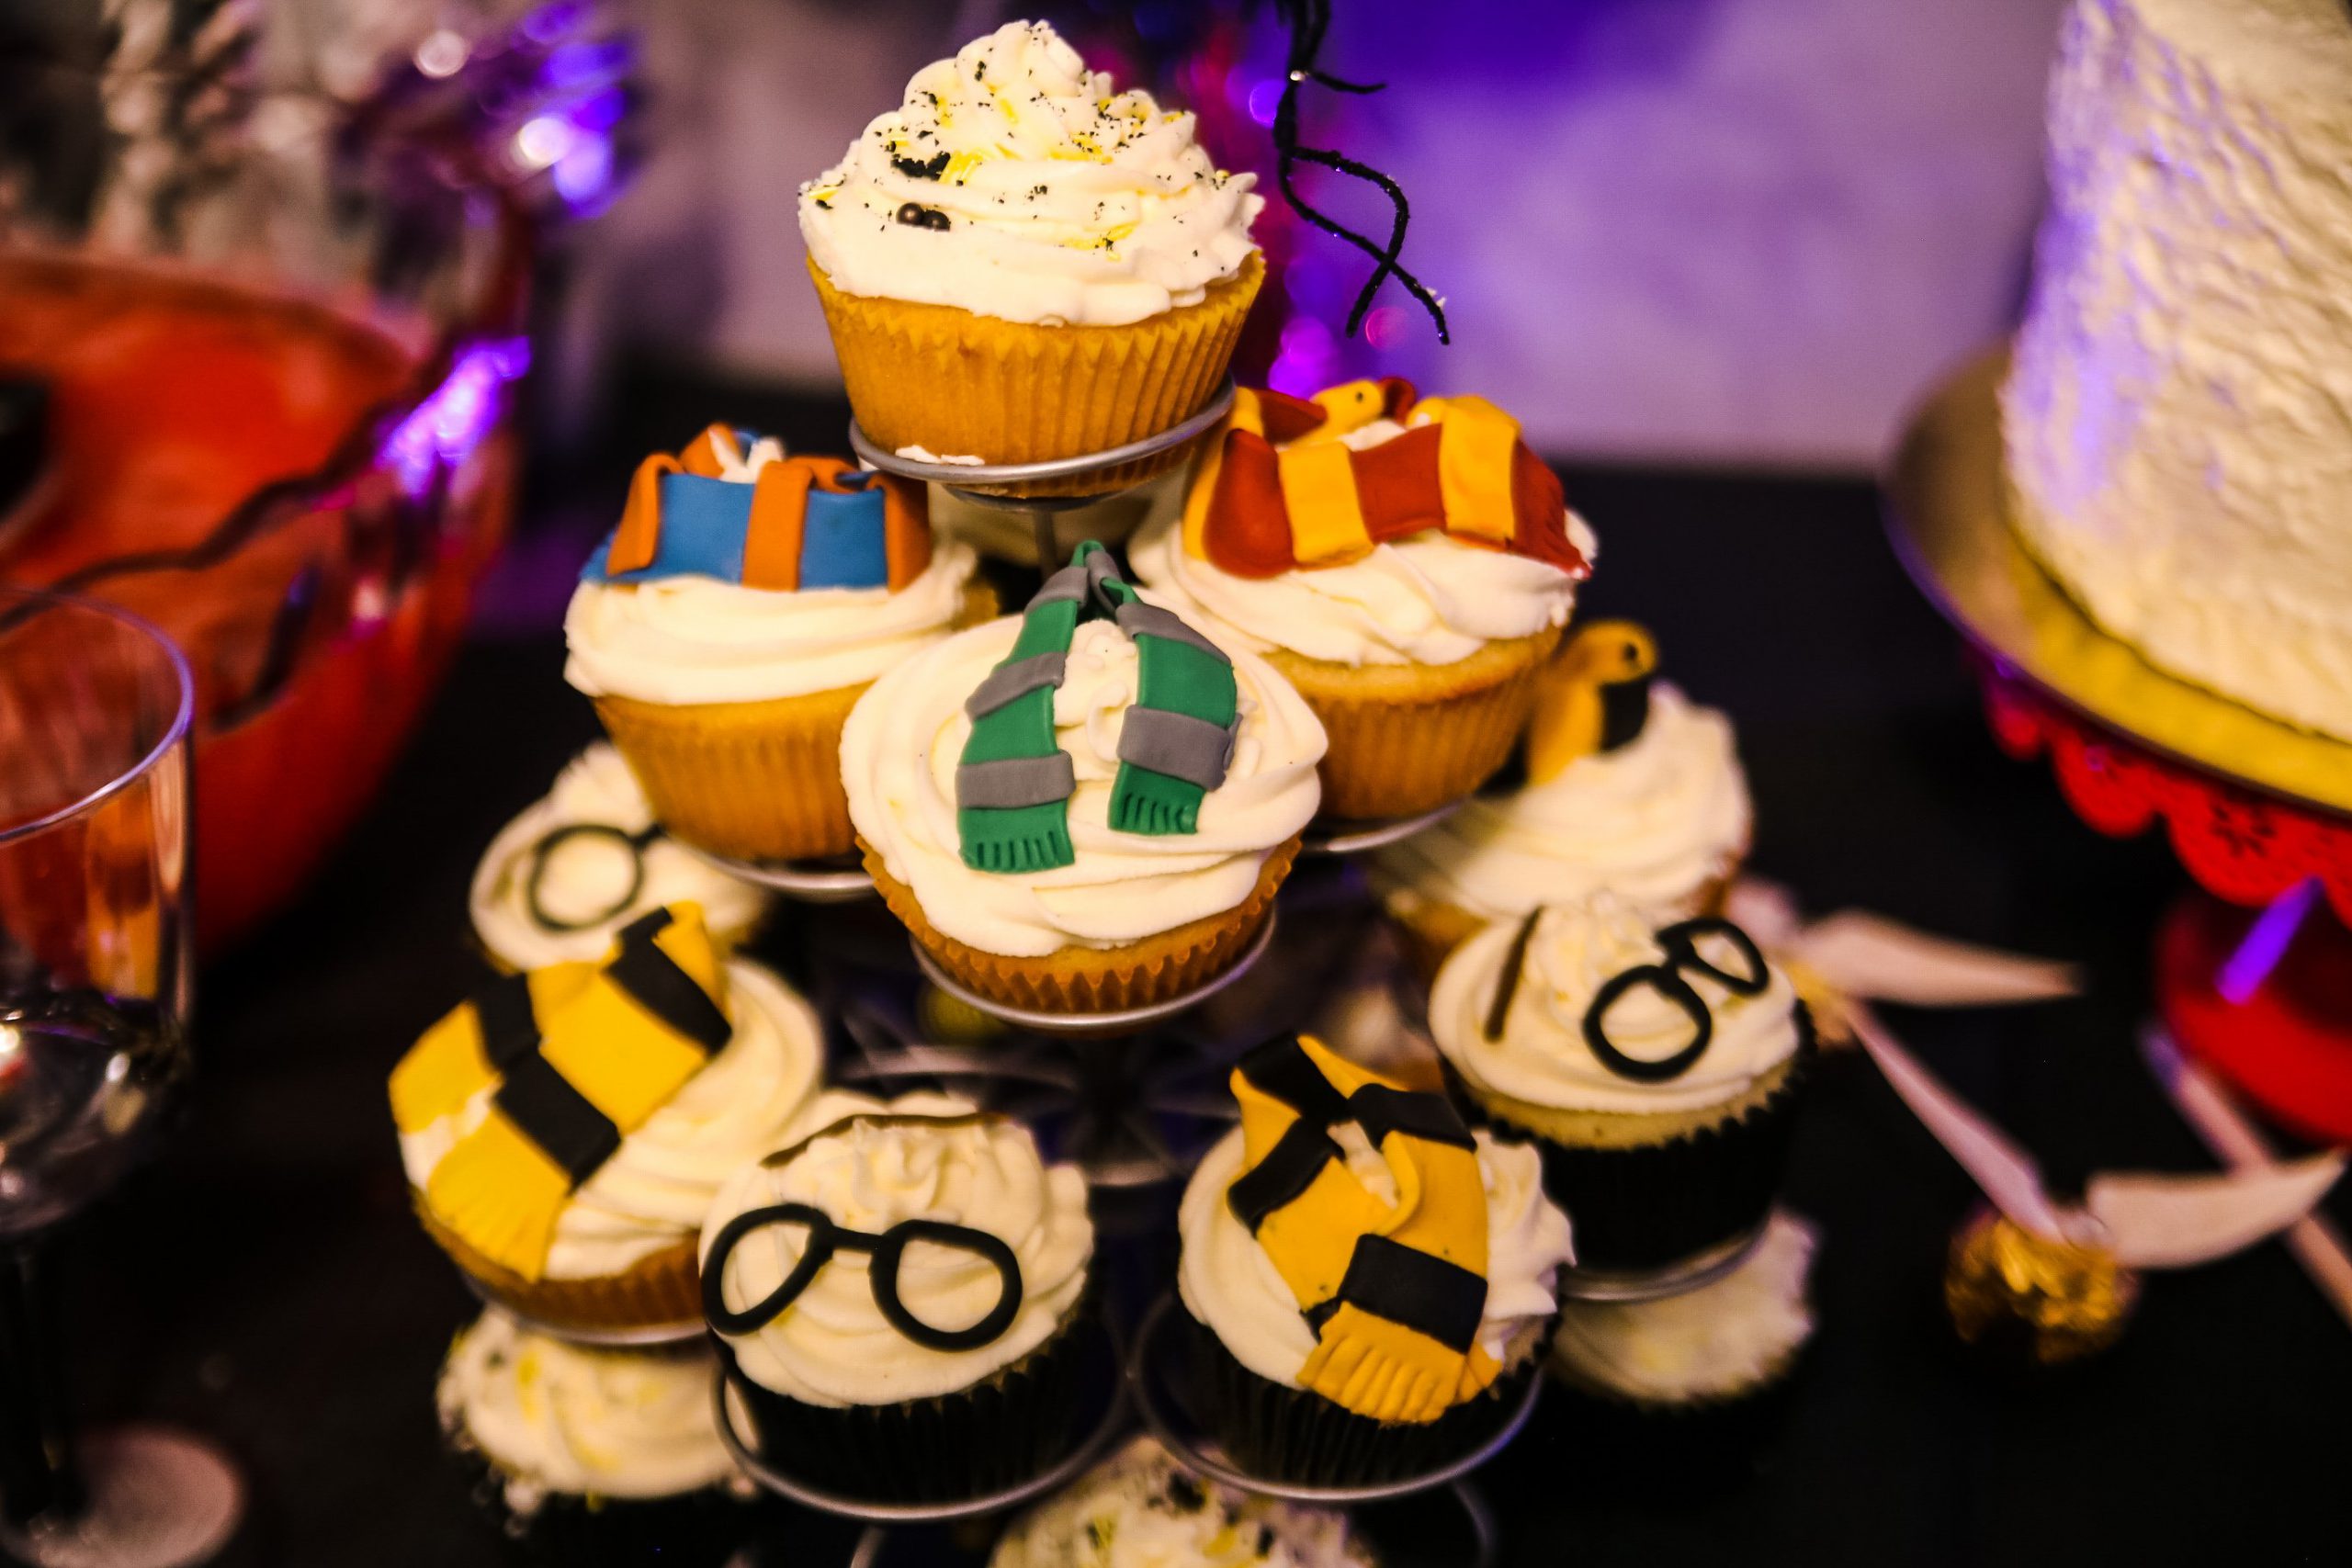
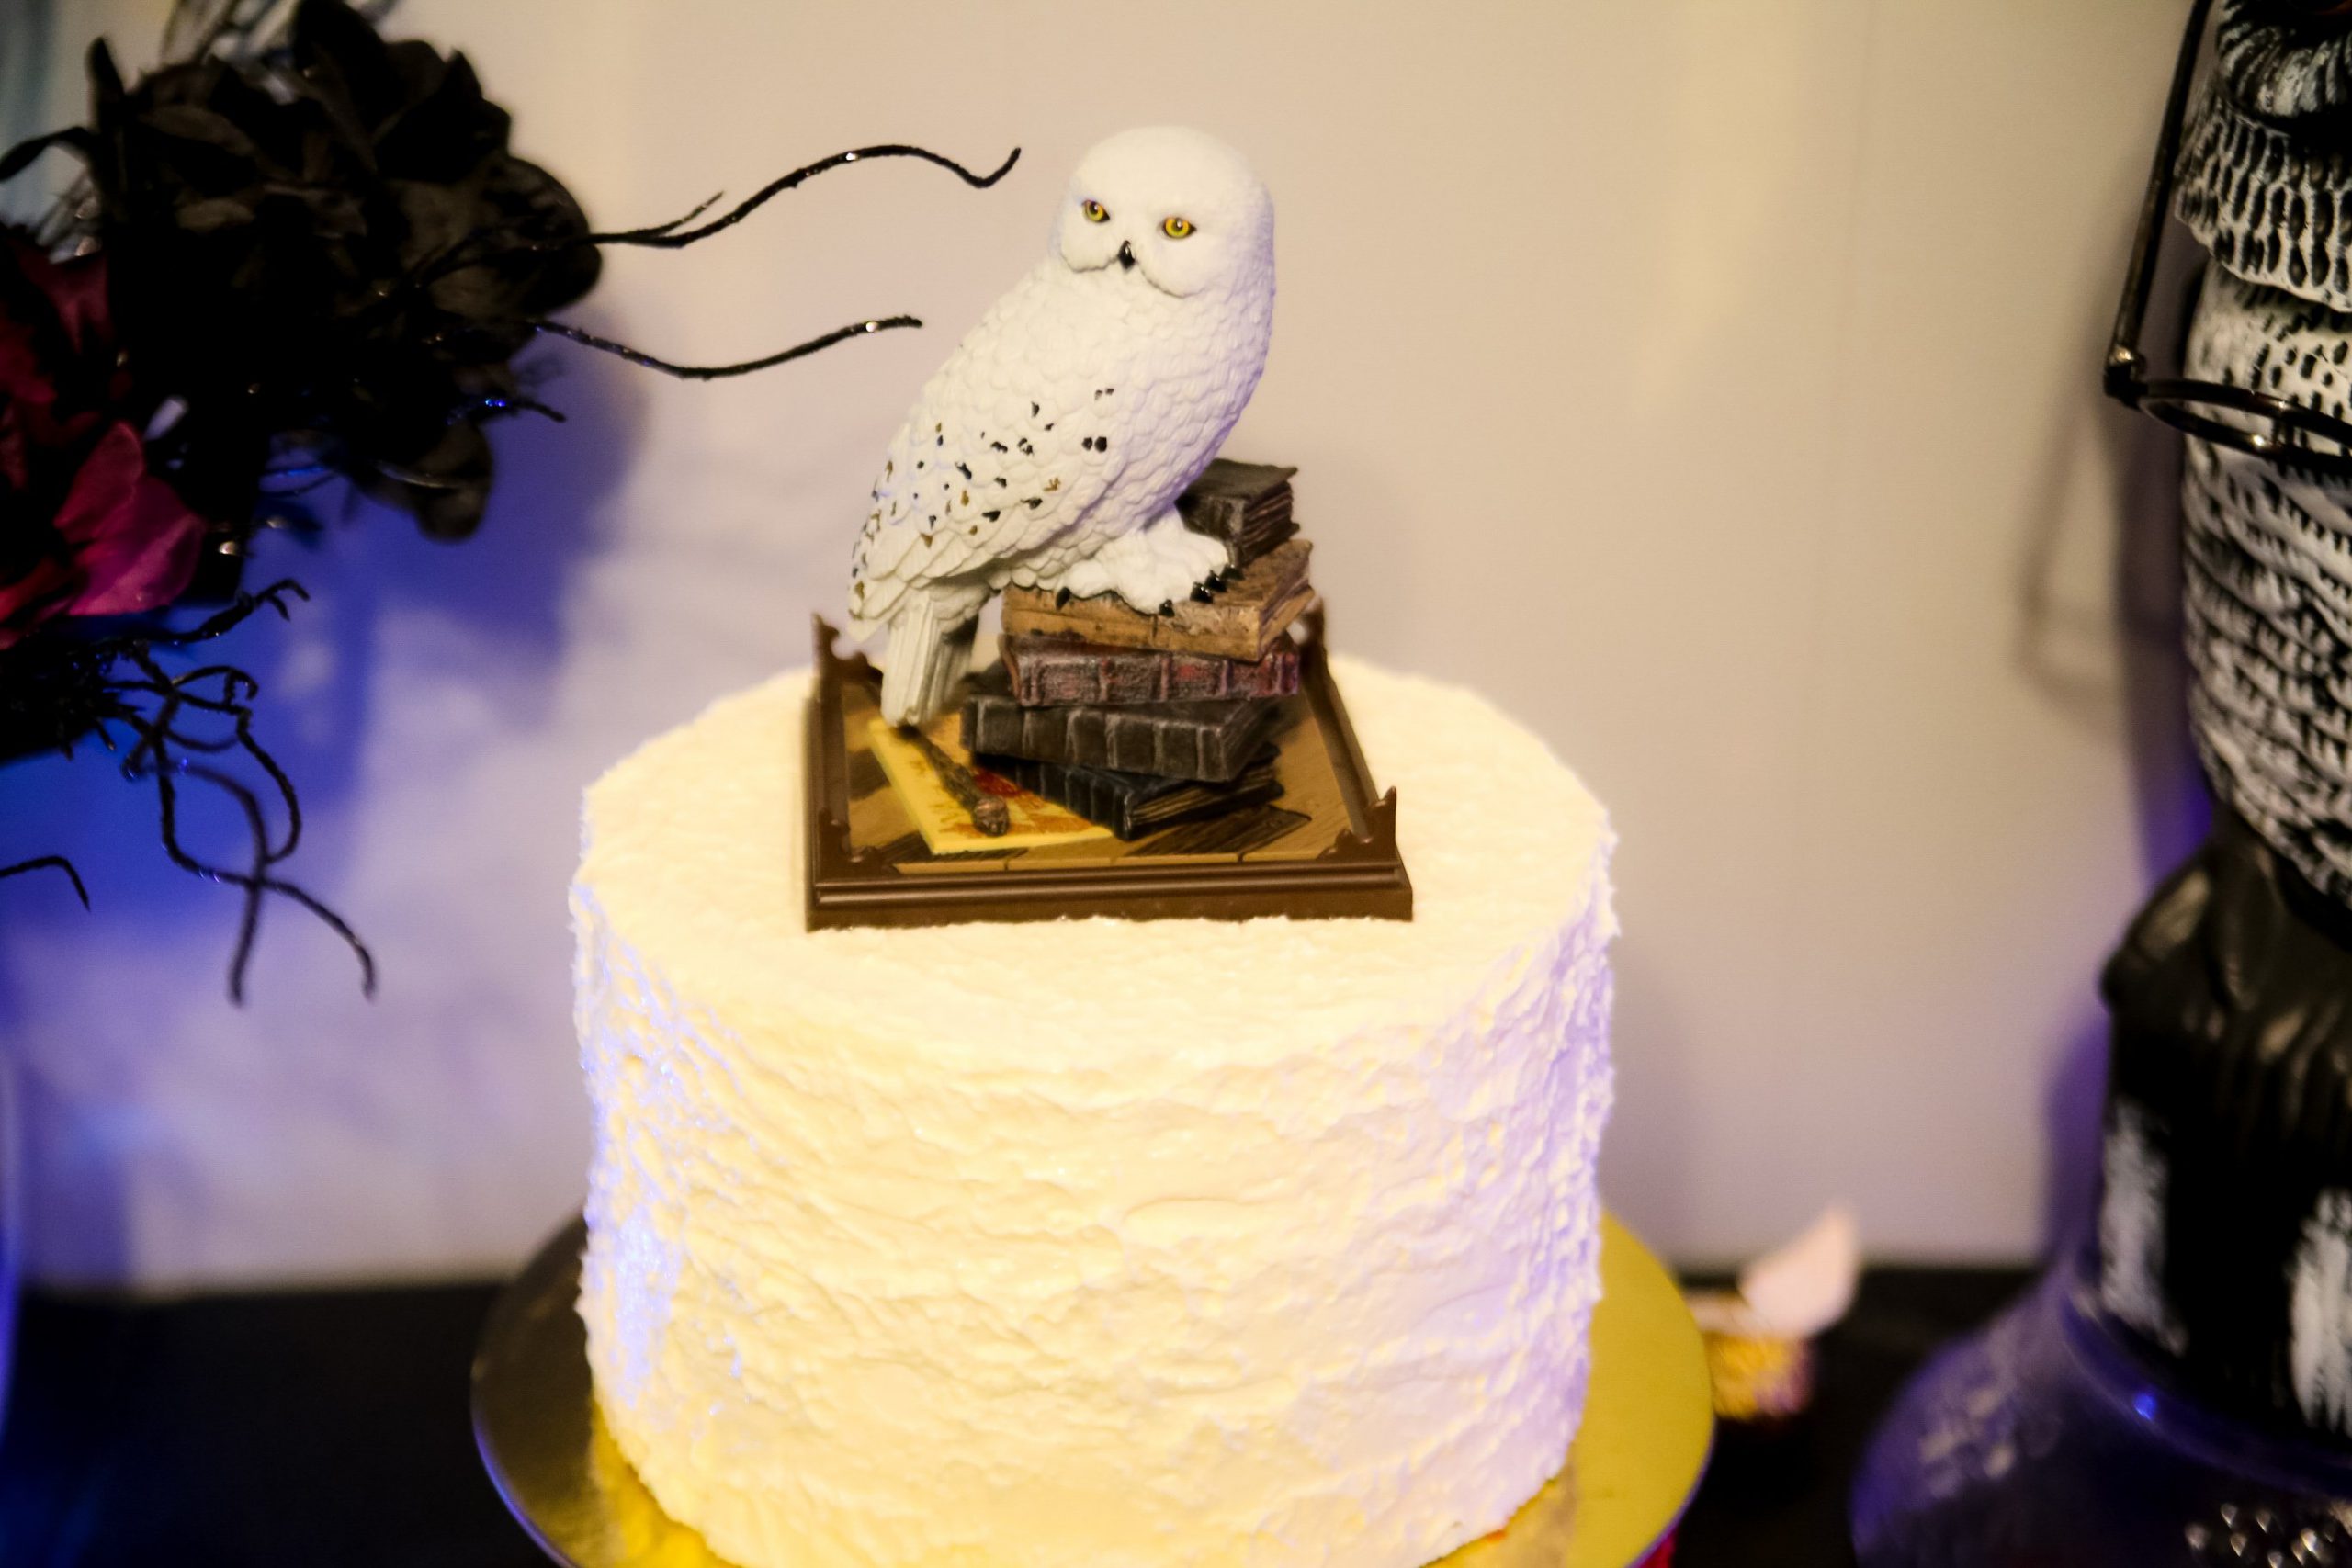
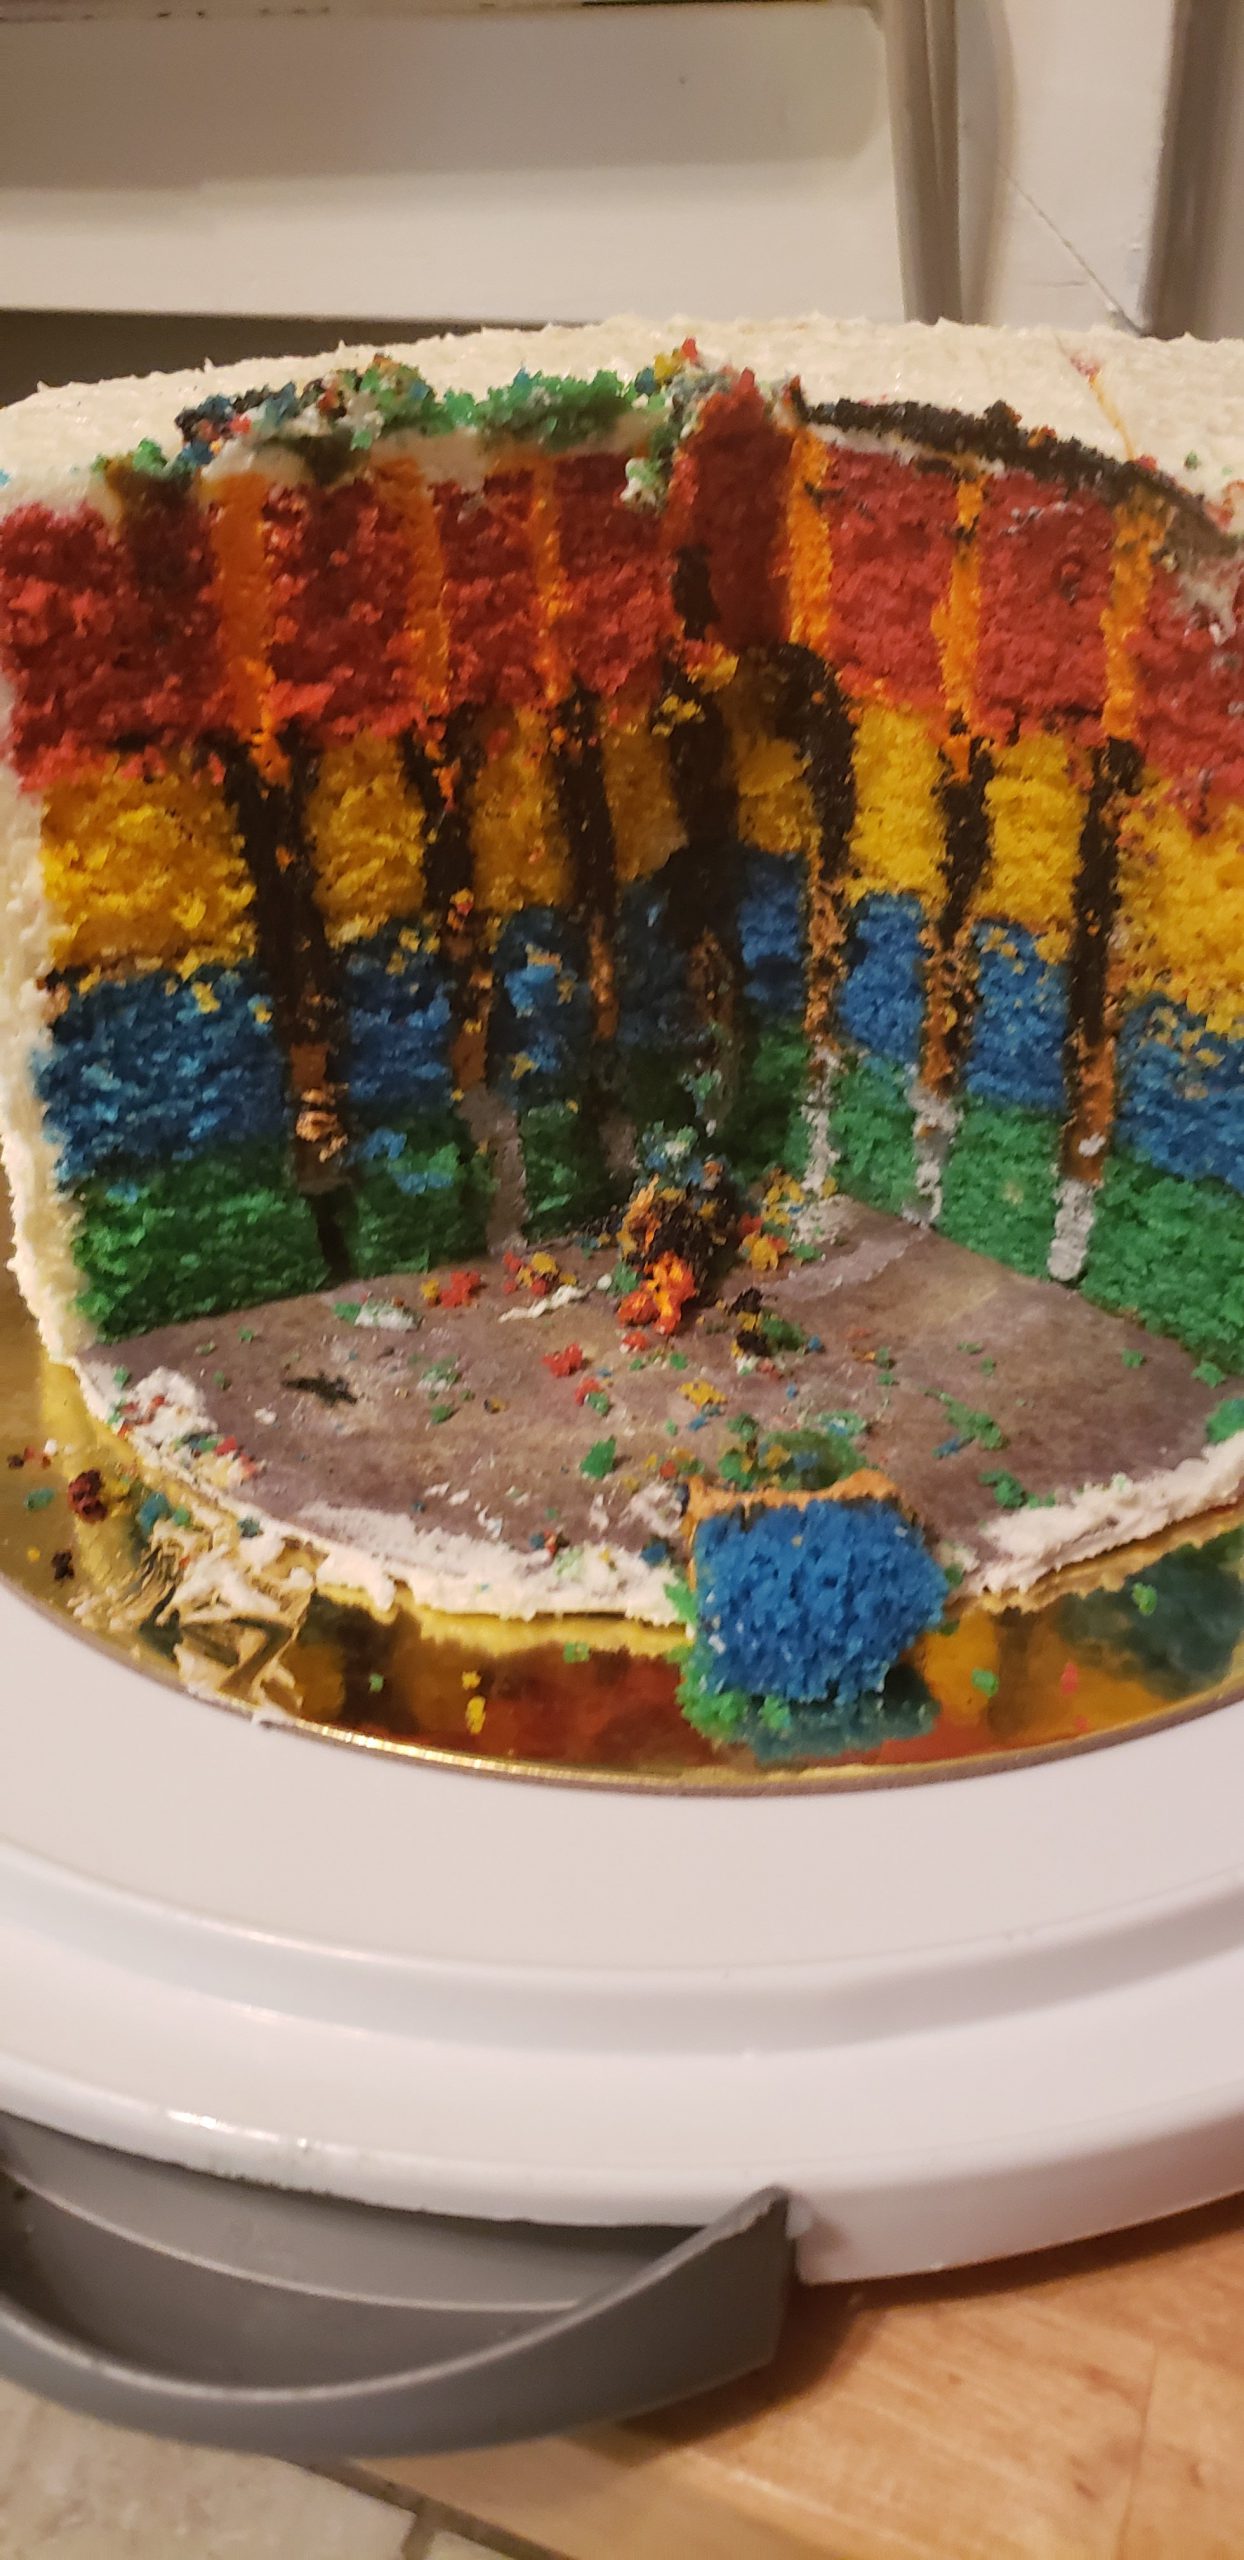
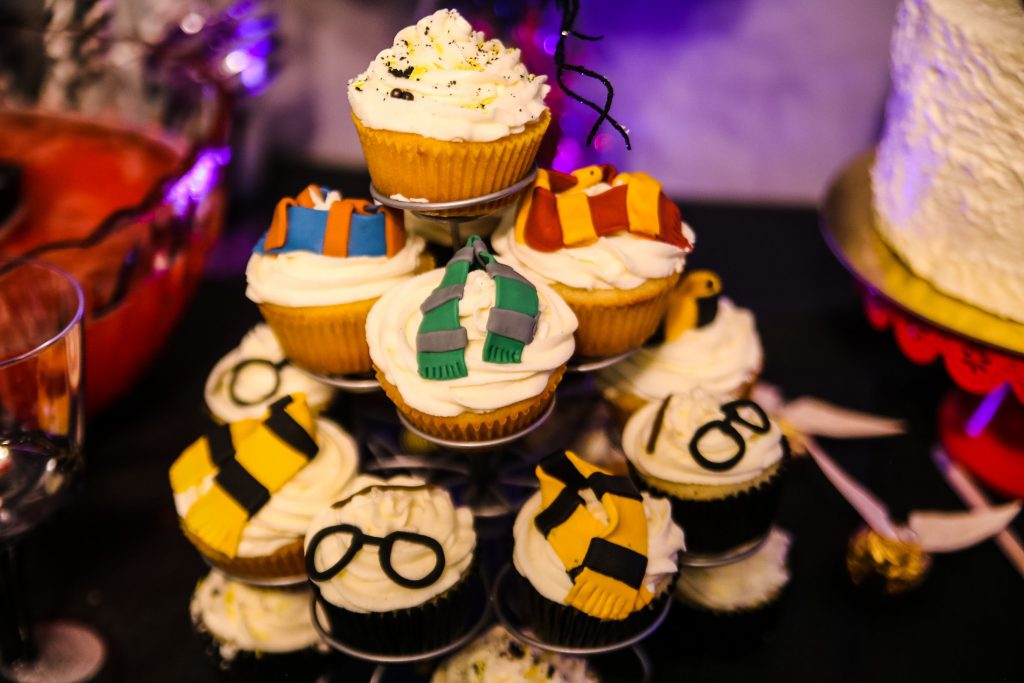
We had sorting house cupcakes & a super neat themed cake that when sliced into, it’s layers were all the Harry Potter colors.
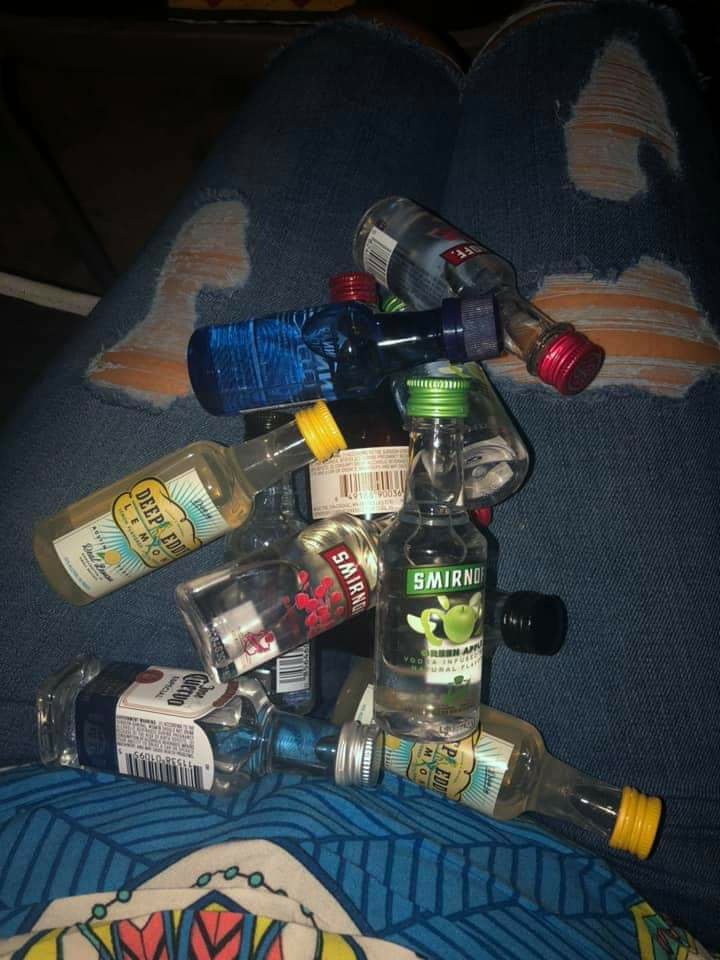
One thing we did, that I wouldn’t necessarily recommend for your party, was the alcohol mini filled piñata. Though none of the mini bottles broke, I was terrified of it happening the entire time! ?? It was kind of fun though!
Golden Snitch Chocolates
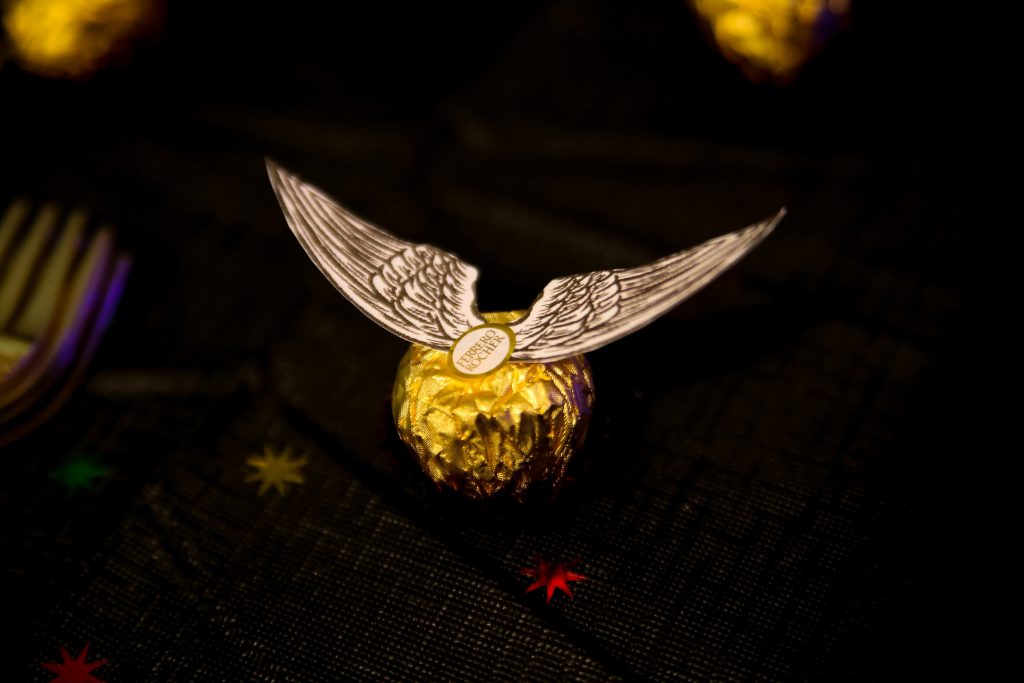
One of the simple, yet fun things we made were Ferrero Rocher Golden Snitches. You’ll need these Printable Snitch Wings, scissors, glue, & obviously some Ferrero Rochers.
Steps:
- After prepping your needed materials, one by one, take a Ferrero Rocher and remove the small sticker on the top. Don’t throw it out, you’ll need it again.
- Place a set of wings on top of the Ferrero Rocher and use the small sticker to stick it in place. If it’s lost its stickiness, use a small bit of glue to hold it in place.
- Make as many Ferrero Rocher golden snitches as you need and display them on a serving platter amongst the rest of your Harry Potter party food and decorations!
Simple, right? They looked super cute all over the table, and as an added bonus, they were delicious.
Patronus Punch
I made a delicious Harry Potter themed punch for the party called Patronus Punch. It’s super simple, looked super cool, and reminded me of drinking a mojito.

Purchase:
- 2 liter of sprite
- 1 can frozen limeade
- 1 liter of tonic water
- Fresh mint
- 2 cups vodka
- Black light/glow sticks/submersible lights
- Dry ice
Tips:
- Dry ice makes this drink even more magical, but the proper precautions must be used!
- Use a glass bowl- the dry ice will crack plastic.
- Only add dry ice if you’re prepared to keep an eye on it. The last thing you want is someone getting a severe burn from not knowing how to properly interact with/swallowing dry ice.
- Add as much or as little mint as you prefer.
- You can substitute white rum for vodka to mix things up.
- It also tastes yummy without the booze if you’re needing a non-alcoholic option.
Overall, the party was amazing. We had a few minor hiccups, but when booze is involved, when are there not hiccups? ?
Just remember, with Covid running rampant through the US, if you can’t offer proper saftey protocols, just wait and have the party once things cool down. In the long run, missing parties for one year isn’t the end of the world.
If you enjoyed this blog, leave a comment below!
The post Throwing The Ultimate Harry Potter Party Post-Covid appeared first on Not So SuperMom VS Society.
]]>Please Tell Me More About Your Uncomfortable Mask Read More »
The post Please Tell Me More About Your Uncomfortable Mask appeared first on Not So SuperMom VS Society.
]]>
“Let people help”. “Rely on friends and family”. “Don’t be shy to ask family members to help around the house”. This is the advice touted on every baby blog, in all of the pregnancy books and shouted from the rooftops by experienced moms. But what if you can’t?
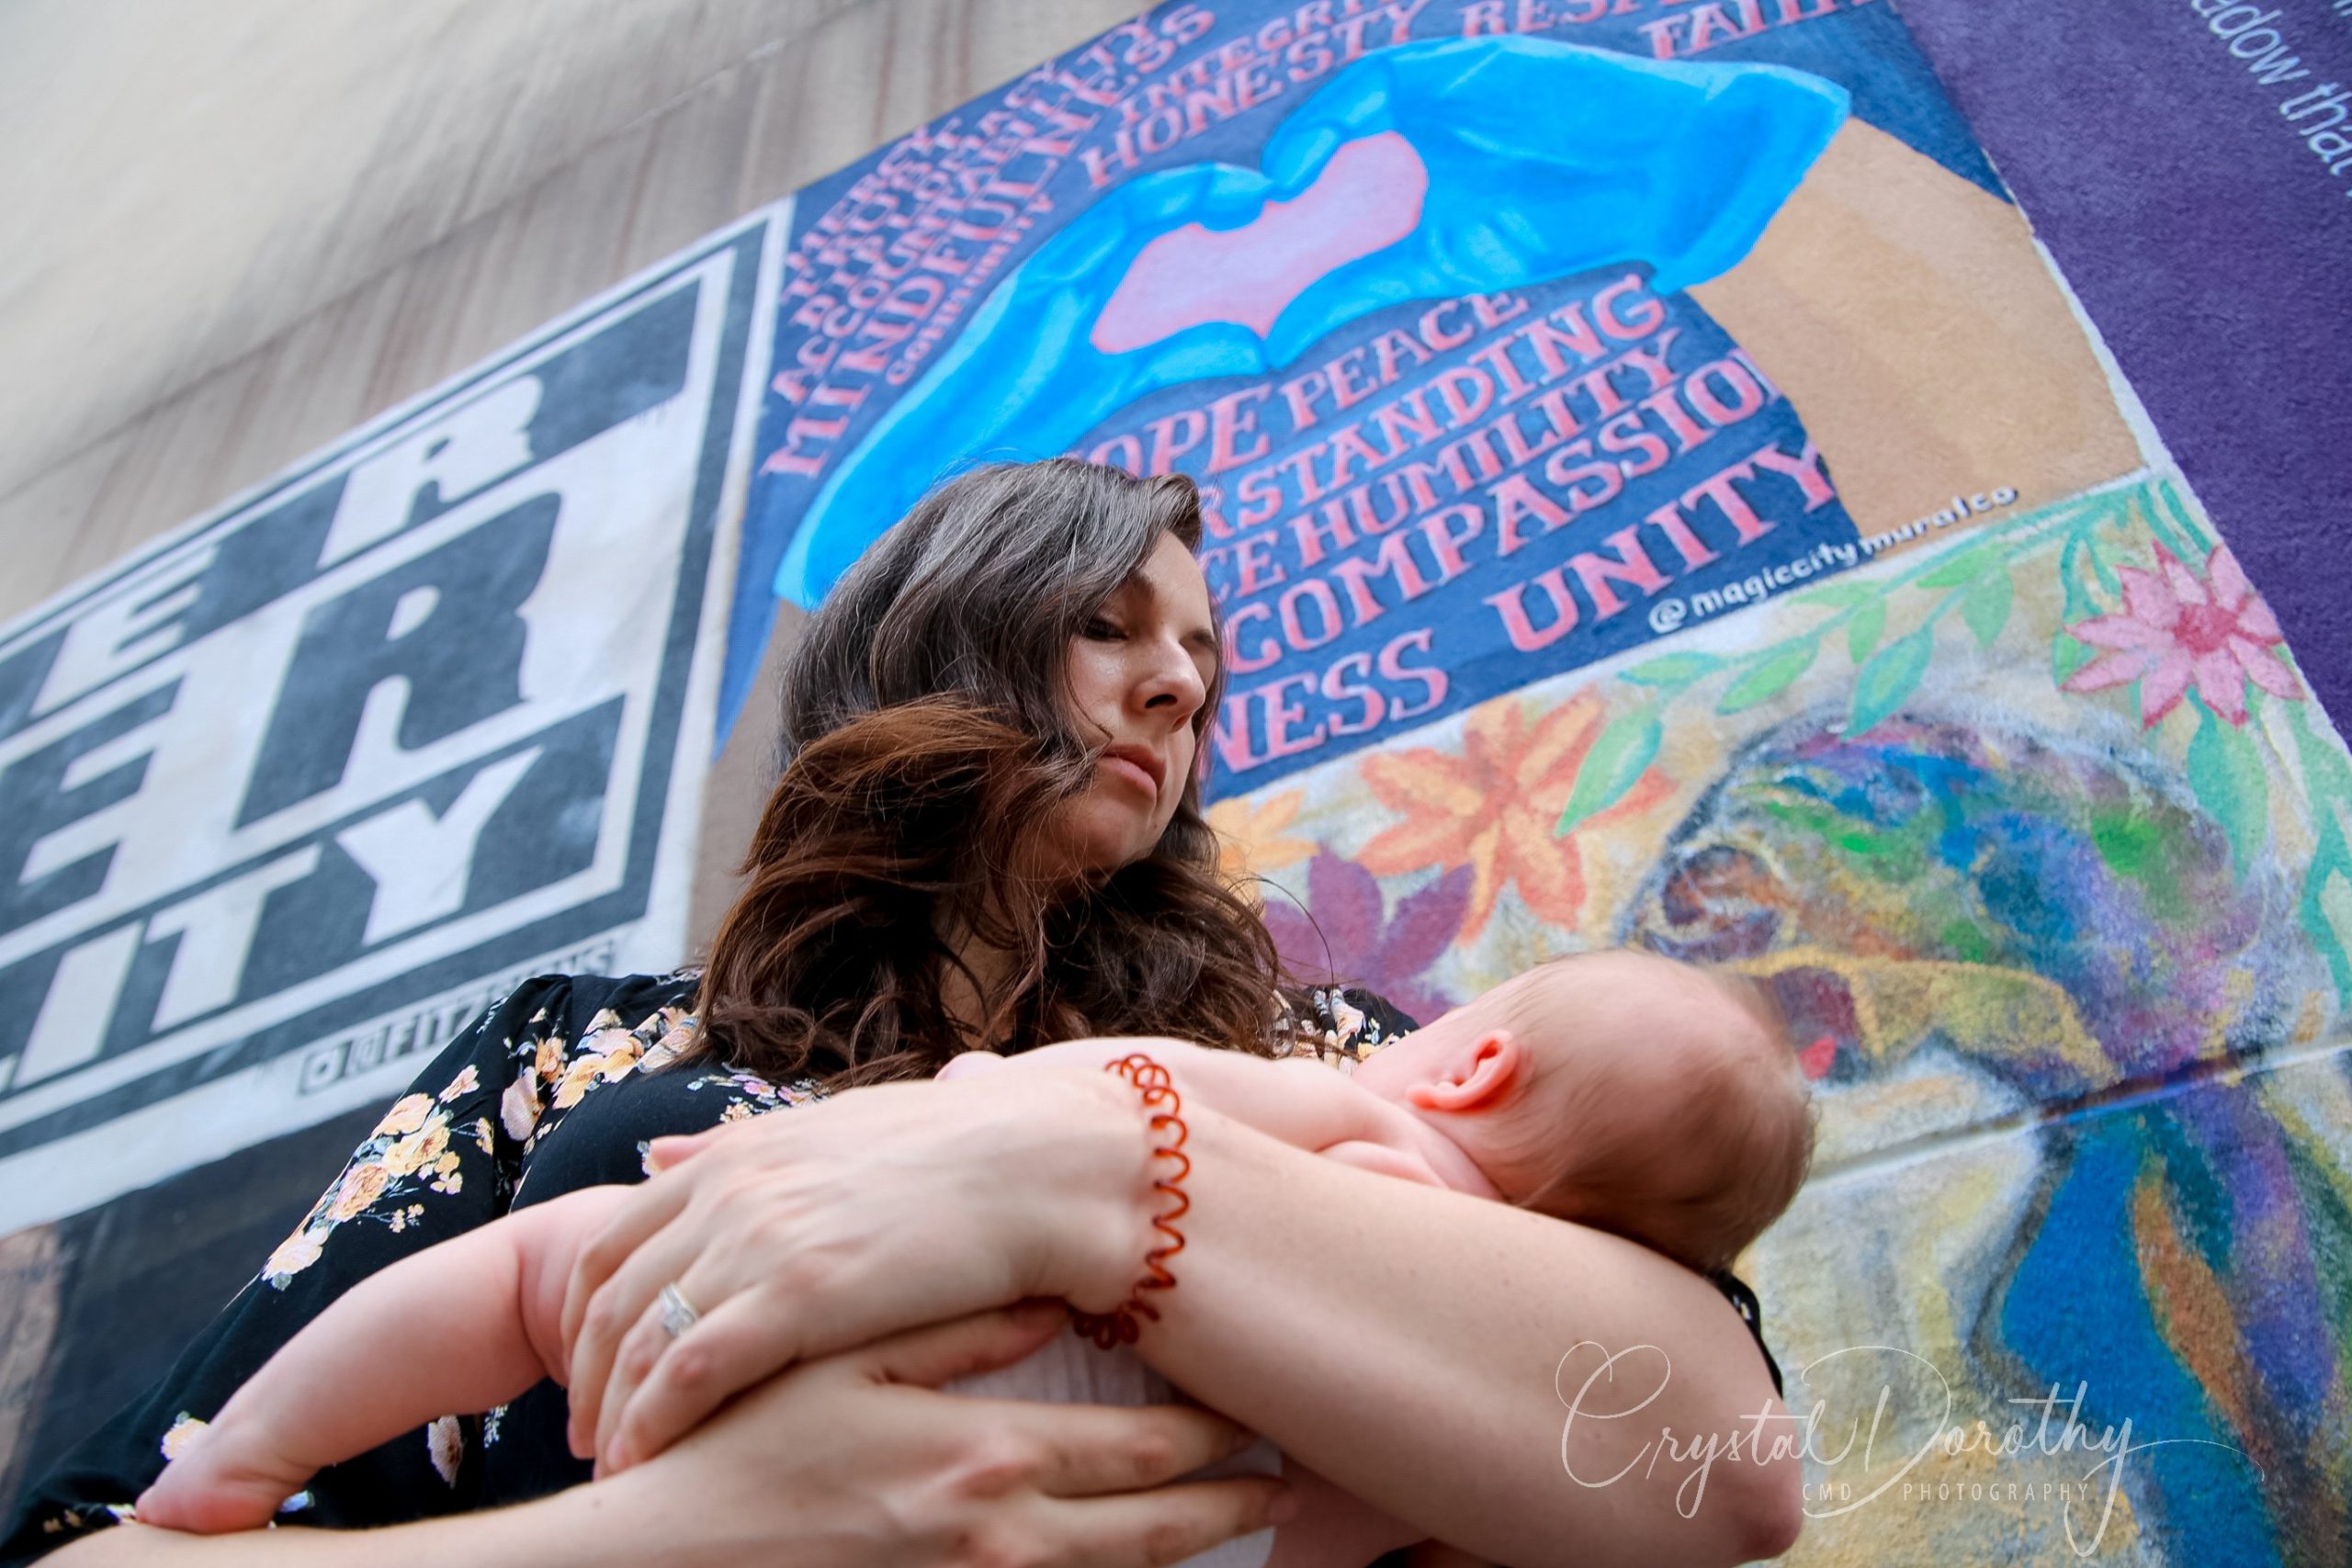
The end of my pregnancy and beginning of my daughter’s life hasn’t looked at all how I expected it to. Breastfeeding classes? Canceled. Mommy-and-me play groups? Nonexistent. Friends and family coming over to meet the baby and help around the house? Nothing but a fantasy. As thankful as I am to have had a healthy baby girl and an amazingly supportive partner, I still feel like COVID-19 stole this time from me. I’m still processing and mourning the loss of a time in my life that was supposed to be happy and exciting.
My stepmom planned a wonderful baby shower for me, with friends and family flying in from all over the country, that I never got to go to. I bought a dress for the pregnancy photoshoot that never got to happen. Gazing at our bundle of joy via ultrasound with my husband by my side ended up being me alone in a room with the technician, wearing a protective mask, trying to record a video of that dark screen on my iPhone to show my husband later. My mother-in-law hasn’t even met her grandchild for fear that she would bring the virus up with her from Florida.

Being pregnant and giving birth during a global pandemic has been one of the hardest experiences of my life. The social isolation alone was challenging, but to experience that with pregnancy and postpartum hormones on top of caring for a newborn for the first time seemed almost insurmountable. When hospitals started restricting visitors, I read story after story of women who were forced to give birth completely alone because the visitor policy didn’t allow their child’s other parent.
Whether I would elect to have a homebirth or have my husband unable to attend the birth of his first child was not a decision I ever envisioned having to make. Thankfully, I didn’t have to. What I did end up having to do was arrive in the hospital, after 24+ hours in labor, breathing through a piece of fabric.
Before I could get inside, I had to stop and get my temperature checked, knowing that if I “failed”, they would try to isolate my baby from me immediately after birth. The fear that they would try to take my baby from me and prevent skin-to-skin, breastfeeding and general motherhood immediately after birth brought me to tears on more than one occasion. Had I tested positive, I was prepared to insist they leave her with me or I would have to leave the hospital and birth somewhere else.
Again, I’m thankful it didn’t come to that.
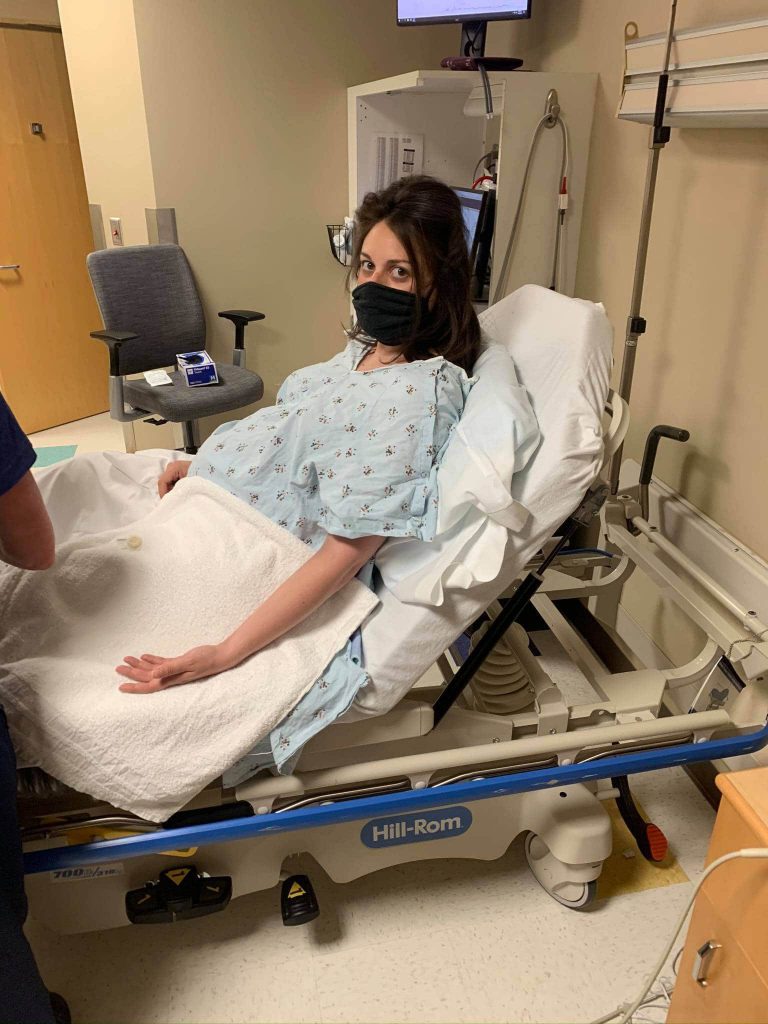
Once inside, I couldn’t be taken to L&D until I had my COVID test results back. After having my upper nasal cavity assaulted by a lengthy Q-tip, I continued to labor in an emergency department hospital room with no access to pain medication. We were told that I could remove my mask after getting the all clear from the test, but that as soon as the baby came out of me, I had to put my mask back on. At the time, I remember feeling SO grateful that I didn’t have to push with the mask on my face, which isn’t something most mothers have to incorporate into their birth plan. My husband was told to wear a mask the entire time (though to be honest, we both kept forgetting to put it back on when people came in the room with everything we had going on). All of the nurses wore masks at all times. In fact, I saw a nurse in the hallway without a mask on and asked her if she had seen my nurse who had been helping me for days. It turns out she actually WAS my nurse (embarrassing), but I had no idea what she looked like because of the masks.
As if giving birth during a global pandemic wasn’t enough weight on my shoulders, our country simultaneously (finally) began stepping up against systemic racism. While we were in the hospital after birth, our plan was for my husband to run home to tend to our dog on the second day. However, rioting around the globe and within our city resulted in a curfew during my hospitalization, and if my husband left, he wouldn’t be permitted to come back into the hospital until the next morning when curfew was lifted.
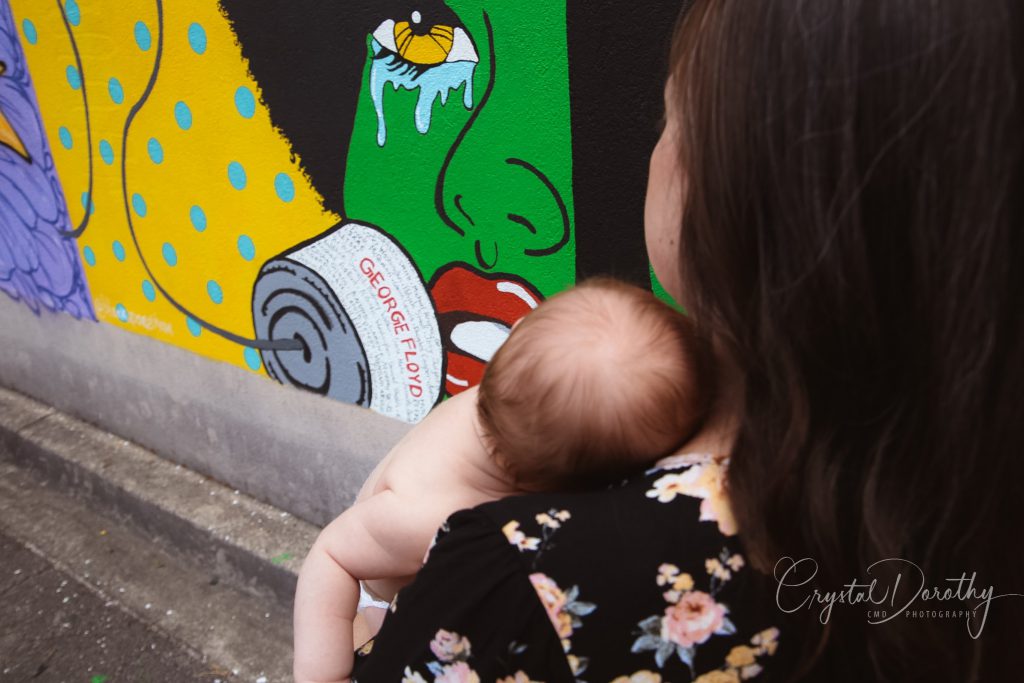
Coming home from the hospital was more emotional than I envisioned. I was leaving the safety of on call lactation support and endlessly being able to ask the nurses “is this normal?”. I knew these resources, normally available to new moms after they leave via support groups and meetups, would not be available to me.
When I did find a lactation group still meeting in person, my husband and I debated if it was safe for me to go get some much-needed help getting my baby to latch. My internal monologue debated if I was a horrible mother for risking exposing my child or if I was a horrible mother for not getting the nursing help that I knew I needed to feed her well. It felt so lose-lose. Ultimately, I made the decision that I thought would best set up my daughter for lifelong success and got the help that I needed to nourish her little body.

After a few weeks of settling in and things starting to get easier, I started reading some more baby books again now that I had the time. When the first chapter of a new book started with an emphasis on accepting help from friends and family, I literally threw the book across the room and cried to myself. When my family tried to guilt me into traveling with the new baby or letting people come see her that hadn’t quarantined, I sobbed in the shower. I wasn’t having to choose which daycare to put my daughter in when returning to work, I had to choose whether I was a horrible parent for even considering putting her in daycare during this time or if I should give up my career that I love. If I didn’t have the support of my husband, I don’t know how I would have emotionally made it for this long (shout out to all the single parents – I cannot even fathom how awesome you are for surviving!).

But hey, it’s not all bad – at least I didn’t have a ton of strangers touching my stomach for the last 4 months of pregnancy! In all seriousness, living through this situation has taught me that I can handle a lot more than I thought I could. It also taught me that there are more ways than one to lean on my support system.
I sought out others going through what I was going through. I found a lot of solace in two reddit groups – one private group specifically for mothers due at the same time as me (every birth month has a private reddit bumpers group – I highly recommend you find yours!) as well as an open group for pregnant people during this time called CoronaBumpers. My husband and I may not have hands on help, but I know we have support day and night through a network of amazing friends and family, even if it is virtual.

Two months after she was born, I still don’t know if I’m doing things right. I have no idea if I would be learning tips and tricks from other mothers that would make raising her easier. I’m still feeling isolated and lonely, but when I’m feeling really overwhelmed, I take a whiff of that amazing new baby smell and I know we will get through it together.
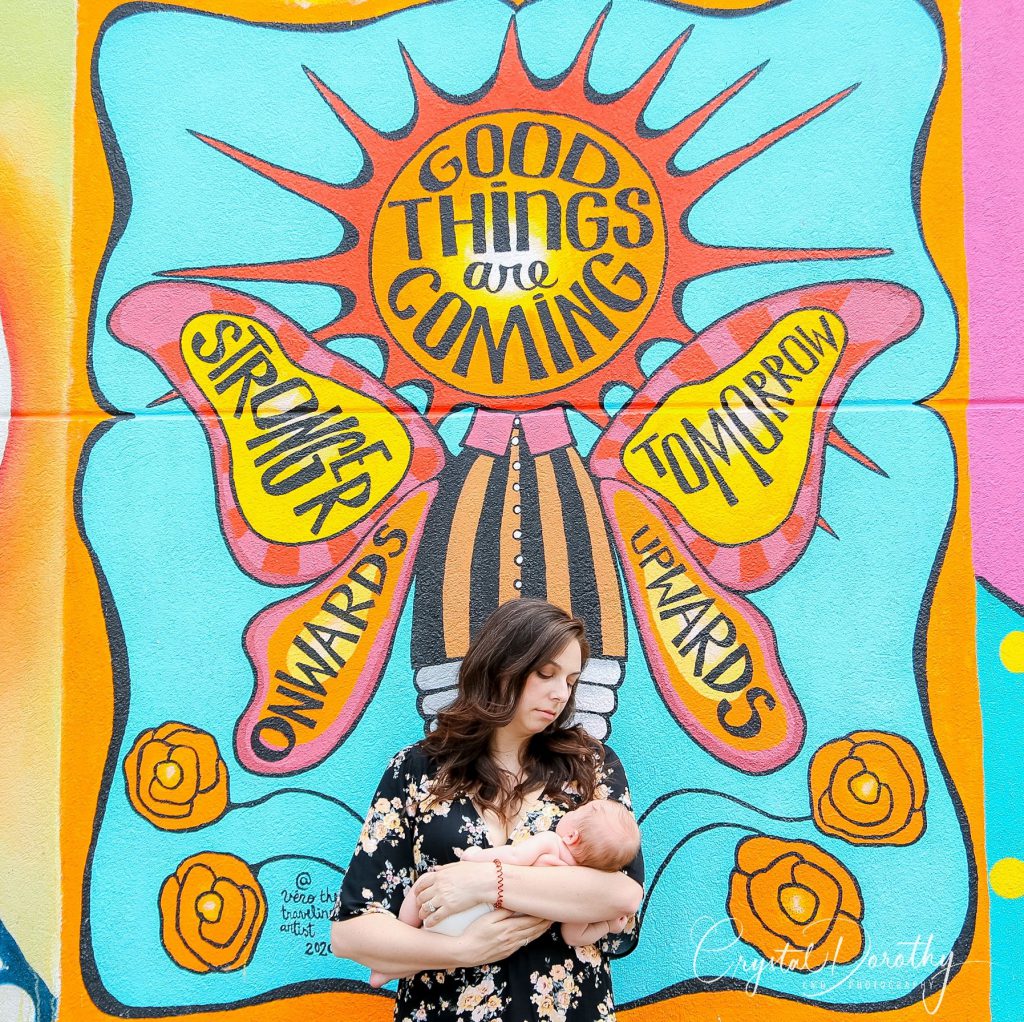
-Abbi Hernandez, Ph.D.
7/24/2020
The post Please Tell Me More About Your Uncomfortable Mask appeared first on Not So SuperMom VS Society.
]]>The post Earth Day 2020 appeared first on Not So SuperMom VS Society.
]]>
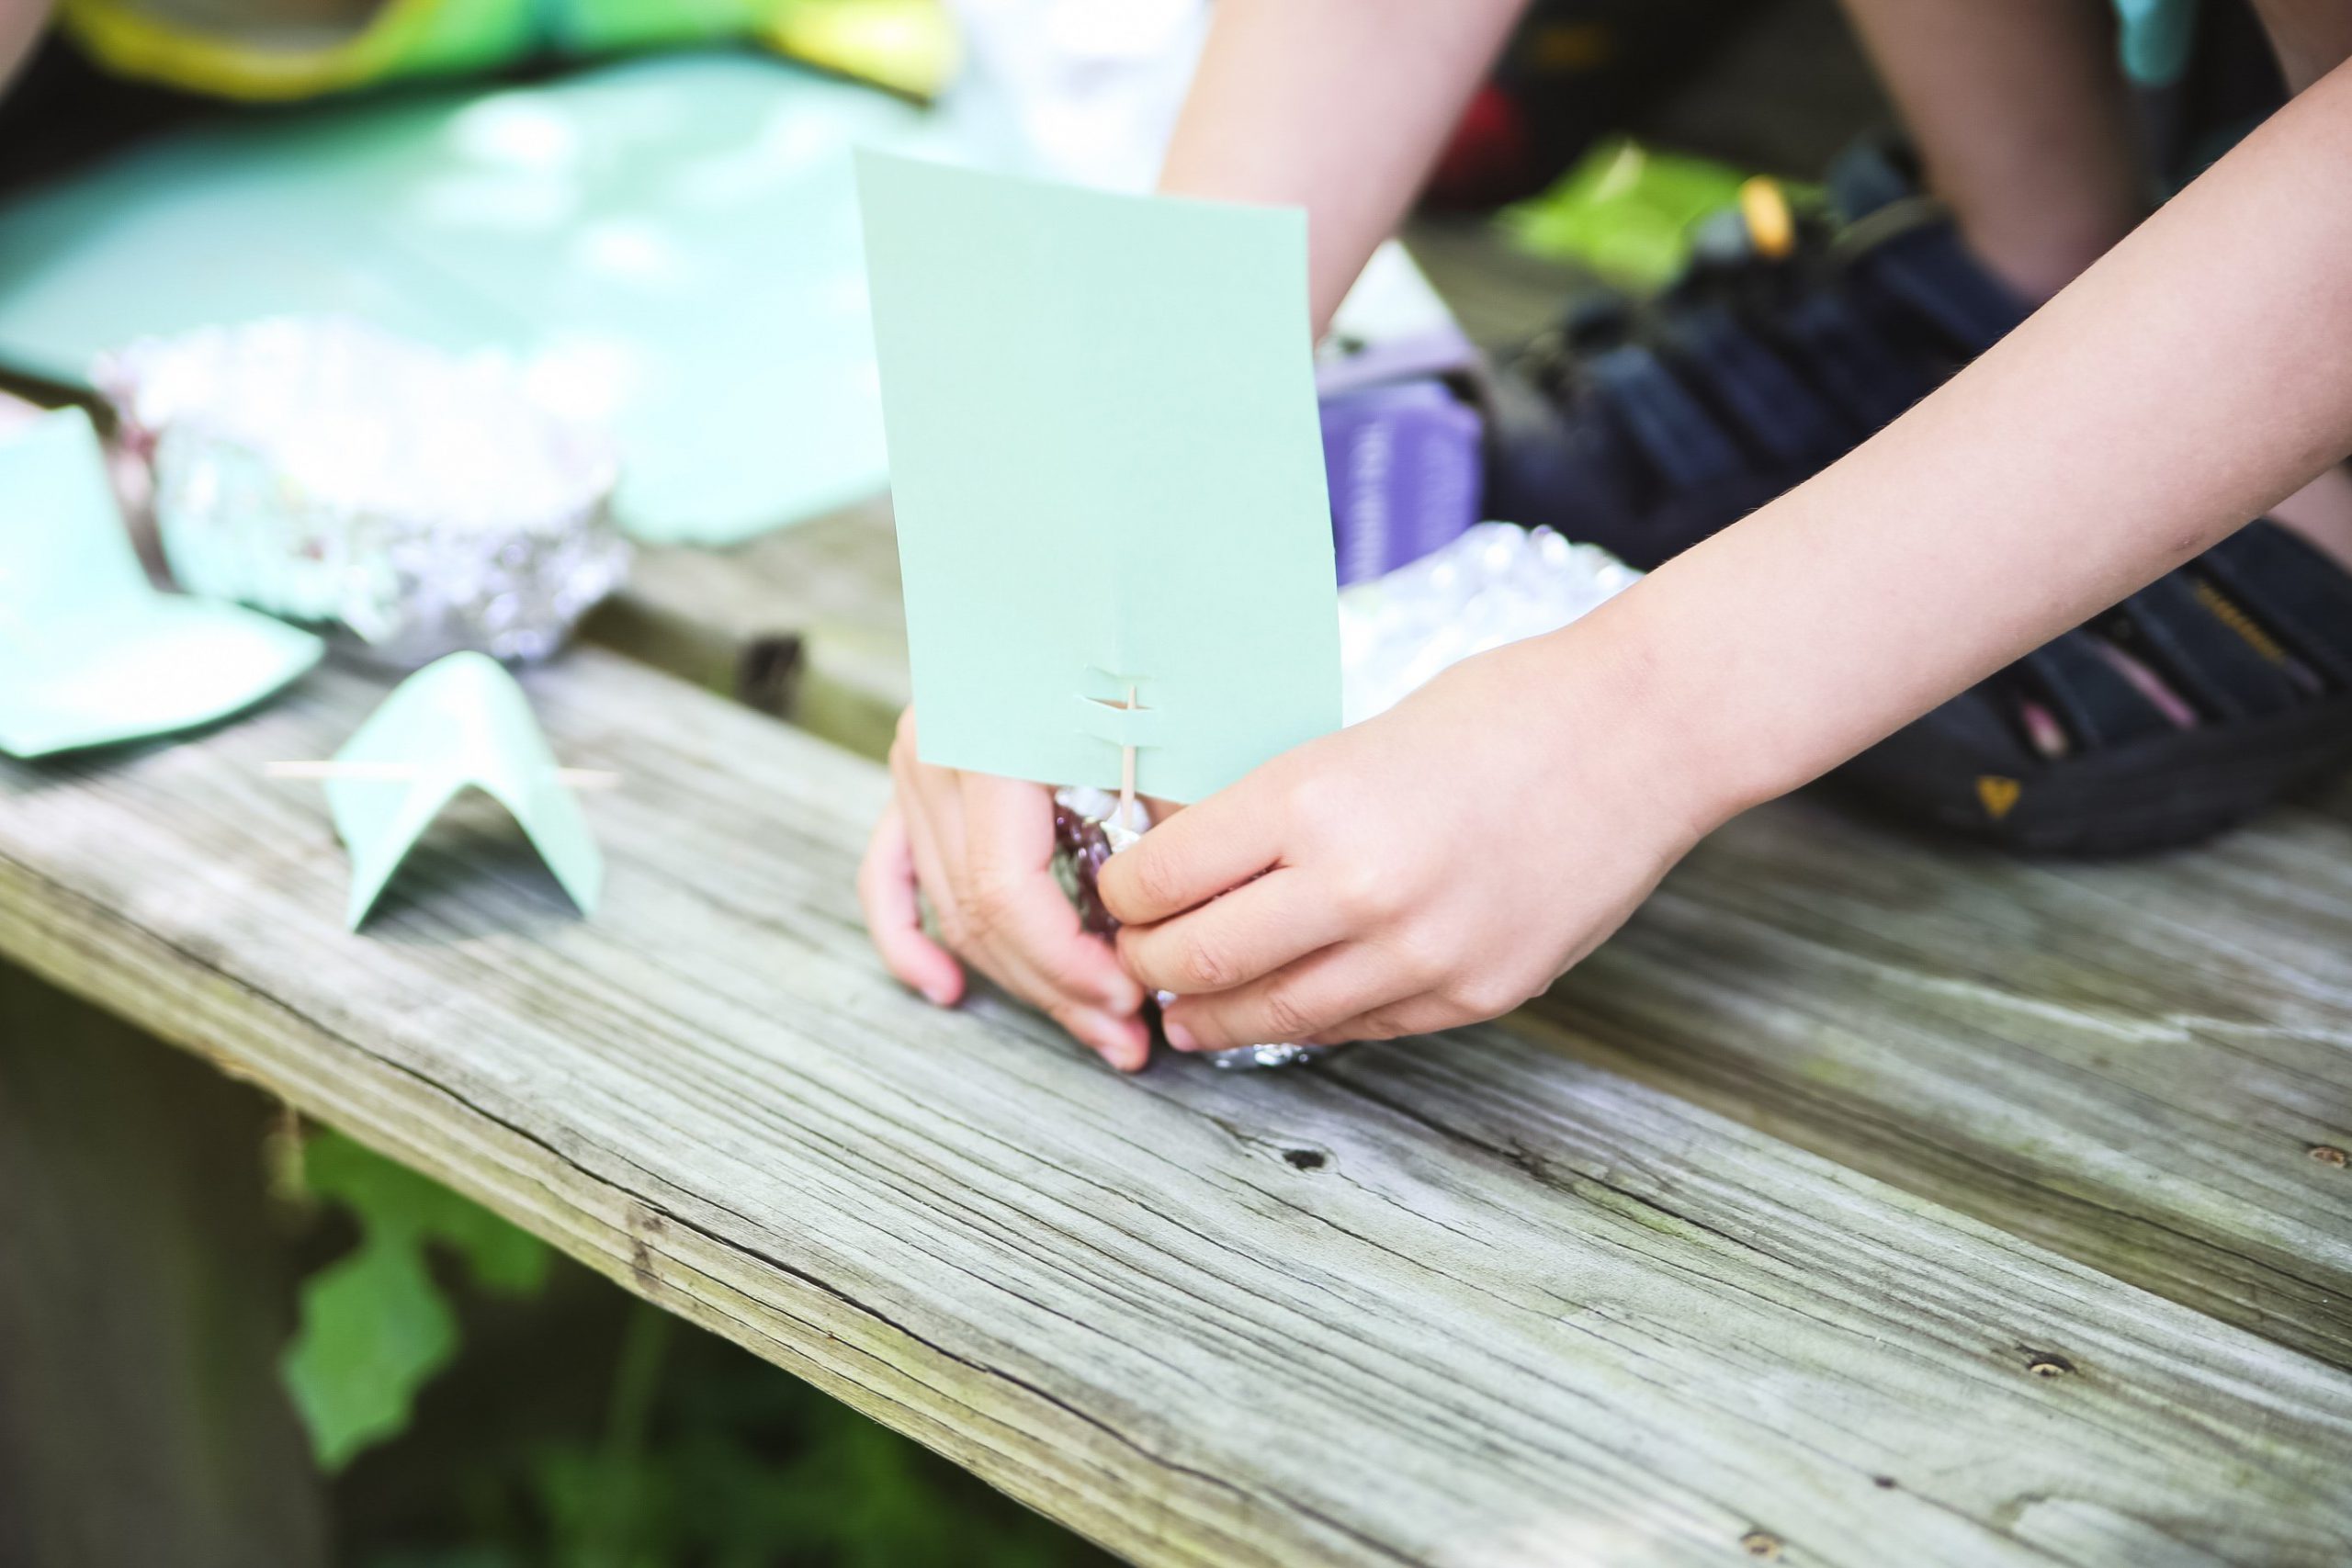
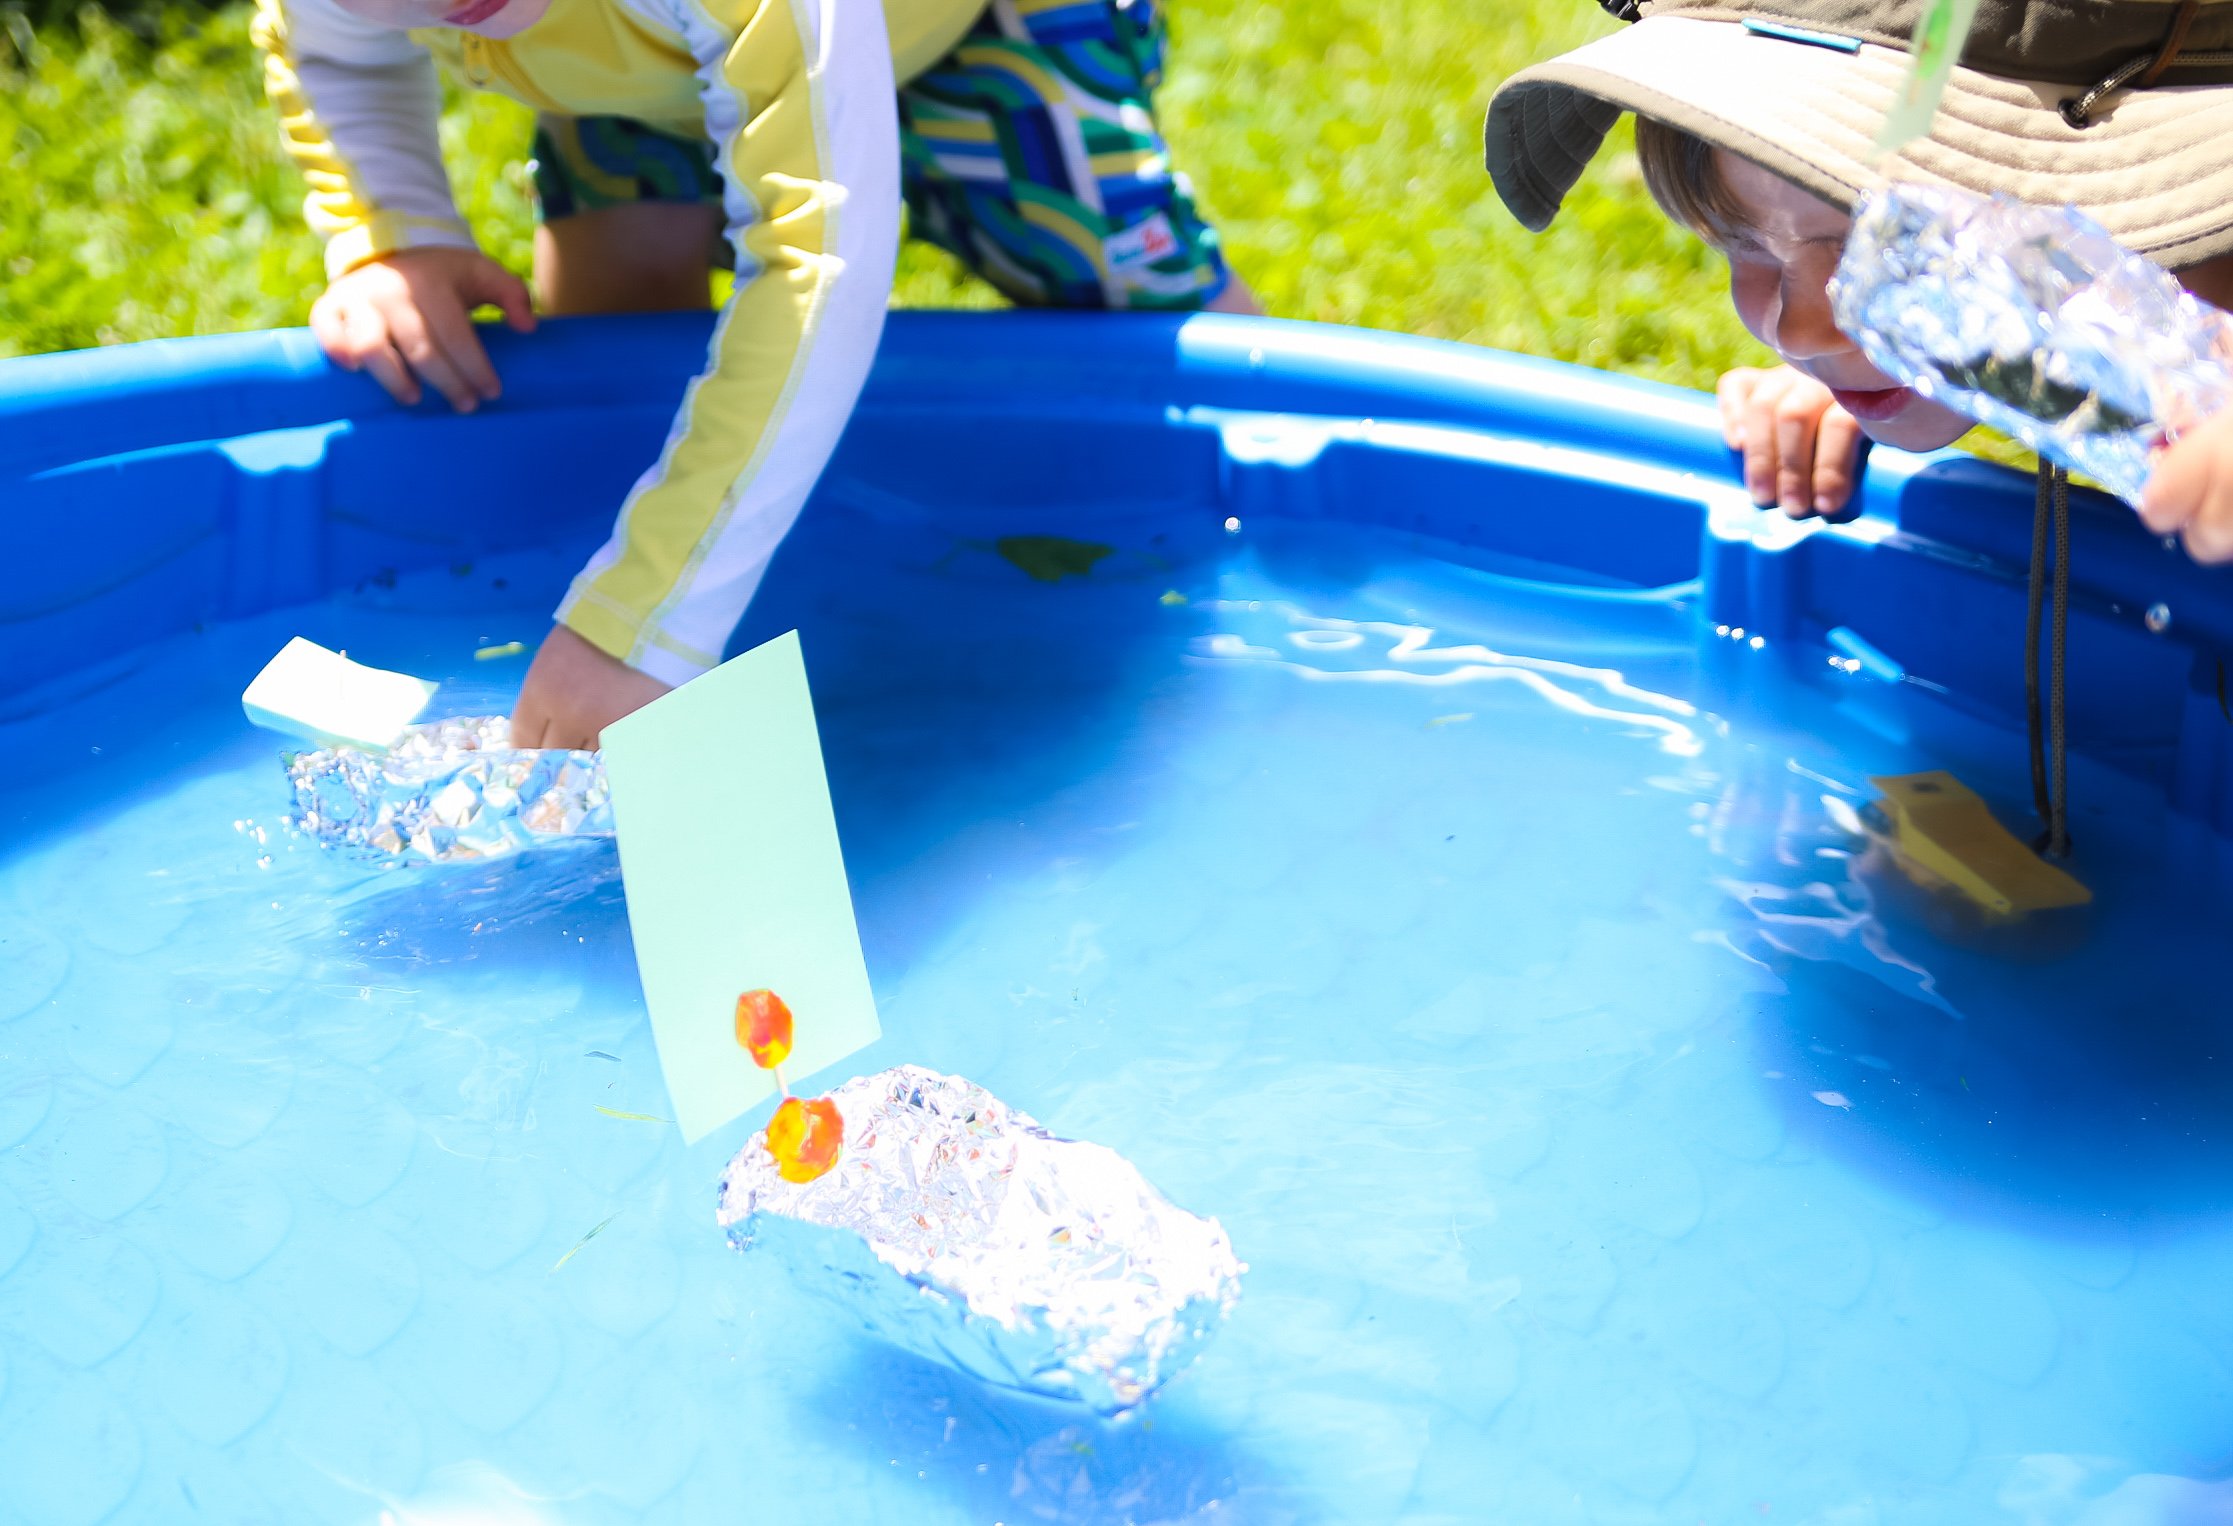
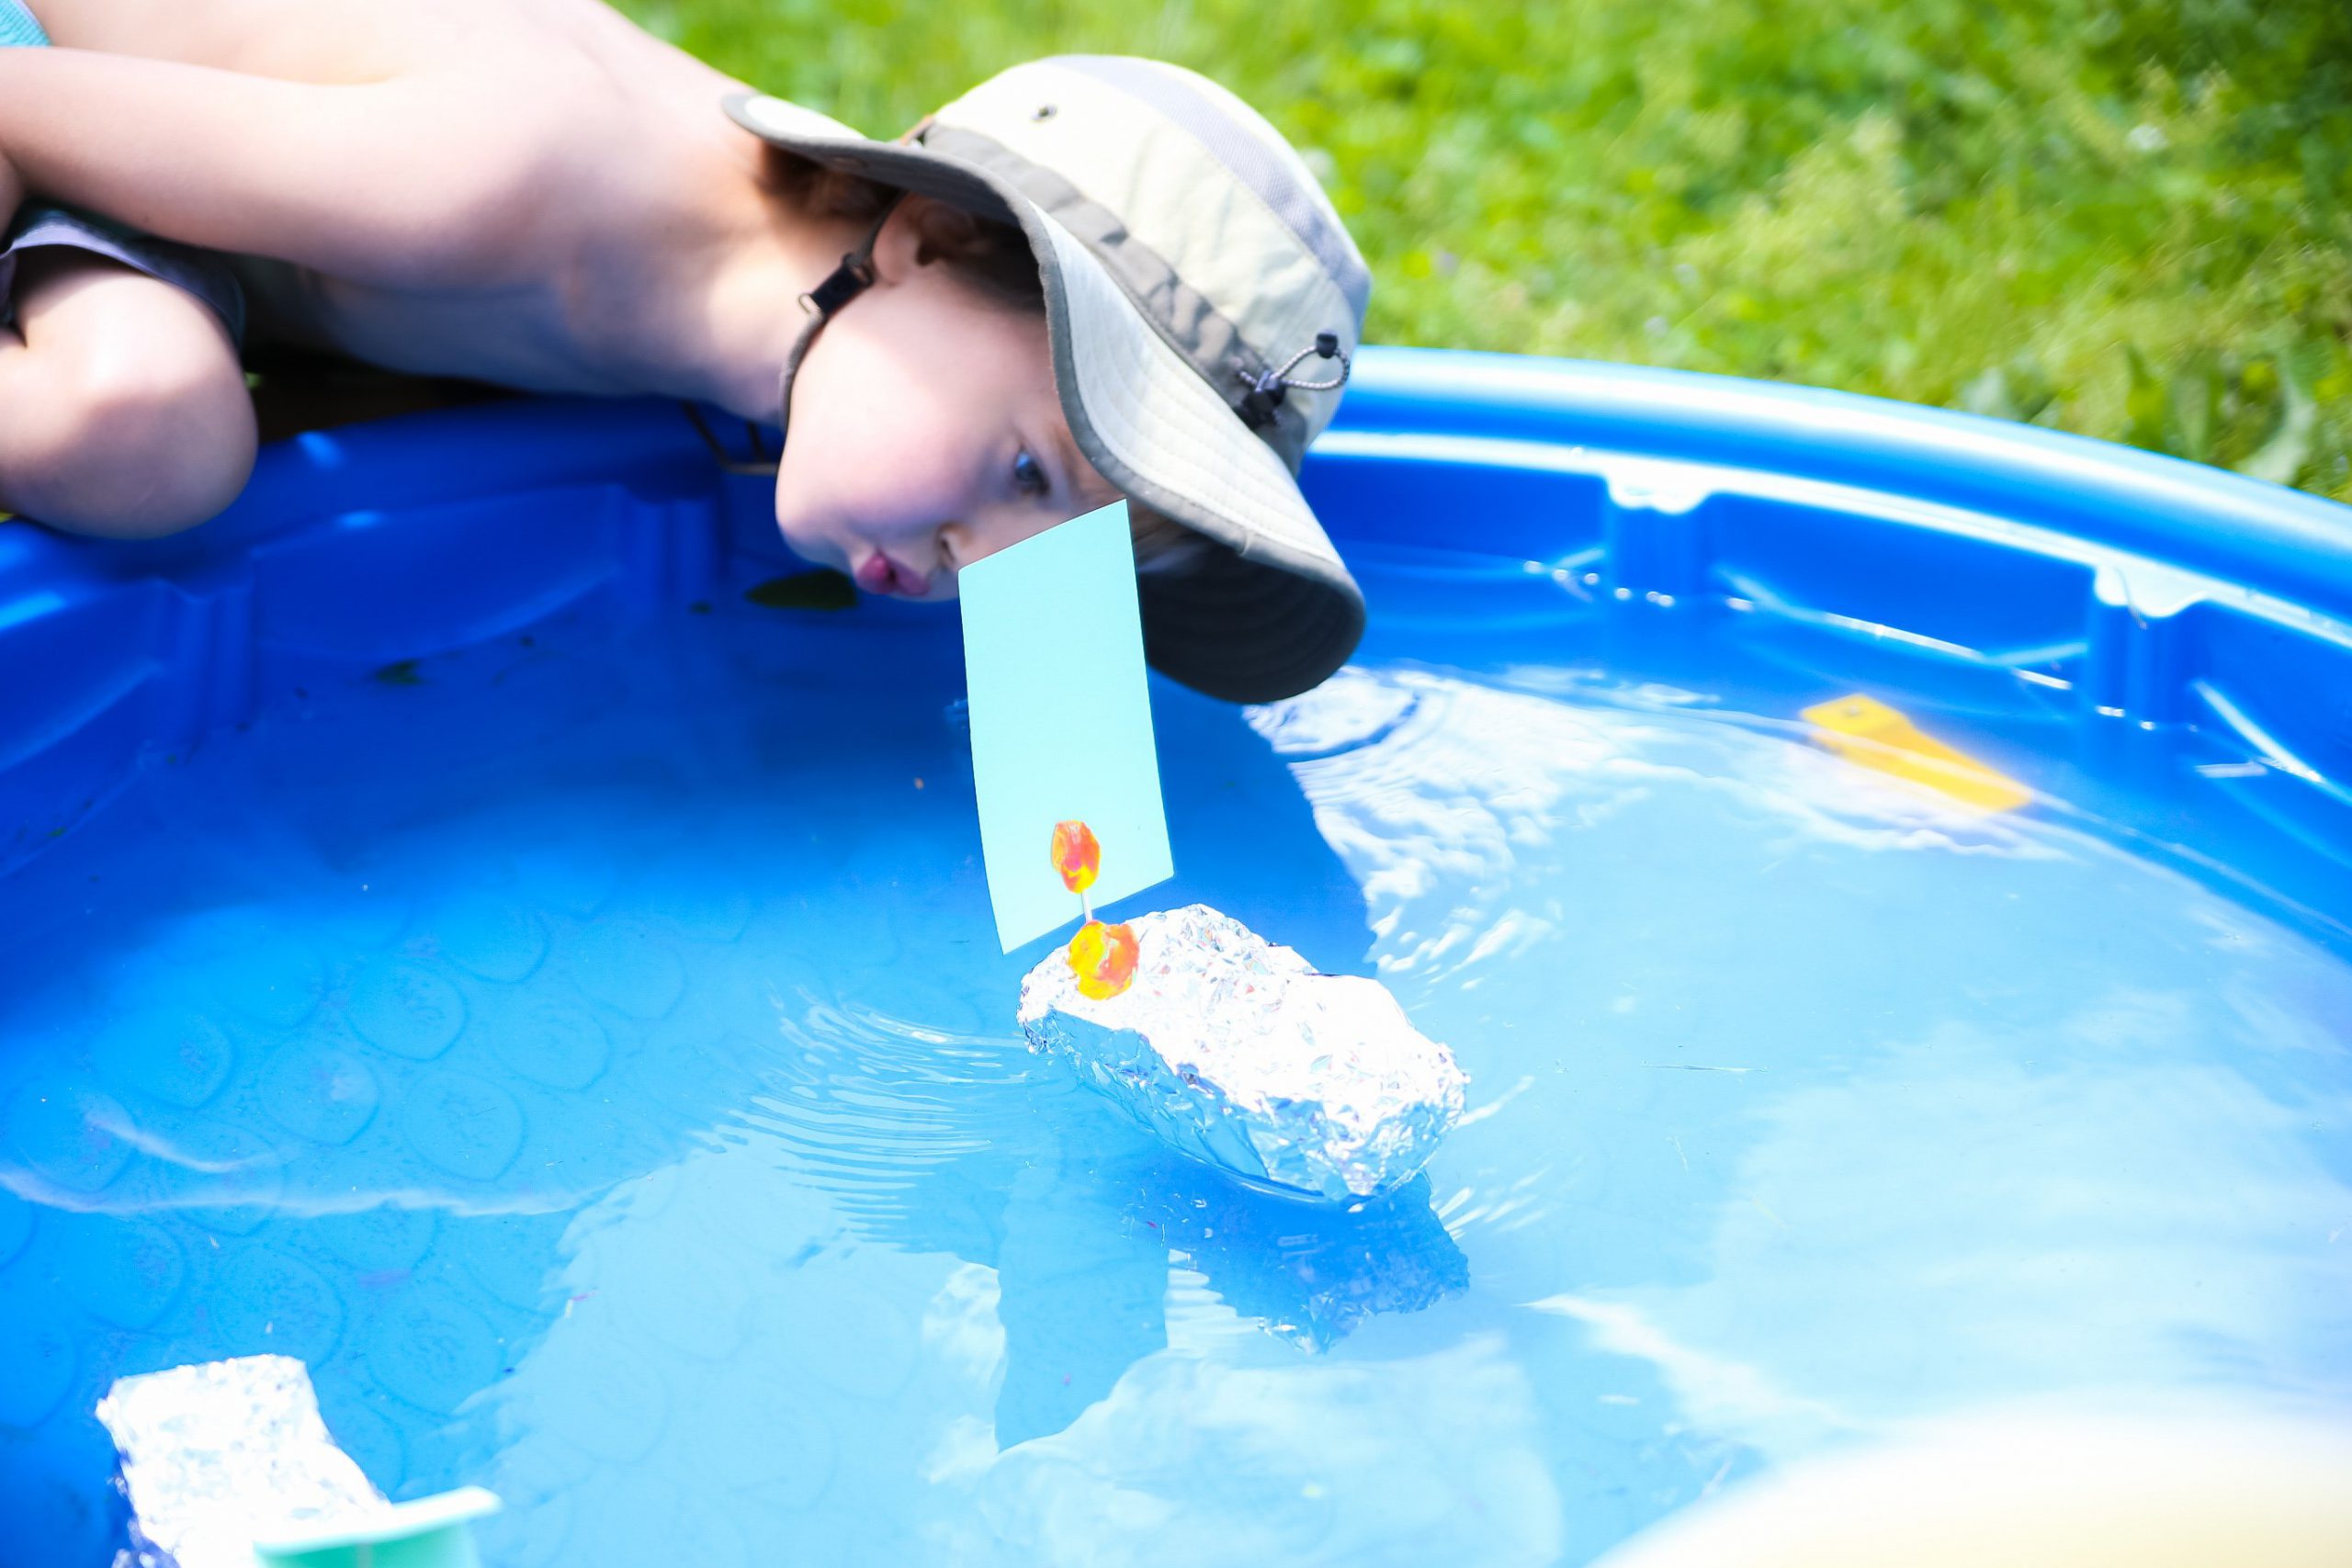
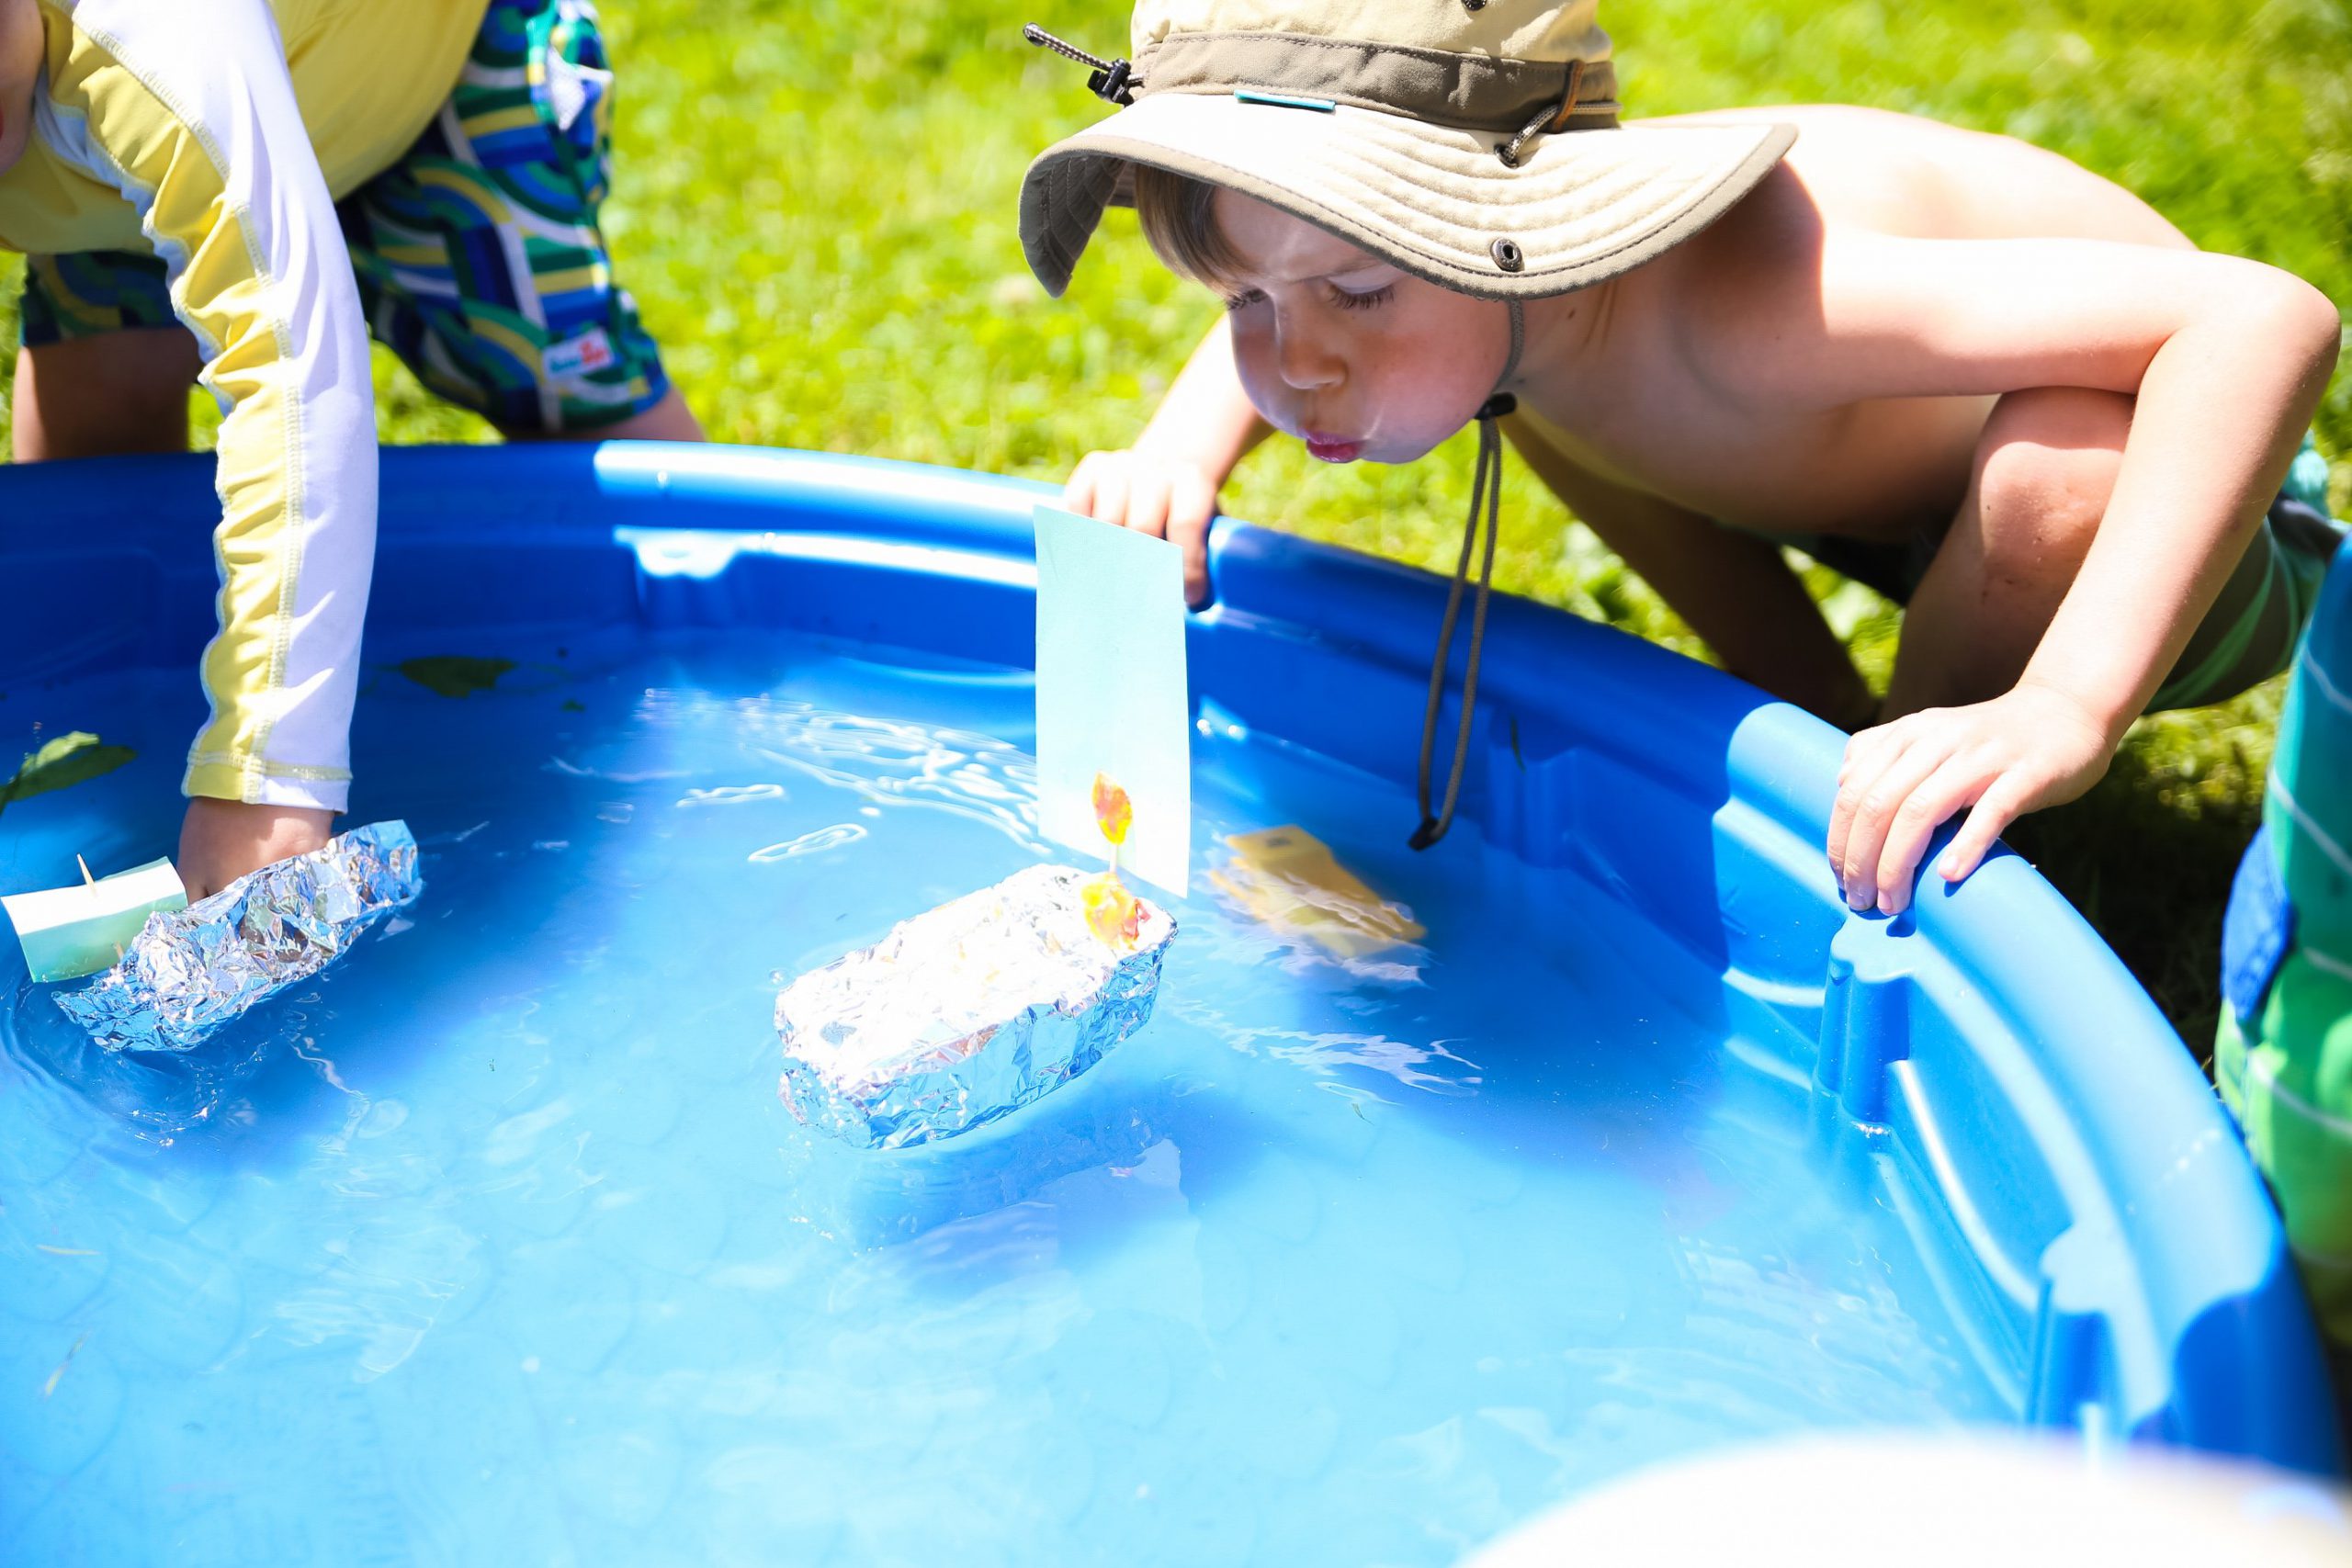
Happy 50th Earth Day! This years theme is Climate Action, so we focused on Wind Power. We read the kids Keith Negley’s newest book, The Boy and The Wild Blue Girl and made aluminum foil sailboats that we powered with wind.
Why wind power? Simple. Wind power is one of the cleanest forms of energy and can drastically reduce greenhouse gases. It’s cost effective, sustainable, and is a great clean energy source. Even better, it’s locally sourced, meaning that for us Americans, it provides local jobs and helps minimize our reliance on foreign markets.
Book Review
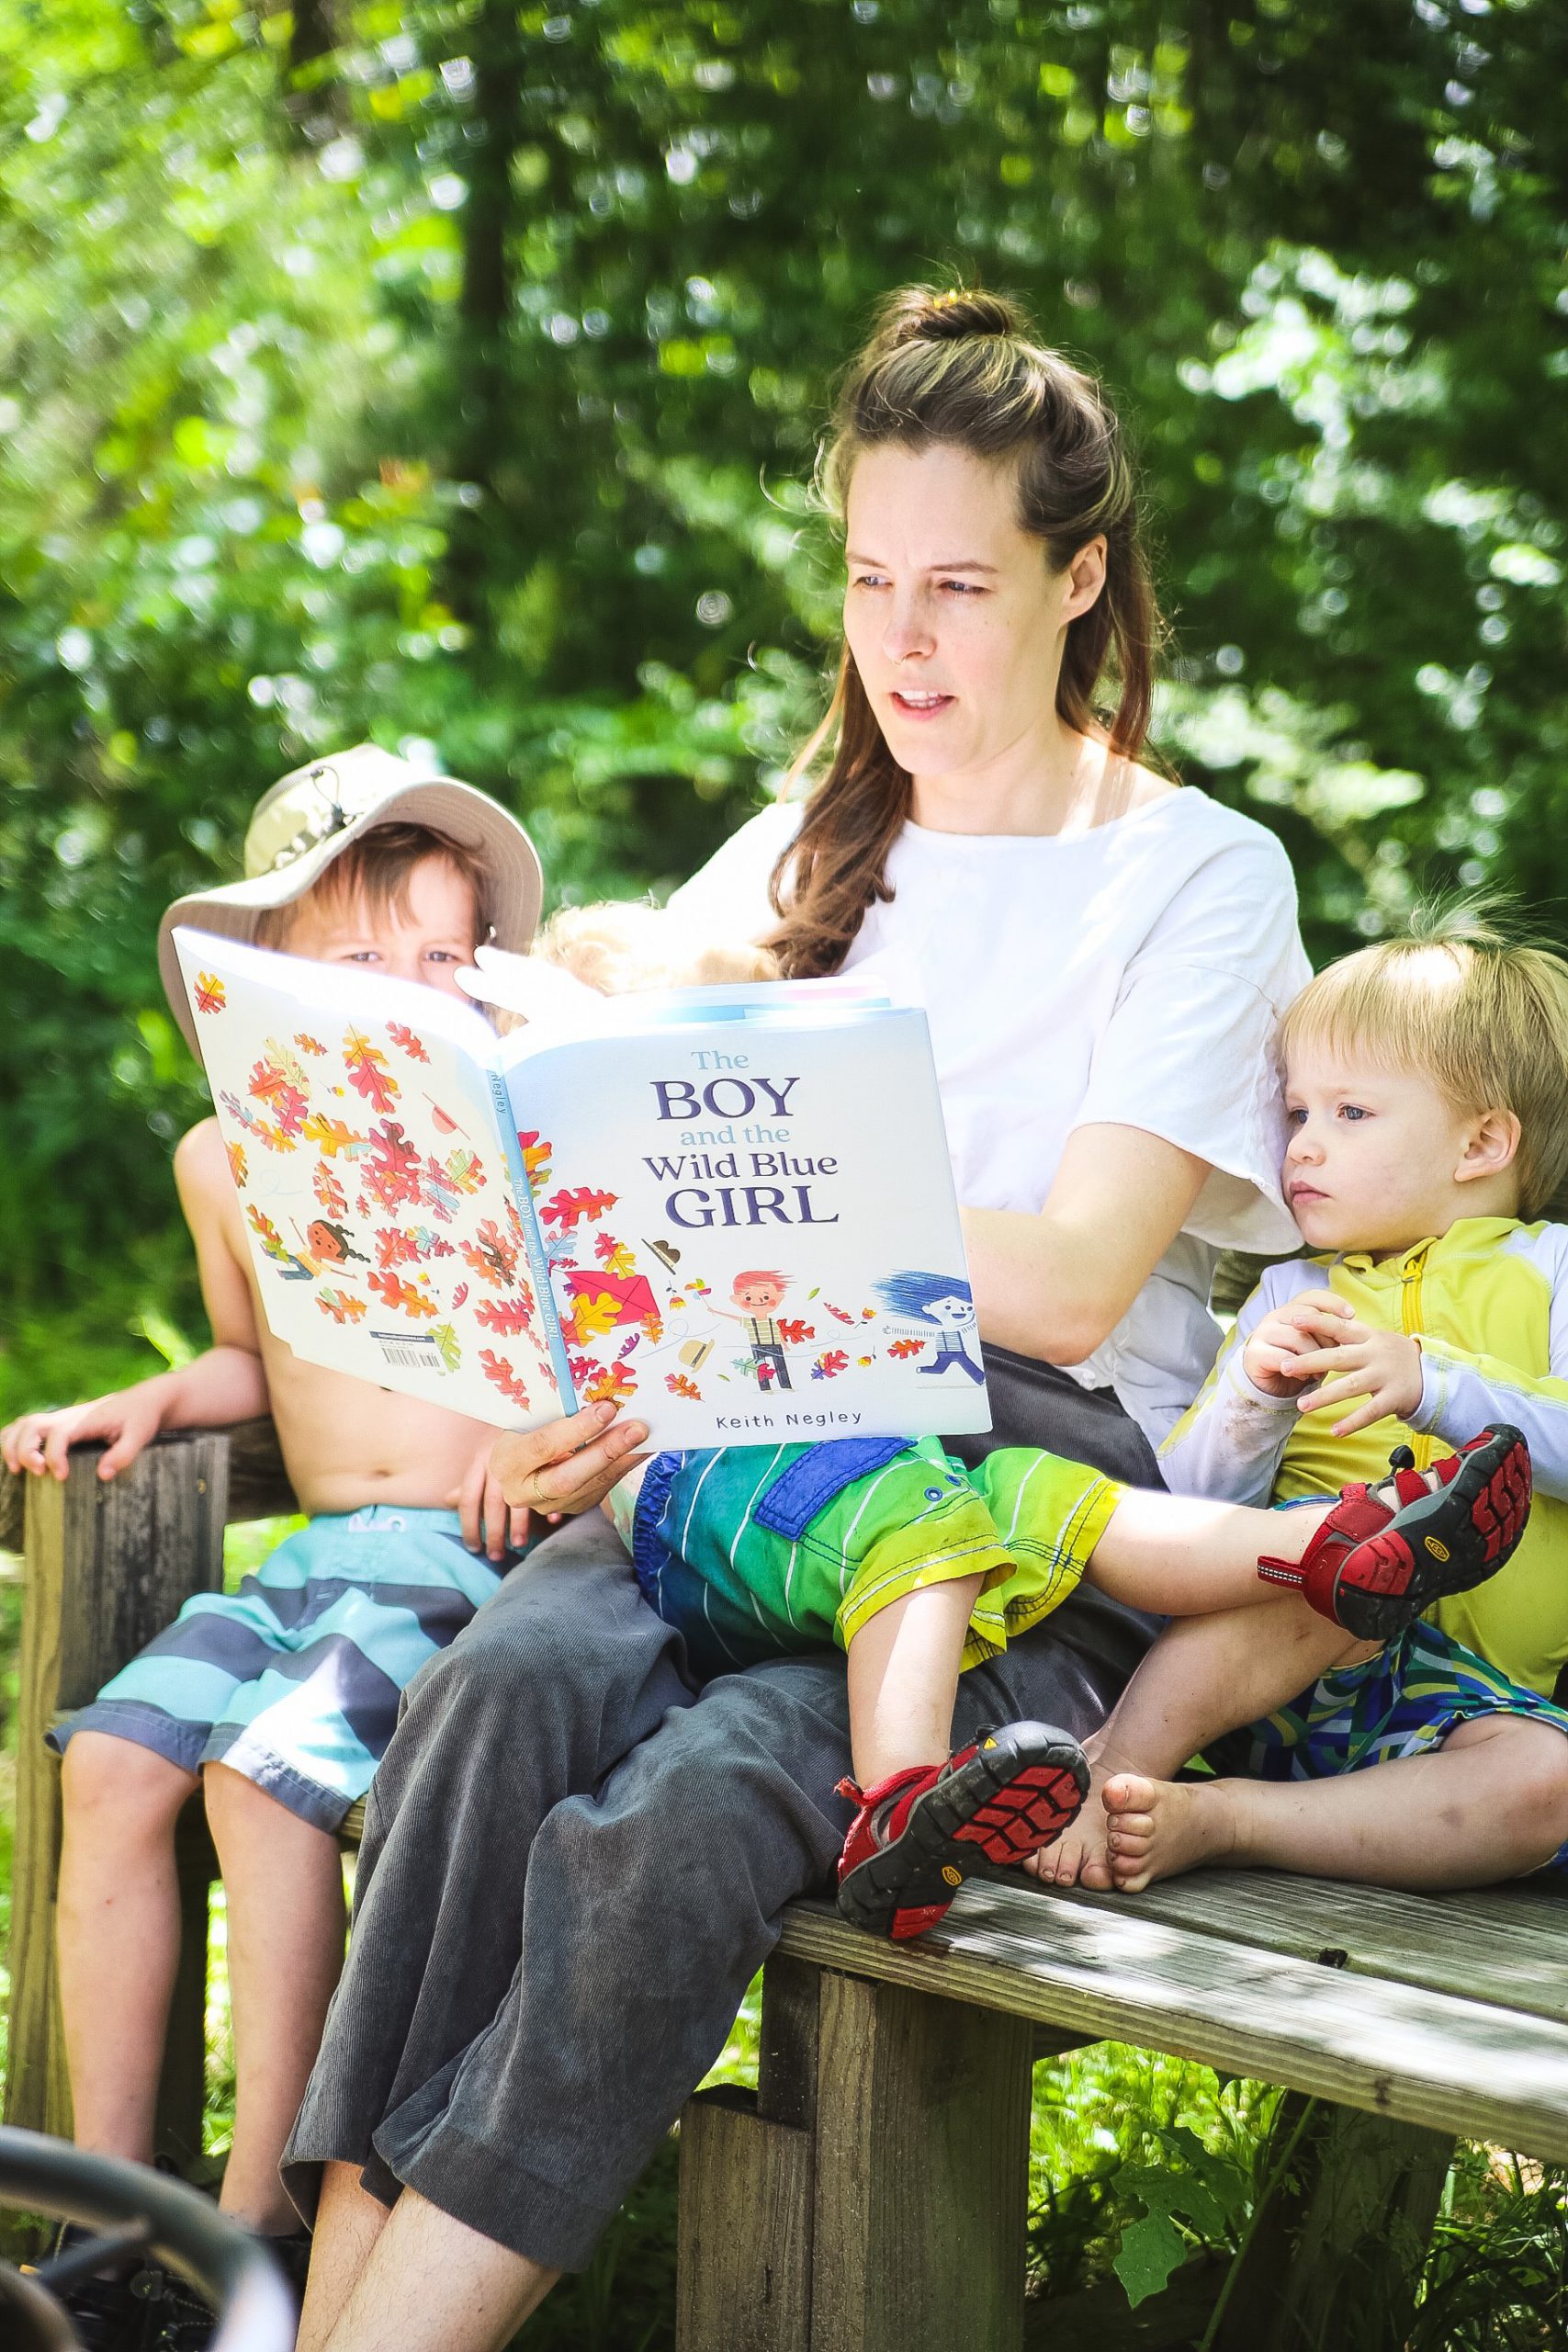
Our earth day read, The Boy and The Wild Blue Girl, is a story about the creation of wind turbines told in an adorable way. The wind in the story is portrayed by the Wild Blue Girl. She is seen by most as a nuisance that’s always messing things up. One boy, Poul thinks she’s amazing, and ends up creating wind turbines for her. His invention goes to show everyone just how amazing the wild blue girl is and how she can contribute to society.
The boys really enjoyed it and the illustrations are gorgeous. There is also a great bit of educational information at the end of the book about wind turbines and their inventor.
Instructions:
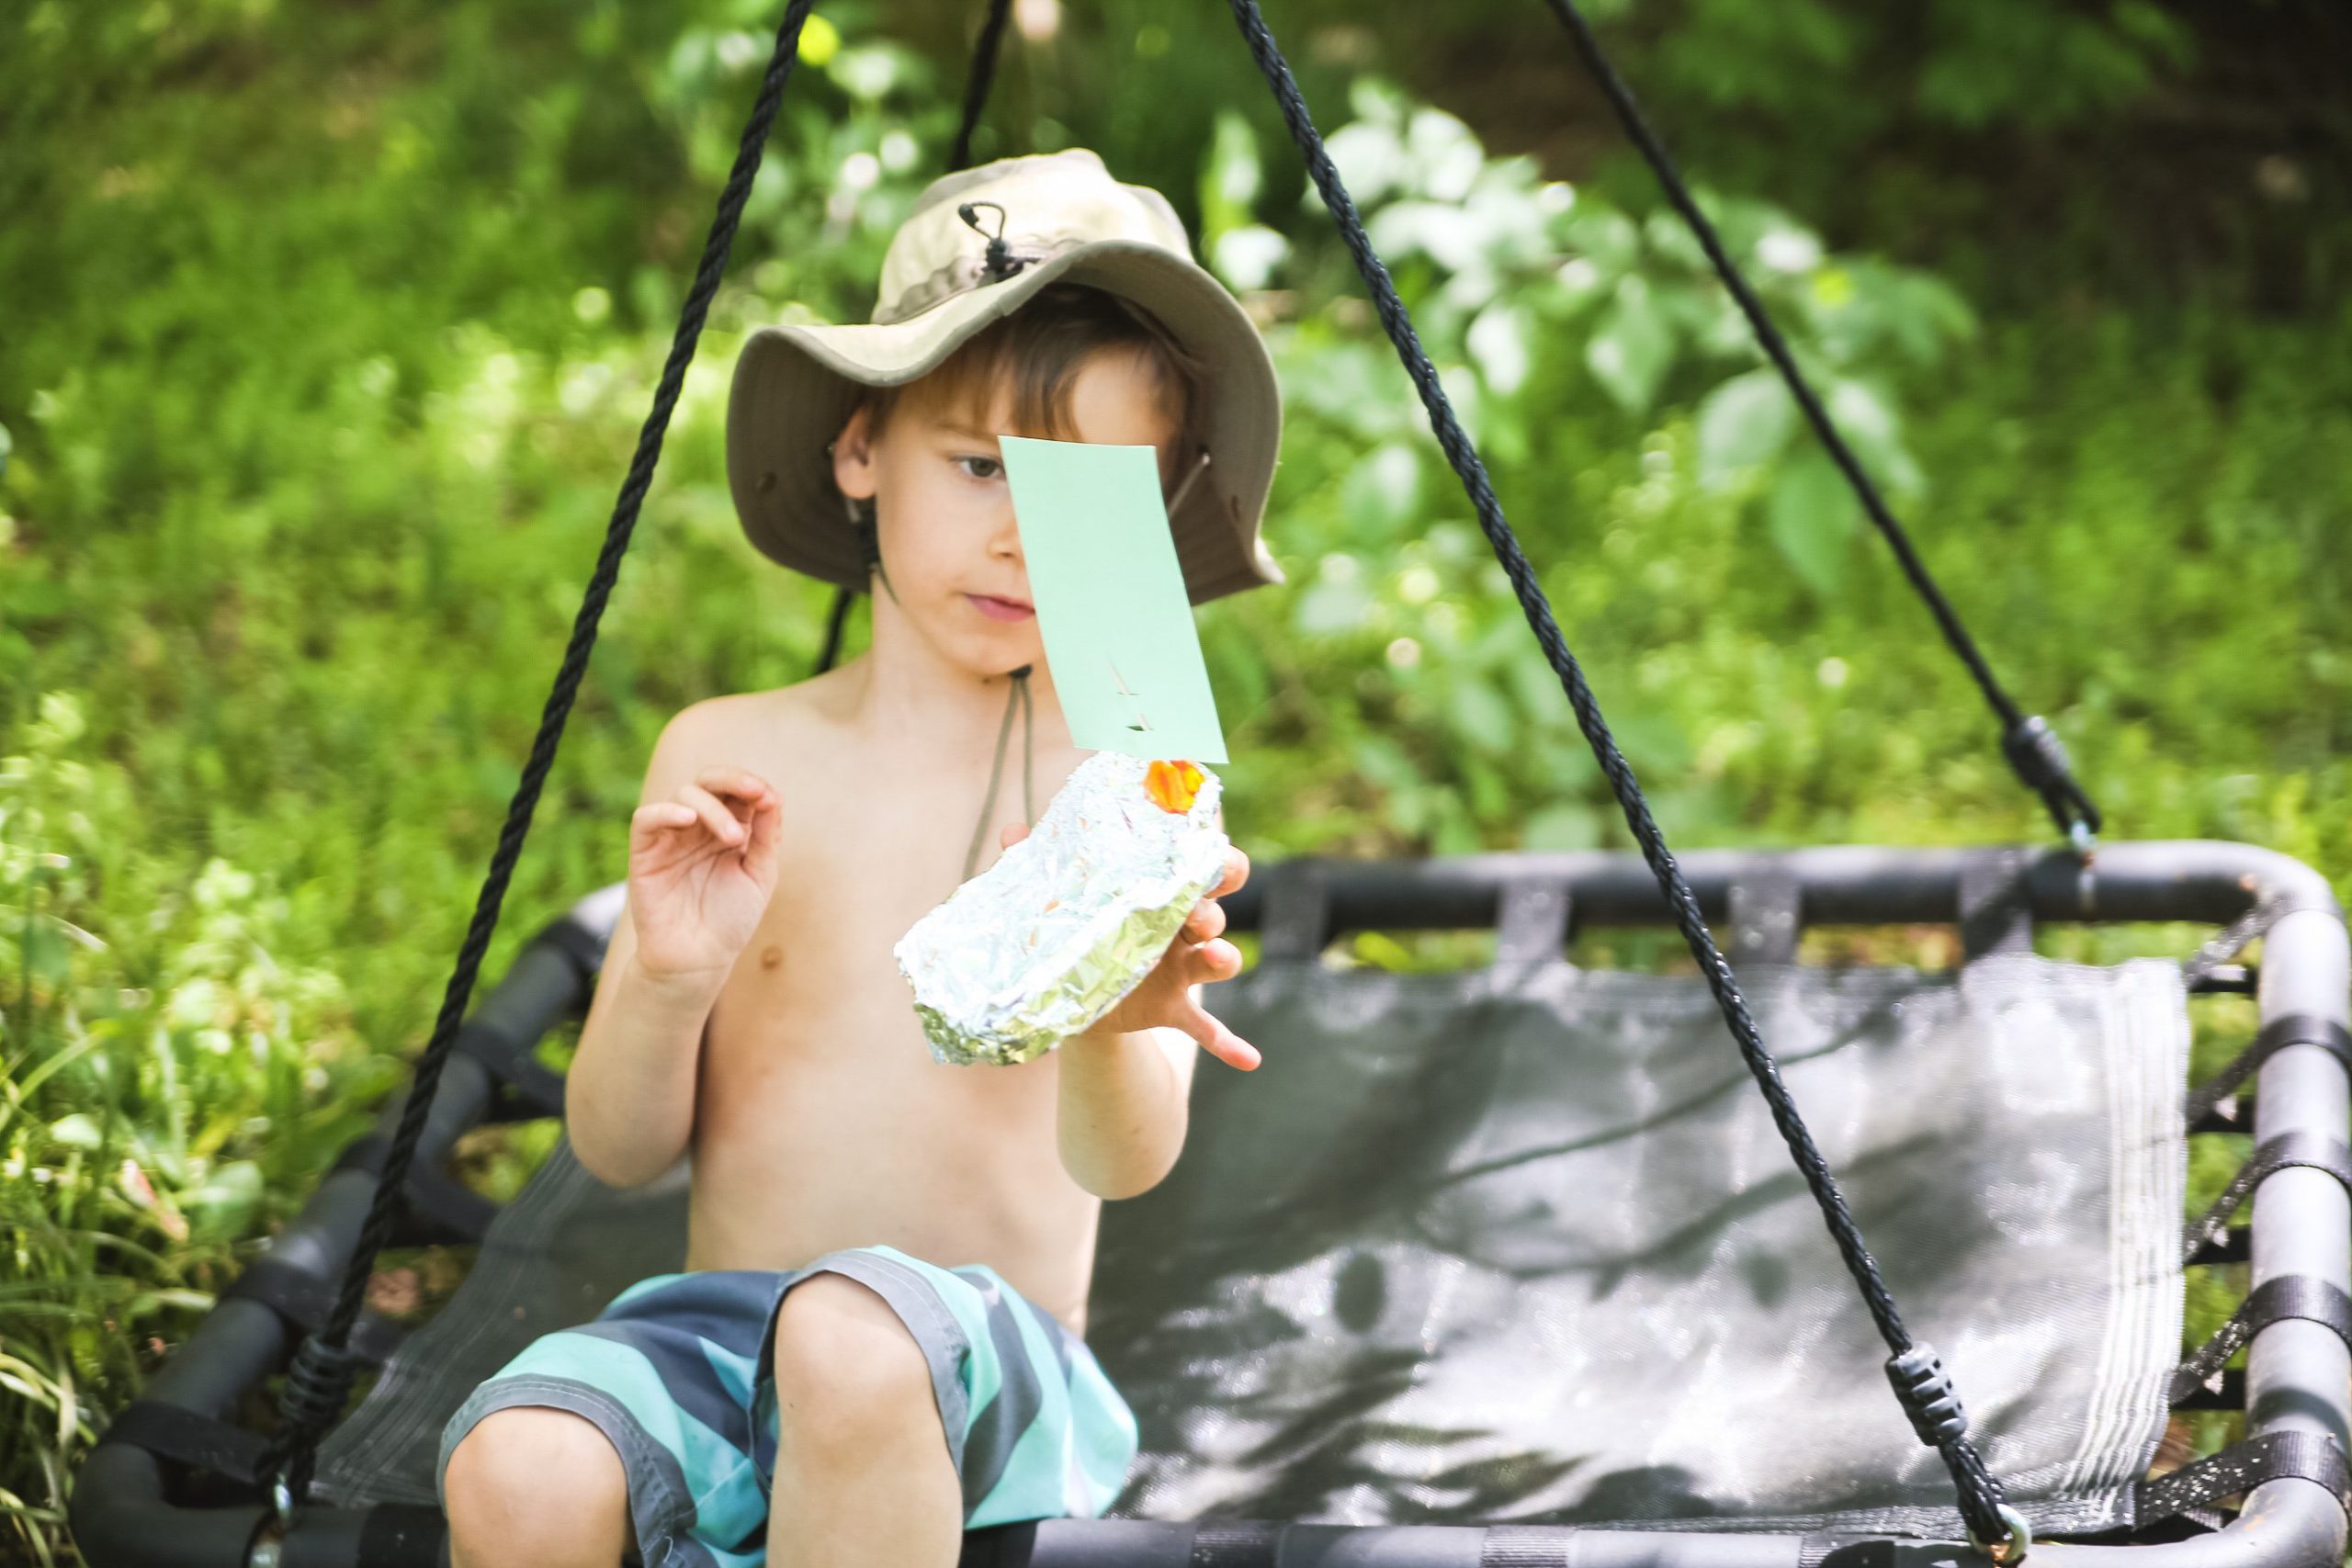
Our craft for today was a super simple way to show the benefits of wind. We even only used things I had laying around the house!
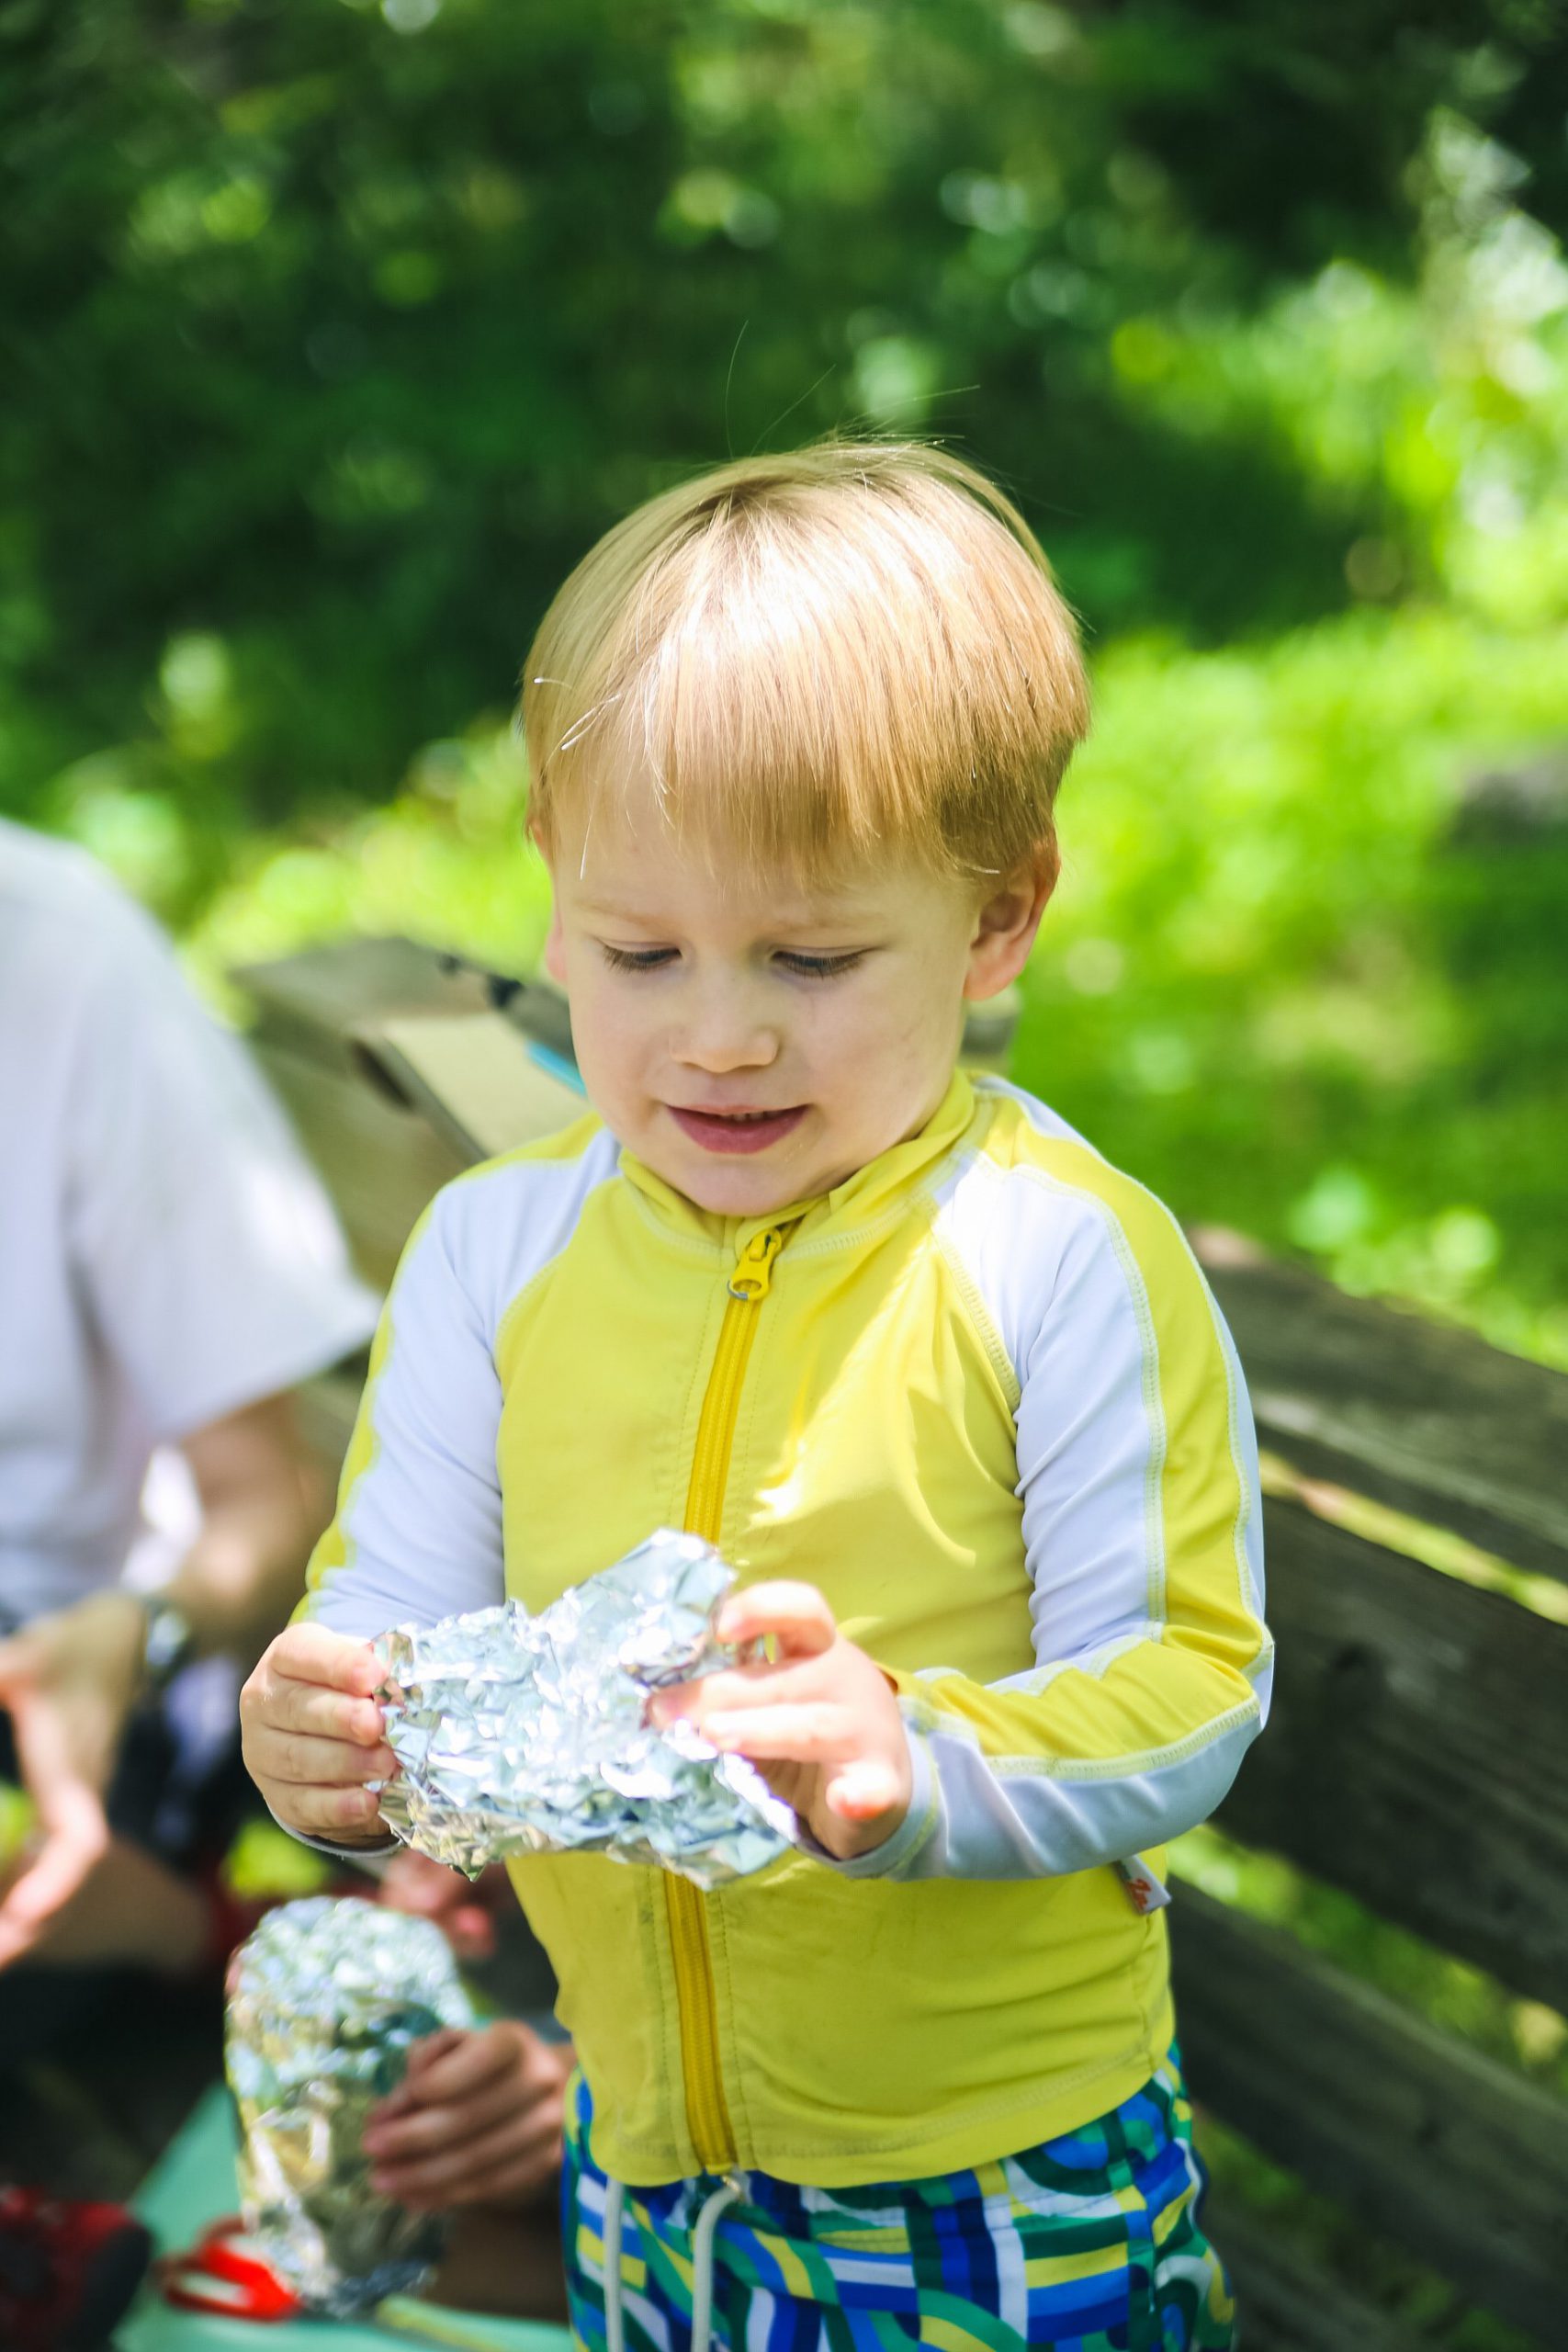
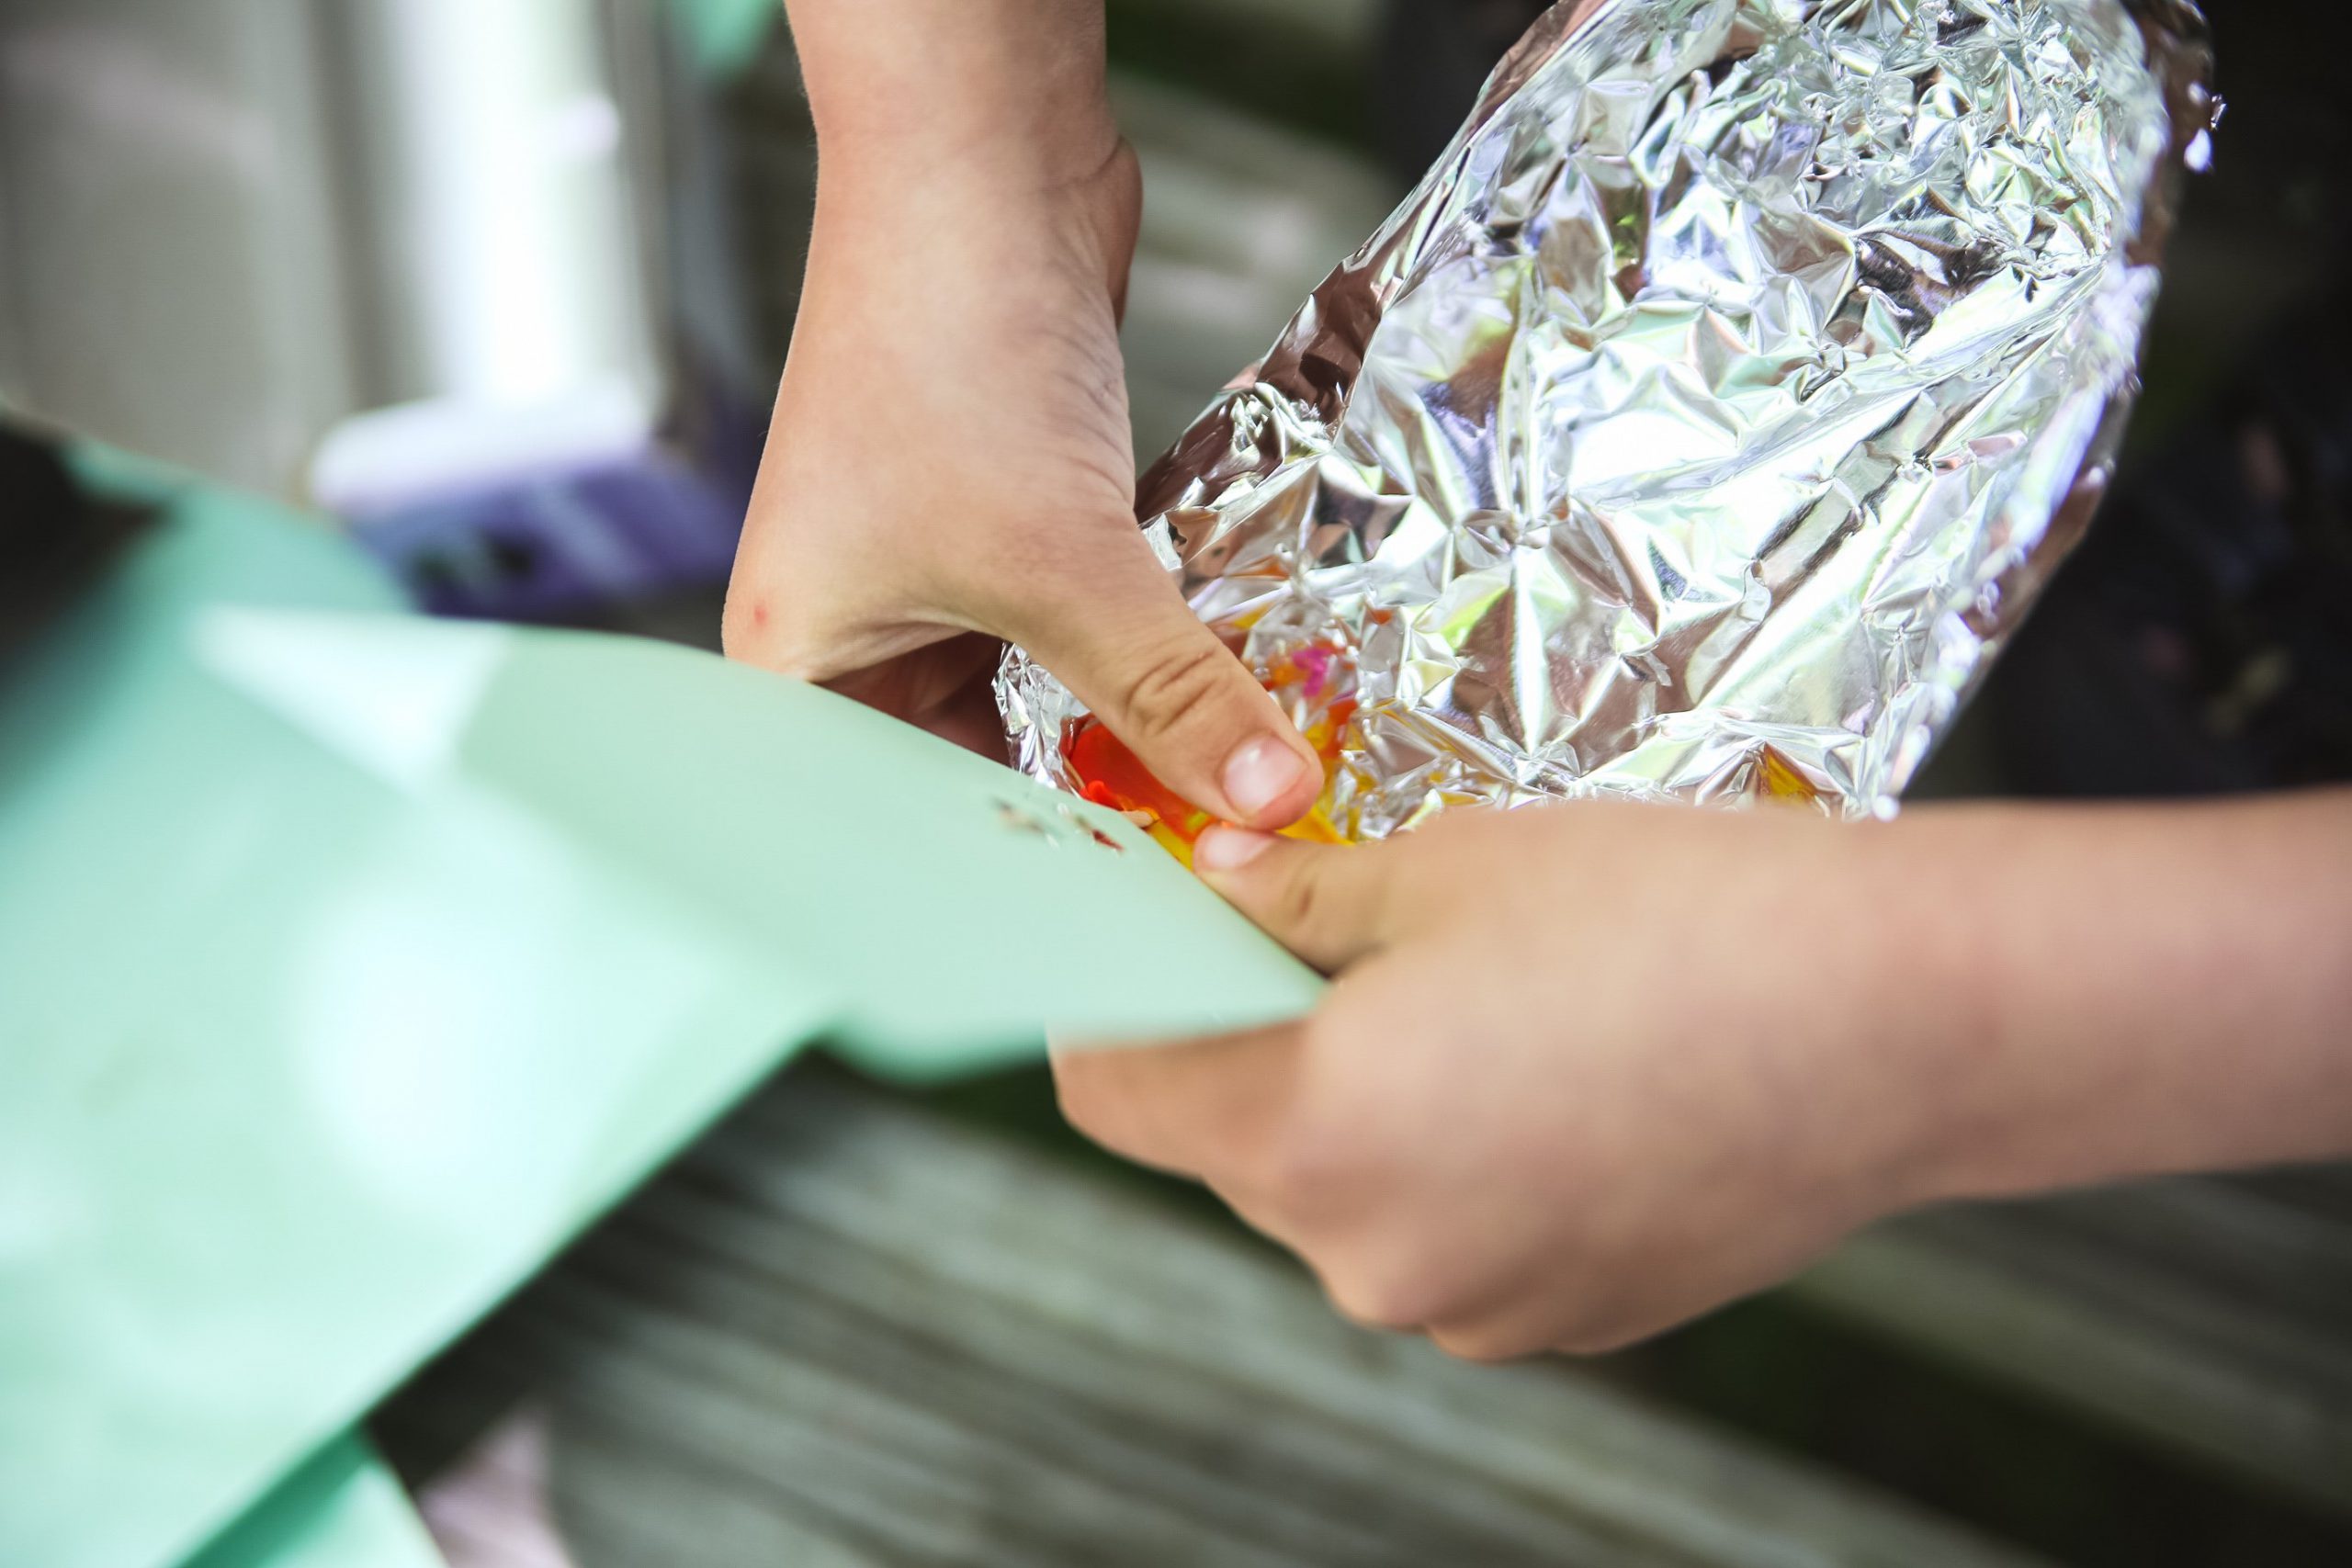
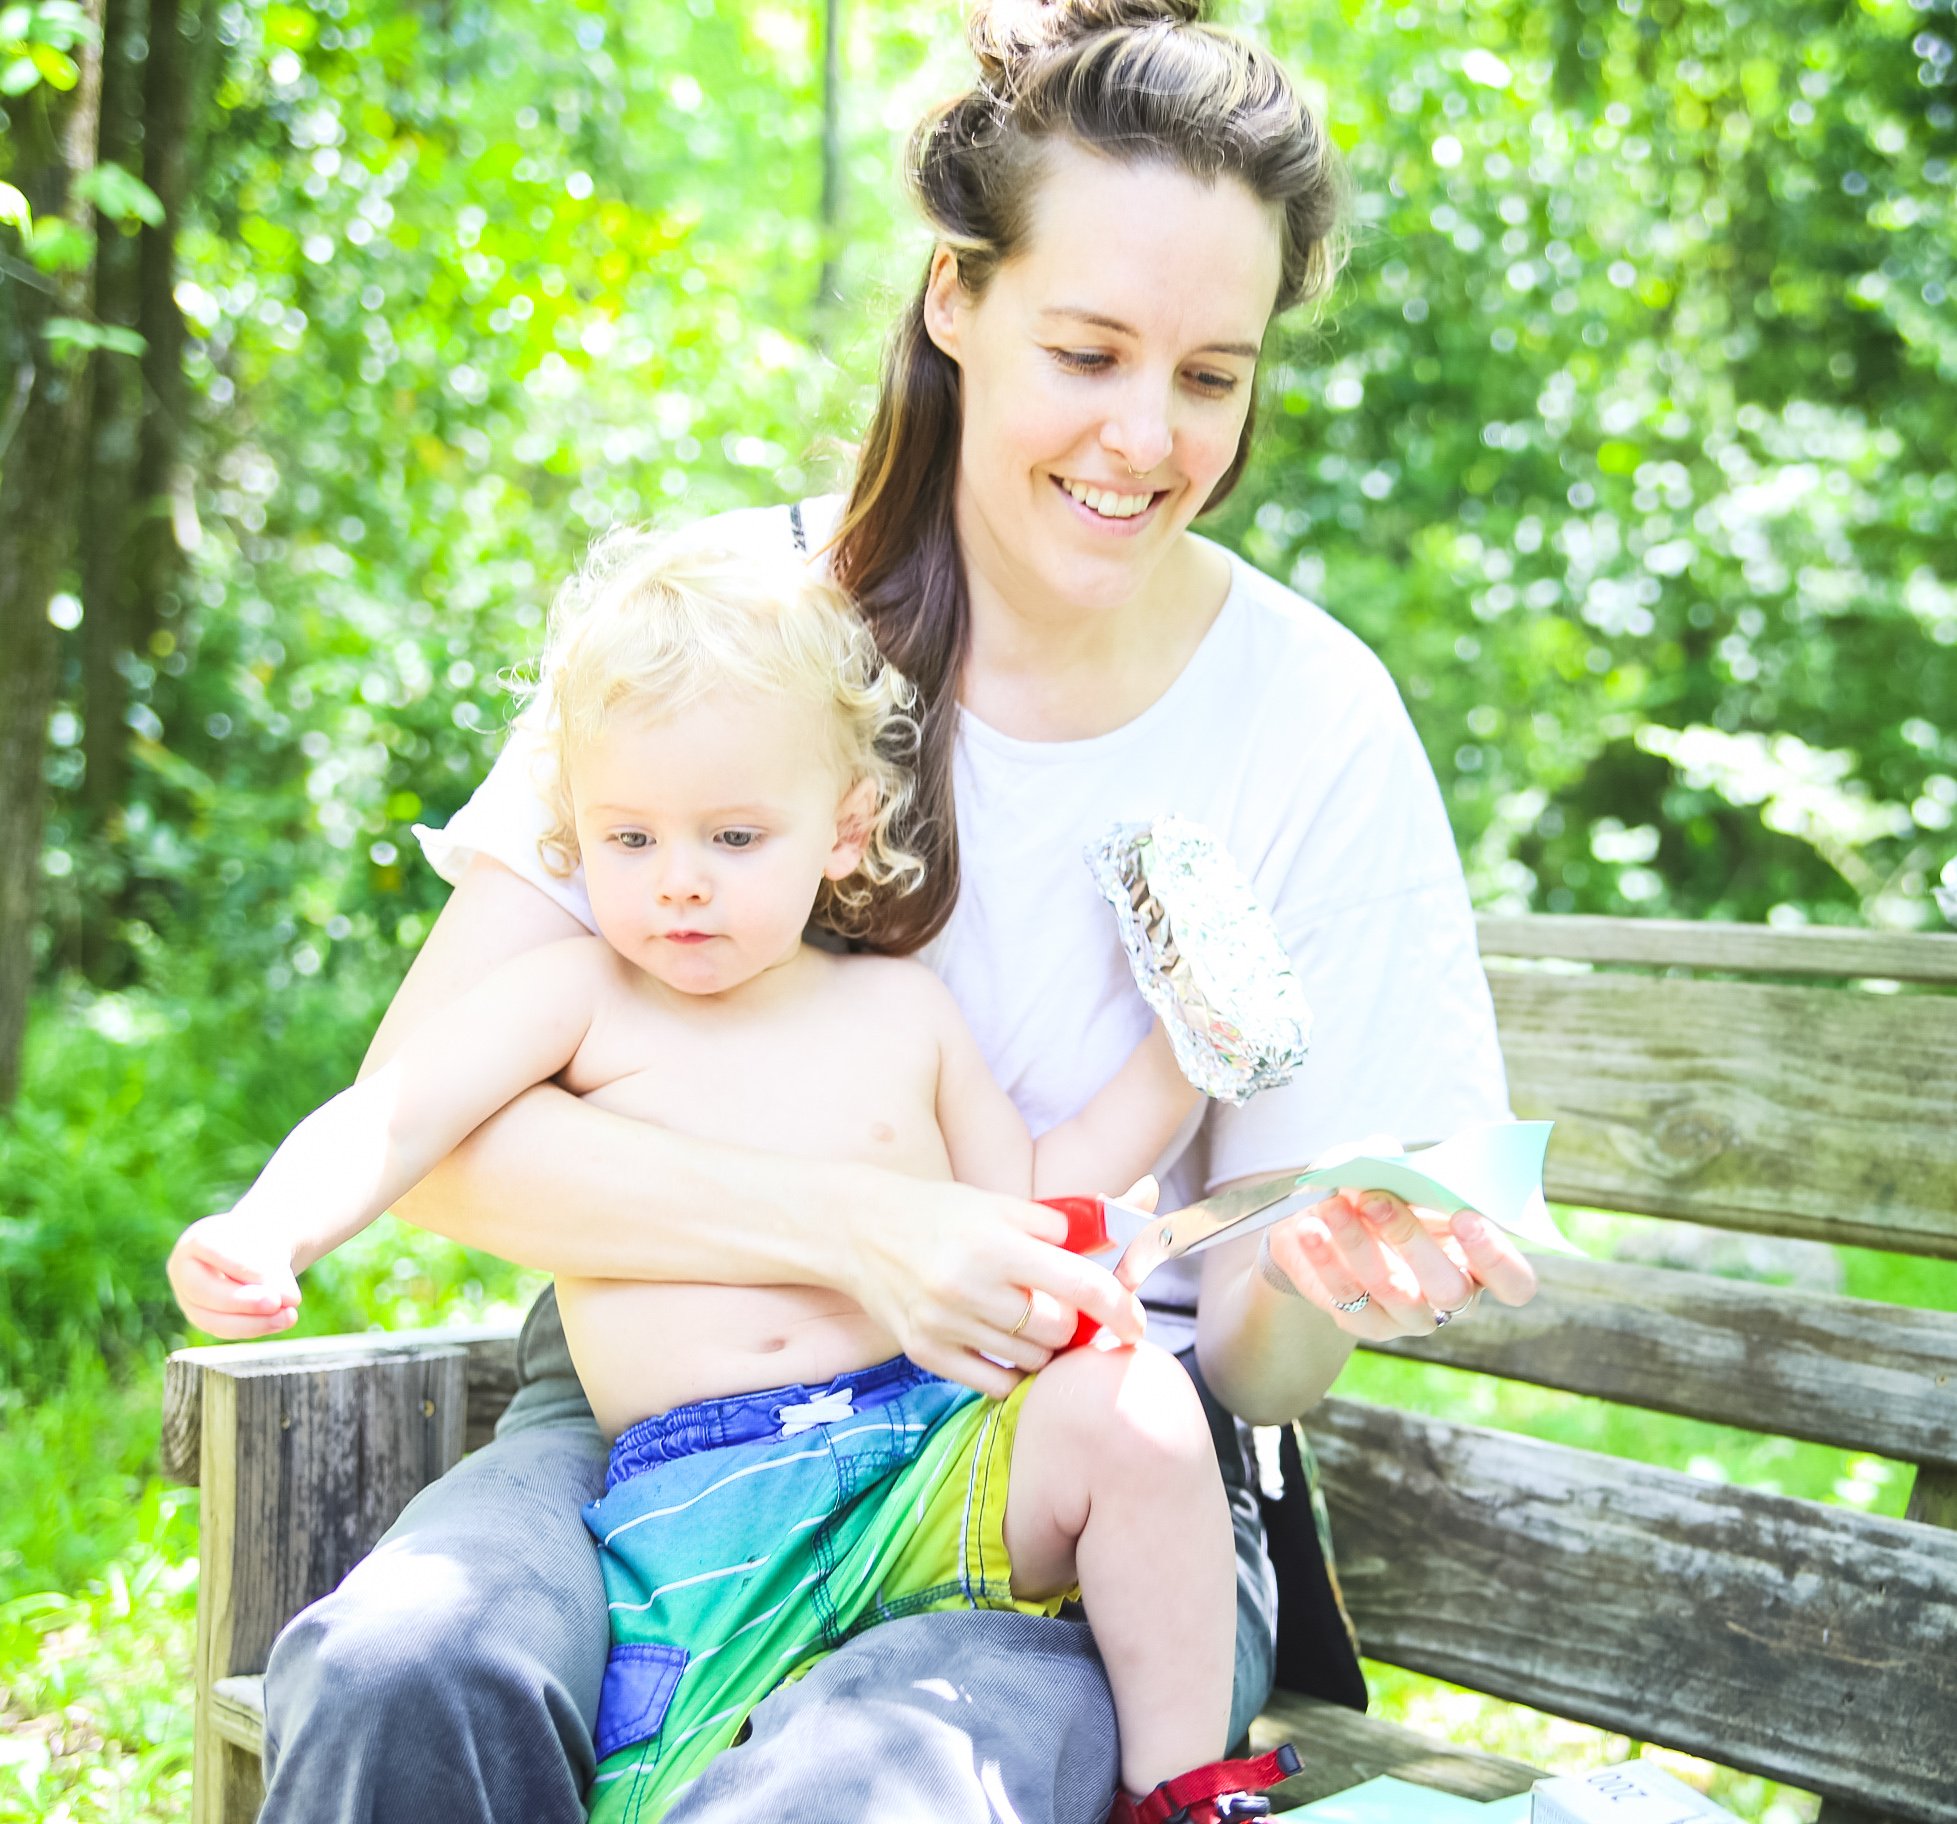
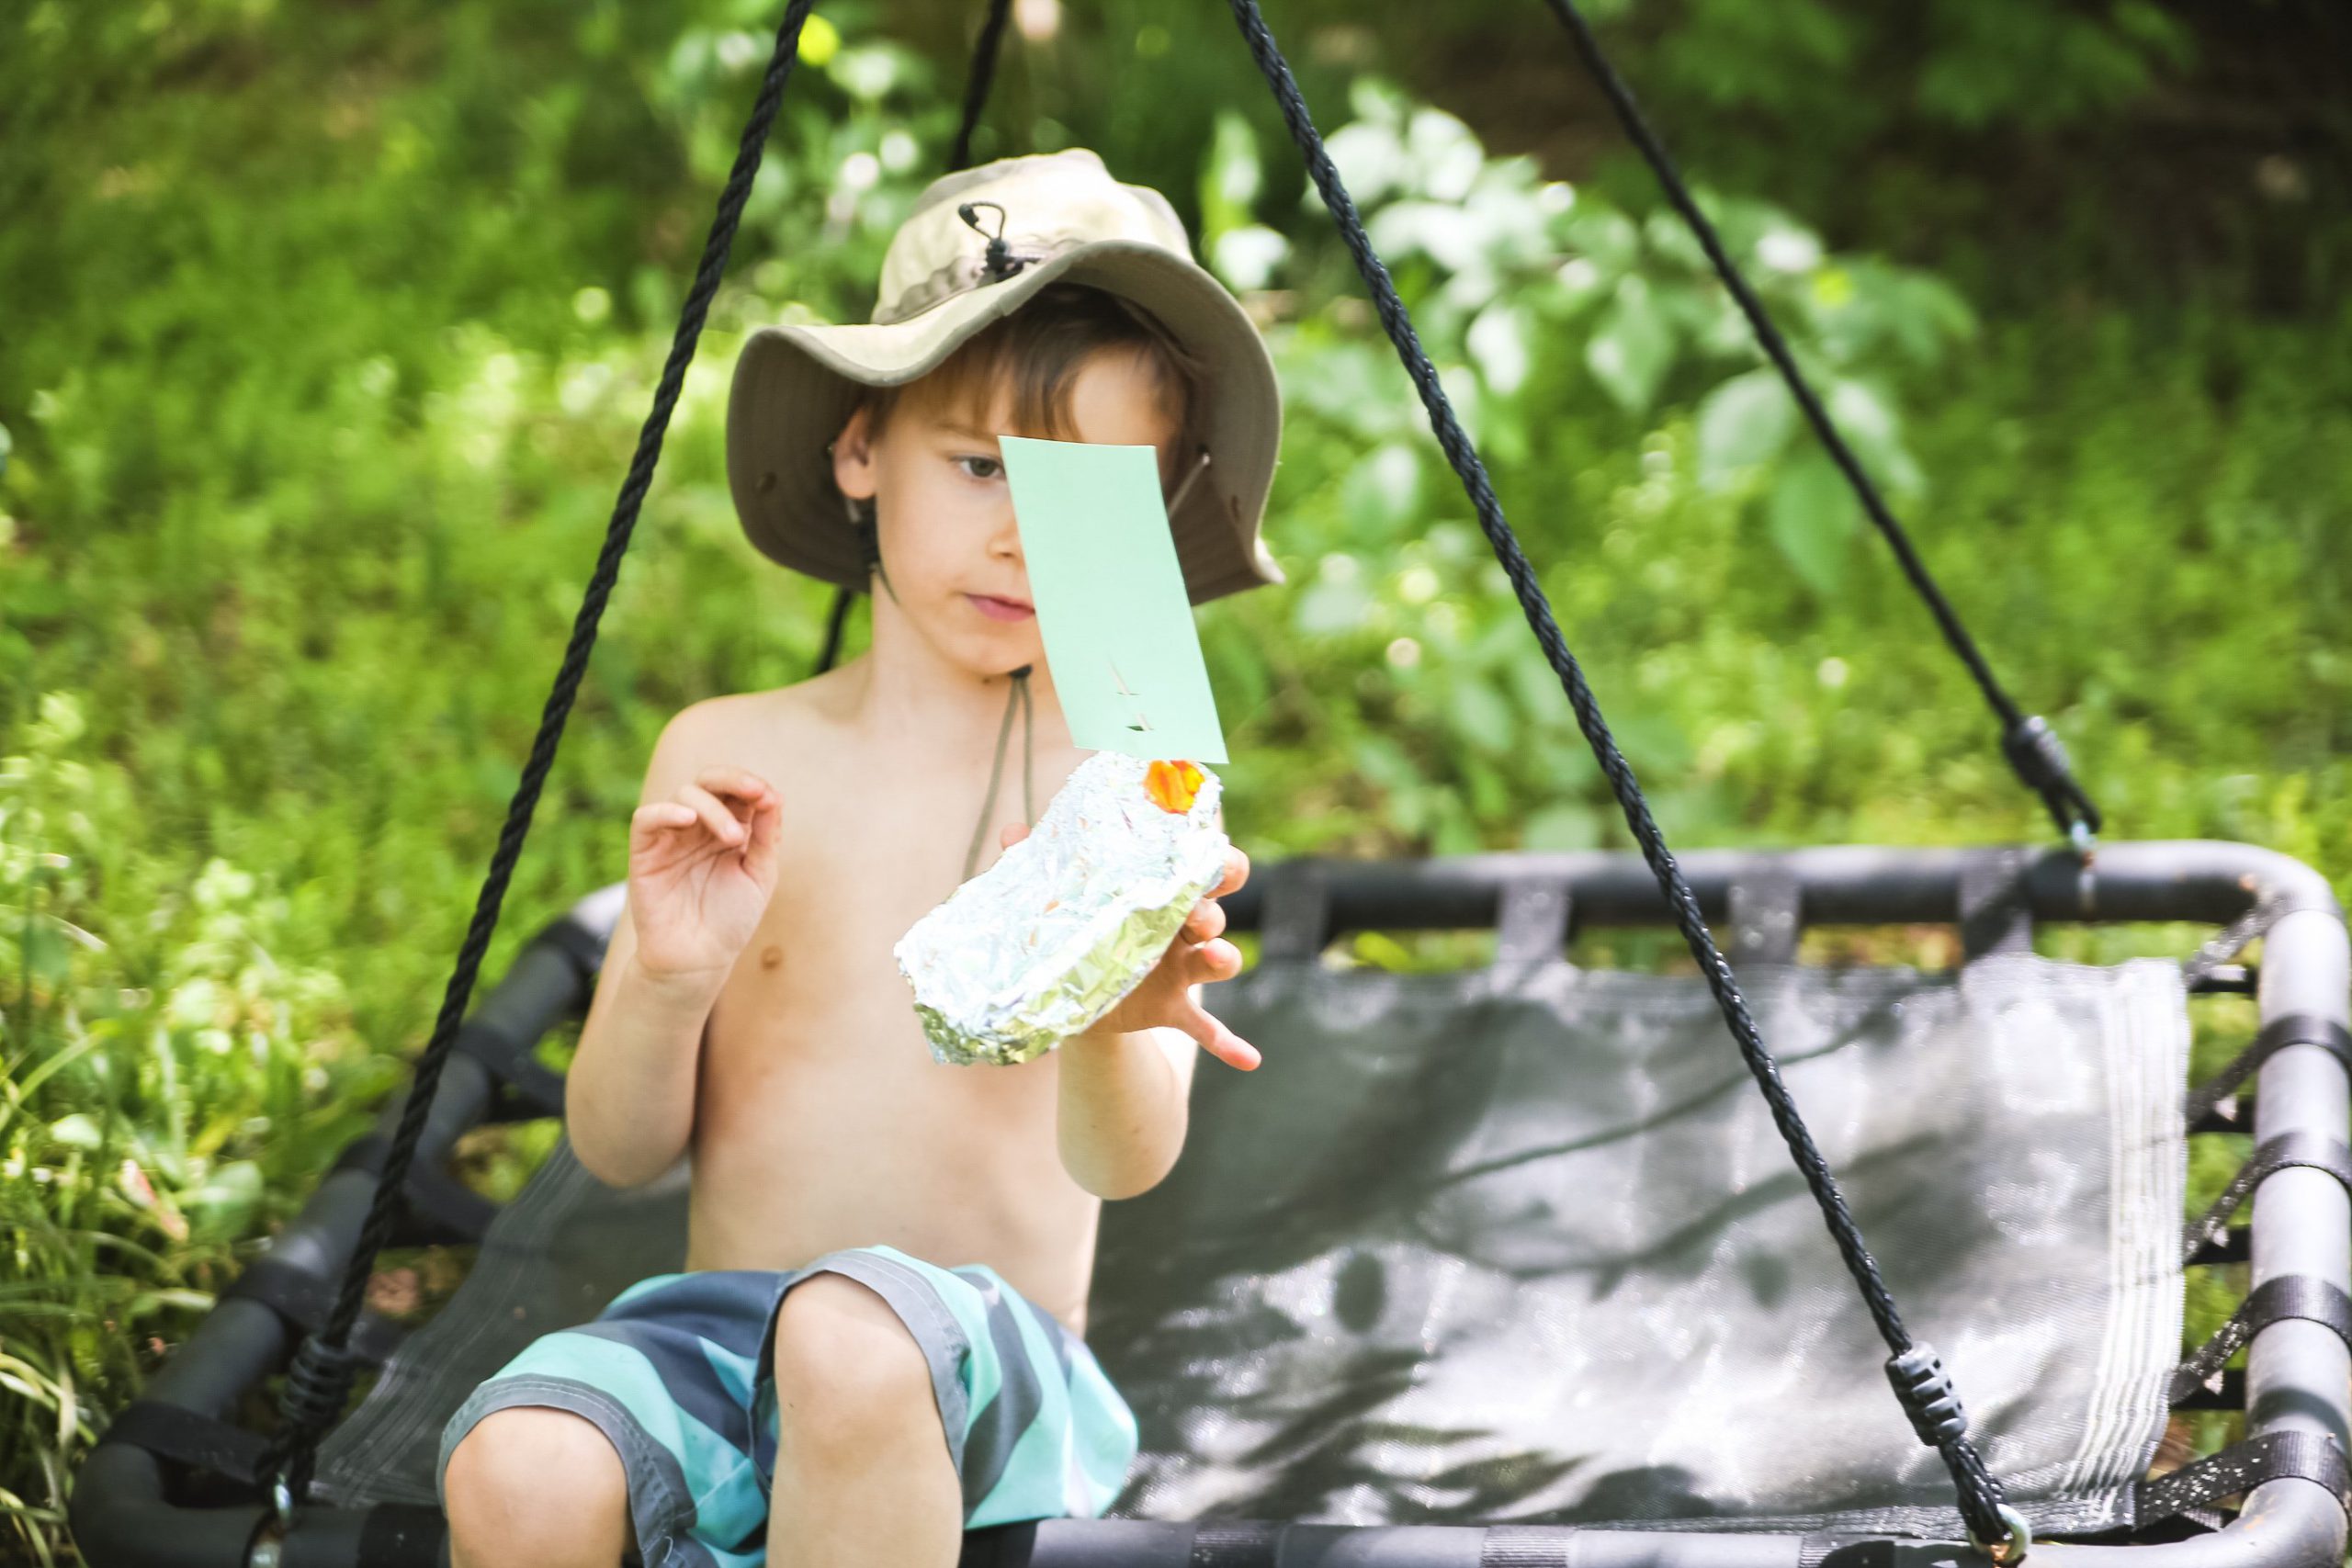
This craft is completely open ended. The fun part is using the tinfoil to create different sizes and styles of boats. The kids can literally create a anything their imagination can think of! For the sail, cut a sail shape out of the paper and stick it through with the toothpick. You can make little holes in the paper or just poke the toothpick through.
We used playdough to adhere the toothpick and paper sails to the boat. Then put it into the kiddie pool for a test ride! The boats all worked! Obviously the 2 year olds almost immediately capsized their boats, but the 6 year old was captivated by how it worked. He loved blowing it around the pool and watching his “wind” power the boat!
Did you try this craft? Tell us below!
The post Earth Day 2020 appeared first on Not So SuperMom VS Society.
]]>Easy Strawberry Tart Read More »
The post Easy Strawberry Tart appeared first on Not So SuperMom VS Society.
]]>
Strawberry Season
Every year we have a tradition- fruit picking. Sometimes it’s apples, sometimes it’s blueberries & blackberries, but our favorite so far has definitely been strawberries!
Honestly fruit picking is pretty rad. I mean you can stop and have a fresh snack break whenever you want, it’s a great bonding and memory making experience, and it’s fairly economical.
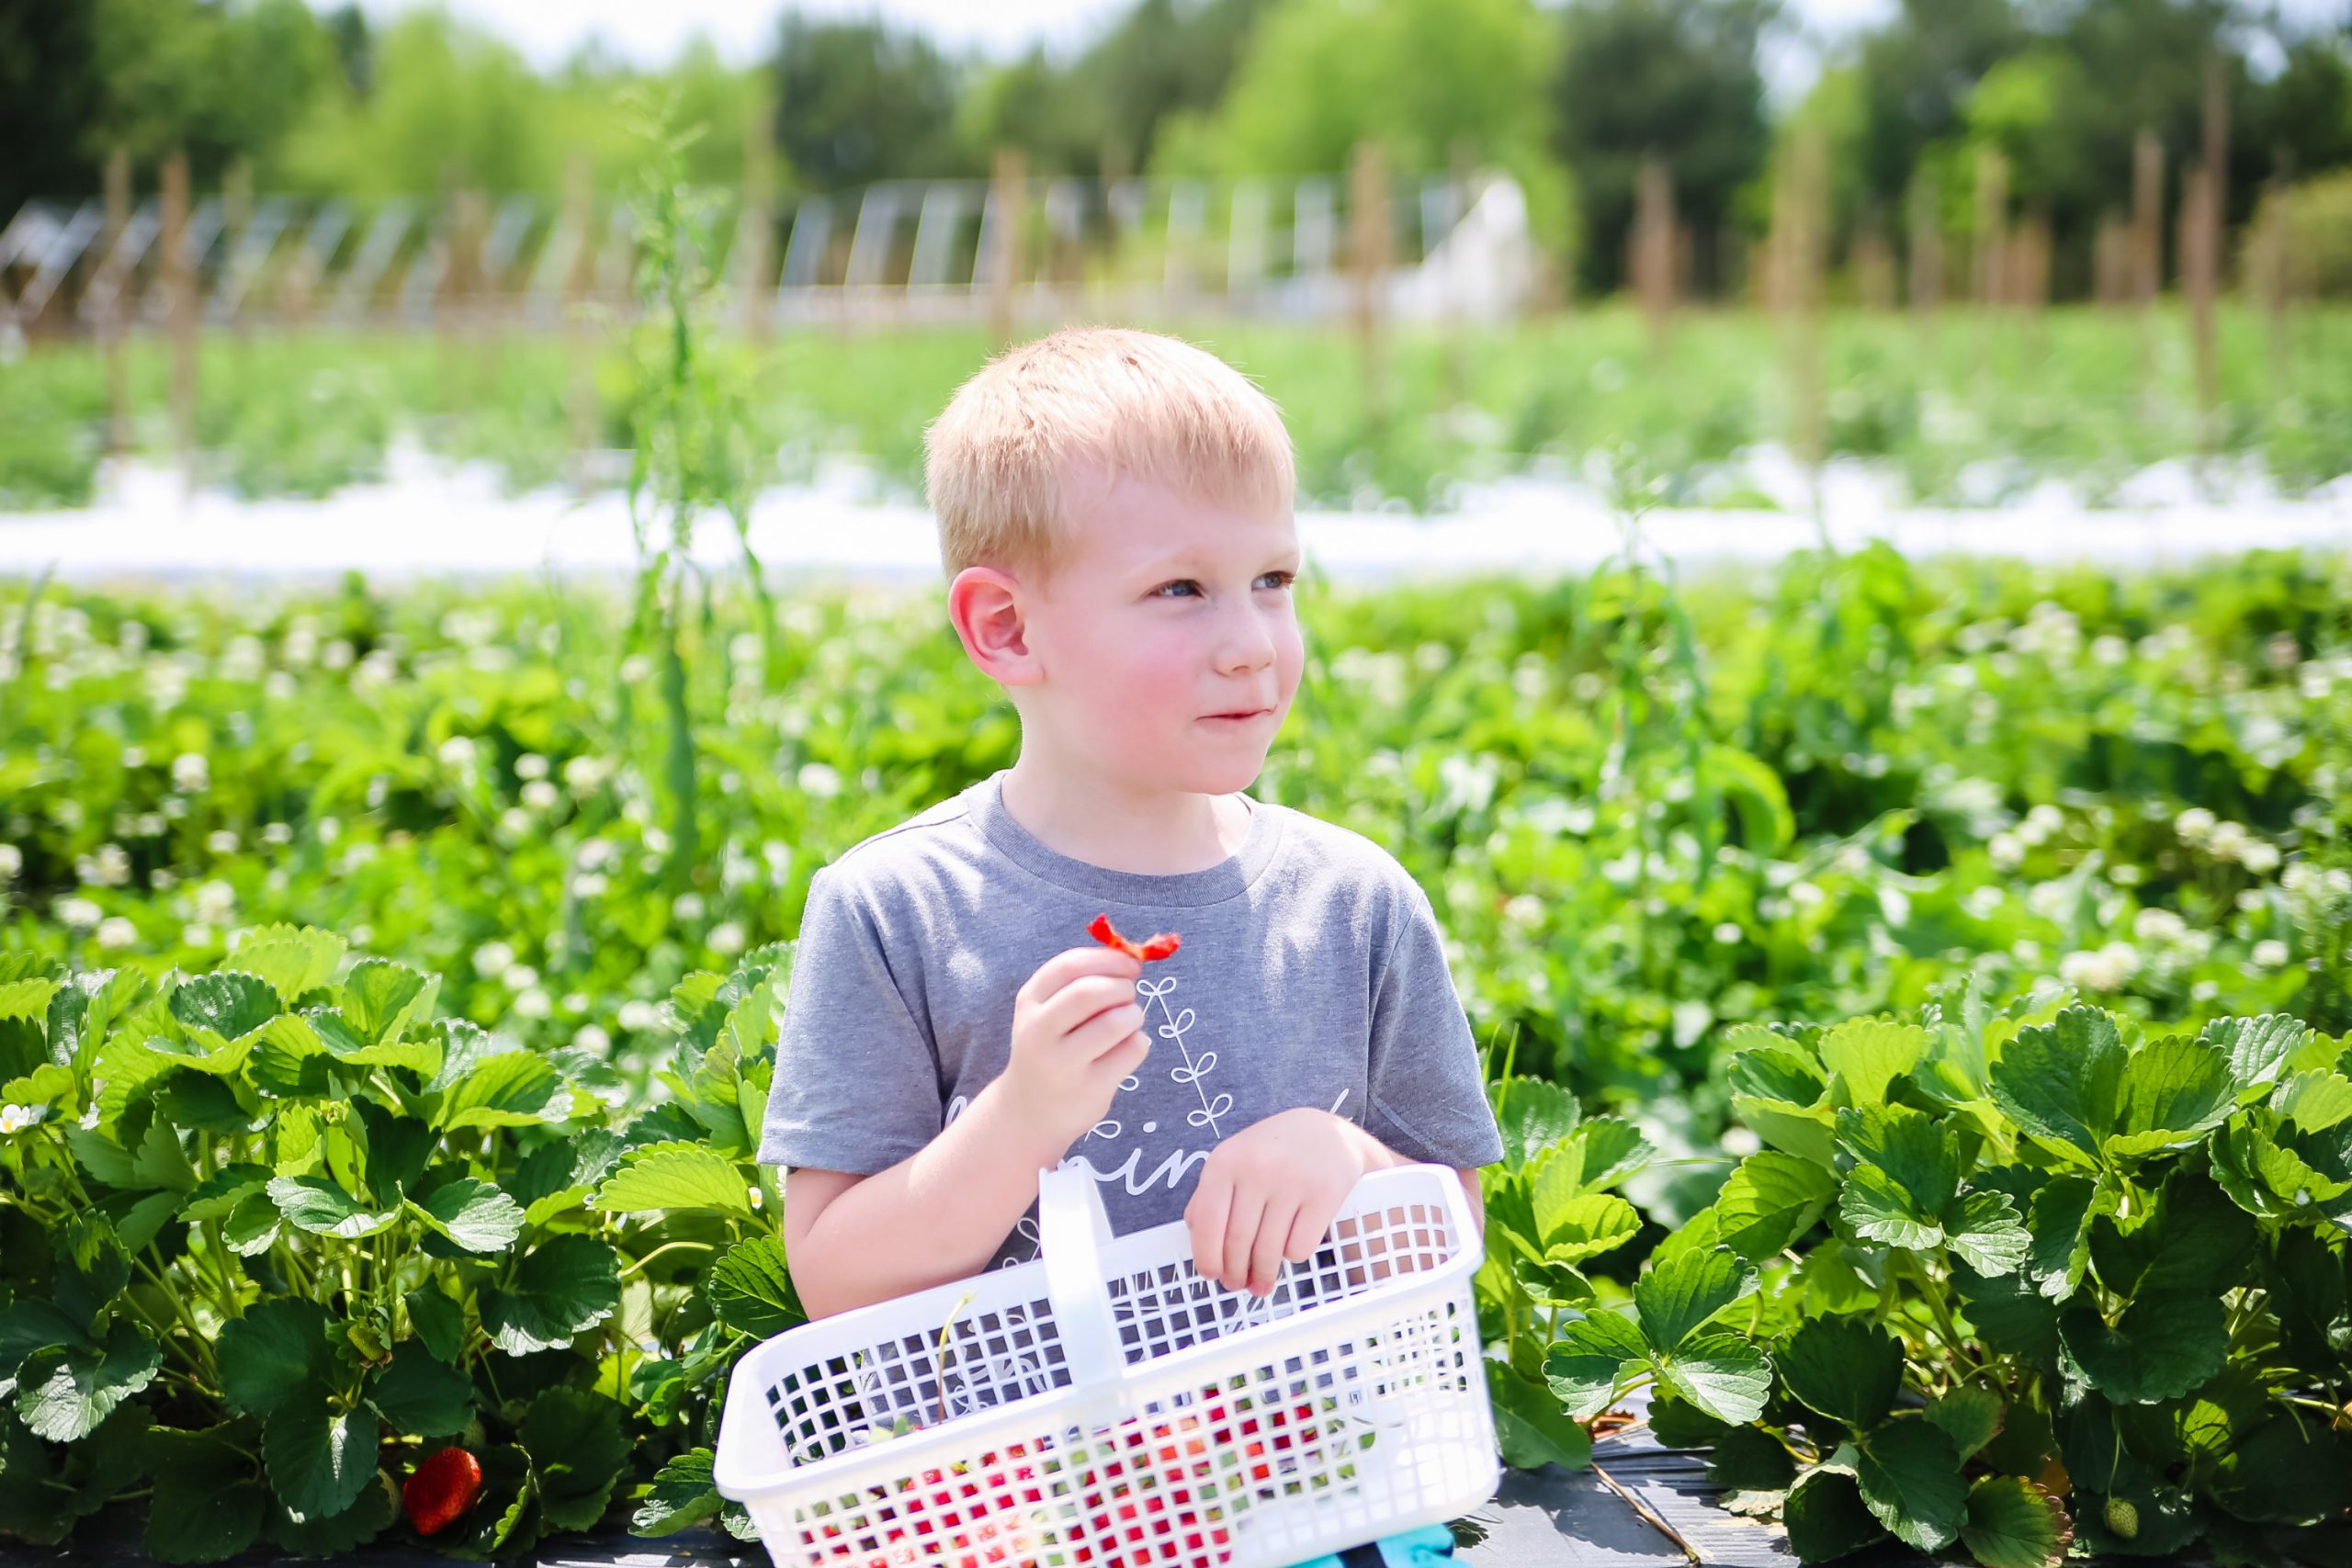
With Spring being here and Strawberry Season starting, I wanted to share my favorite Spring recipe, Strawberry Tarts. This recipe checks all the important boxes:
- Easy & Quick Prep
- Simple
- Delicious Results

Ingredients & Instructions
INGREDIENTS:
- 1 sheet frozen puff pastry, thawed
- 1 egg
- 2 teaspoons water
- sparkling sugar (optional)
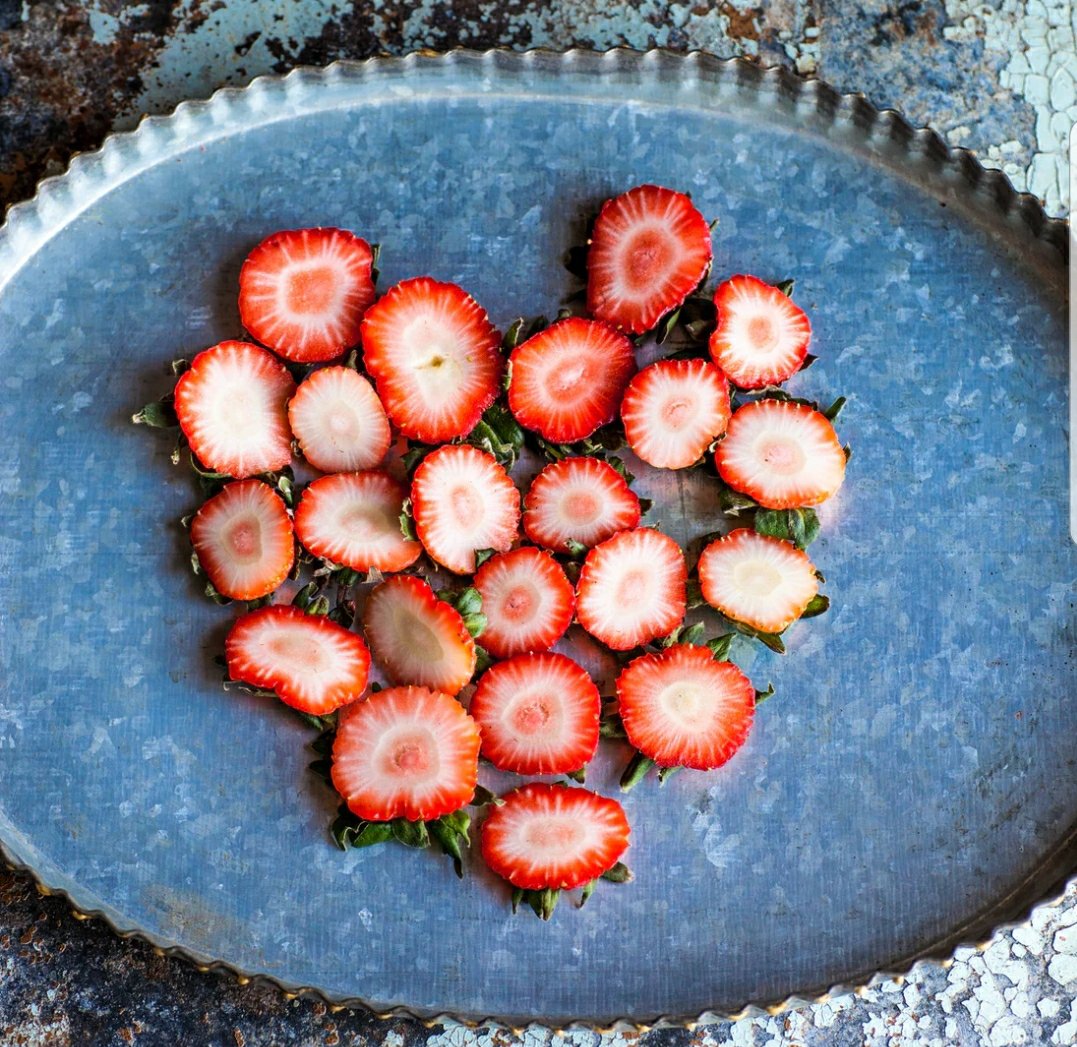
- 1 pint strawberries, washed/hulled, and sliced into 3-4 slices each
- 1/4 cup strawberry jam
- 3/4 cup white sugar, divided
- 4 ounces mascarpone cheese
- 4 ounces whipped cream (fresh whipped cream or cool whip)
- ice cream for garnish (optional)
INSTRUCTIONS:
- Preheat oven to 400F
- On a parchment lined baking sheet, roll out the puff pastry dough to a large rectangle.
- In a small bowl, whisk together the egg and the water.
- Use a knife to score a border 3/4 of an inch inside from the edge of the puff pastry. Use a fork to pierce the inside of the tart several times.
- Brush the pastry with the egg wash along the border. Sprinkle with sparkling sugar if desired.
- Bake for 20 minutes until golden brown and cooked. Set aside to cool.
- While the puff pastry is cooking, prepare the topping. In a large bowl, stir together the whipped cream, 1/2 cup white sugar, and mascarpone cheese.
- In a separate bowl, mix together the strawberry slices, 1/4 cup white sugar, and strawberry jam.
- Once puff pastry is cool, top with the cream and then the strawberries. Keep refrigerated until ready to slice and serve.
- Top with vanilla ice cream. Enjoy!
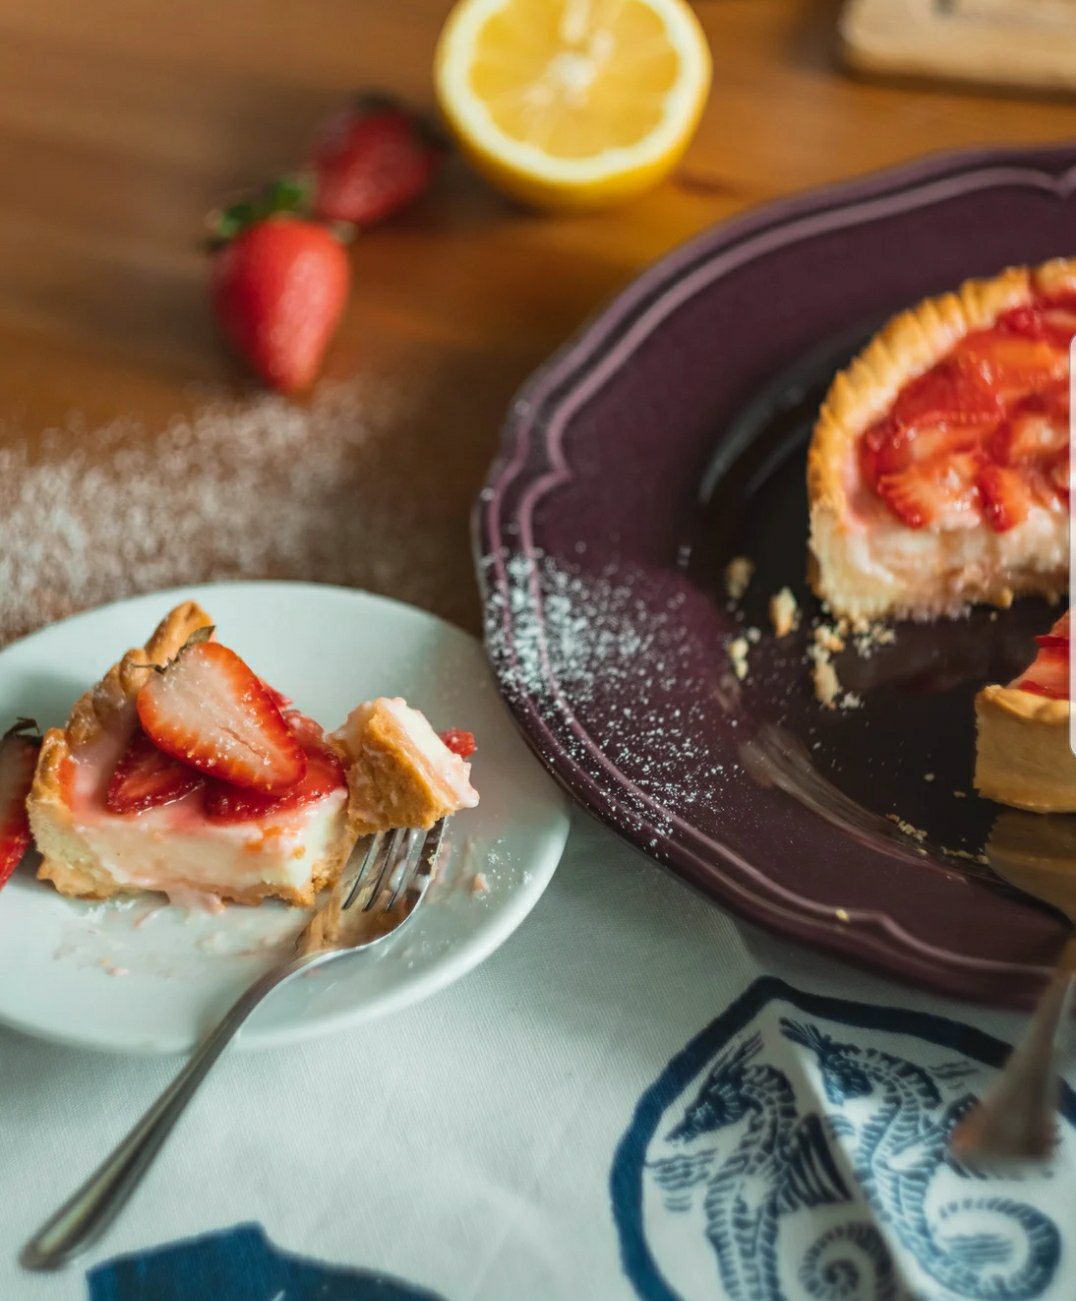
Everett comes back from his Gigi’s house in a week, and I absolutely cannot wait until we can go strawberry picking and make all of our strawberry treats!
Did you try this recipe? Tell us below!
The post Easy Strawberry Tart appeared first on Not So SuperMom VS Society.
]]>The post Rainbow Fun appeared first on Not So SuperMom VS Society.
]]>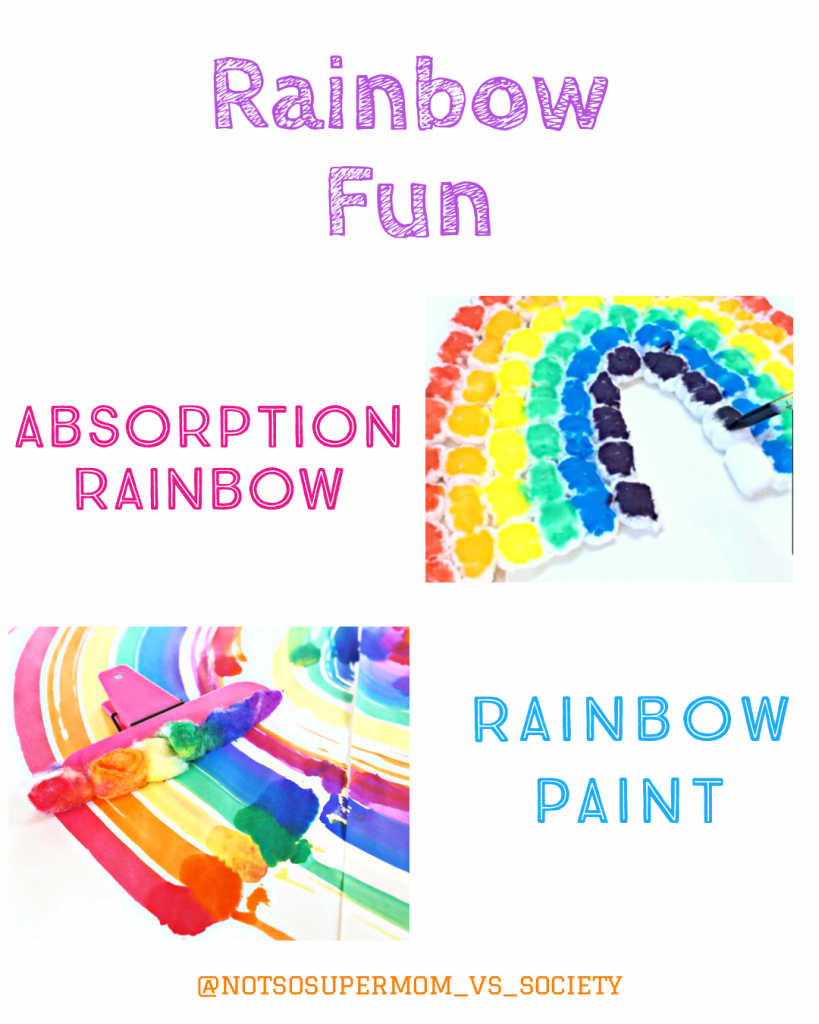
On Monday we woke up to find that the crazy storms knocked over a huge tree in our front yard. Finn is having the time of his life exploring it and we were lucky that it didn’t do much damage. Our luck inspired me to make some fun rainbow crafts, because after all, after every storm, comes a rainbow!
Instructions
Steps:
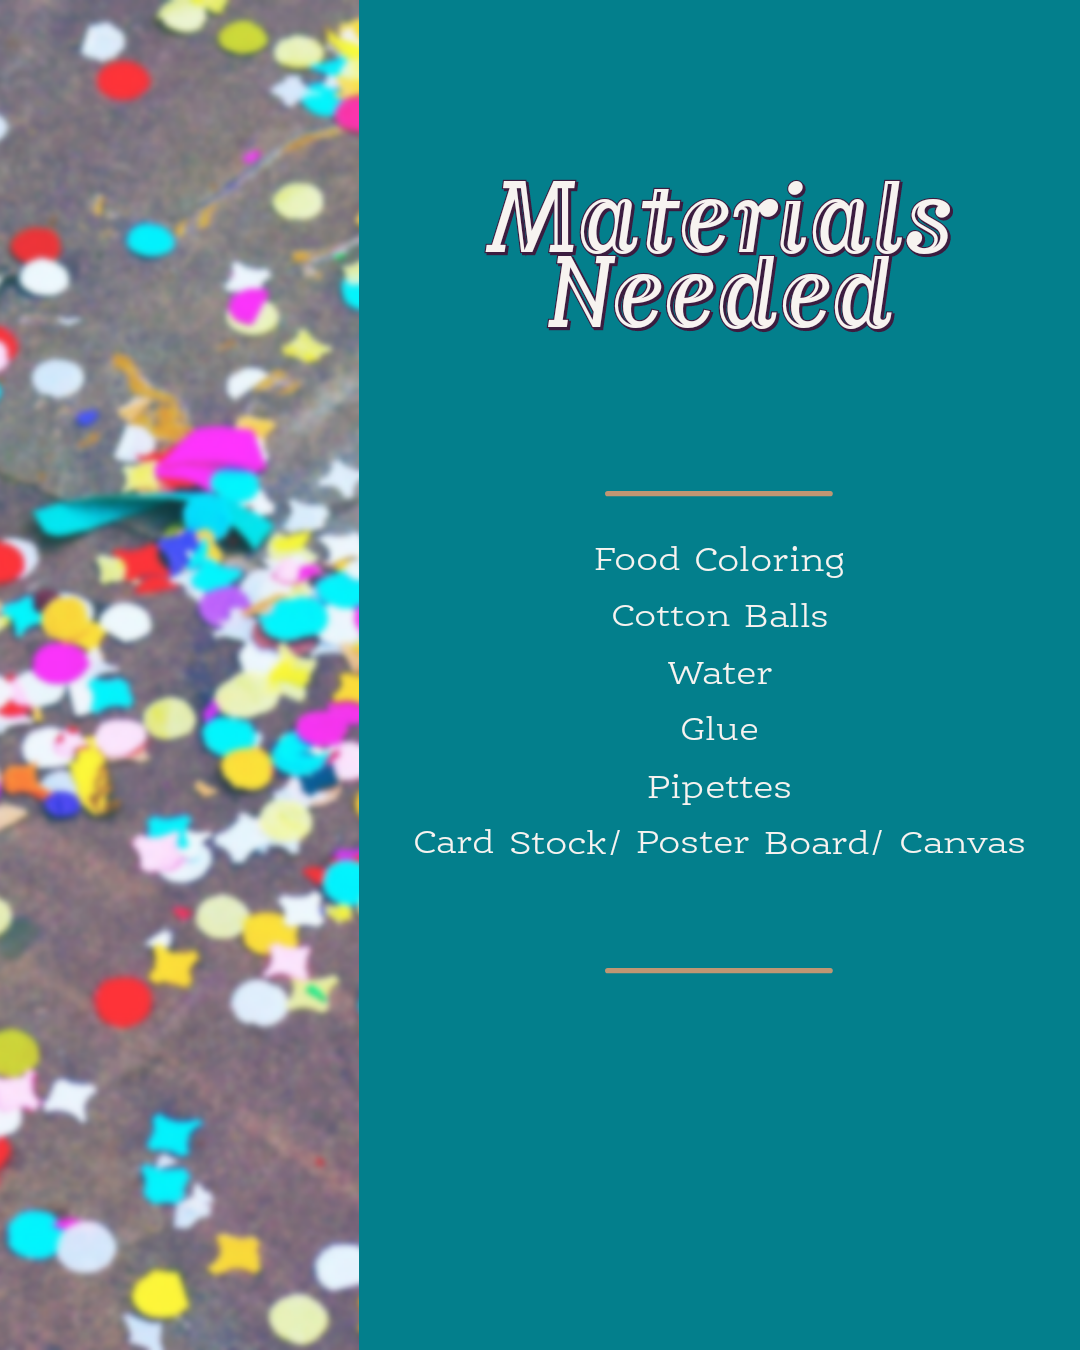
- Add adhesive to your chosen sturdy paper/canvas. I used Elmer’s adhesive spray, but you can use almost any glue.
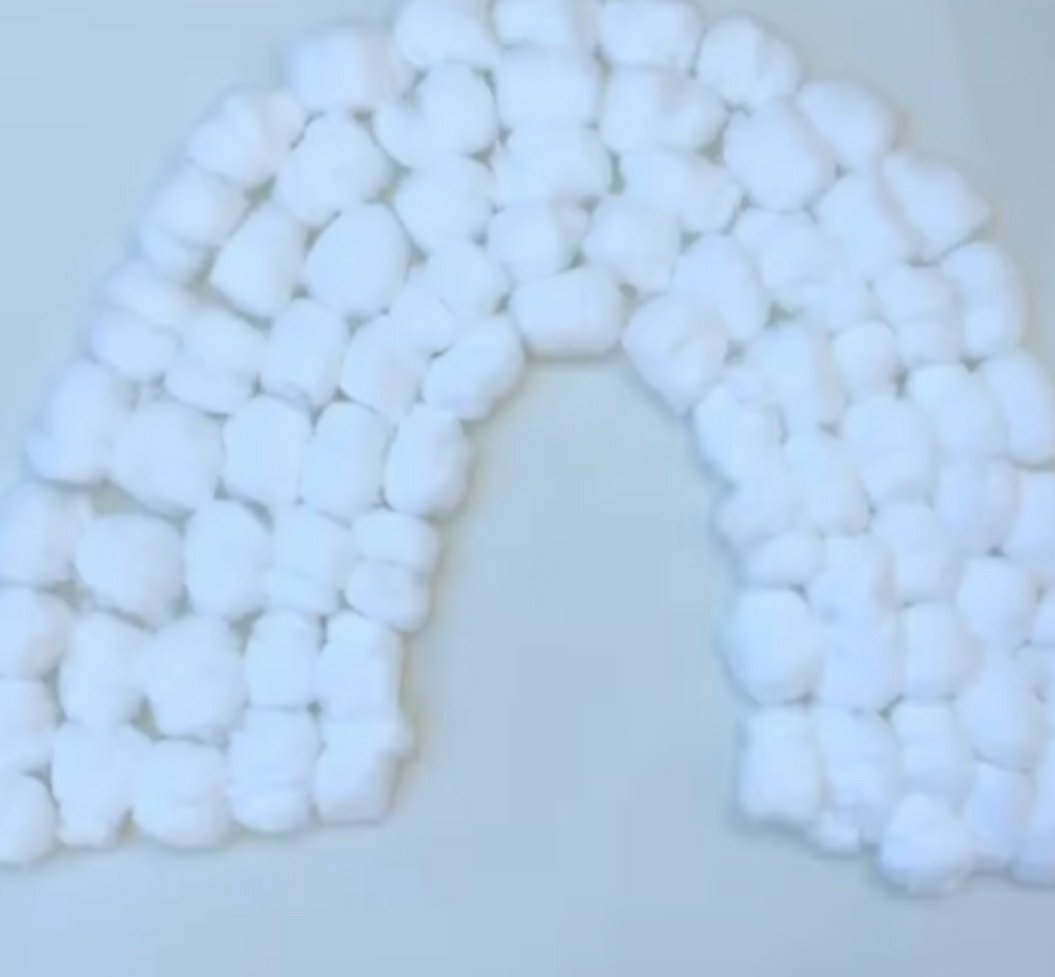
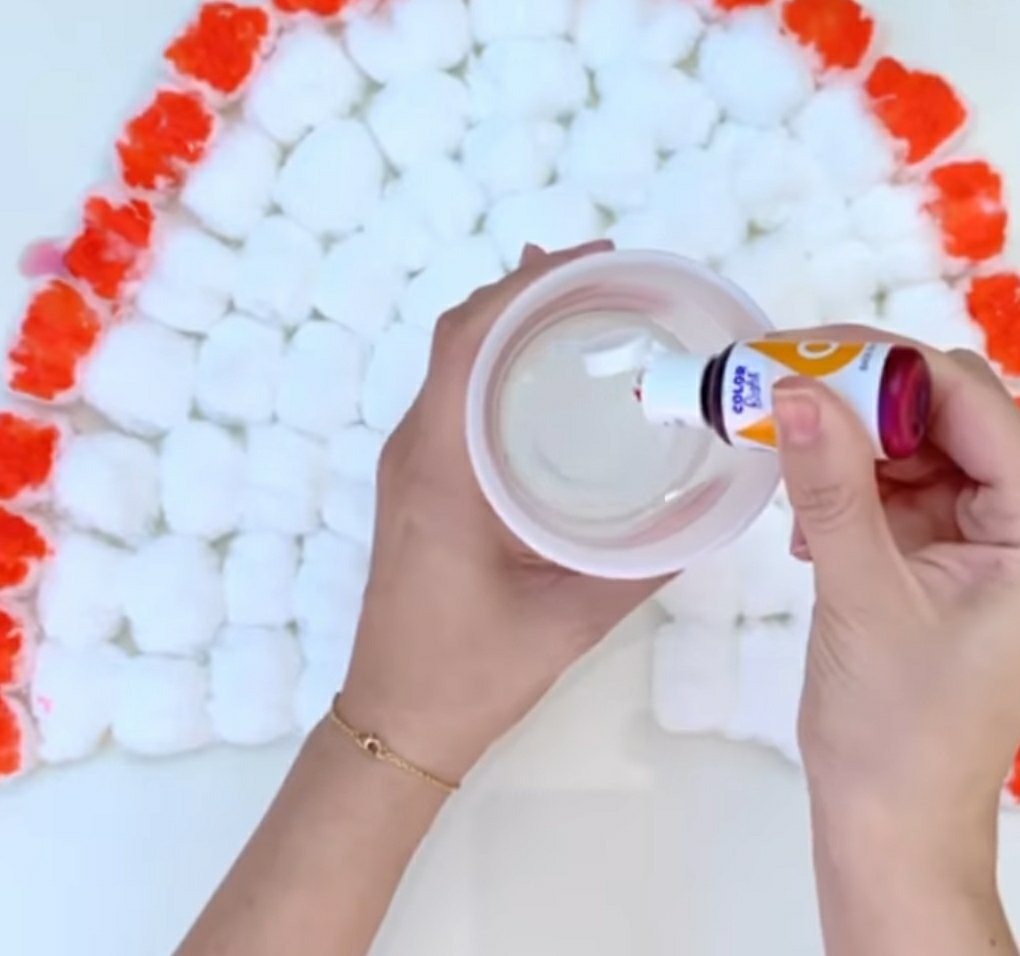
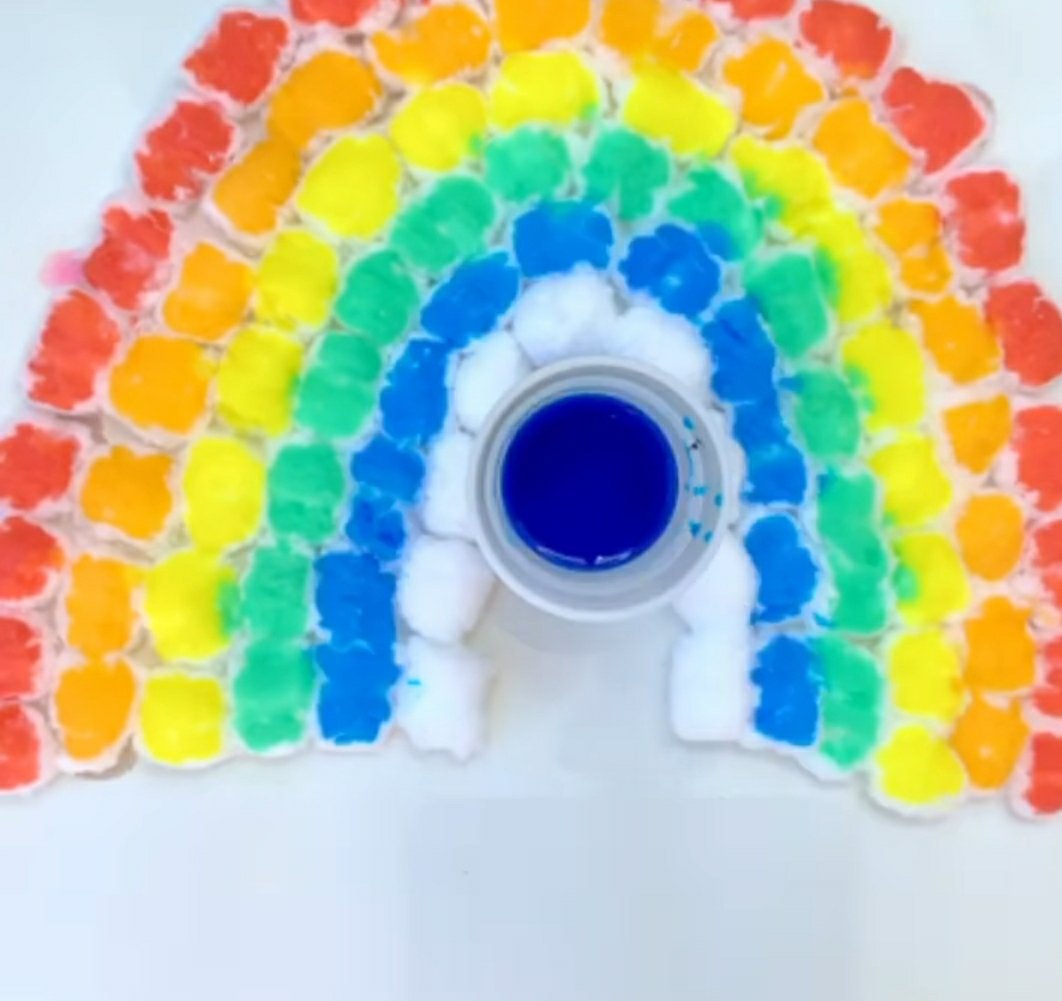
- Place cotton balls in rows that form the shape of a rainbow.
- Start with red food coloring and make a cup of red water.
- Use your pipette to add water to your outer layer.
- Work your way through the colors of the rainbow, working inward.
This is a super cool craft and the further into the rainbow you go, the cooler it gets! Talk to your kids about why it absorbs and how the colors start to blend in together. It’s also a cool way to talk about weather- the cotton balls are like clouds and the more water you add to it, the less it can absorb until it starts to “rain.” Also, I highly recommend using a thick poster board or a canvas for this. The more water you add, the heavier it gets, so thinner papers will tear under the strain and also be at risk for also absorbing the water.
Steps:
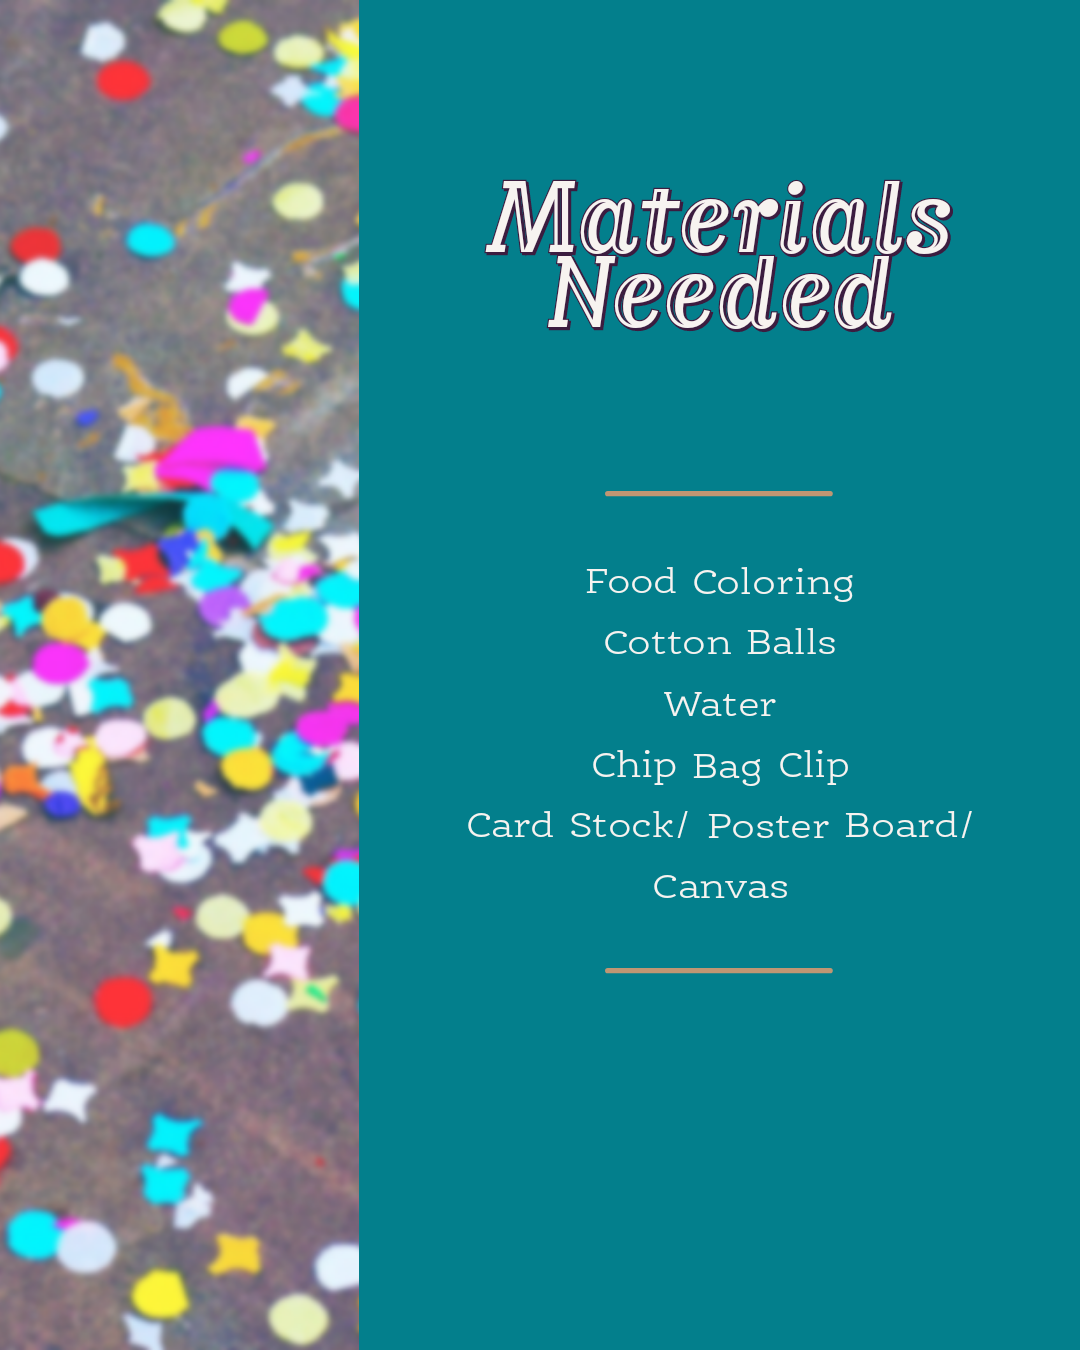
- Using cups or an ice cube tray, place a drop or 2 of food coloring in each spot, utilizing all colors of the rainbow.
- Fully immerse a cotton ball in each color.
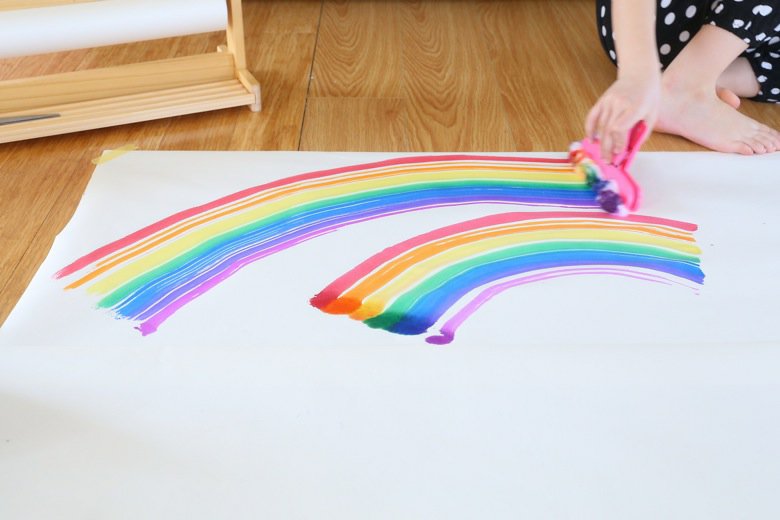
- Take your soaked cotton ball and place it in the chip bag clip, forming a rainbow.
- Use chip clip on your canvas/paper, creating beautiful works of art.
This is a visually beautiful craft. It also leaves very little mess behind. We tried it both with paint and food coloring. The paint works, but it mixes together slowly forming an ugly mud color the more you spread it, whilst the food coloring mixes together beautifully. You can get really creative with your color combinations and make cool paintings with it. For less rainbow-y or more detailed results, you can also use a clothespin instead of a chip clip.
Did you try one of these crafts? Tell us below!
The post Rainbow Fun appeared first on Not So SuperMom VS Society.
]]>Mess-Free Ziploc Bag Painting Read More »
The post Mess-Free Ziploc Bag Painting appeared first on Not So SuperMom VS Society.
]]>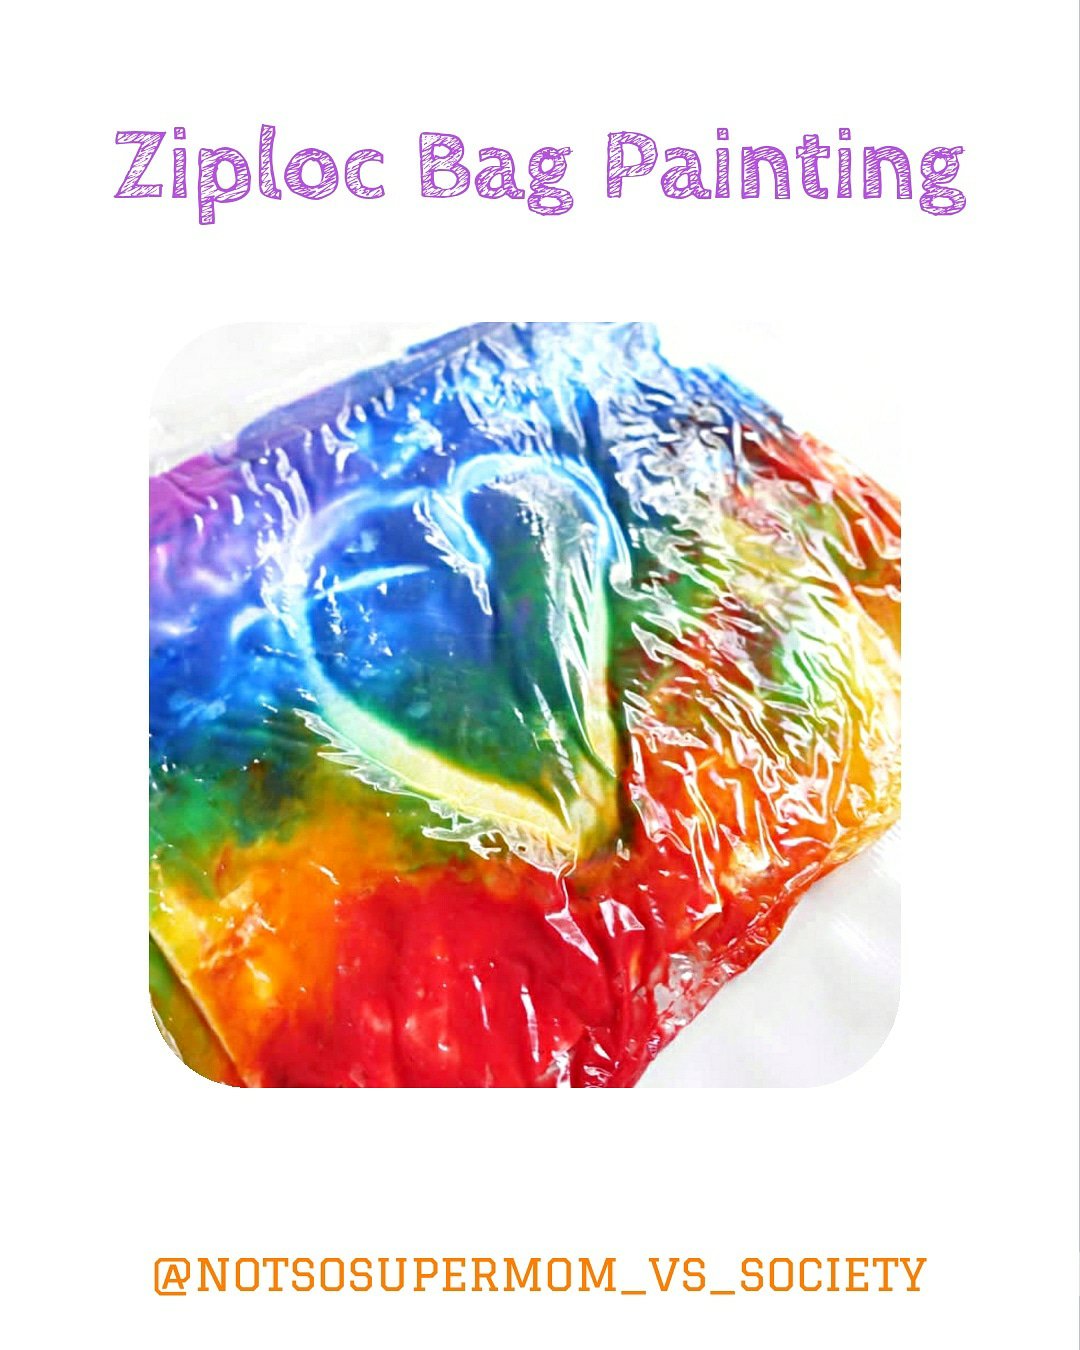
Everett is spending the next week or two with his Gigi, so Finn and I get to spend some quality one-on-one time together. Today, I decided to commemorate our special time together with a mess-free painting project.
Items Needed
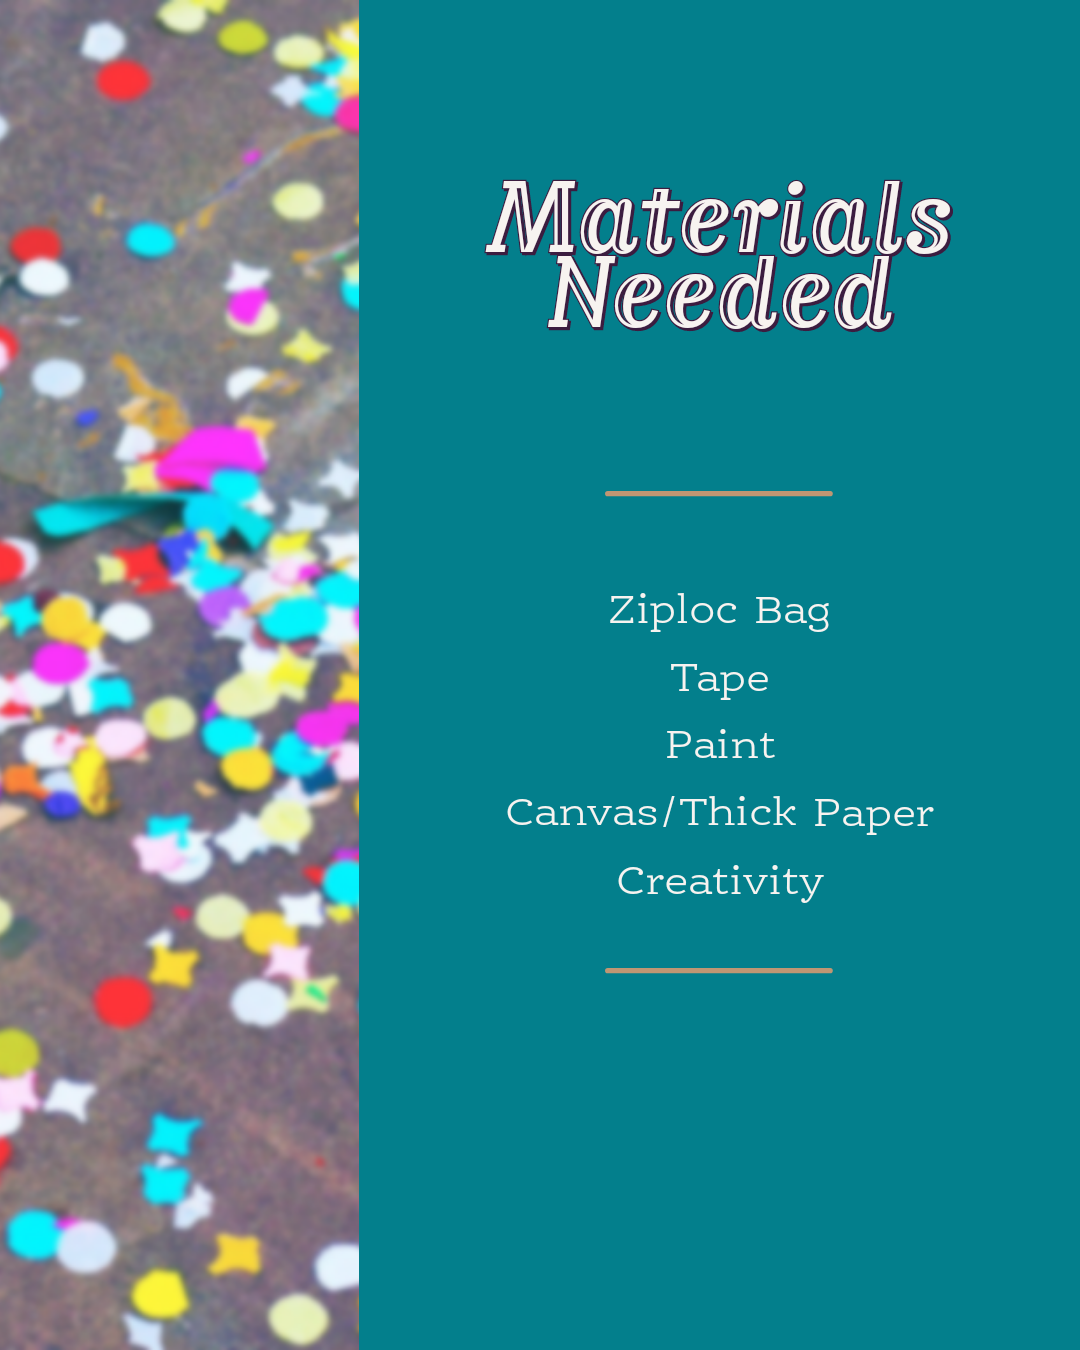
This is one activity that can go so many ways. It’s totally open ended. You can just let them mix and smoosh paint or make a beautiful work of art. It’s a great way to showcase color mixing and sensory play without making a huge mess. They can mix the paint with their hands, a rolling pin, q-tips, or even things like matchbox cars and monster trucks. You’re only limited by you and your toddlers imagination!
If you don’t want to make an artwork, simply add paint to the ziploc bag and tape it to your window or table with painter’s tape. As they mix up the paint, have them make letters or shapes.
If you do want to make a keepsake, tape off shapes/words/designs on your canvas or paper, place it in a ziploc bag, and carefully add paint. Let your kiddo mix the paint and fully cover the canvas. Once the canvas is covered, take the canvas out and put it somewhere safe to dry. Once it’s dry, take off the paint and enjoy your masterpiece!
The post Mess-Free Ziploc Bag Painting appeared first on Not So SuperMom VS Society.
]]>Easter Sensory Bins Read More »
The post Easter Sensory Bins appeared first on Not So SuperMom VS Society.
]]>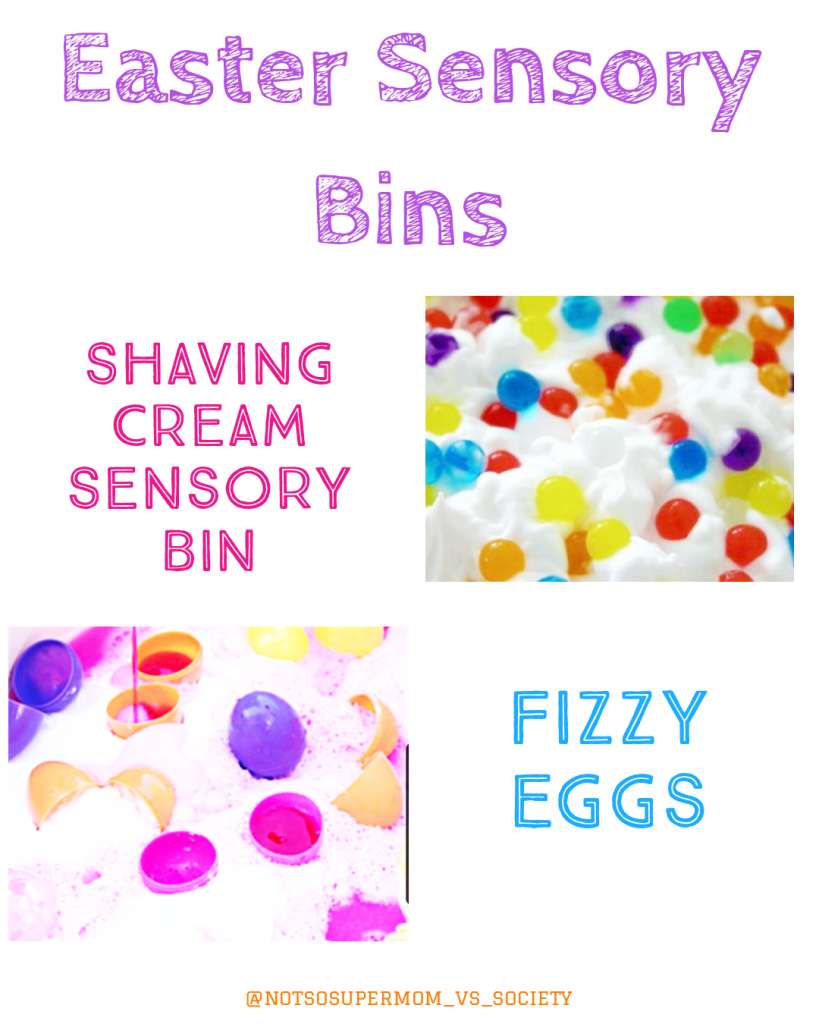
Yesterday we made shaving cream paint and it quickly turned into utter chaos. Finn started painting himself, both boys wanted their booties painted, and so on.
I decided to embrace the chaos of messy play and use the remaining shaving cream for a sensory tub. I used some water marbles, eggs, and also grabbed some vinegar & baking soda to have some extra sensory fun.
Ingredients & Instructions
Sensory Bin
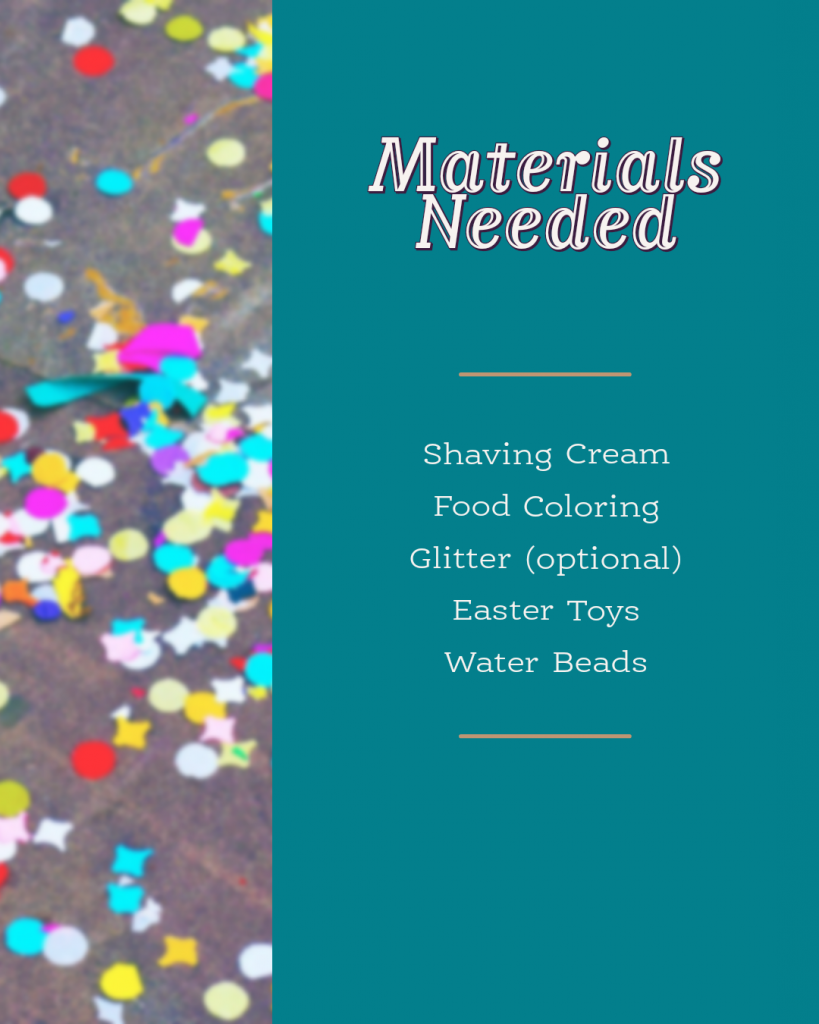
This one is pretty open ended. We had a lot of shaving cream left over from our painting endeavours, leftover water beads, and leftover plastic eggs. You could honestly use almost anything in these tubs. Also, for a more kid safe version of the shaving cream, you can use whipped cream or Mr. Bubble foam soap.
Fizzy Eggs
Similar to our Volcano Egg Dyeing, we simply added baking soda to our shaving cream bin and I gave them colored vinegar to put on top. You can use empty plastic eggs, add baking soda to them, and then let them add vinegar with a spray bottle or pipette.
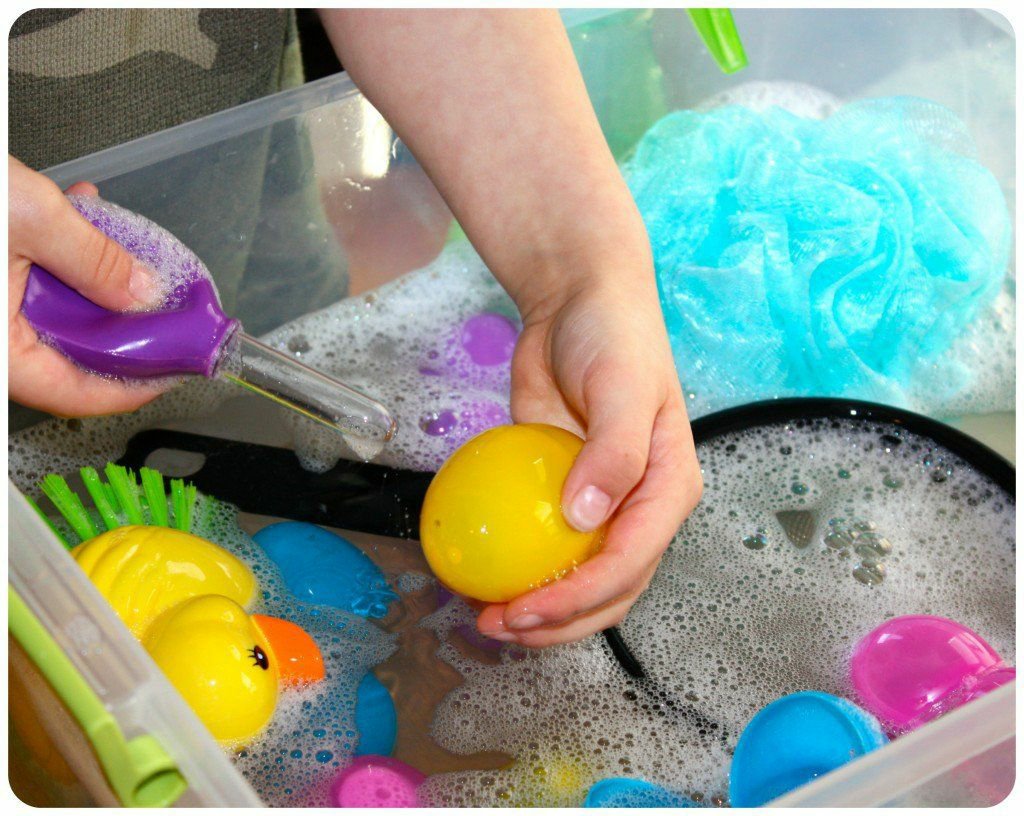
After we were done, we finished up with a fun egg washing water activity!
Did you do one of these? Which one? Did you modify it? Tell us below!
The post Easter Sensory Bins appeared first on Not So SuperMom VS Society.
]]>Easter Painting Projects Read More »
The post Easter Painting Projects appeared first on Not So SuperMom VS Society.
]]>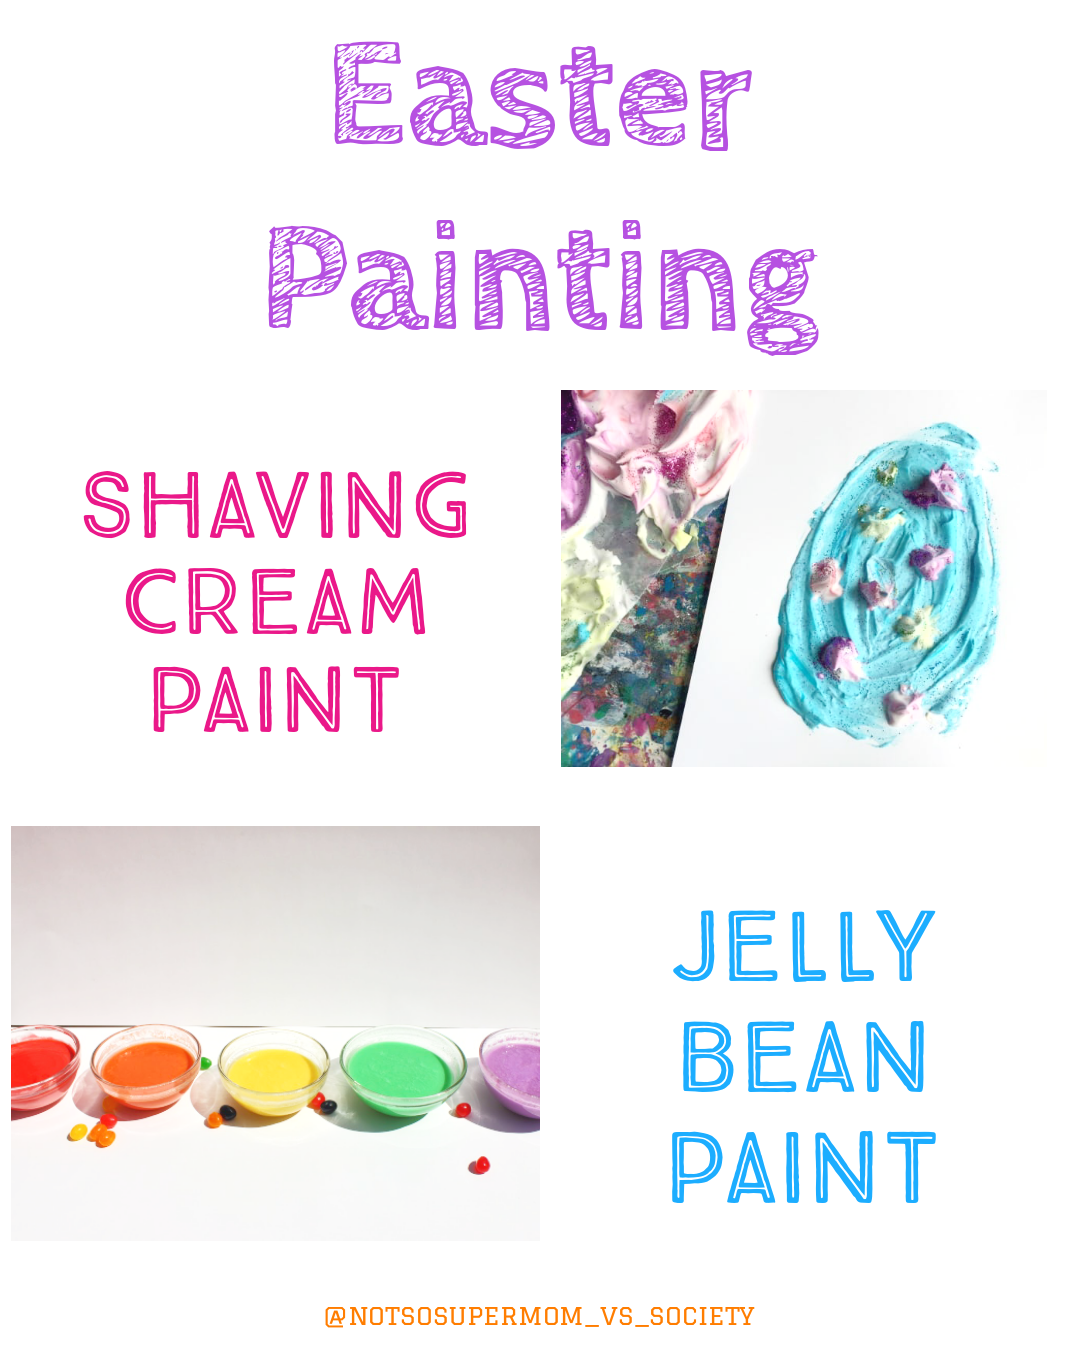
Today we brought out more fun painting projects! I wanted to have today’s painting projects be a little less messy than our rock painting day, so I found some easy to make and clean up painting projects.
I think now that we are schooling at home, I really need to invest in a drop cloth! The kids reallllly love painting and Finn definitely takes a “all hands on deck” approach.
These 2 are paints are fun to make. The jelly bean one is taste safe, so it makes a great choice for littles who like to stick everything in their mouths. It’s also pretty neat for older kids, due to the fact that process to make it is pretty cool!
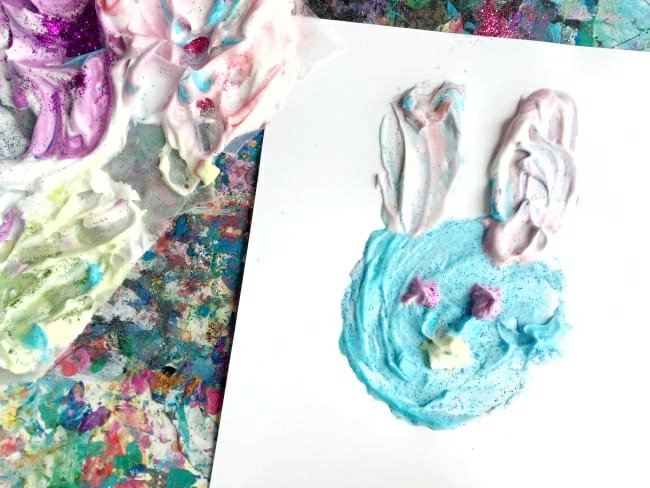
The shaving cream one is pretty neat because you can add a lot of fun elements to it and you are supposed to use your fingers to paint it. It makes a great sensory experience for the kids, plus we turned the leftover shaving cream into a sensory bin (check tomorrow’s blog for that activity!).
Paint Ingredients & Instructions
Shaving Cream Paint
Steps:
- Squeeze out a few dollops of plain shaving cream, making separate piles. I used a paper plate as a palette. This is a fun way for your child to practice their fine motor skills and self-control. If they start getting a little crazy with the cream, encourage them to take control of their own actions.
- Mix the paint. Drip a drop or two of food coloring into each pile. If you only have a few colors, blend a drop of each to make new ones. The primary colors (red, yellow and blue) combine to make purple, orange and green. Keep in mind, food coloring is extremely messy. It will stain clothes and may temporarily stain your child’s hands. The more it mixes in with the shaving cream, the lighter it will become. If you’re concerned about staining, using a plastic spoon or a craft stick to mix the food coloring until it lightens up enough for your child to touch it.
- Add some glitter. This really makes the paint fun, however, as I’m sure you’re aware, glitter gets EVERYWHERE.
- For smaller children, use a marker to draw a Easter egg/ bunny on their paper. Have them paint it. For older kids, have them create their own!
- Ask them questions while they paint. Have them talk about their observations. What happens as the paint dries? What colors mix? Etc.
Jelly Bean Paint
Steps:
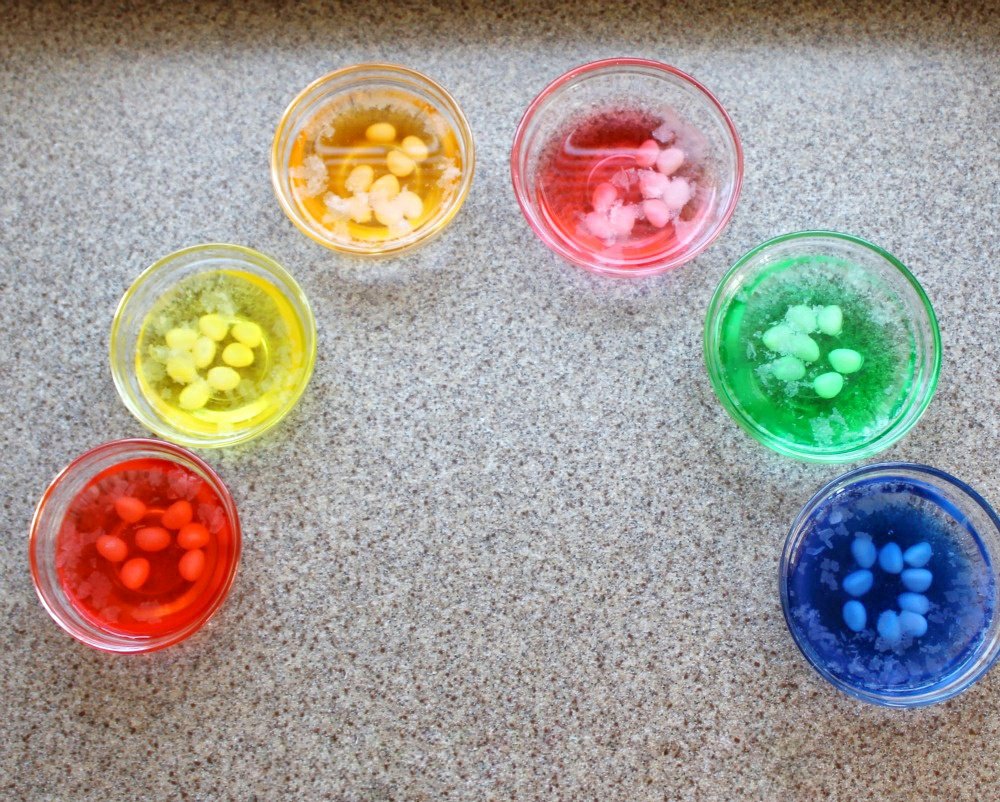
This painting craft starts with a fun candy science experiment. This experiment is super simple and relies purely on observation skills. The boys already had a pretty good idea of what was going to happen after we did our skittles candy rainbow a couple weeks ago.
Experiment Steps:
- Ask your children “What do you think will happen to these jelly beans when they soak in water?”
- Make as many cups/bowls as you have jelly bean colors and fill them with around 1 cup of water. I found warm water worked the fastest. (For further experimentation, you can use other liquids, such as vinegar, Sprite, etc, we used water so we could transform ours into paint)
- Pro-tip: if you plan on making paint, use a muffin tin and you’ll automatically have an easy to use paint pallet!
- Place 8-10 jelly beans in each cup.
- Check the jelly beans every hour until there isn’t any more color left on the beans. Have them note the changes each hour. This process takes around 30min-1 hour.
- Once the jelly bean color has dissolved into the water, remove the beans from the water and save the water for later. (Note the jelly beans will still have a light color to them)
- Have them feel the jelly beans and observe their new texture. Have them smell it. Have them taste the jelly bean and see if it still tastes the same. Ask them questions about why and how this experiment turned out.
Once your experiment is over use the colored water that you saved to make fun taste-safe paint!
Paint & Brush Steps:
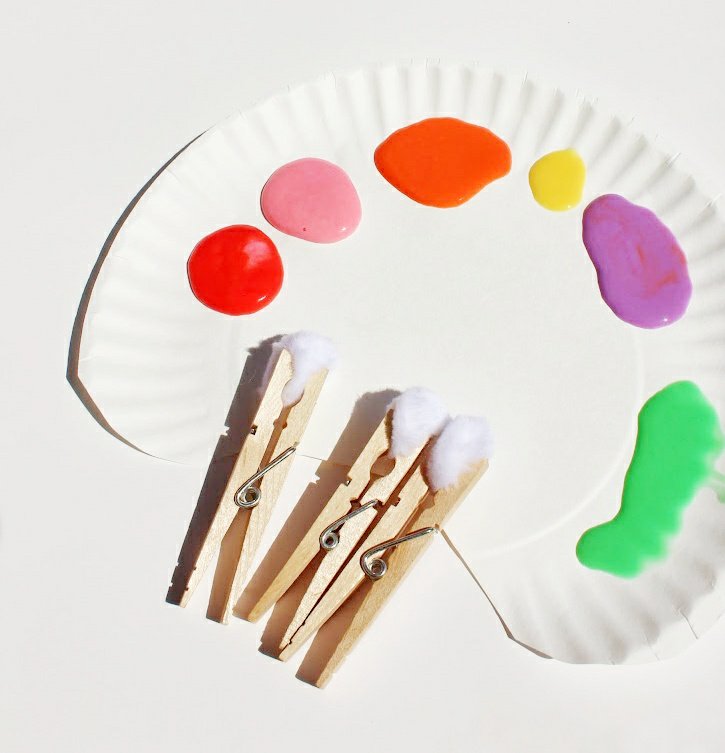
- Take your jelly bean water and add around 1/3 cups worth of flour to the liquid. Add as much flour to the mixture as you need to make a nice semi-thick paste. You want it to be smooth enough to easily paint, but not too runny. If it’s too runny the paint won’t stick well.
- For more vibrant color, add a couple drops of food coloring to your mixture and stir it up.
- Make your “cottontail” paintbrushes by taking a cotton ball and grabbing it with your clothespins. Full disclosure- while this brush is super cute for Easter crafts, it does absorb a lot of the paint and gets warped pretty quickly.
- Have fun! Paint Easter designs or something of your own design. The paint will be a little gritty from the residual sugar in the water and it gives the paint a cool texture!
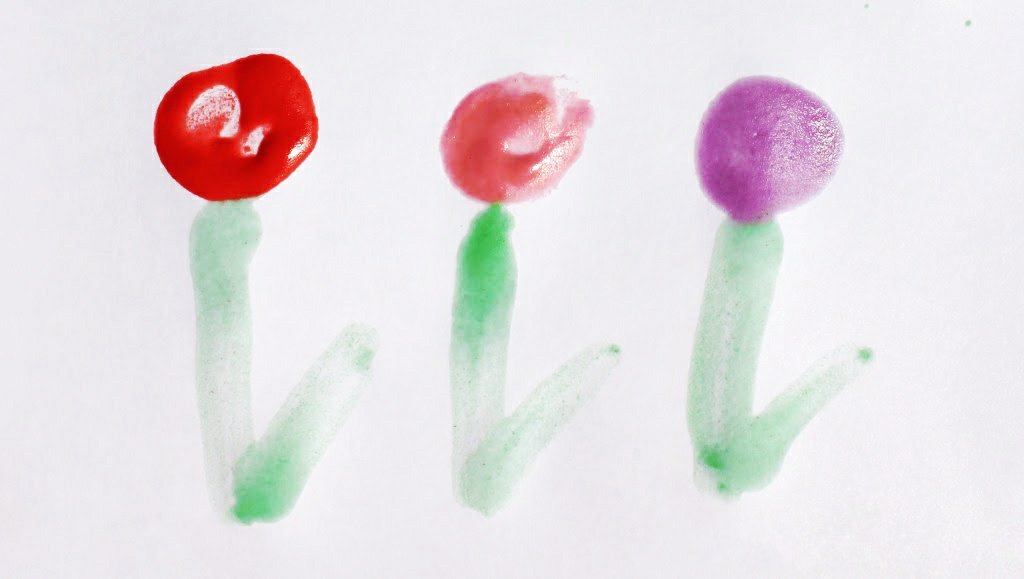
Did you try one of our crafts? Tell us below!
The post Easter Painting Projects appeared first on Not So SuperMom VS Society.
]]>Educational Egg Activities Read More »
The post Educational Egg Activities appeared first on Not So SuperMom VS Society.
]]>
Every Easter I end up with a gazillion plastic eggs that the kids like to trail across the house like little egg landmines. I’m stuck with the conundrum: do I toss this plastic crap away and just buy new eggs next year or do I save them and reuse them next year?
I always end up saving them, but I forget where I put them so I inevitably end up buying more. This year though, I’m using the little devils to actually help me teach the kids something during #QuarantineHomeschool.
I told anyone that would listen this week that sight words may be the death of us. My mother’s suggestion was to make it into a game for Everett. Both his teacher and my mom suggested cutting out the letters/words and having him match them. He is already getting sight word flash cards for Easter so I didn’t reallllly want to make bunch of crappy cutouts that would get everywhere. That’s when I decided to use Easter eggs.
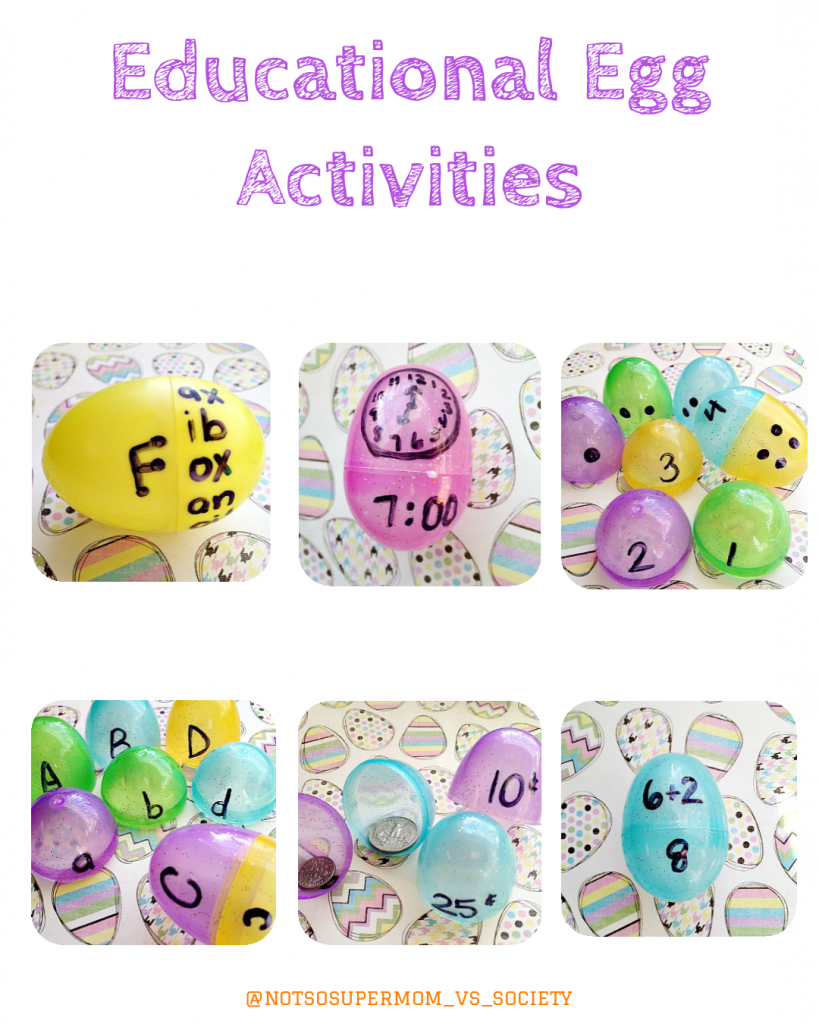
You can make these egg puzzles as easy or as hard as you need to. For Finn we did pompom color matching and egg sorting. For Everett we did sight words and basic math skills. If you have older kids, you can use it for things like contractions and more advanced math.
Instructions & Items Needed

Instructions:
Honestly, I know I normally lay out entire step by step guides, but these are pretty self explanatory. Instead, I’m going to make a list of ideas that you can use the eggs for:
- Matching Uppercase with Lowercase Alphabet Letters
- Sight Words
- Shape Matching. Draw a shape that covers both sides of the egg and have the kids match the right shapes.
- Synonym & Antonym matching
- Math (counting, addition, subtraction, multiplication, division, fractions, etc)
- Color Sorting & Matching
- Money Counting/Learning Currency (you can make this simple or hard)
- Science: Alka Seltzer Rockets (put water in half the shell, toss a quarter to half tab of alka seltzer in, quickly close egg, and place it down. Wait and watch the explosion!)
- Egg Art (make the eggs into bugs, chicks, etc)
- Guessing Games (hide snacks or small toys inside and have them guess)
- Egg Noise Makers (fill with different objects and observe the different types of sounds. I suggest taping the eggs so things like rice and sand don’t go everywhere)
- Fill eggs with slips of paper that list funny activities (hop on one foot for 15 seconds, do the chicken dance, etc.)
Honestly, the possibilities really are endless. You can get as creative as you need to to keep your little scholar entertained.
Did you try any egg activities? Tell us which ones below!
The post Educational Egg Activities appeared first on Not So SuperMom VS Society.
]]>