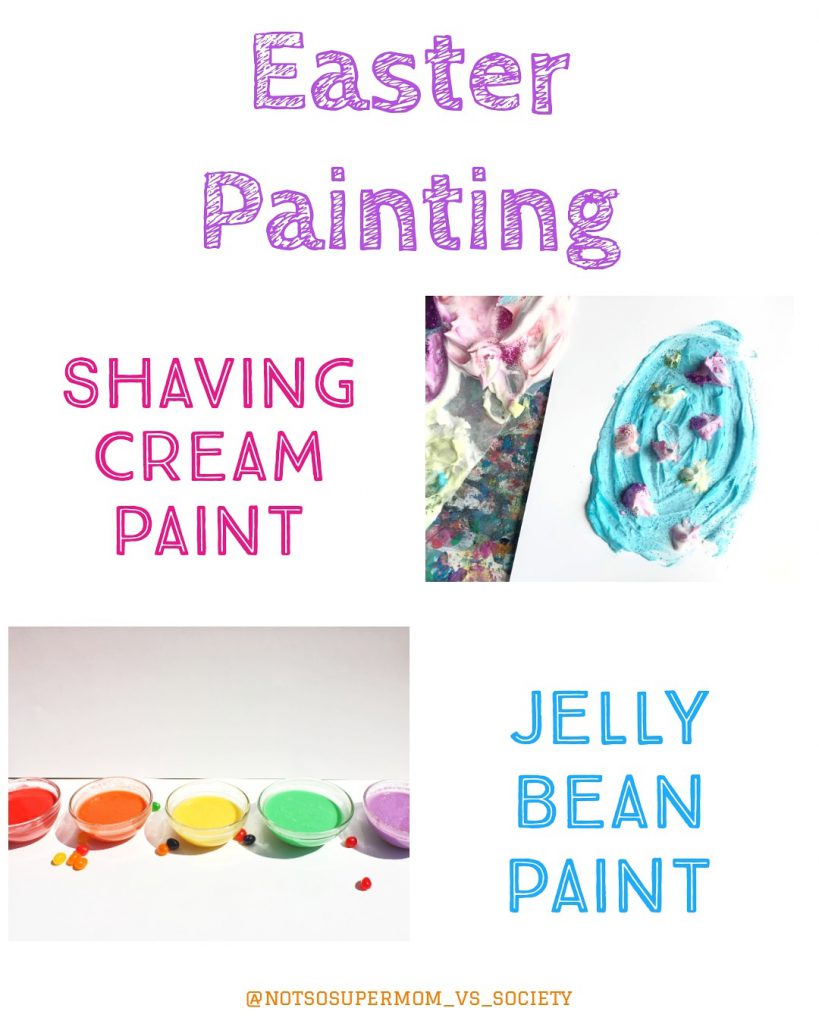
Today we brought out more fun painting projects! I wanted to have today’s painting projects be a little less messy than our rock painting day, so I found some easy to make and clean up painting projects.
I think now that we are schooling at home, I really need to invest in a drop cloth! The kids reallllly love painting and Finn definitely takes a “all hands on deck” approach.
These 2 are paints are fun to make. The jelly bean one is taste safe, so it makes a great choice for littles who like to stick everything in their mouths. It’s also pretty neat for older kids, due to the fact that process to make it is pretty cool!
The shaving cream one is pretty neat because you can add a lot of fun elements to it and you are supposed to use your fingers to paint it. It makes a great sensory experience for the kids, plus we turned the leftover shaving cream into a sensory bin (check tomorrow’s blog for that activity!).
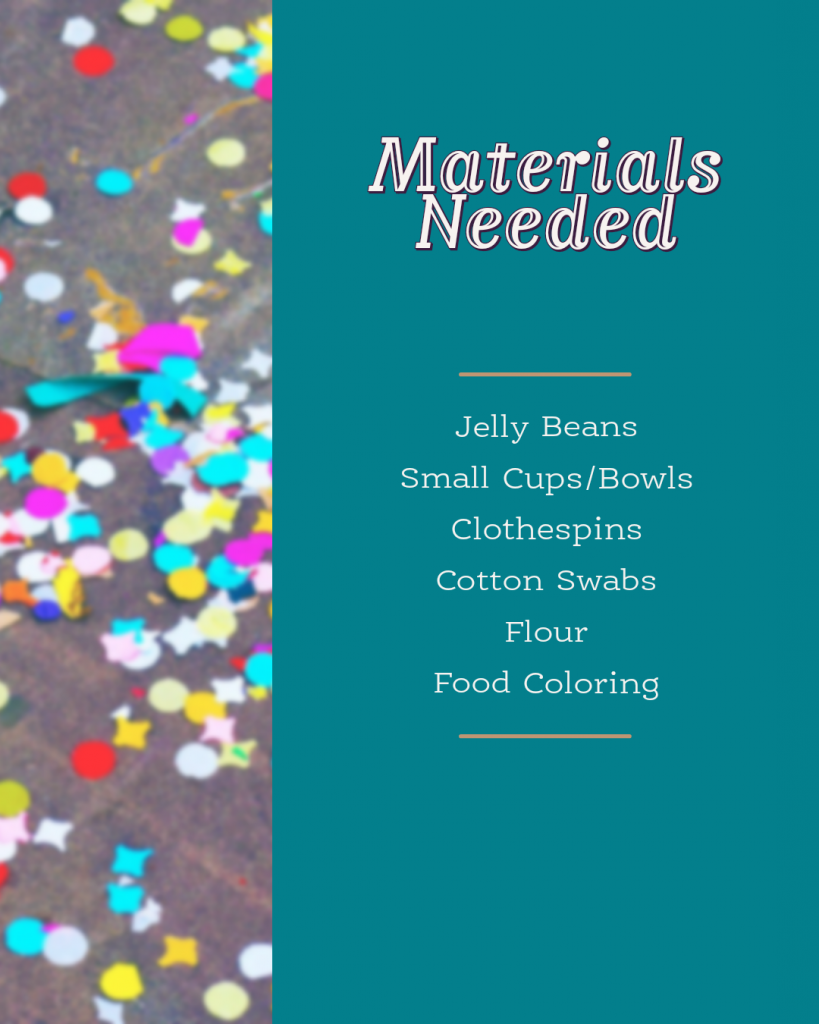
Paint Ingredients & Instructions
Shaving Cream Paint
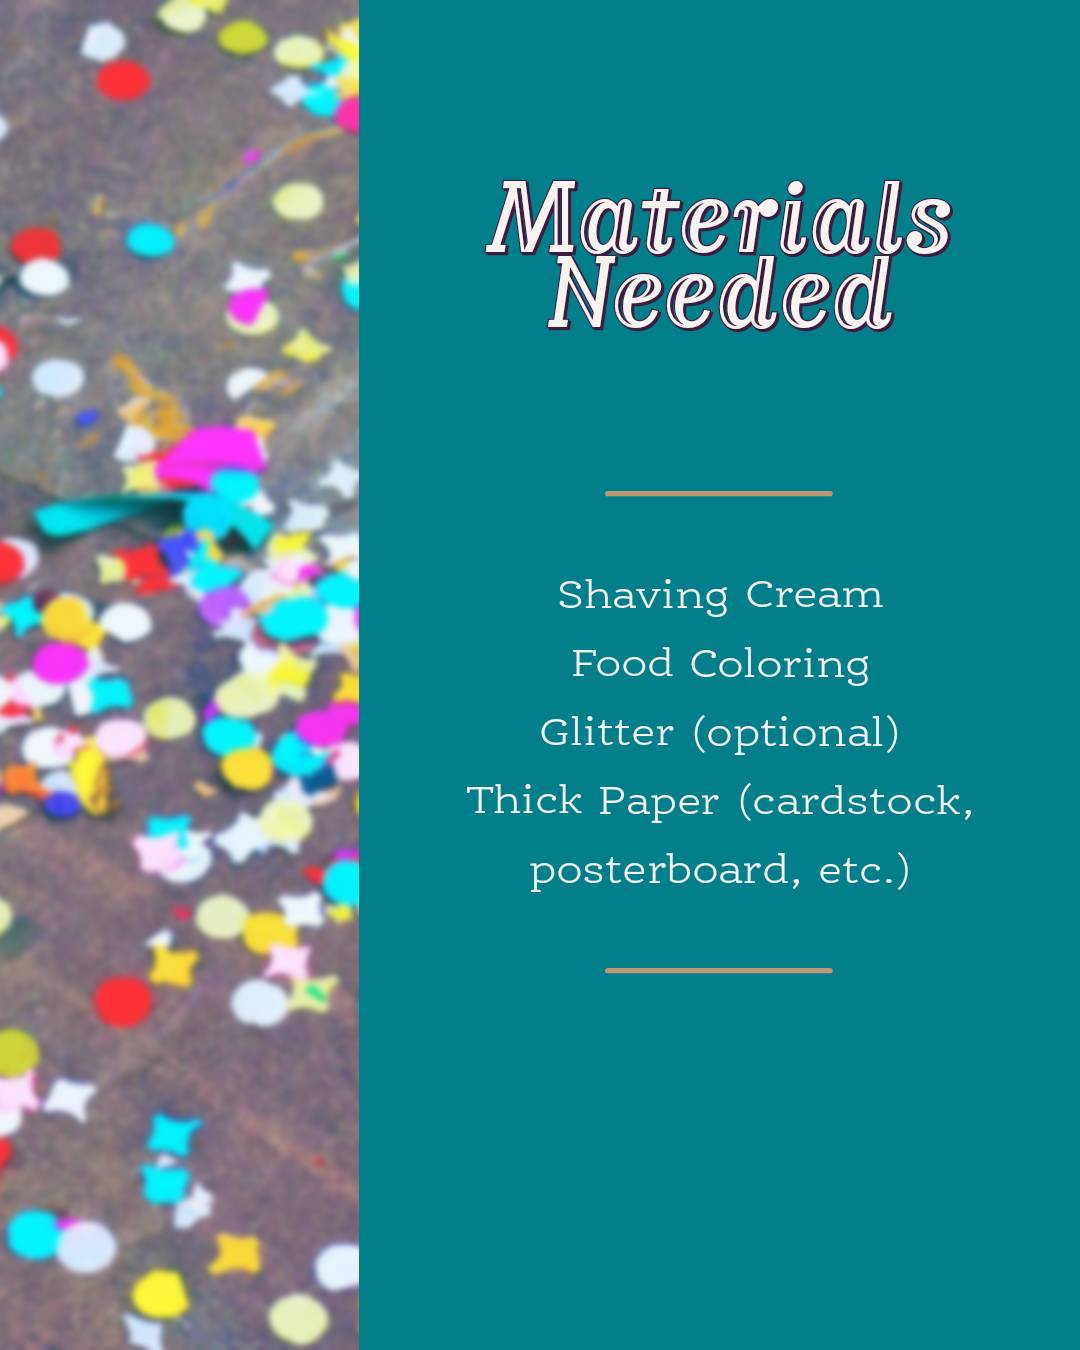
Steps:
- Squeeze out a few dollops of plain shaving cream, making separate piles. I used a paper plate as a palette. This is a fun way for your child to practice their fine motor skills and self-control. If they start getting a little crazy with the cream, encourage them to take control of their own actions.
- Mix the paint. Drip a drop or two of food coloring into each pile. If you only have a few colors, blend a drop of each to make new ones. The primary colors (red, yellow and blue) combine to make purple, orange and green. Keep in mind, food coloring is extremely messy. It will stain clothes and may temporarily stain your child’s hands. The more it mixes in with the shaving cream, the lighter it will become. If you’re concerned about staining, using a plastic spoon or a craft stick to mix the food coloring until it lightens up enough for your child to touch it.
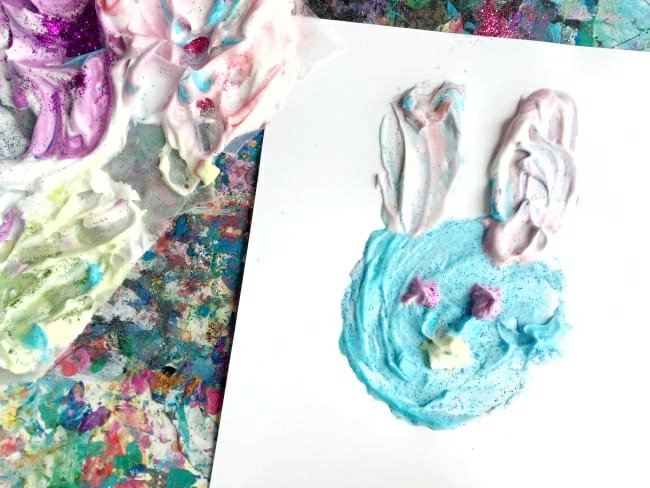
- Add some glitter. This really makes the paint fun, however, as I’m sure you’re aware, glitter gets EVERYWHERE.
- For smaller children, use a marker to draw a Easter egg/ bunny on their paper. Have them paint it. For older kids, have them create their own!
- Ask them questions while they paint. Have them talk about their observations. What happens as the paint dries? What colors mix? Etc.
Jelly Bean Paint
Steps:
This painting craft starts with a fun candy science experiment. This experiment is super simple and relies purely on observation skills. The boys already had a pretty good idea of what was going to happen after we did our skittles candy rainbow a couple weeks ago.
Experiment Steps:
- Ask your children “What do you think will happen to these jelly beans when they soak in water?”
- Make as many cups/bowls as you have jelly bean colors and fill them with around 1 cup of water. I found warm water worked the fastest. (For further experimentation, you can use other liquids, such as vinegar, Sprite, etc, we used water so we could transform ours into paint)
- Pro-tip: if you plan on making paint, use a muffin tin and you’ll automatically have an easy to use paint pallet!
- Place 8-10 jelly beans in each cup.
- Check the jelly beans every hour until there isn’t any more color left on the beans. Have them note the changes each hour. This process takes around 30min-1 hour.
- Once the jelly bean color has dissolved into the water, remove the beans from the water and save the water for later. (Note the jelly beans will still have a light color to them)
- Have them feel the jelly beans and observe their new texture. Have them smell it. Have them taste the jelly bean and see if it still tastes the same. Ask them questions about why and how this experiment turned out.

Once your experiment is over use the colored water that you saved to make fun taste-safe paint!
Paint & Brush Steps:
- Take your jelly bean water and add around 1/3 cups worth of flour to the liquid. Add as much flour to the mixture as you need to make a nice semi-thick paste. You want it to be smooth enough to easily paint, but not too runny. If it’s too runny the paint won’t stick well.
- For more vibrant color, add a couple drops of food coloring to your mixture and stir it up.
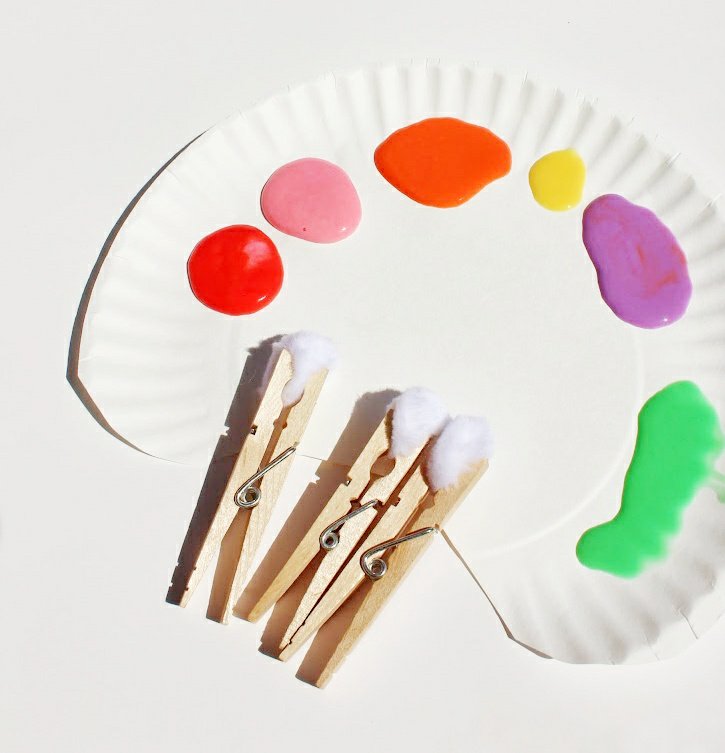
- Make your “cottontail” paintbrushes by taking a cotton ball and grabbing it with your clothespins. Full disclosure- while this brush is super cute for Easter crafts, it does absorb a lot of the paint and gets warped pretty quickly.
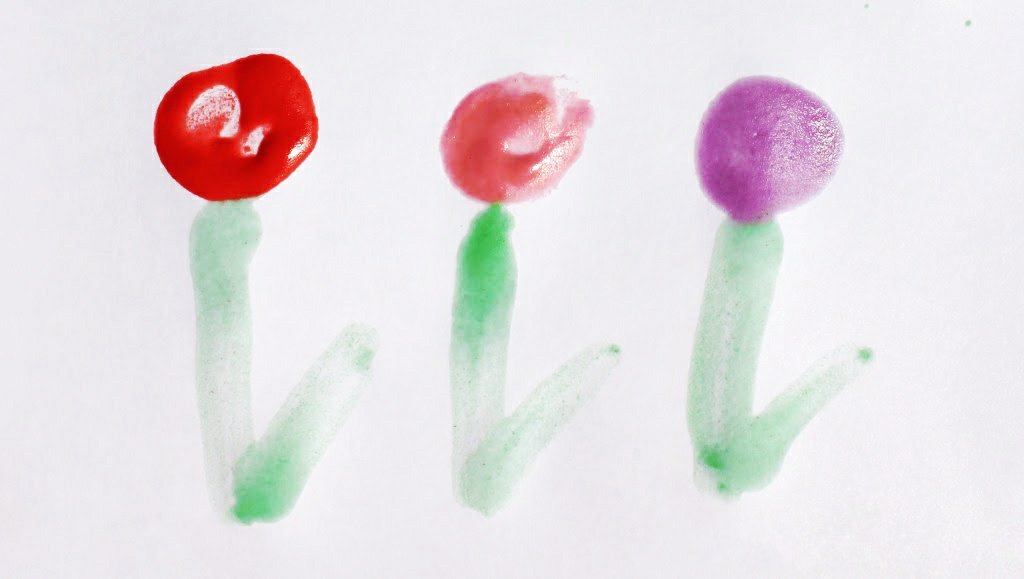
- Have fun! Paint Easter designs or something of your own design. The paint will be a little gritty from the residual sugar in the water and it gives the paint a cool texture!
Did you try one of our crafts? Tell us below!