Ultimate Chocolate Chip Cookie Recipe Read More »
The post Ultimate Chocolate Chip Cookie Recipe appeared first on Not So SuperMom VS Society.
]]>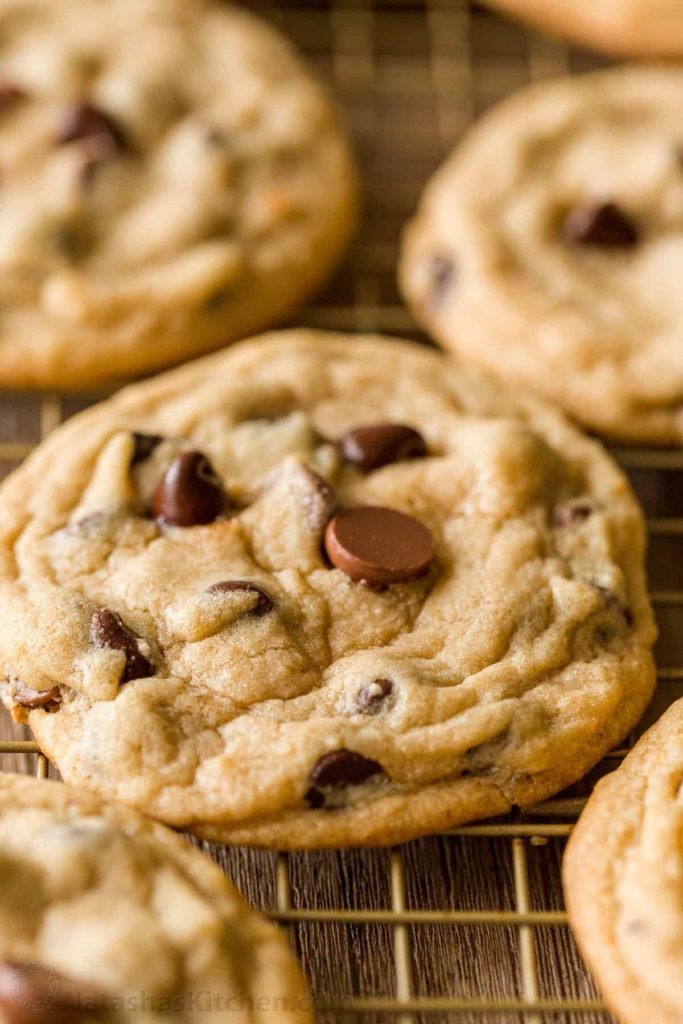
Today is National Chocolate Chip Cookie Day, so I decided to share my favorite recipe for baking them! There are millions of recipes out there, all with slight variations, however, this one always consistently comes out delicious and it’s easy to make.
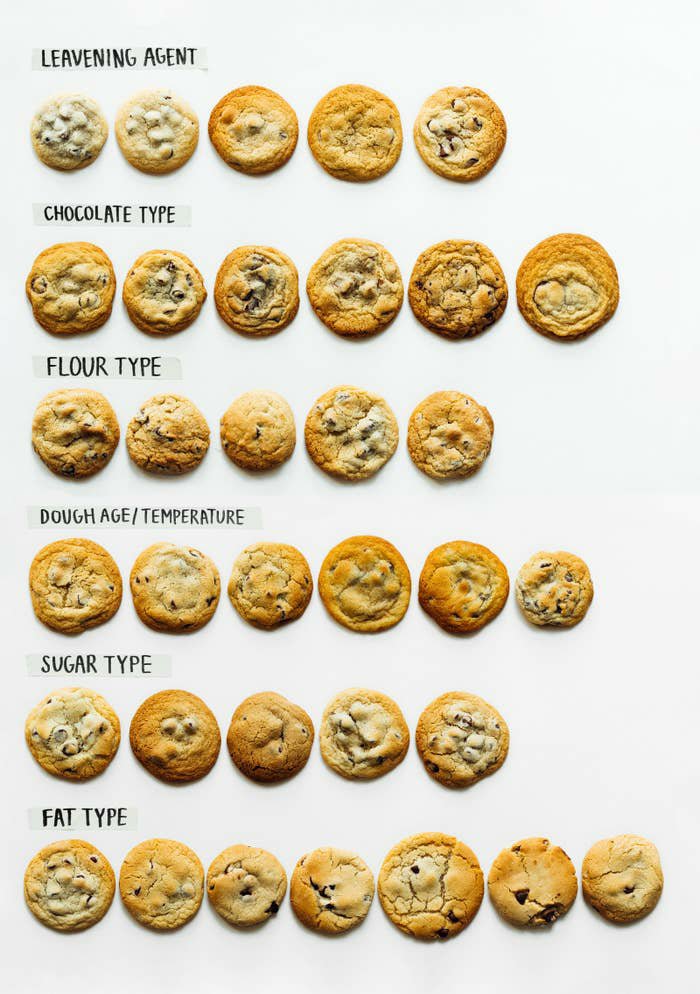
I discovered this recipe a few years ago after trying out a lot of combinations and having quite a few fails- like the time I accidentally used corn starch instead of flour! Whoops! Since then I’ve tweaked it a little based on how many I want to bake and what types of flavors I want to add, like mint or cbd. Today I’ll be giving you my basic recipe and you can modify it how you see fit!
Ingredients
- 2 1/4 cups all-purpose flour
- 1 teaspoon baking soda
- 1 teaspoon salt
- 1 cup (2 sticks) butter, softened
- 3/4 cup granulated sugar
- 3/4 cup packed brown sugar
- 1 teaspoon vanilla extract
- 2 large eggs
- 2 cups semi-sweet chocolate chips
- 1 cup chopped nuts (Optional. If omitting, add 1 to 2 Tbsp. of all-purpose flour.) I usually omit nuts, though sometimes I use almonds.
In addition to the ingredients above, you’ll also need a cookie sheet (I use 3), a mixing bowl, measuring cups, measuring spoons & cups, a mixing spoon, and a spatula. I also use a cooling rack.
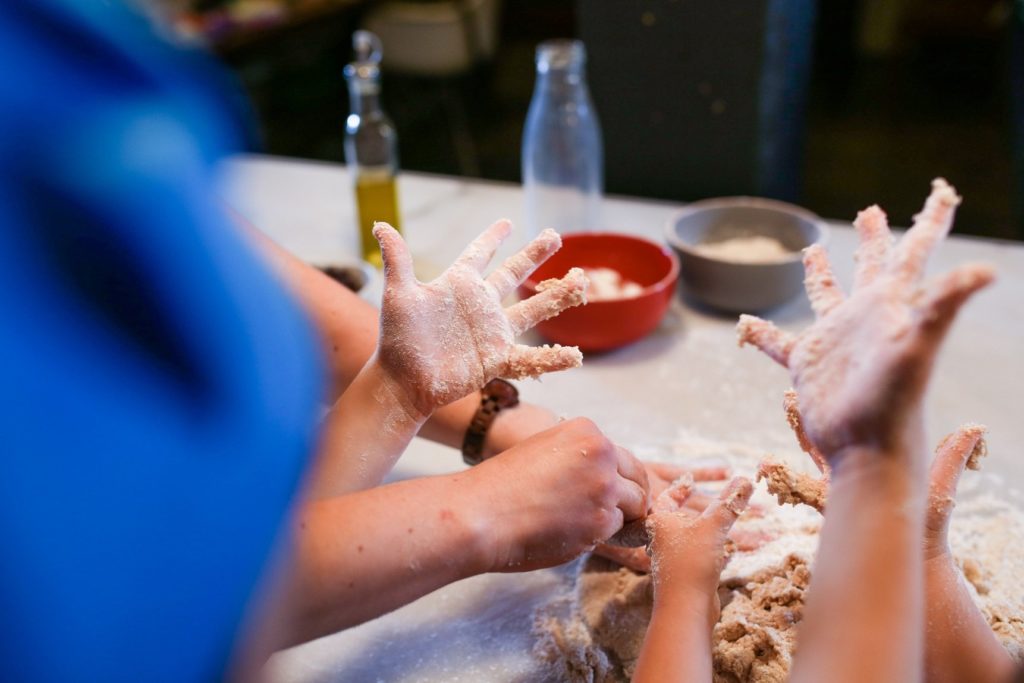
Steps
- Combine flour, baking soda and salt in small bowl.
- Beat butter, granulated sugar, brown sugar and vanilla extract in large mixing bowl until creamy.
- Add eggs, one at a time, beating well after each addition.
- Gradually beat in flour mixture. Stir in morsels and nuts/additional flour. Drop by rounded tablespoon onto ungreased baking sheets.
- Chill the dough 10-15 minutes while oven preheats to 375° F.
- The longer you chill the dough, the more the flavors will develop and the chewier your cookies will be!
- Bake for 9 to 11 minutes or until golden brown.
- Tip: the best way to make soft chocolate chip cookies is to slightly under-bake the cookies. In order to slightly under-bake the cookies, the edges should look set (but not brown). The center of the cookies should look soft and even a little puffy still. This trick will help to keep your cookies nice and soft.
- You can bake 10 minutes for a softer cookie or up to 14 minutes for a crispier cookie.
- Cool on baking sheets for 2 minutes; remove to wire racks to cool completely
- Enjoy!
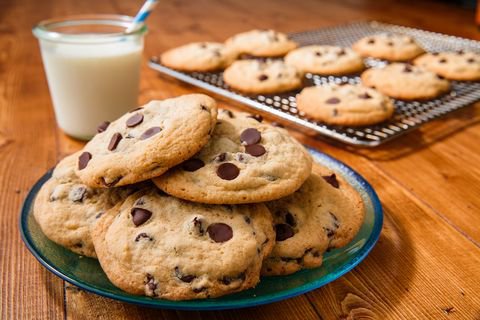
Keeping Your Cookies Soft
We don’t often have a lot of extra cookies lying around, but when we make the full recipe we definitely have an excess amount. Here are a few tips for keeping your cookies fresh, especially handy for those of us who like to prep cookies for giving away during the holiday season!
- Be sure to seal your cookie container well, whether you’re storing them in the freezer, refrigerator or a zip-top bag. You want your cookies to be in an airtight container for maximum freshness.
- If you are storing your cookies at room temperature or in the refrigerator, add a small piece of bread to the container with the cookies. This will help to keep the cookies soft.
- My favorite way to keep homemade cookies fresh is to freeze them. Freeze your extra cookies as soon as they cool completely after baking. I know many people freeze extra raw balls of cookie dough before baking so that they can have fresh baked cookies whenever they want. If this is the method you love, then go for it. For me, it’s too much effort to preheat the oven and wait whenever I want a cookie. I bake all of my cookies at once and then freeze the extras right after they are cool. Then I can just defrost (on the counter for a few minutes) and enjoy!
I hope you love these cookies as much as we do! Let me know in the comments below if you try it!
The post Ultimate Chocolate Chip Cookie Recipe appeared first on Not So SuperMom VS Society.
]]>Skateboarding On The Spectrum Read More »
The post Skateboarding On The Spectrum appeared first on Not So SuperMom VS Society.
]]>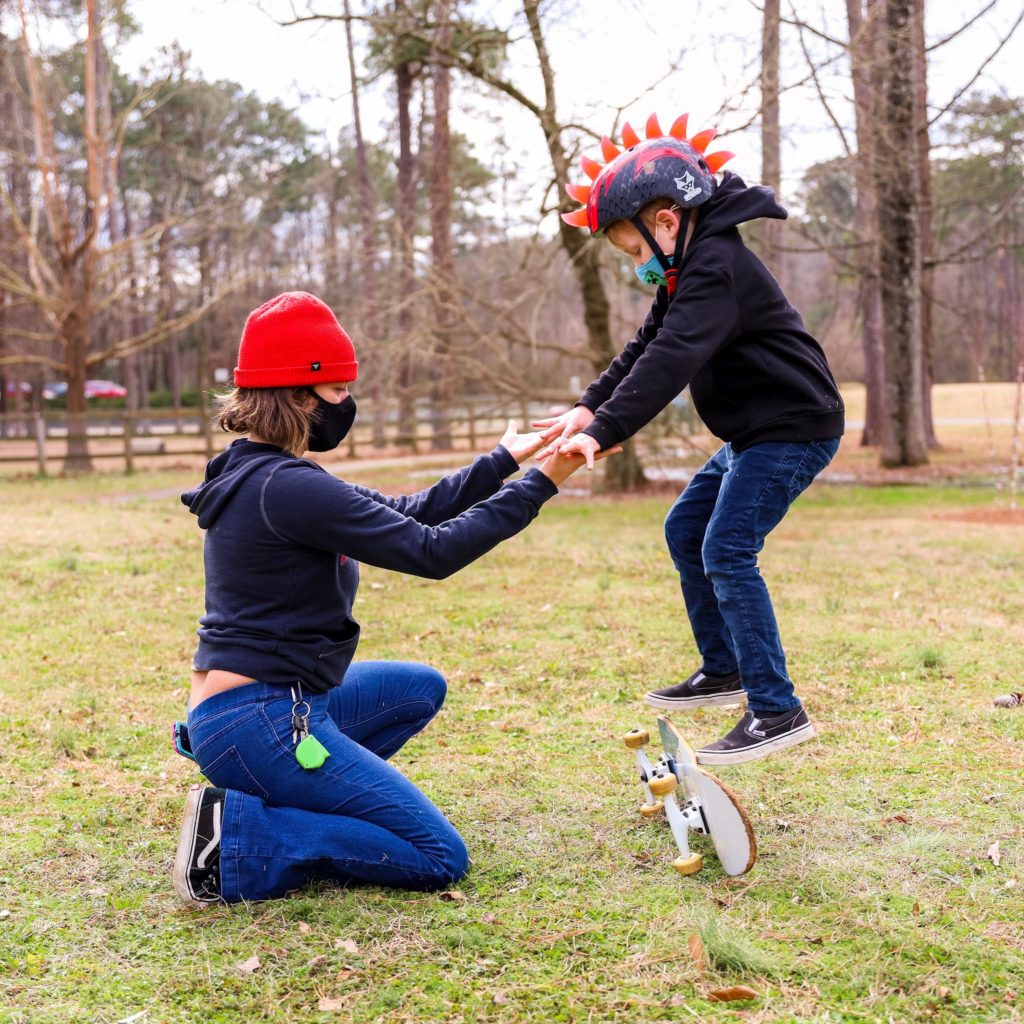
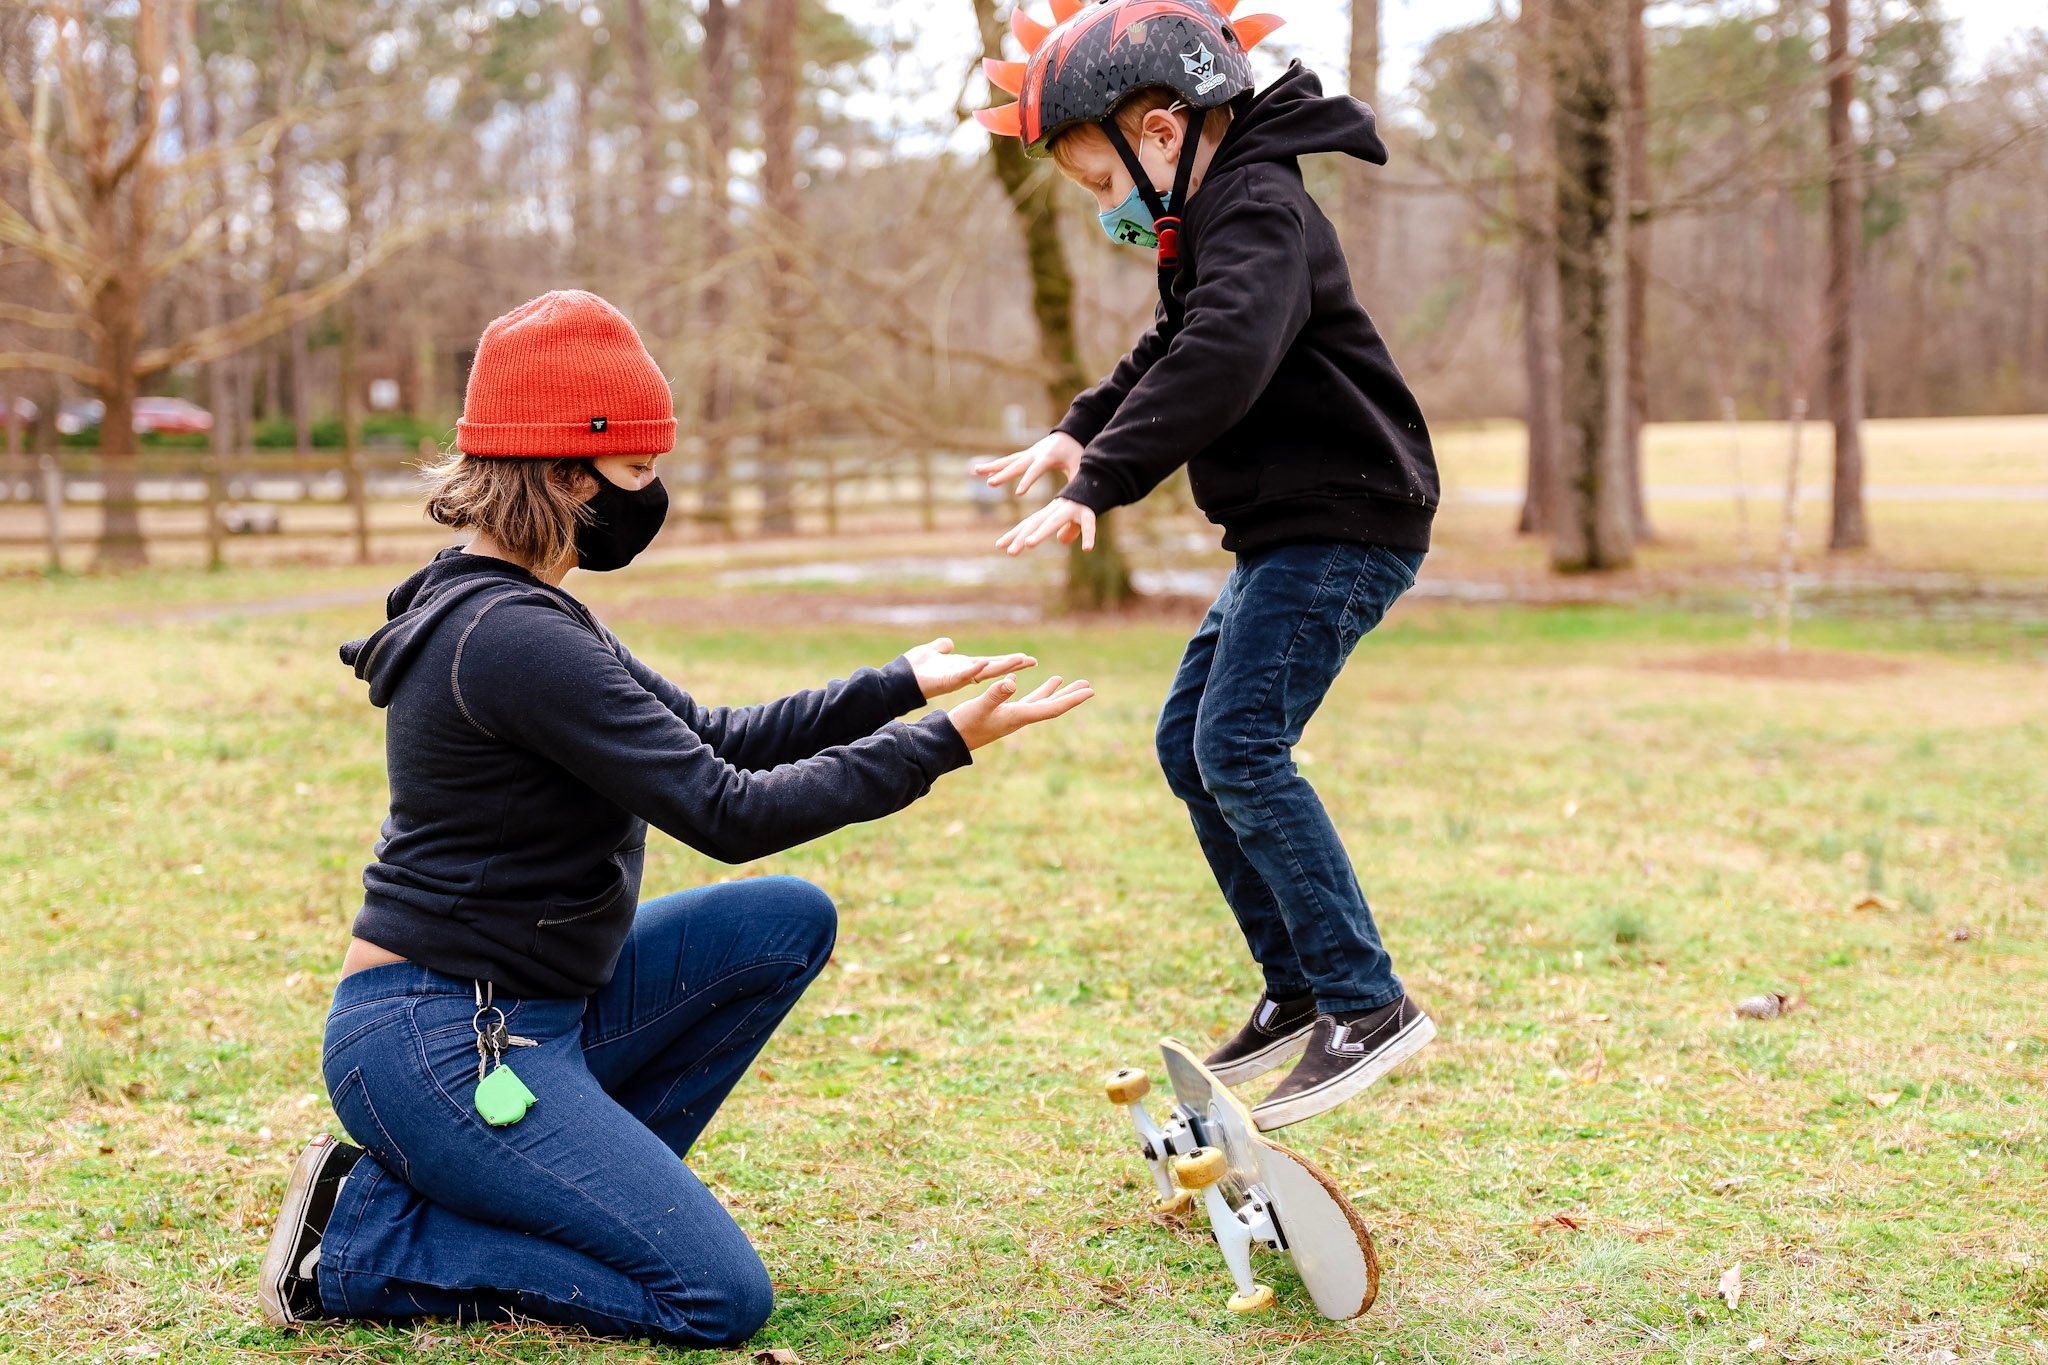
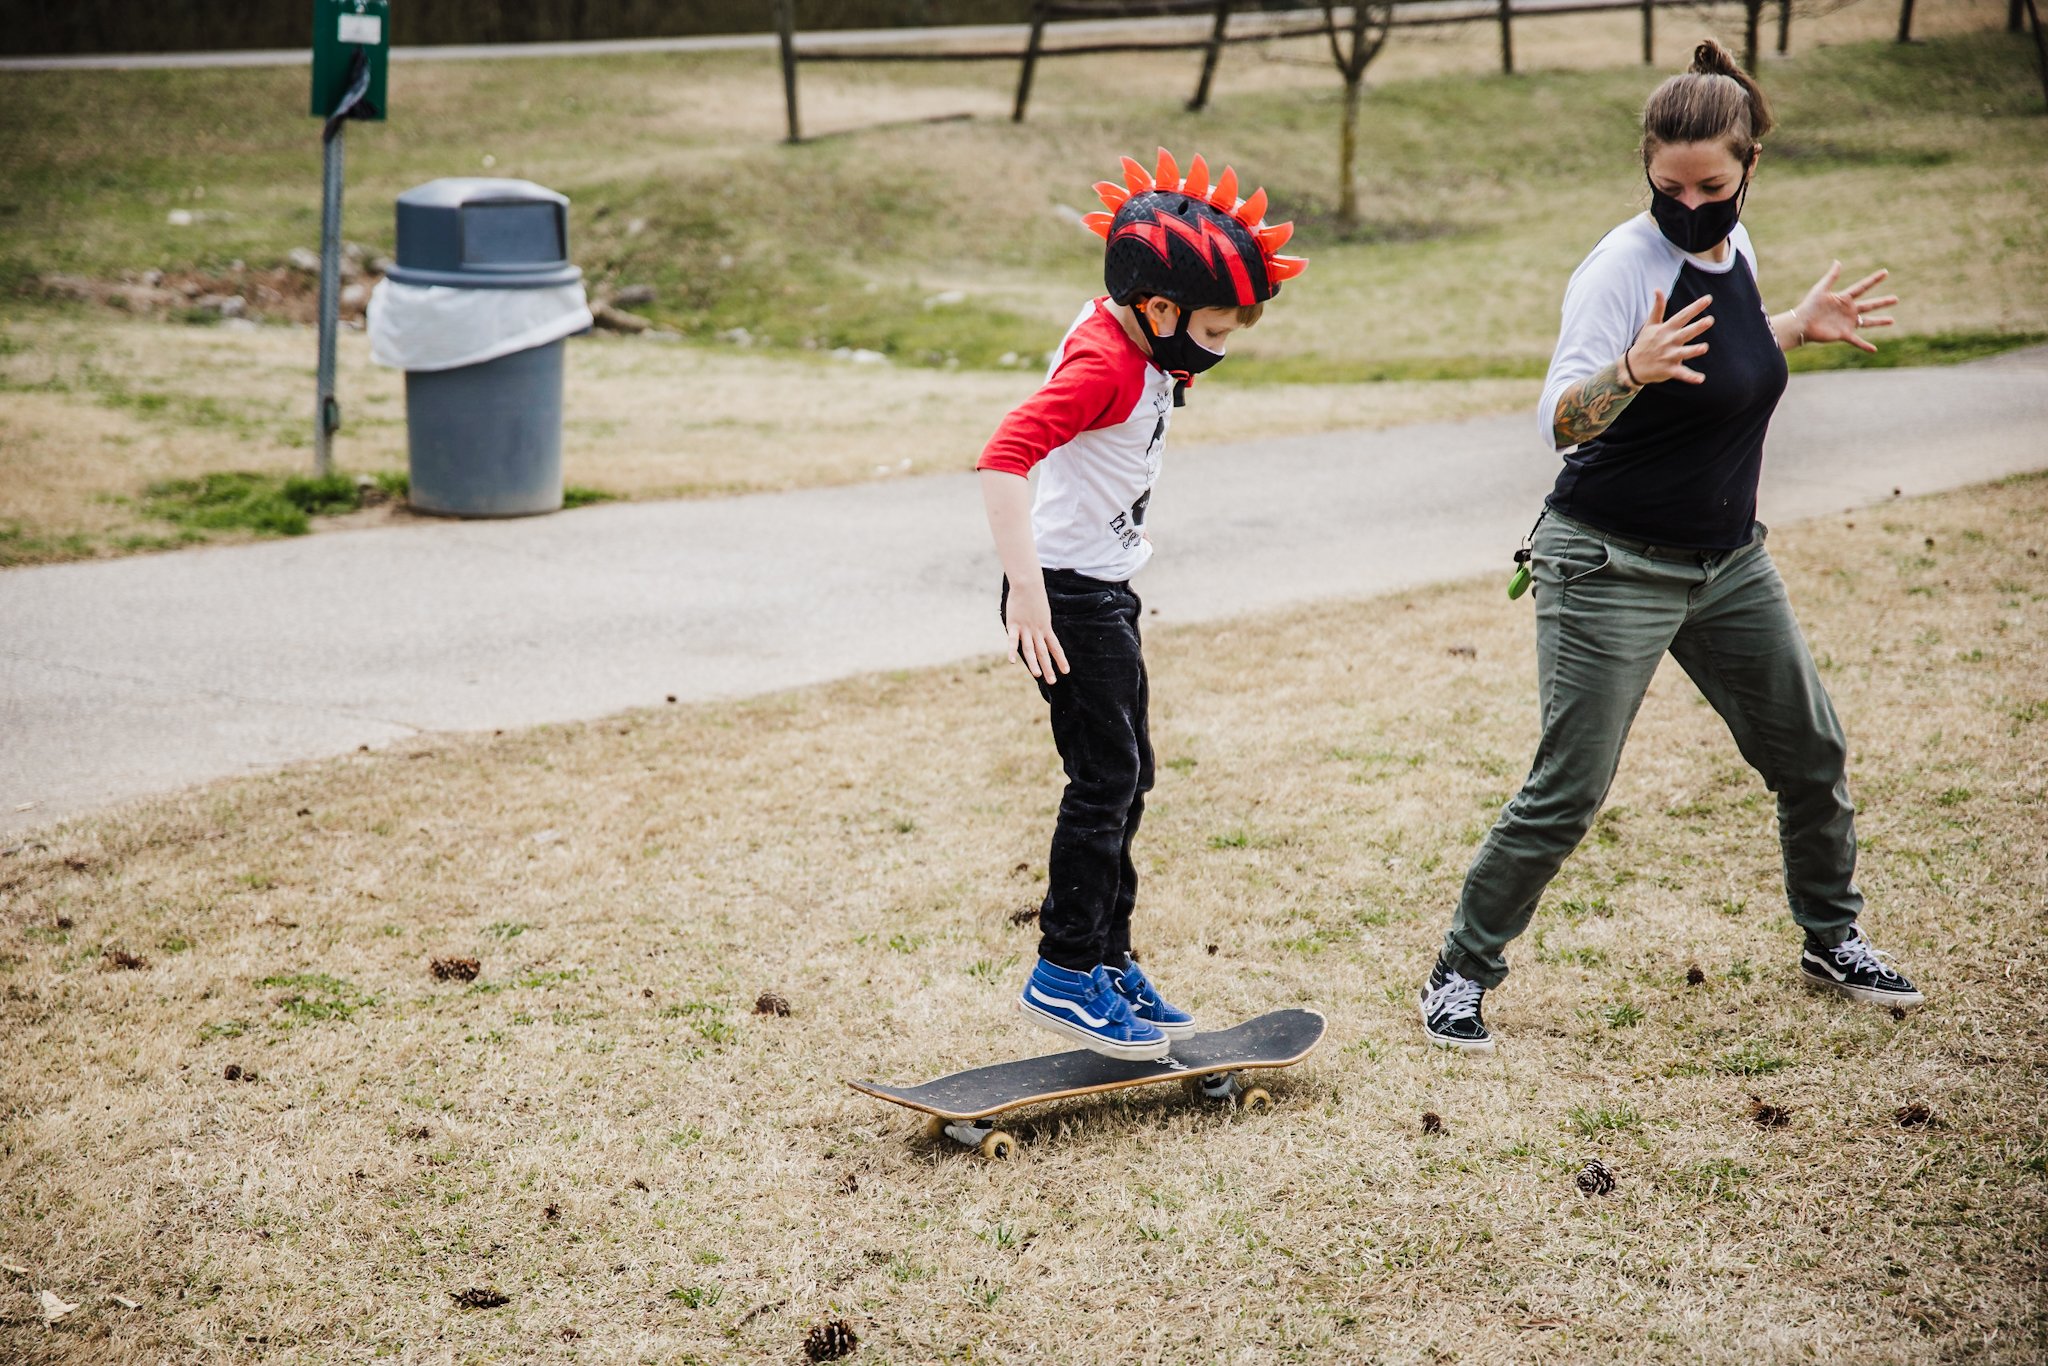
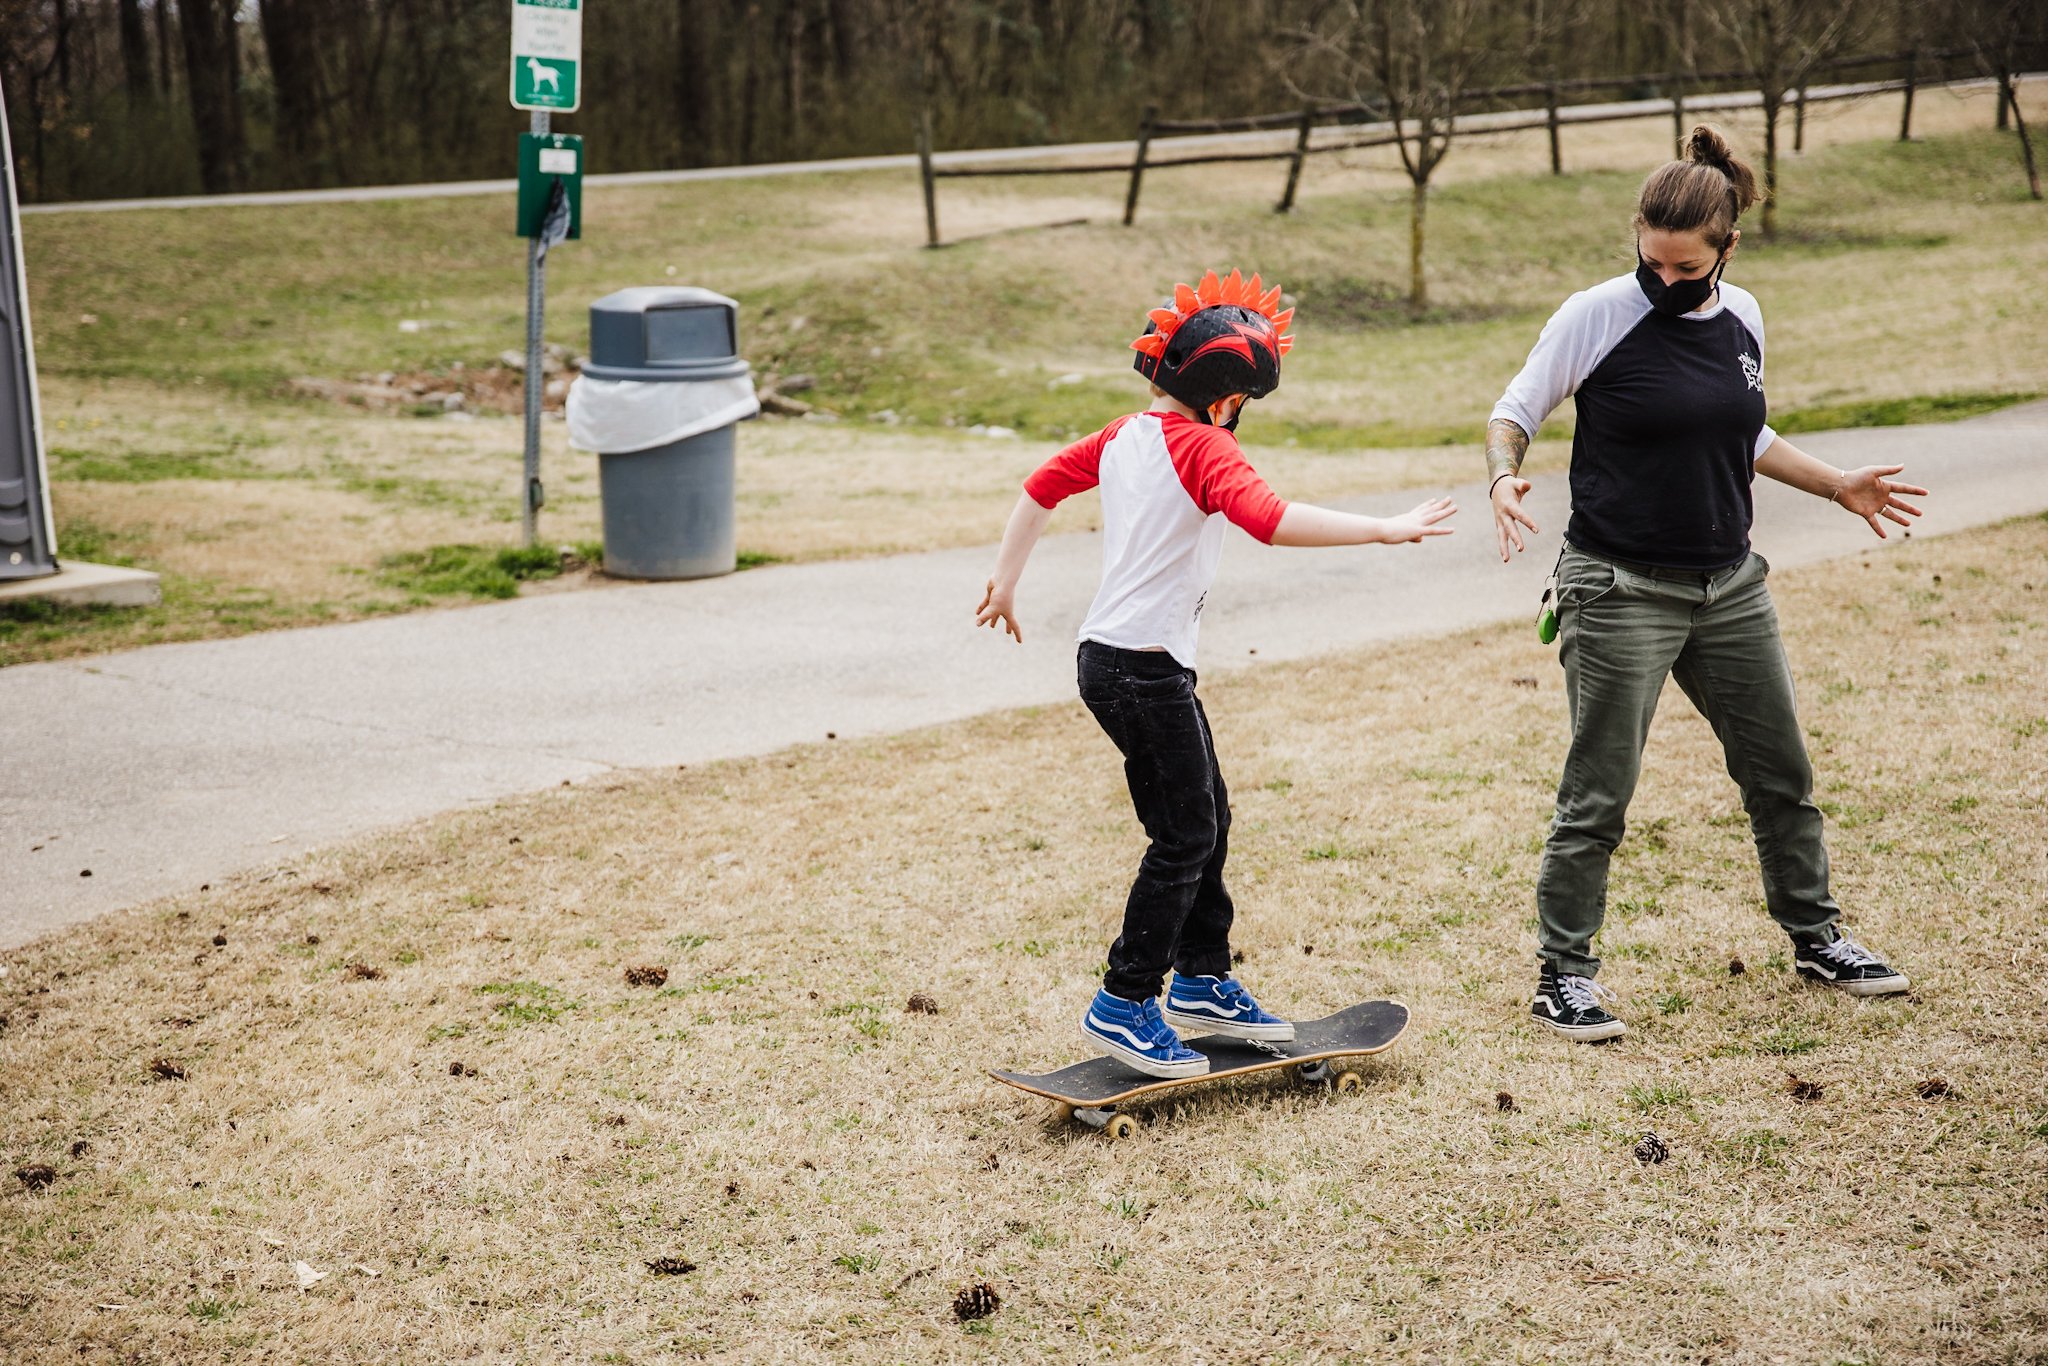
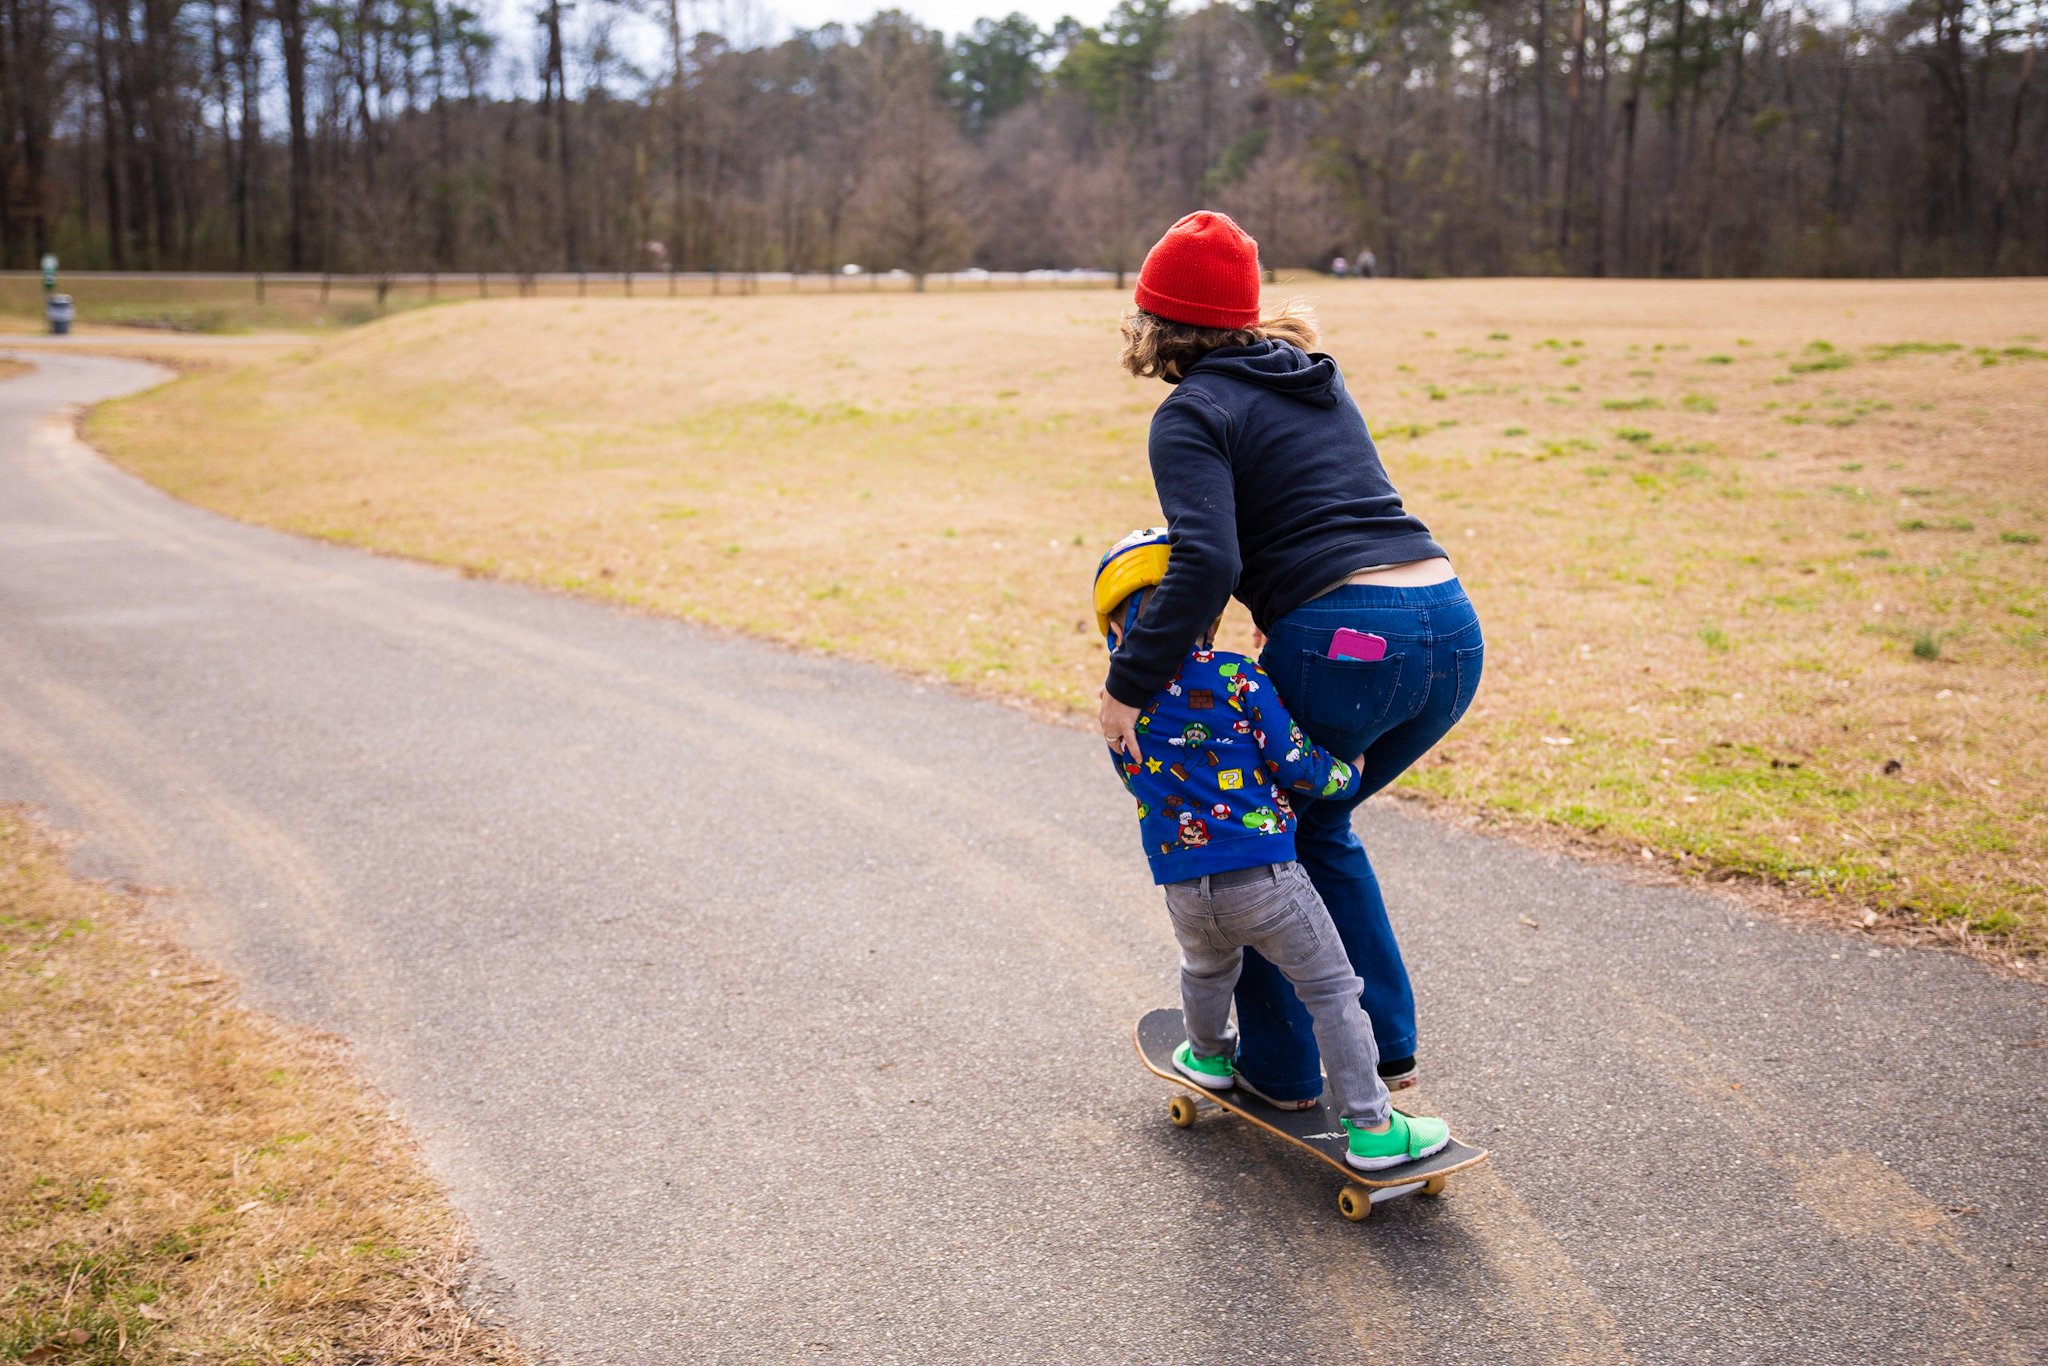
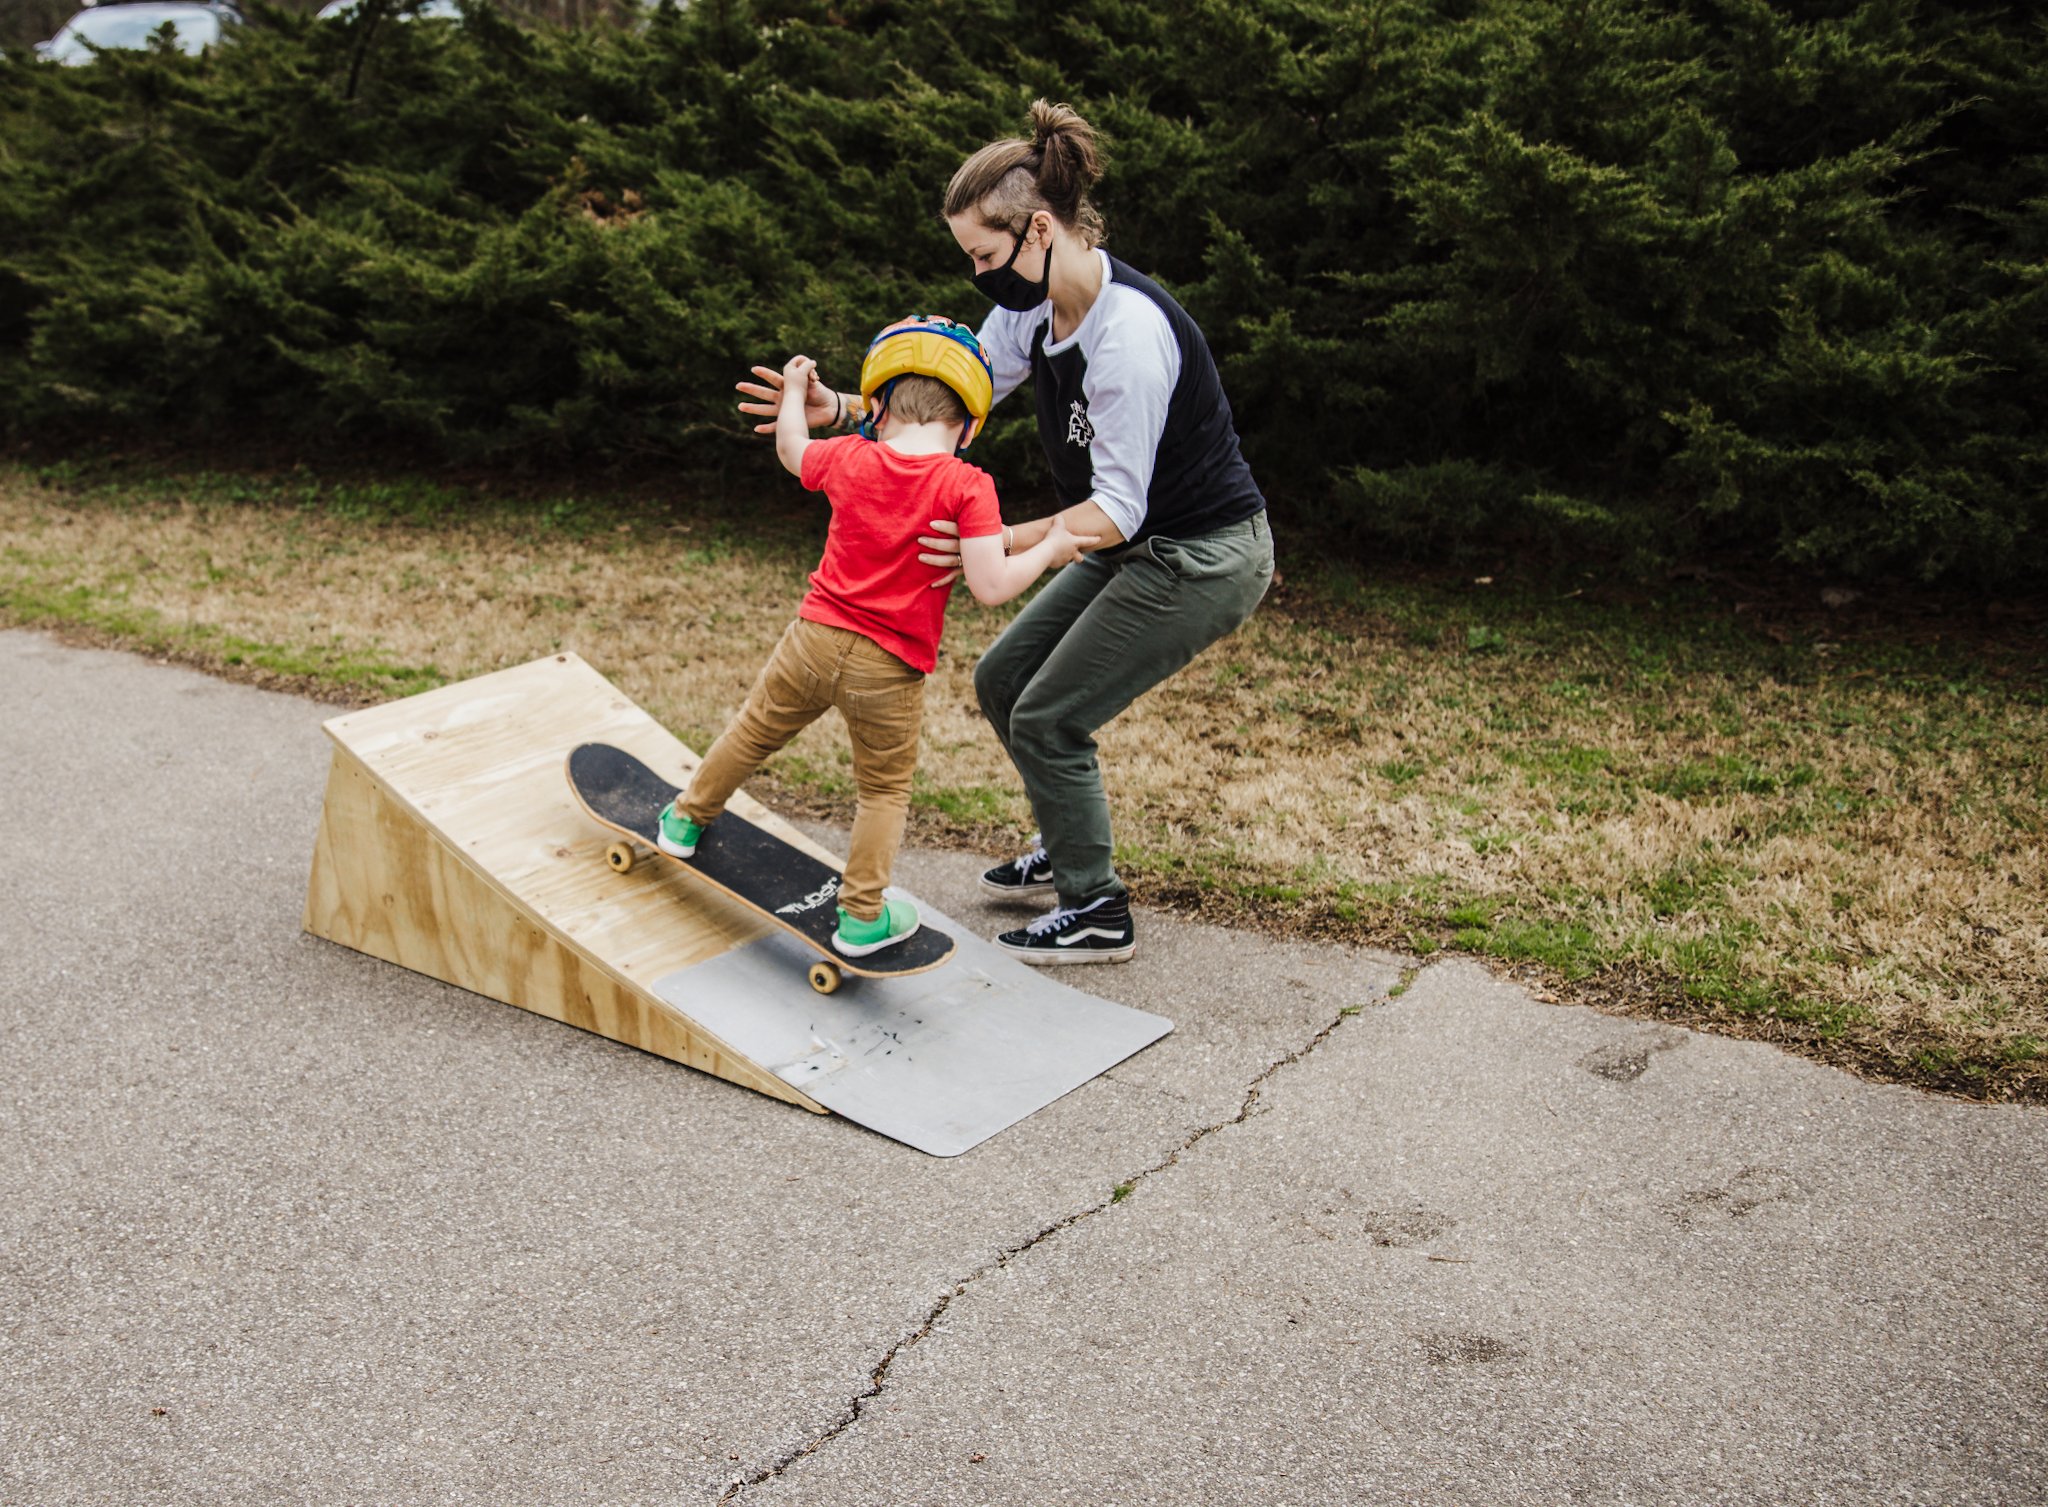
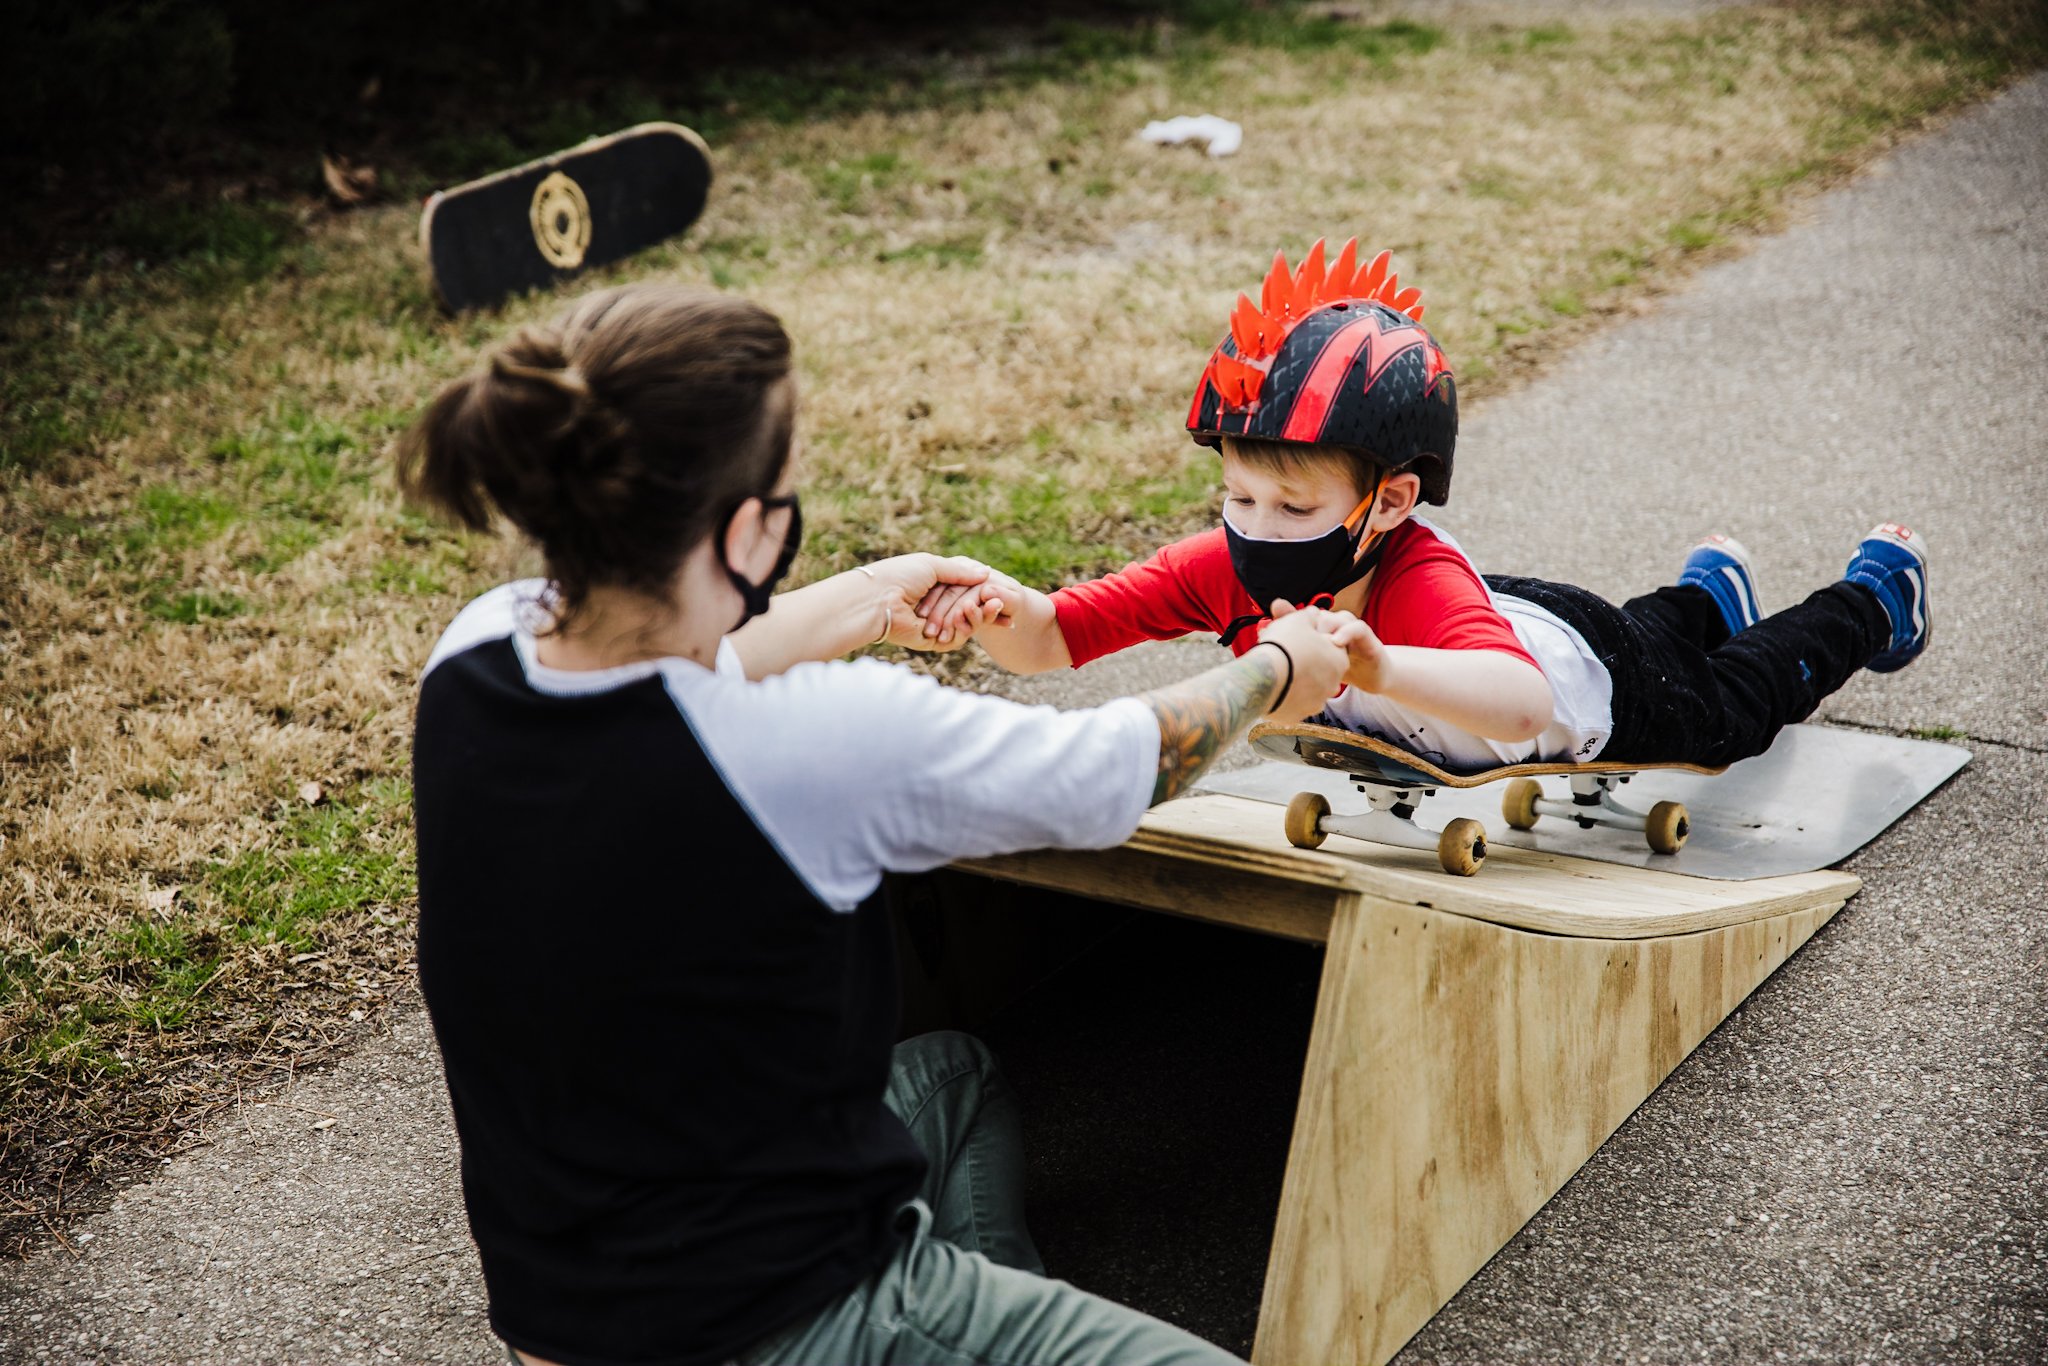
When most people think of skateboarding, their first thoughts are usually something along the lines of misfit teens, punk rock, or maybe even guys like Tony Hawk. What they don’t think about, is just how amazing skateboarding is for kids who need occupational therapy. Kids like Everett, who are on the autism spectrum. Kids like Finn, who need help with impulse control. So today I’m going to highlight the awesome benefits of skateboarding for kids with special needs.
Surprising Benefits of Skateboarding
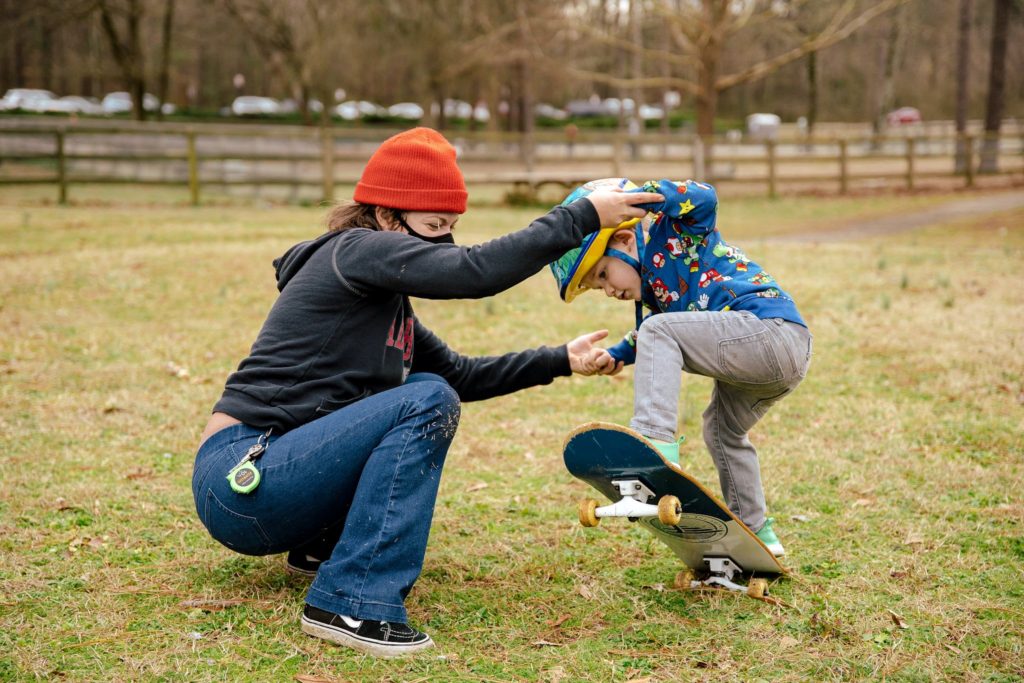
From the time children with autism are toddlers, they are placed into Occupational Therapy which is needed to develop motor, proprioceptive, vestibular skills and more. Skateboarding offers nearly every component of Occupational Therapy, which is why many of these children “crave” to skateboard. It stimulates parts of their brain that trigger focus, hand-eye coordination, and more. Here are just a few of the health benefits:
- Coordination – Skateboarding improves hand, eye, leg and feet coordination. When skateboarding, you need to alter your movements so you skate smoothly and accurately.
- Pain Tolerance – Other sports improve your pain tolerance, but learning how to skateboard includes constantly falling, tripping, cutting your knees and elbows, etc. Believe it or not, this helps to improve your tolerance and build up resilience.
- Stress Relief – Stresses consume people, even kids, all the time. Skateboarding is an avenue to relieve some of those stresses or frustrations.
- Precision – Skateboarding takes a lot of precision to master. You are constantly adjusting weight from one direction to another, switching your speed, and, when good enough, perfecting tricks.
- Reflexes – This one ties together with coordination. When falling or stopping quickly, you need to have quick reflexes to brace yourself or prevent a collision from happening. You learn quickly that running into a railing is not ideal.
- Patience/Behavior Management– Skateboarding, like other sports, requires an immense amount of patience. You will not be the next Tony Hawk after your first time on the board. Falling countless times, missing that tricky bend, and hitting that awesome trick will test your patience time after time. When a skateboarder is having a bad day, annoyed with the world, feels like he could punch through a brick wall what does he do? He skateboards. Same as kids with autism, when their impulse control is almost lost, their anxiety is through the roof, and the screaming and crying is about to begin, break out the skateboard and you’ll find that it helps them work through their current behaviors.
- Social Development- skateboarding allows those who struggle with normal social interaction interact with peers on the level the individual feels most comfortable with.
Skateboarding offers many components similar to occupational therapy such as focusing on motor, vestibular and proprioceptive skills. Saturday skateboarding lessons are quickly becoming one of the boys favorite things to do. Both boys have a weak core and crave high impact activities. Everett has poor motor planning and balance issues, while Finn has poor impulse control and anger issues. Skateboarding is helping tremendously with both. Learning self/impulse control and behavior management is a huge part in why I decided to start the boys with lessons. And perhaps, most importantly, it’s also pretty freaking fun!
Skateboarding has had such a amazing impact on kids with autism that there are several nonprofits that have been created to help connect and introduce skateboarding to those the spectrum. There are even studies that have popped up specifically to research the correlation of brain activity and heart rate between autism and skateboarding. It’s even been approved as an acceptable form of occupational therapy in several states.
Hopefully, with these studies and nonprofits, skateboarding will no longer be looked at as a rebellious pasttime by those who don’t understand it and more funding would be available for using skateboarding as a therapy rather that funding just another information autism organization out there.
I know that right now, the boys have found an outlet they both love and I couldn’t be happier with their awesome teacher and their continued progress. I hope they continue to find joy in skateboarding and that the benefits continue to carryover into other aspects of their lives.
The post Skateboarding On The Spectrum appeared first on Not So SuperMom VS Society.
]]>The post Earth Day 2020 appeared first on Not So SuperMom VS Society.
]]>
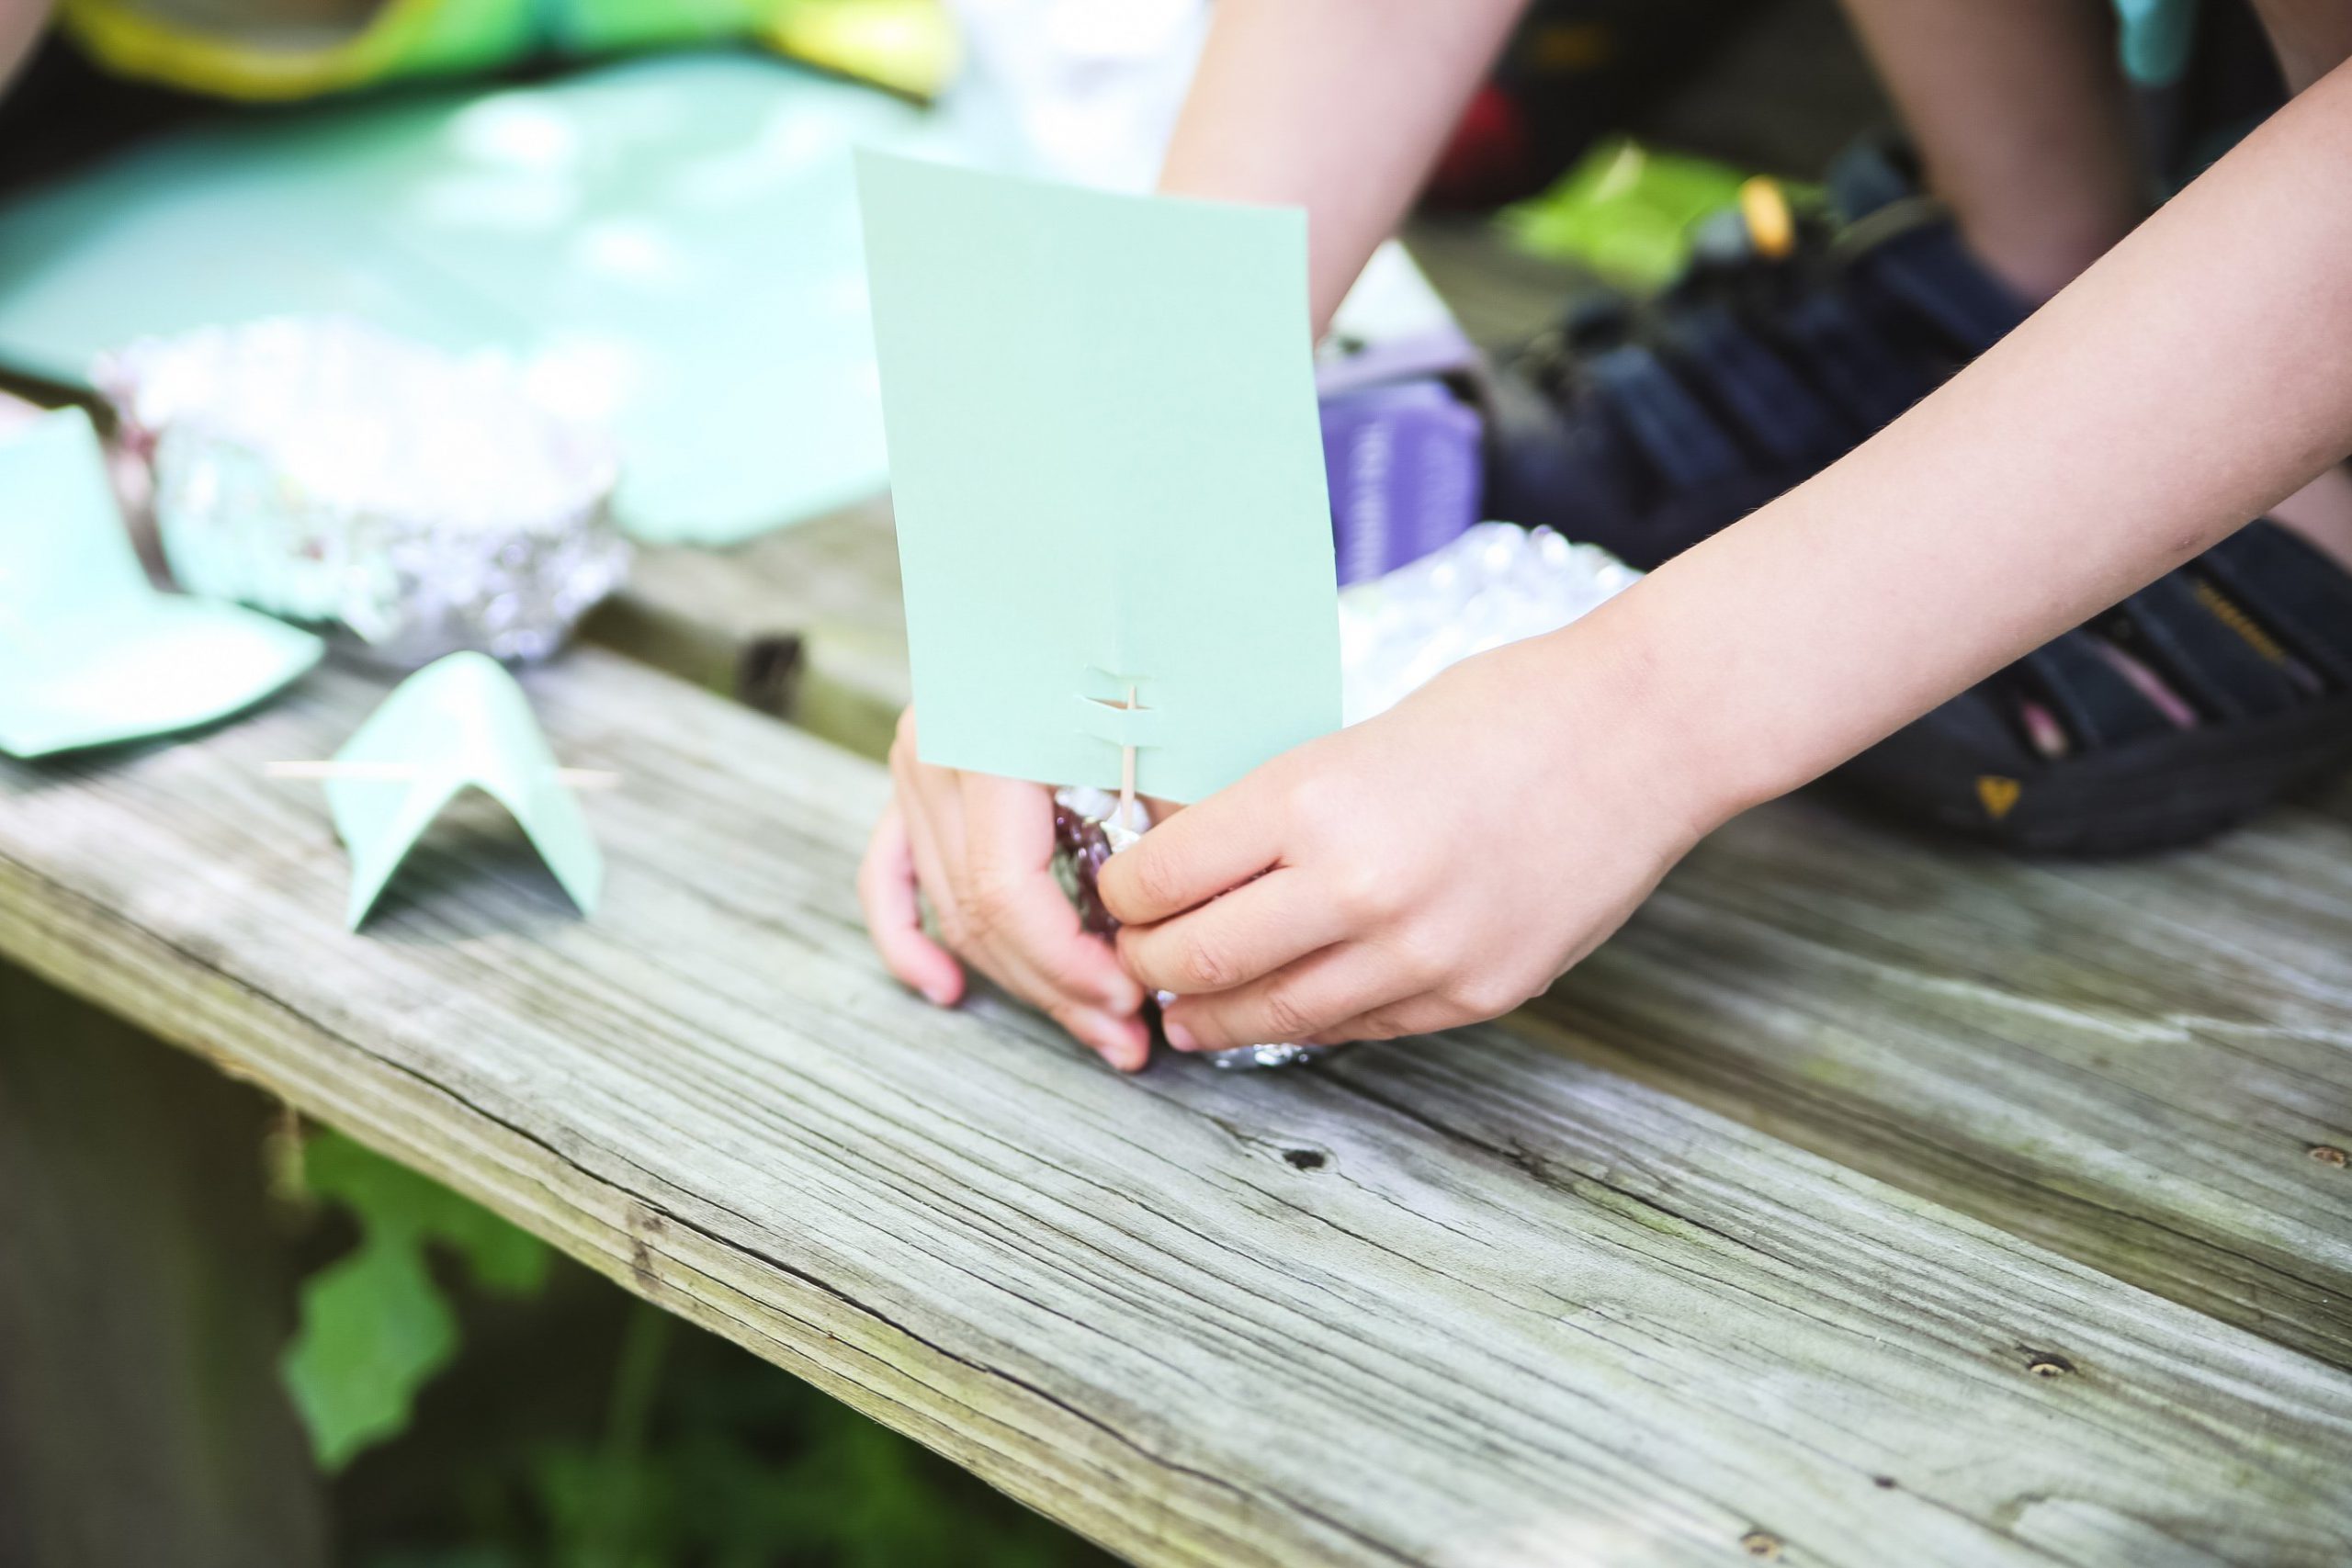
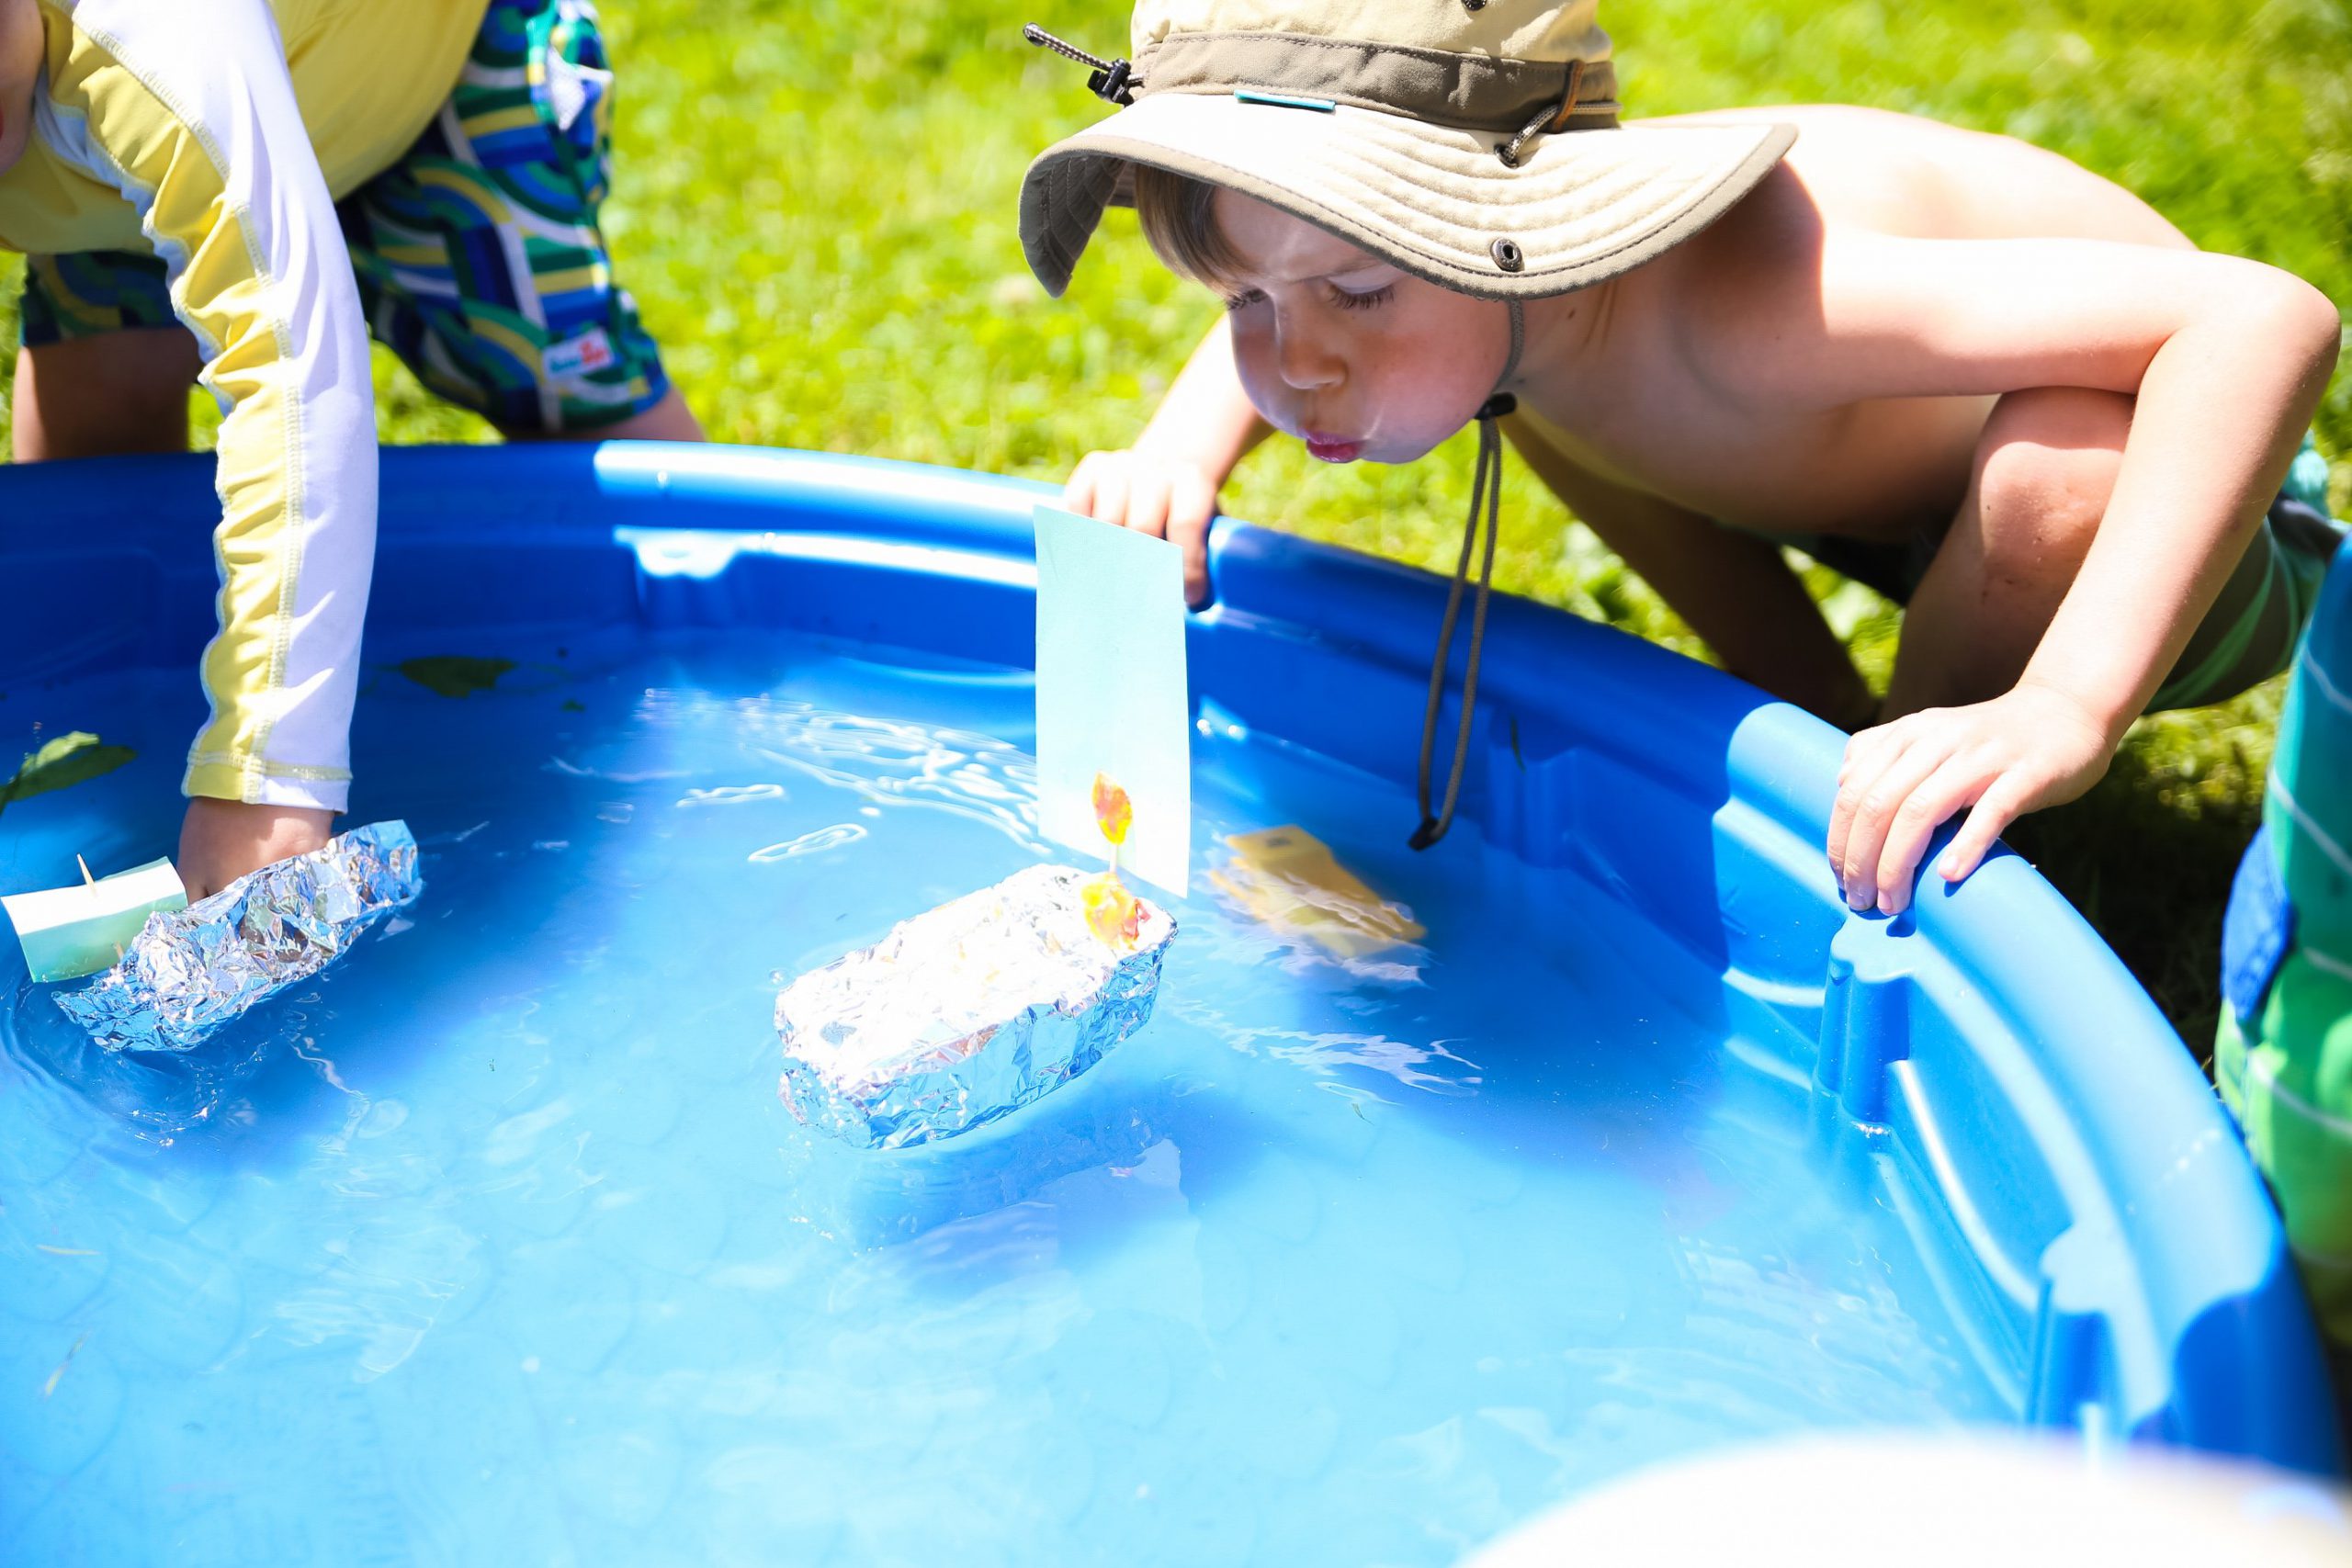
Happy 50th Earth Day! This years theme is Climate Action, so we focused on Wind Power. We read the kids Keith Negley’s newest book, The Boy and The Wild Blue Girl and made aluminum foil sailboats that we powered with wind.
Why wind power? Simple. Wind power is one of the cleanest forms of energy and can drastically reduce greenhouse gases. It’s cost effective, sustainable, and is a great clean energy source. Even better, it’s locally sourced, meaning that for us Americans, it provides local jobs and helps minimize our reliance on foreign markets.
Book Review
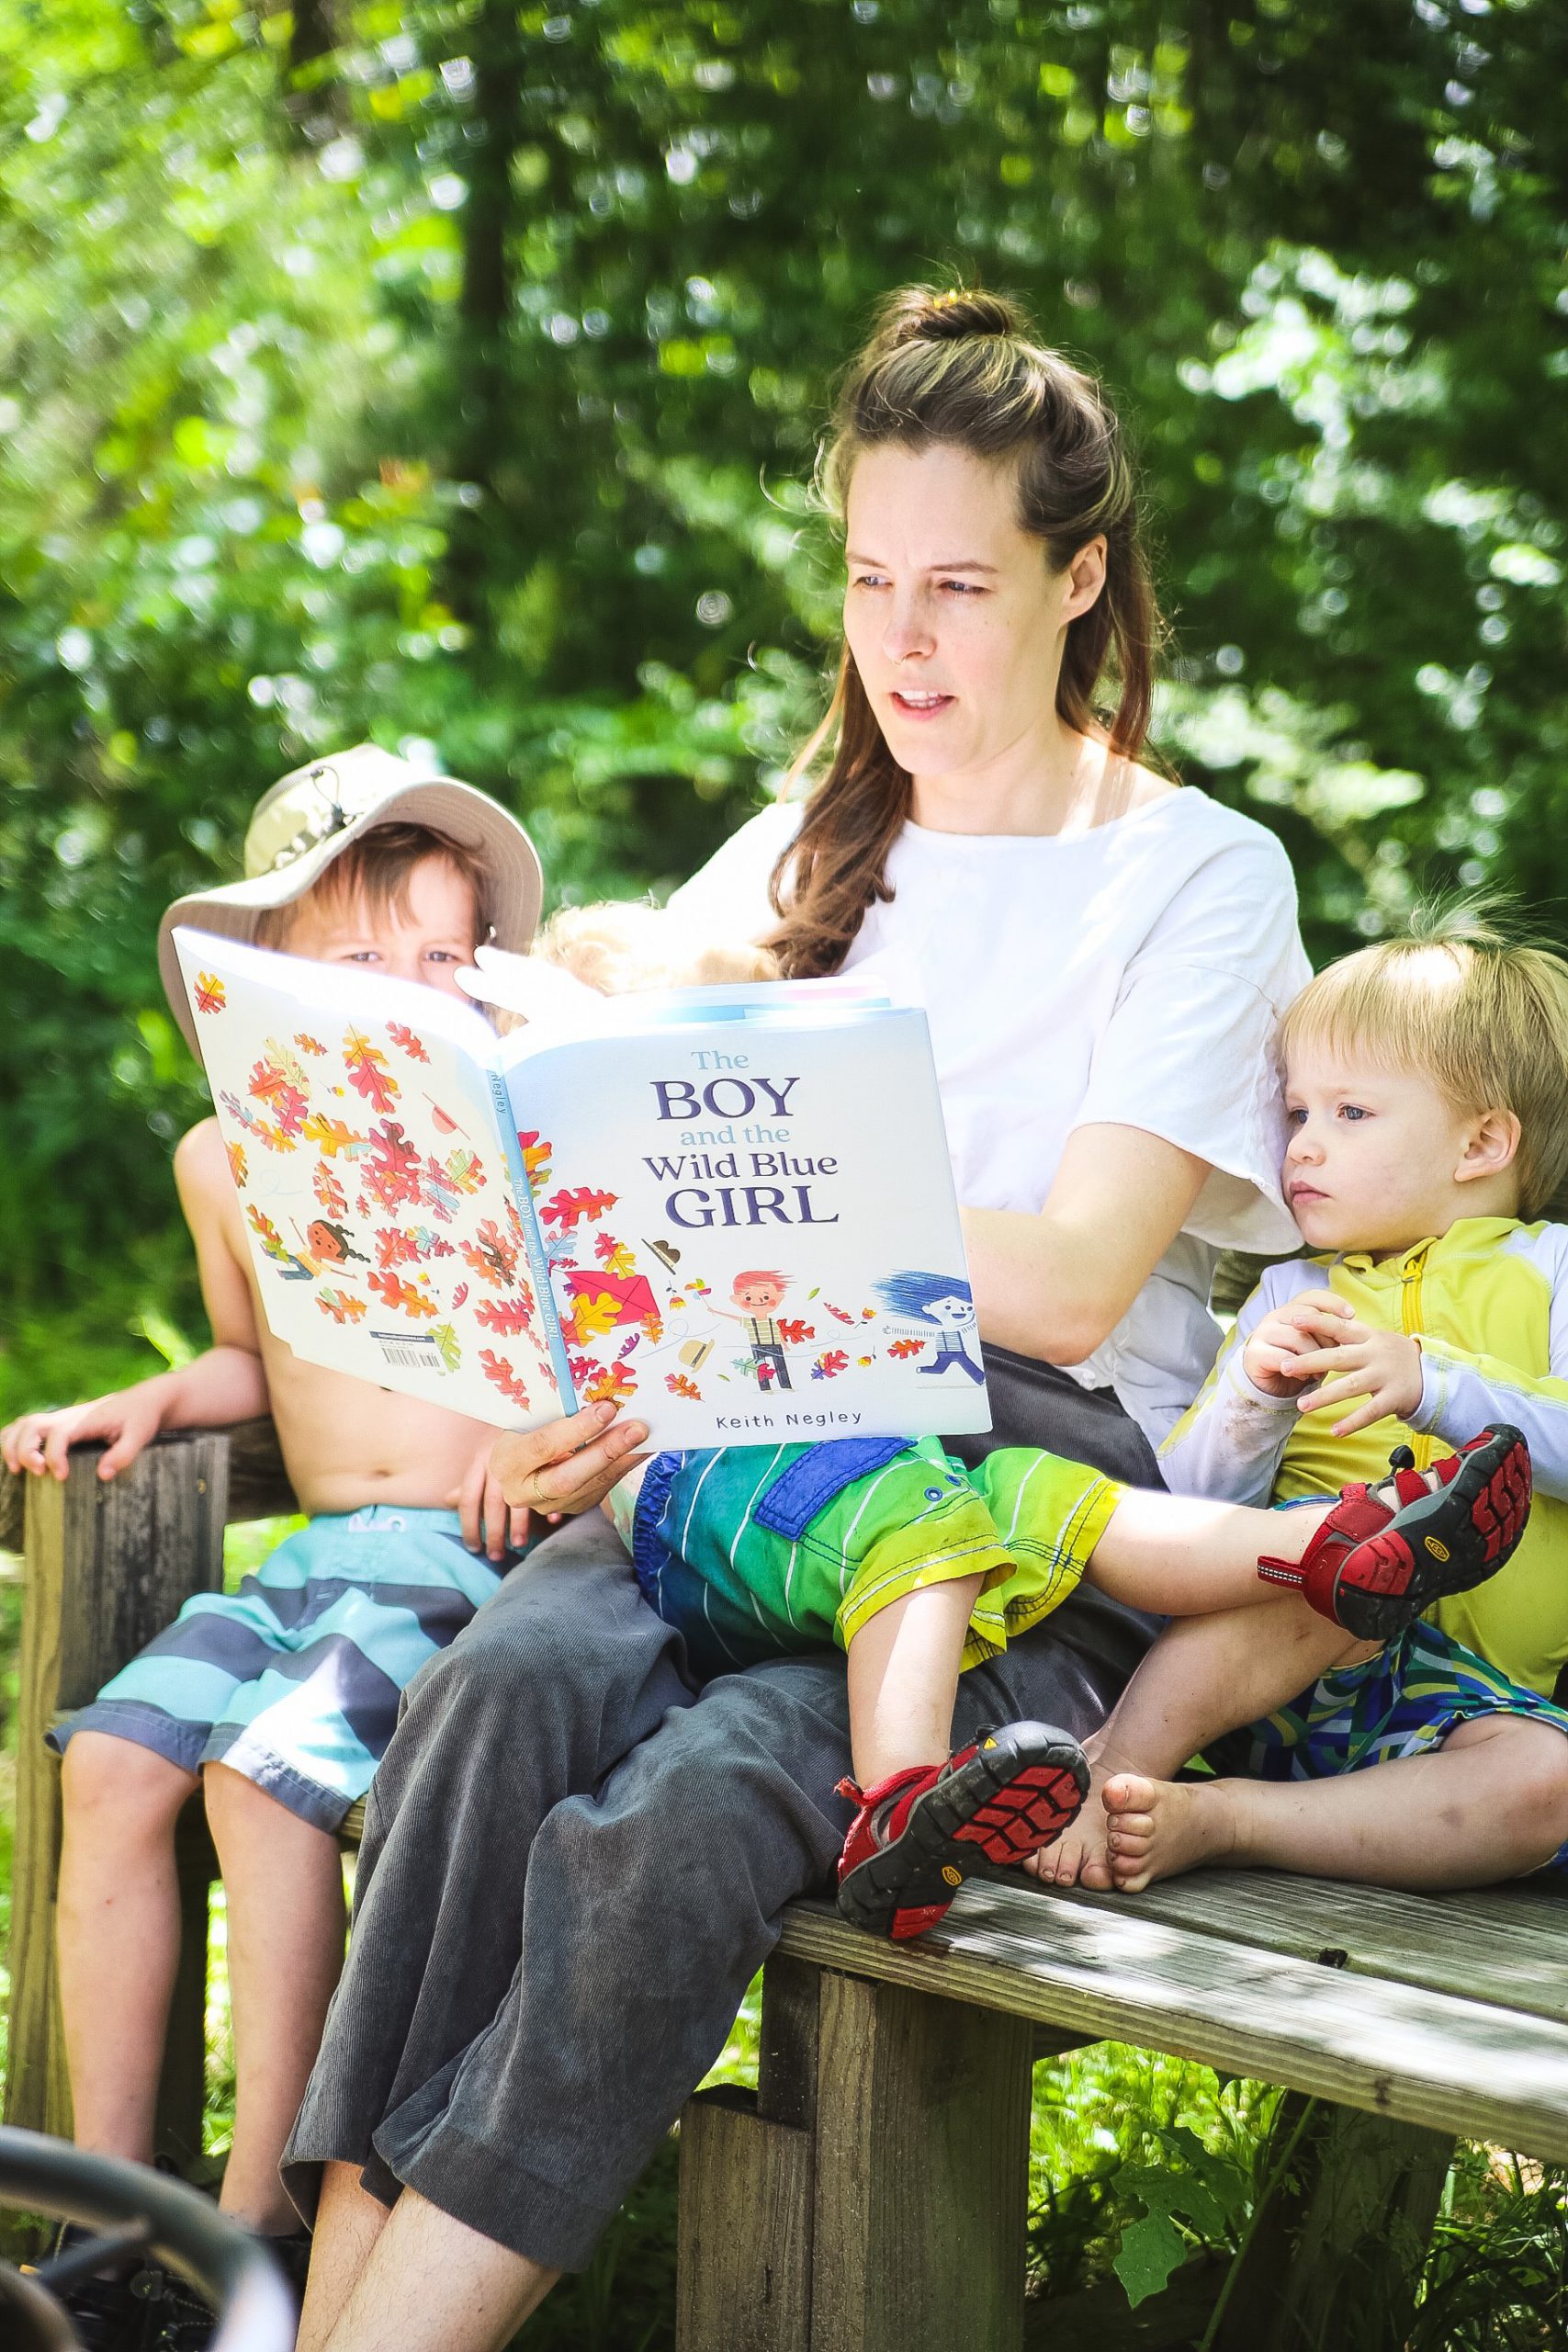
Our earth day read, The Boy and The Wild Blue Girl, is a story about the creation of wind turbines told in an adorable way. The wind in the story is portrayed by the Wild Blue Girl. She is seen by most as a nuisance that’s always messing things up. One boy, Poul thinks she’s amazing, and ends up creating wind turbines for her. His invention goes to show everyone just how amazing the wild blue girl is and how she can contribute to society.
The boys really enjoyed it and the illustrations are gorgeous. There is also a great bit of educational information at the end of the book about wind turbines and their inventor.
Instructions:
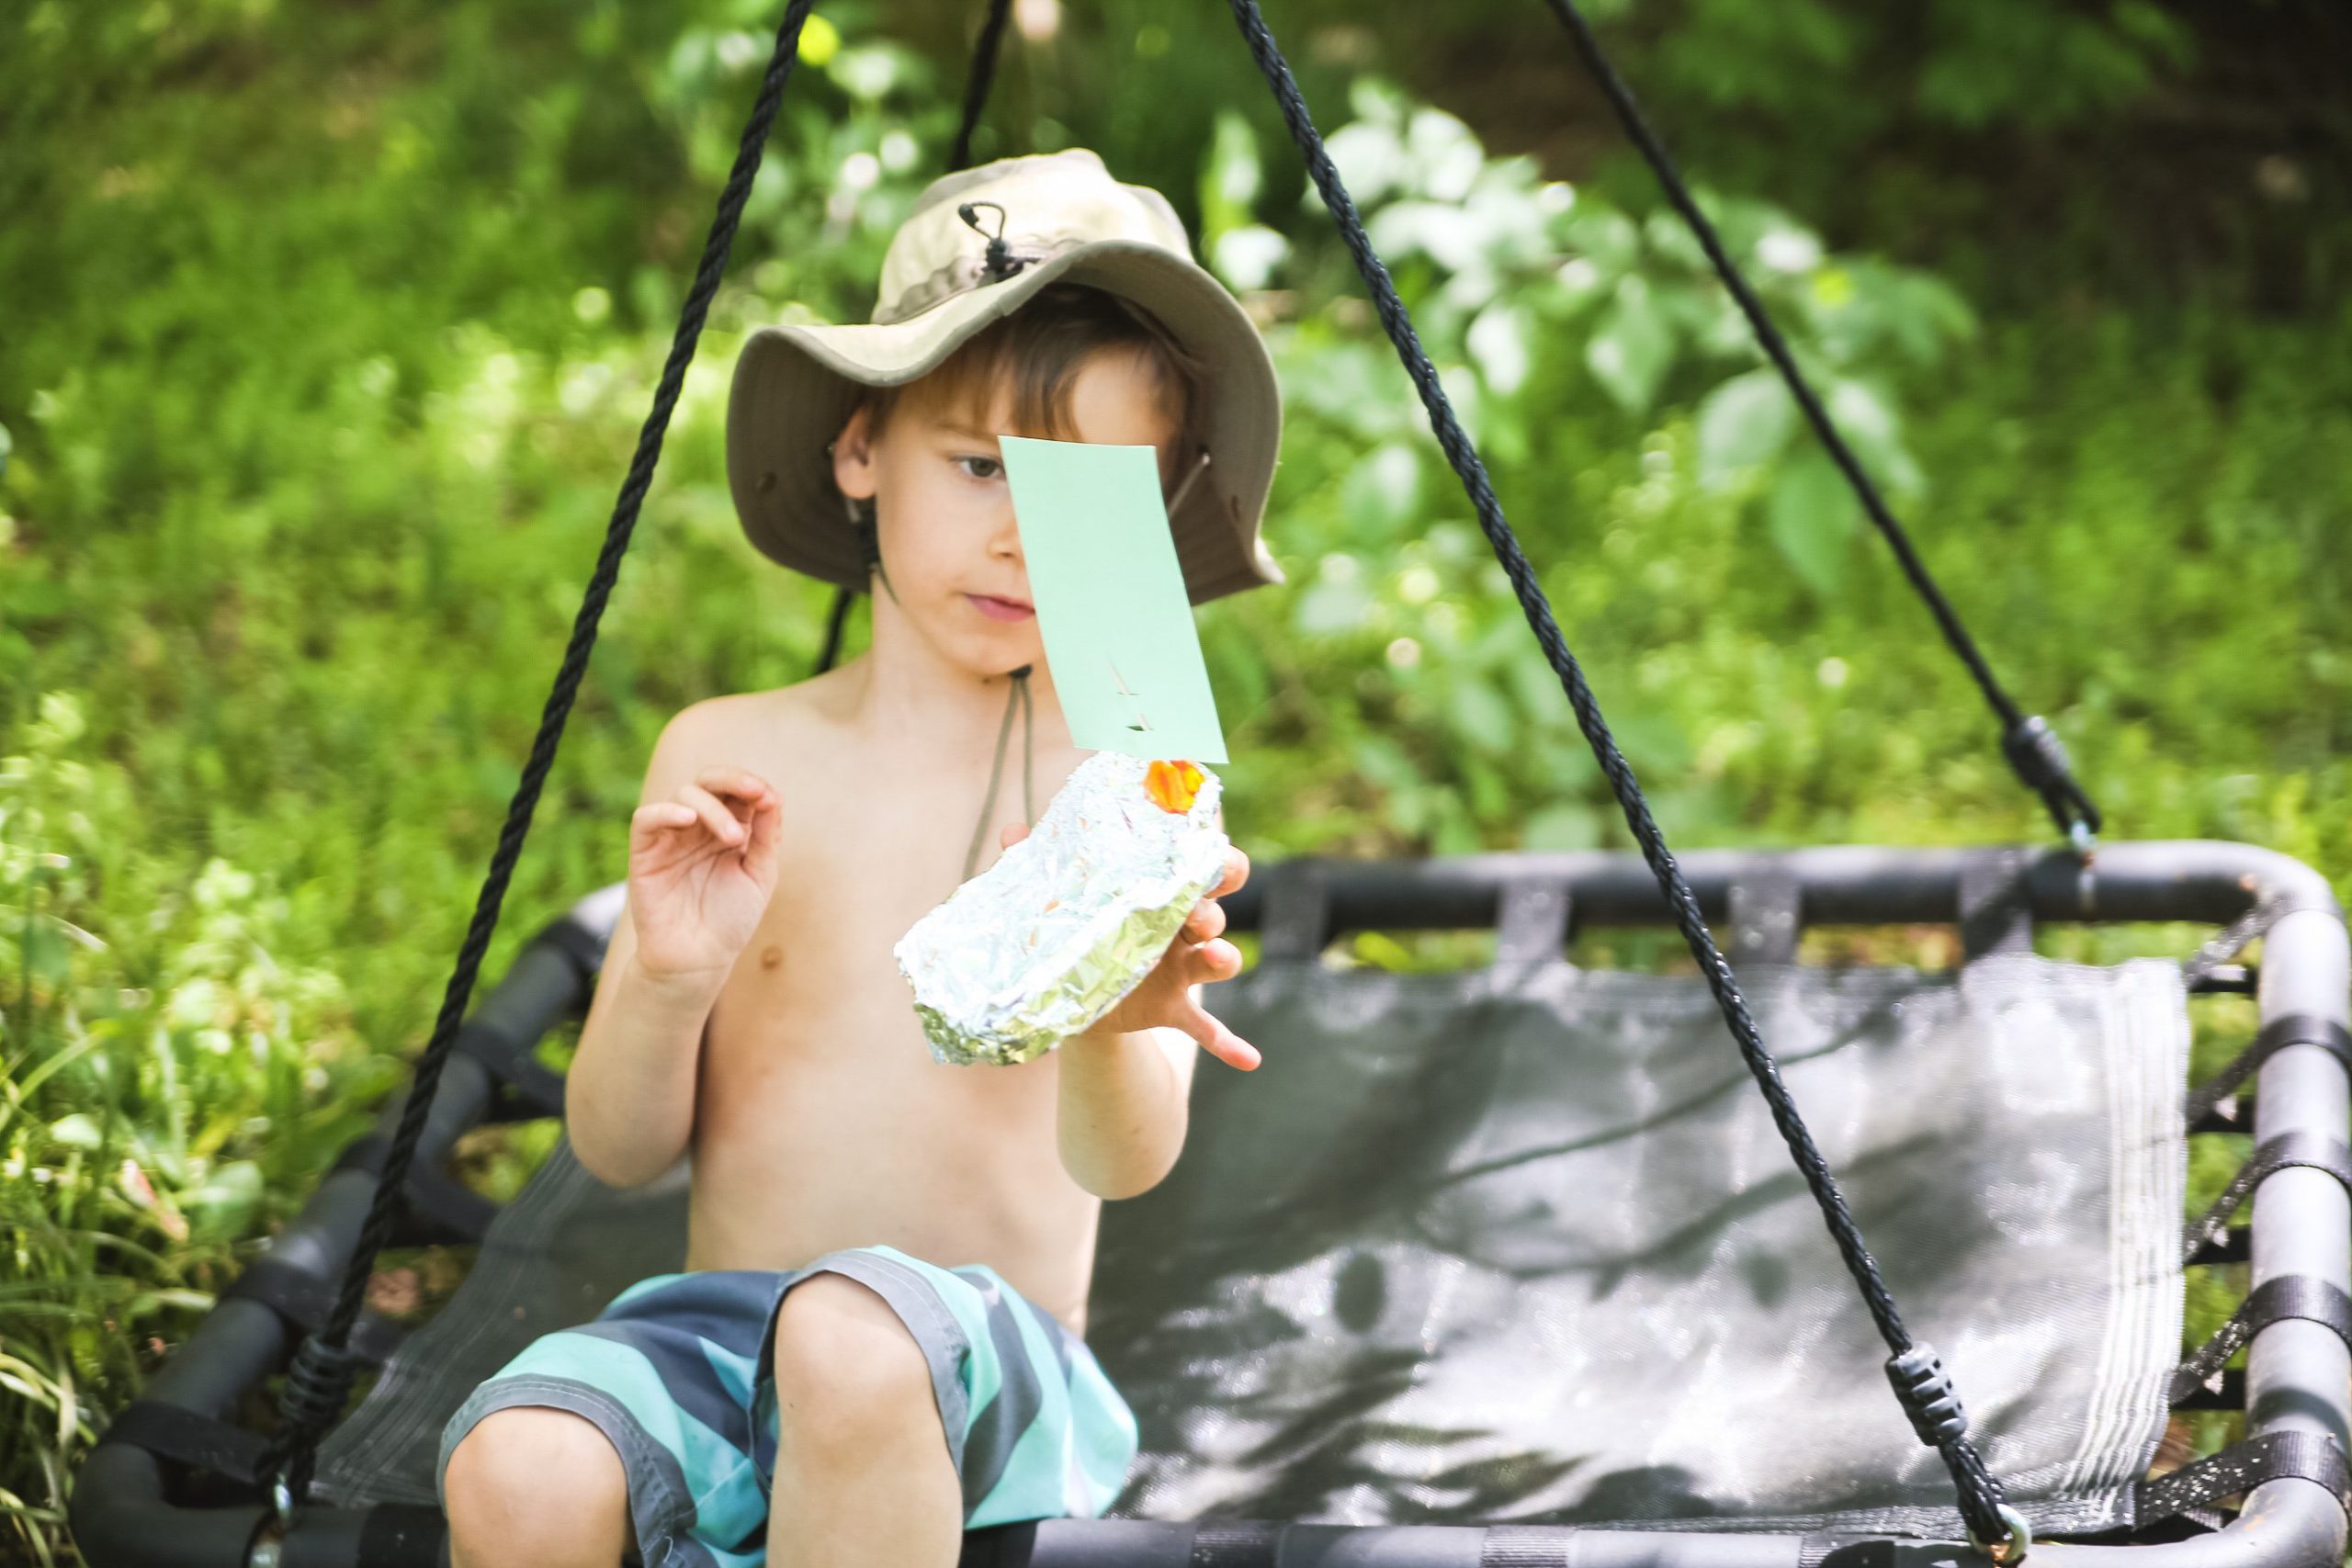
Our craft for today was a super simple way to show the benefits of wind. We even only used things I had laying around the house!
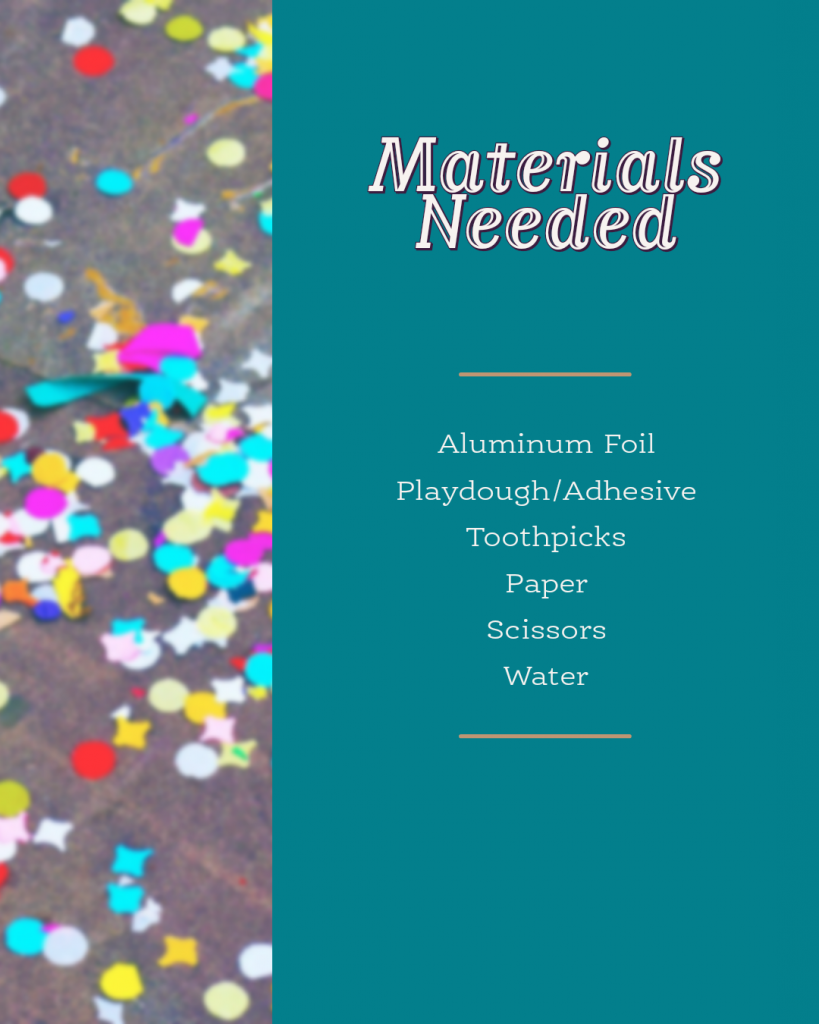
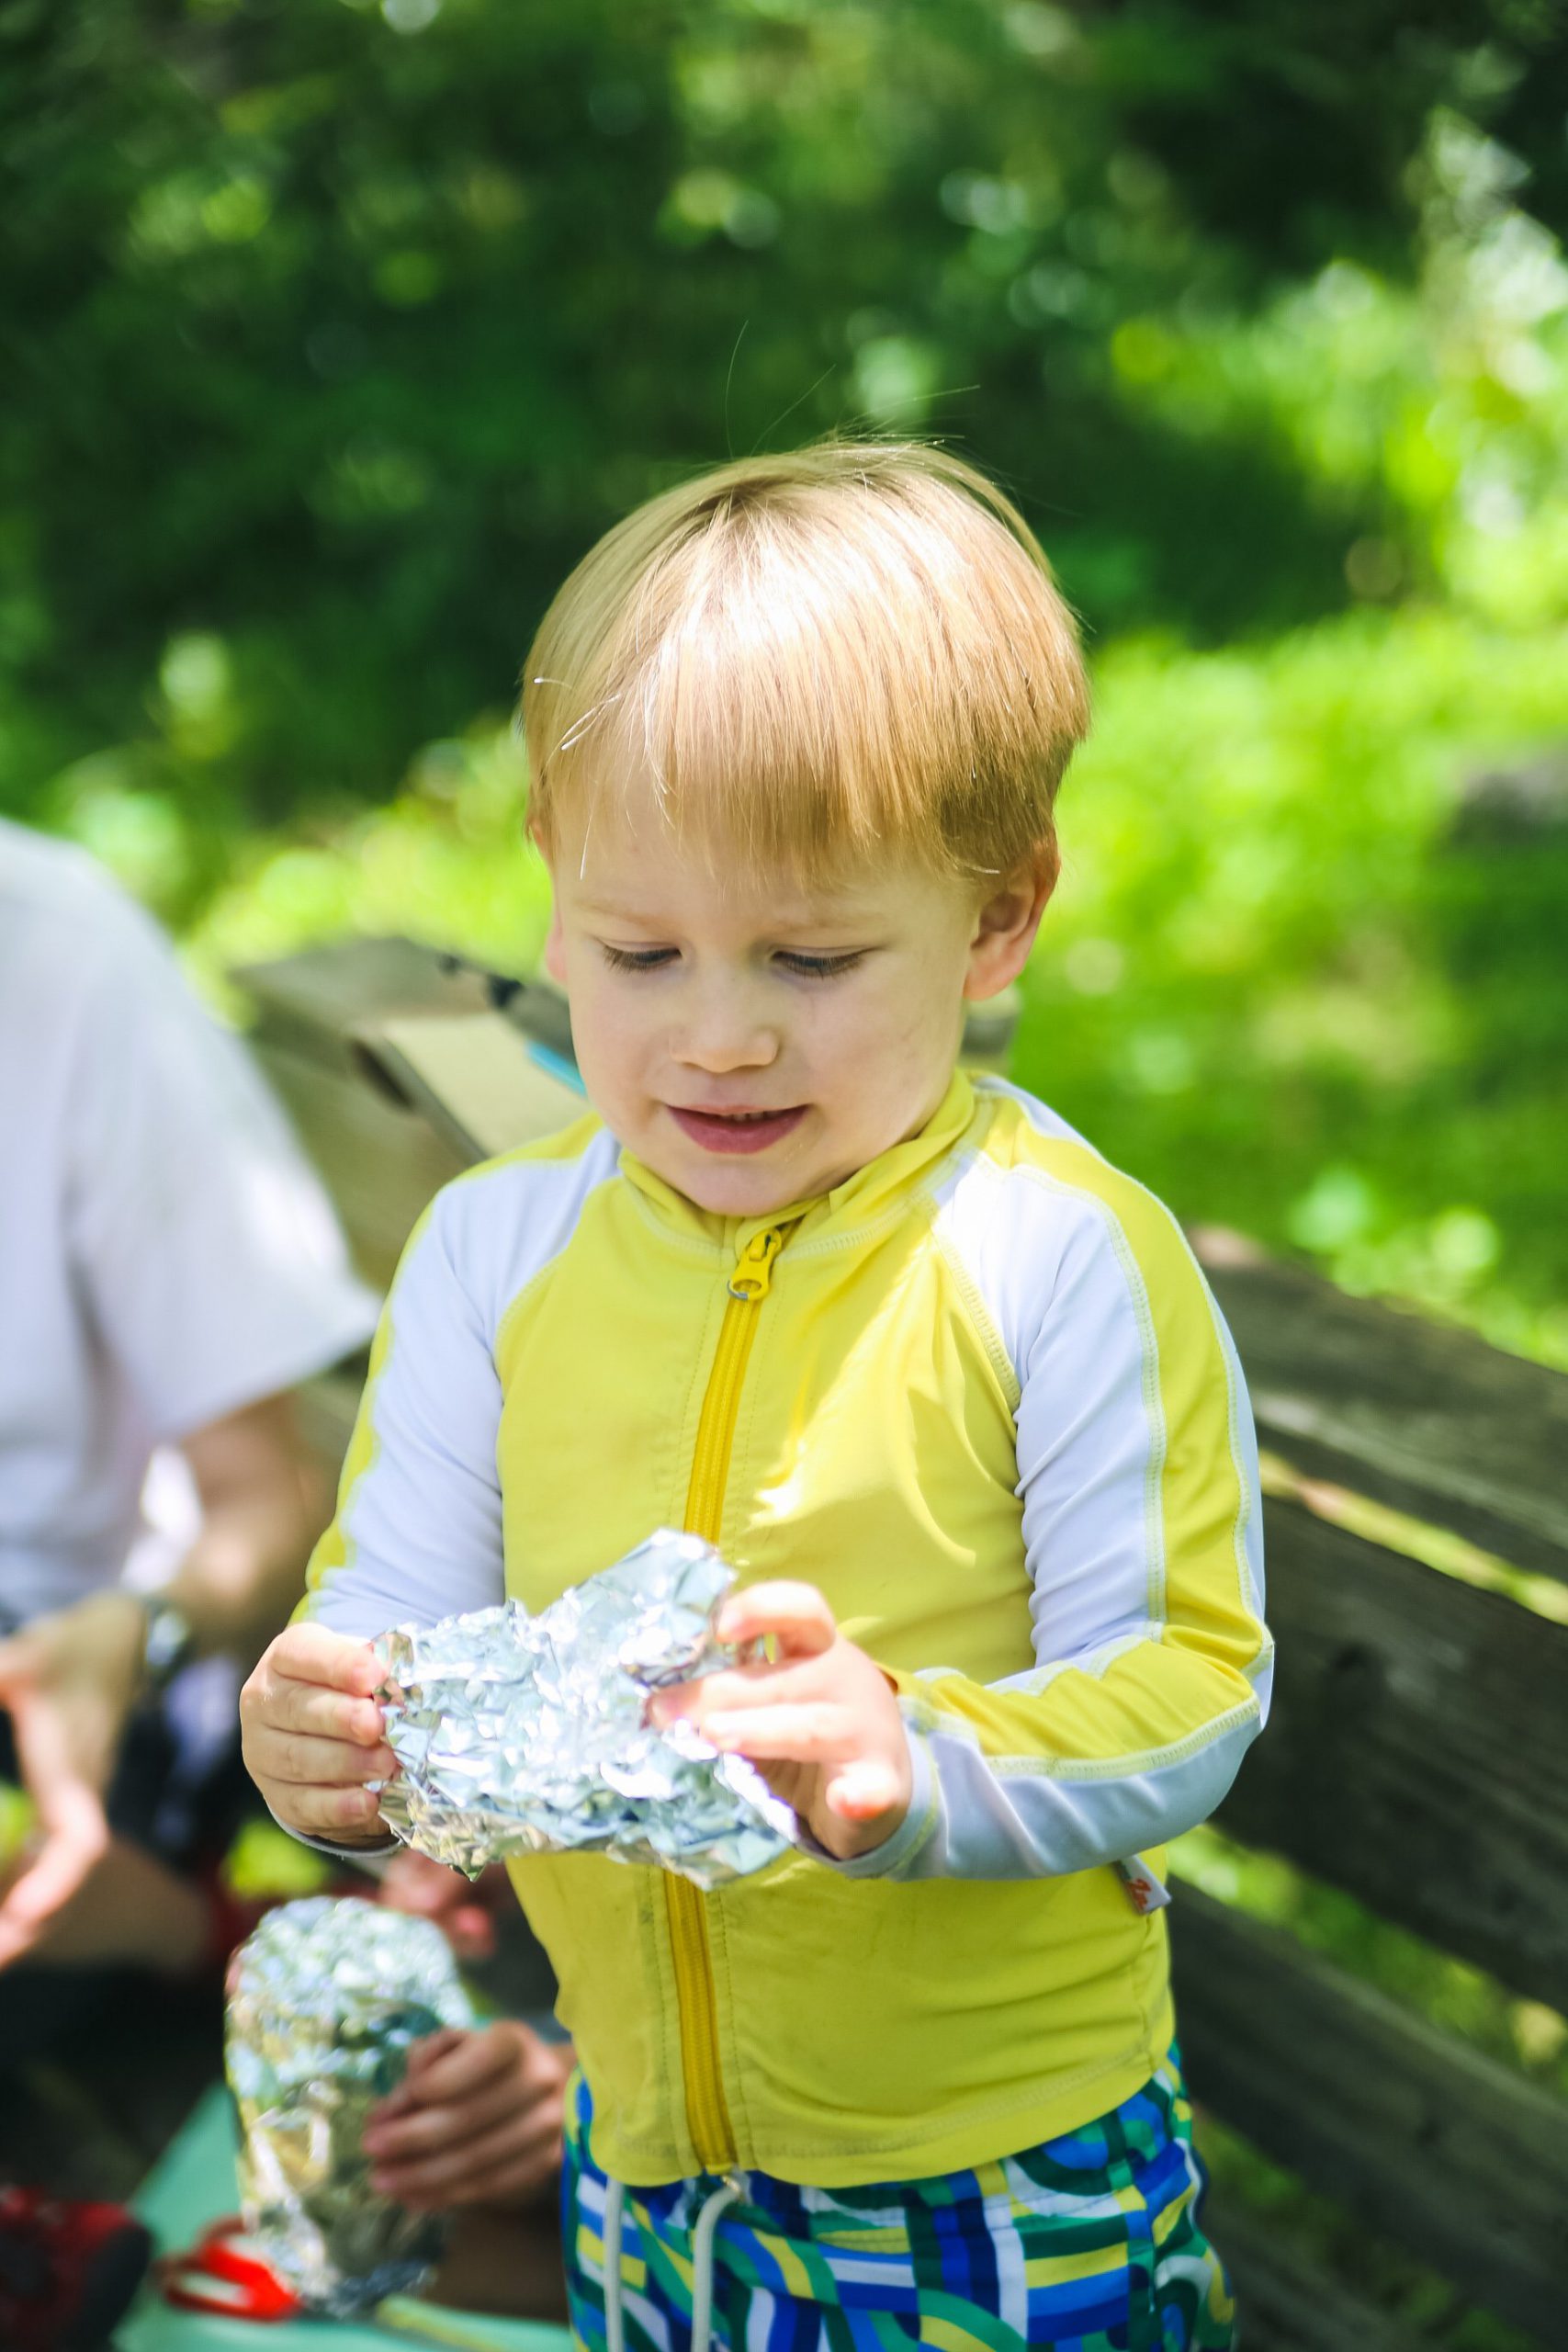
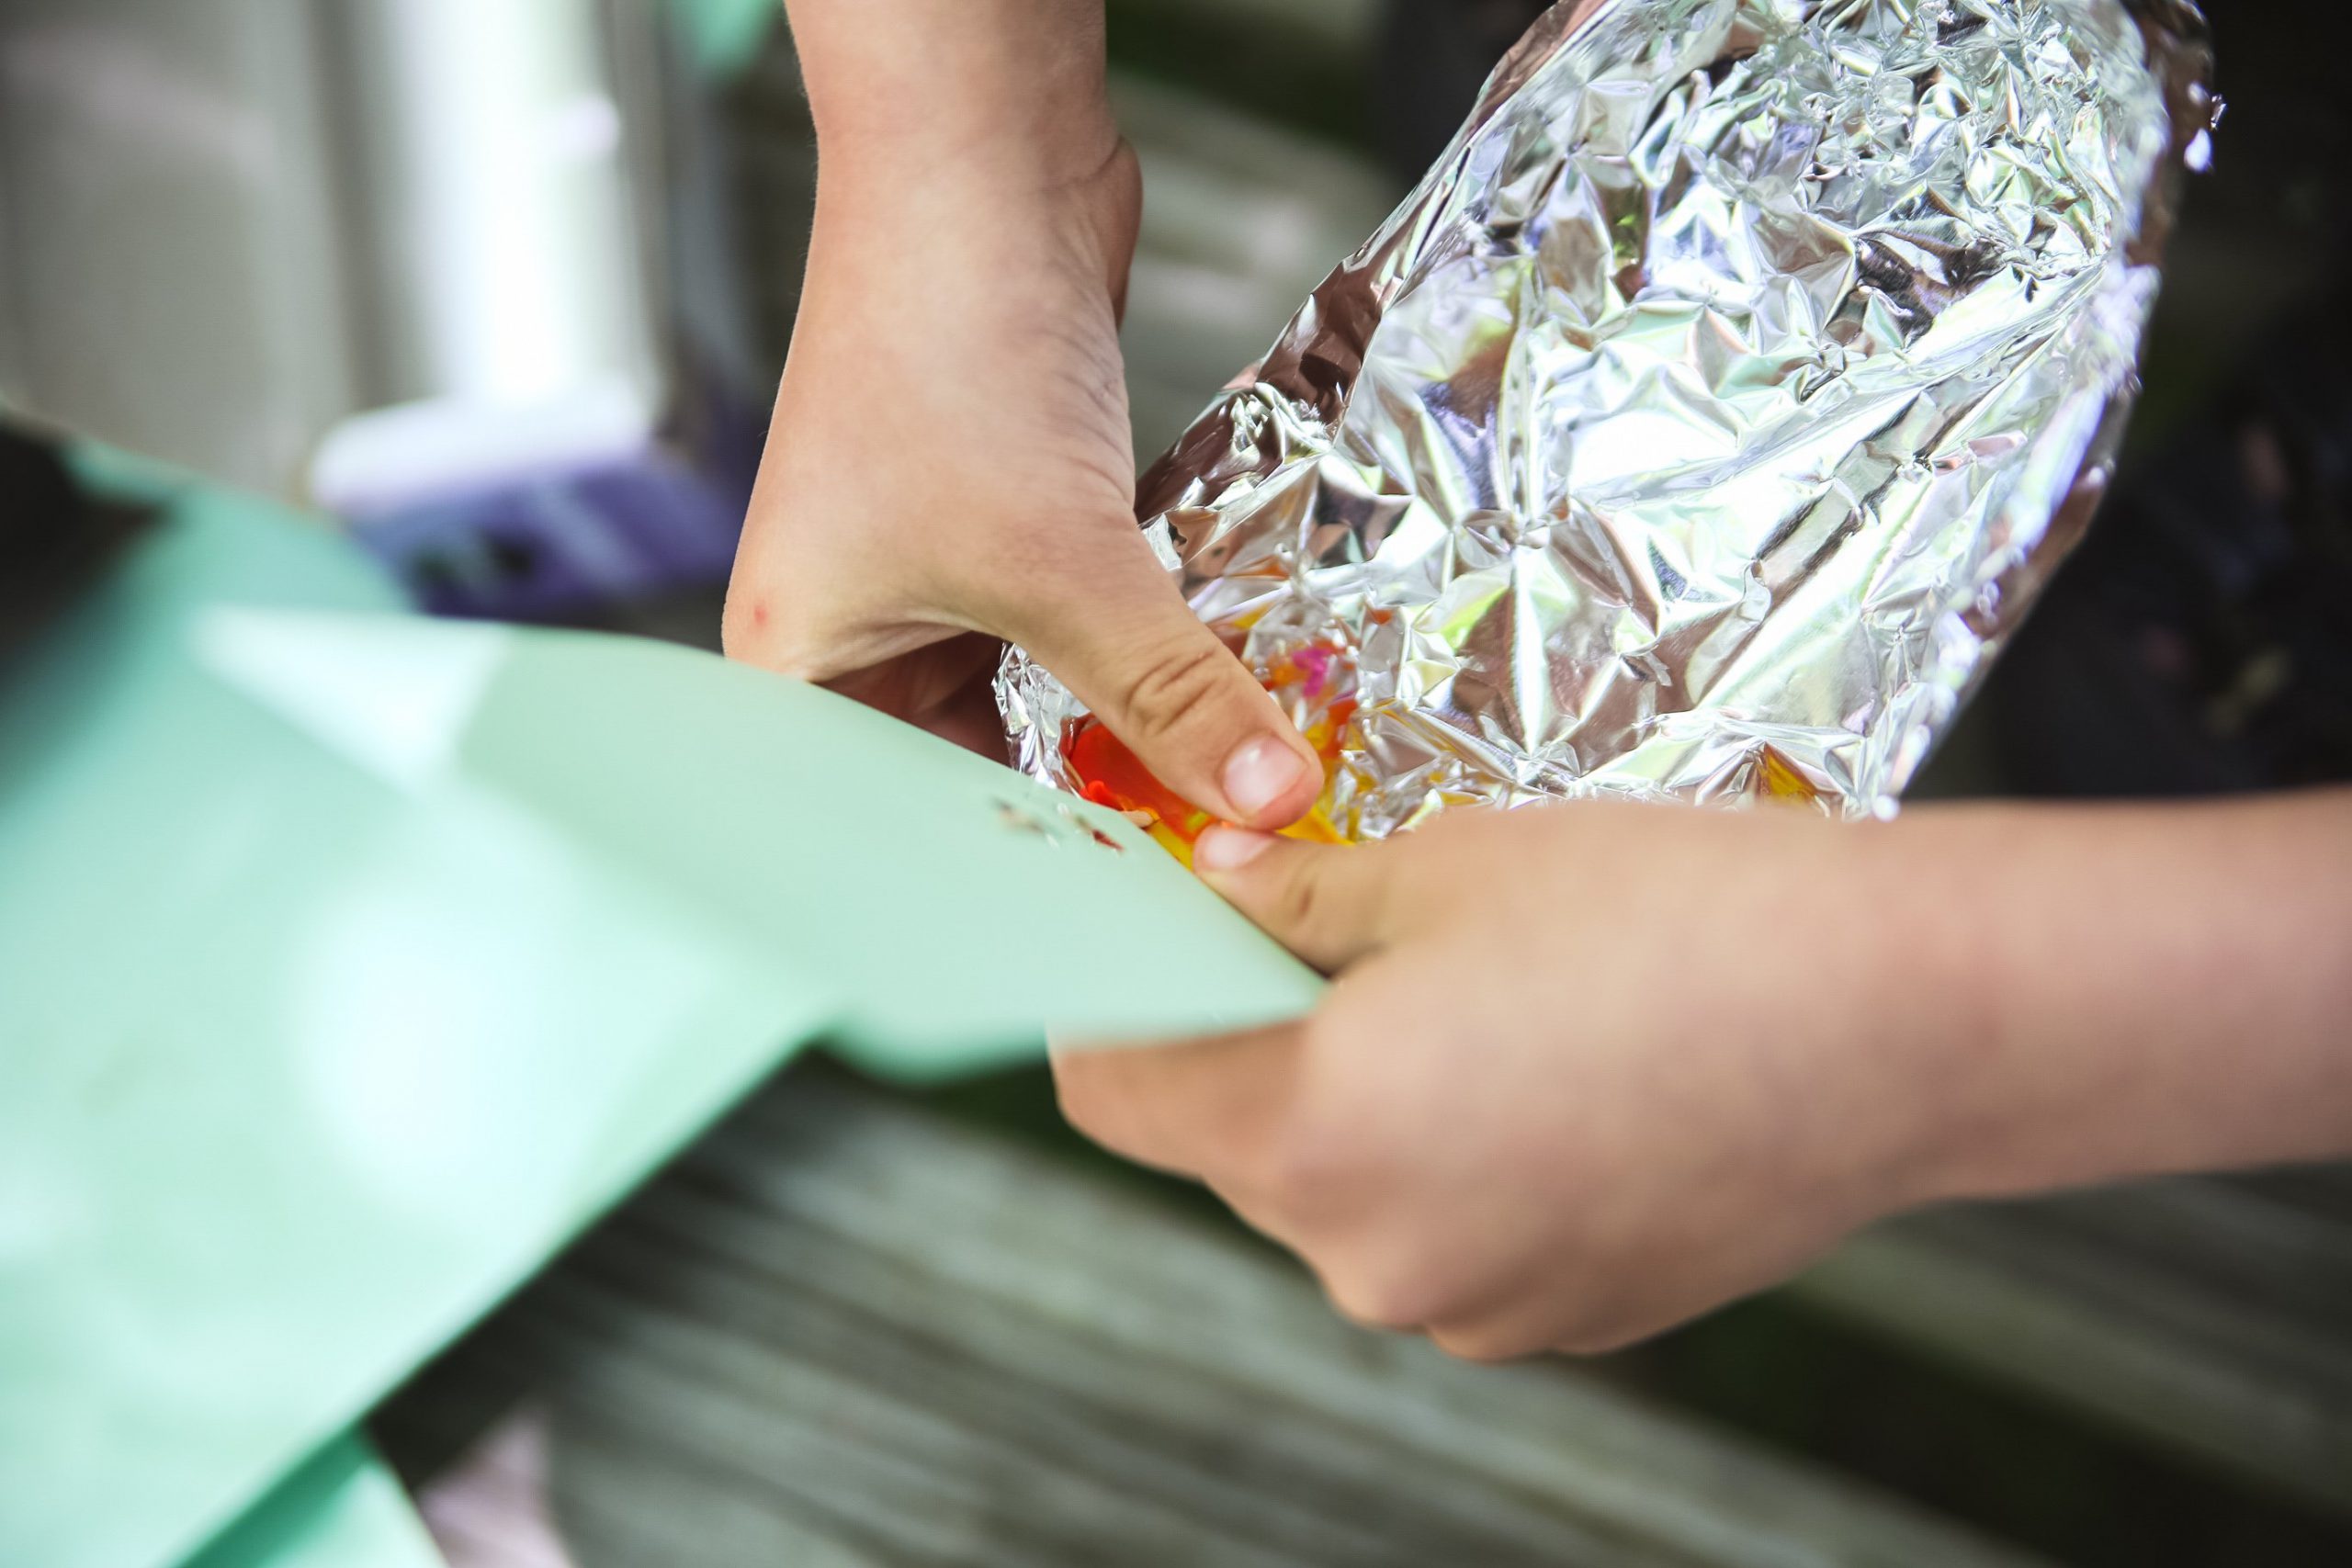
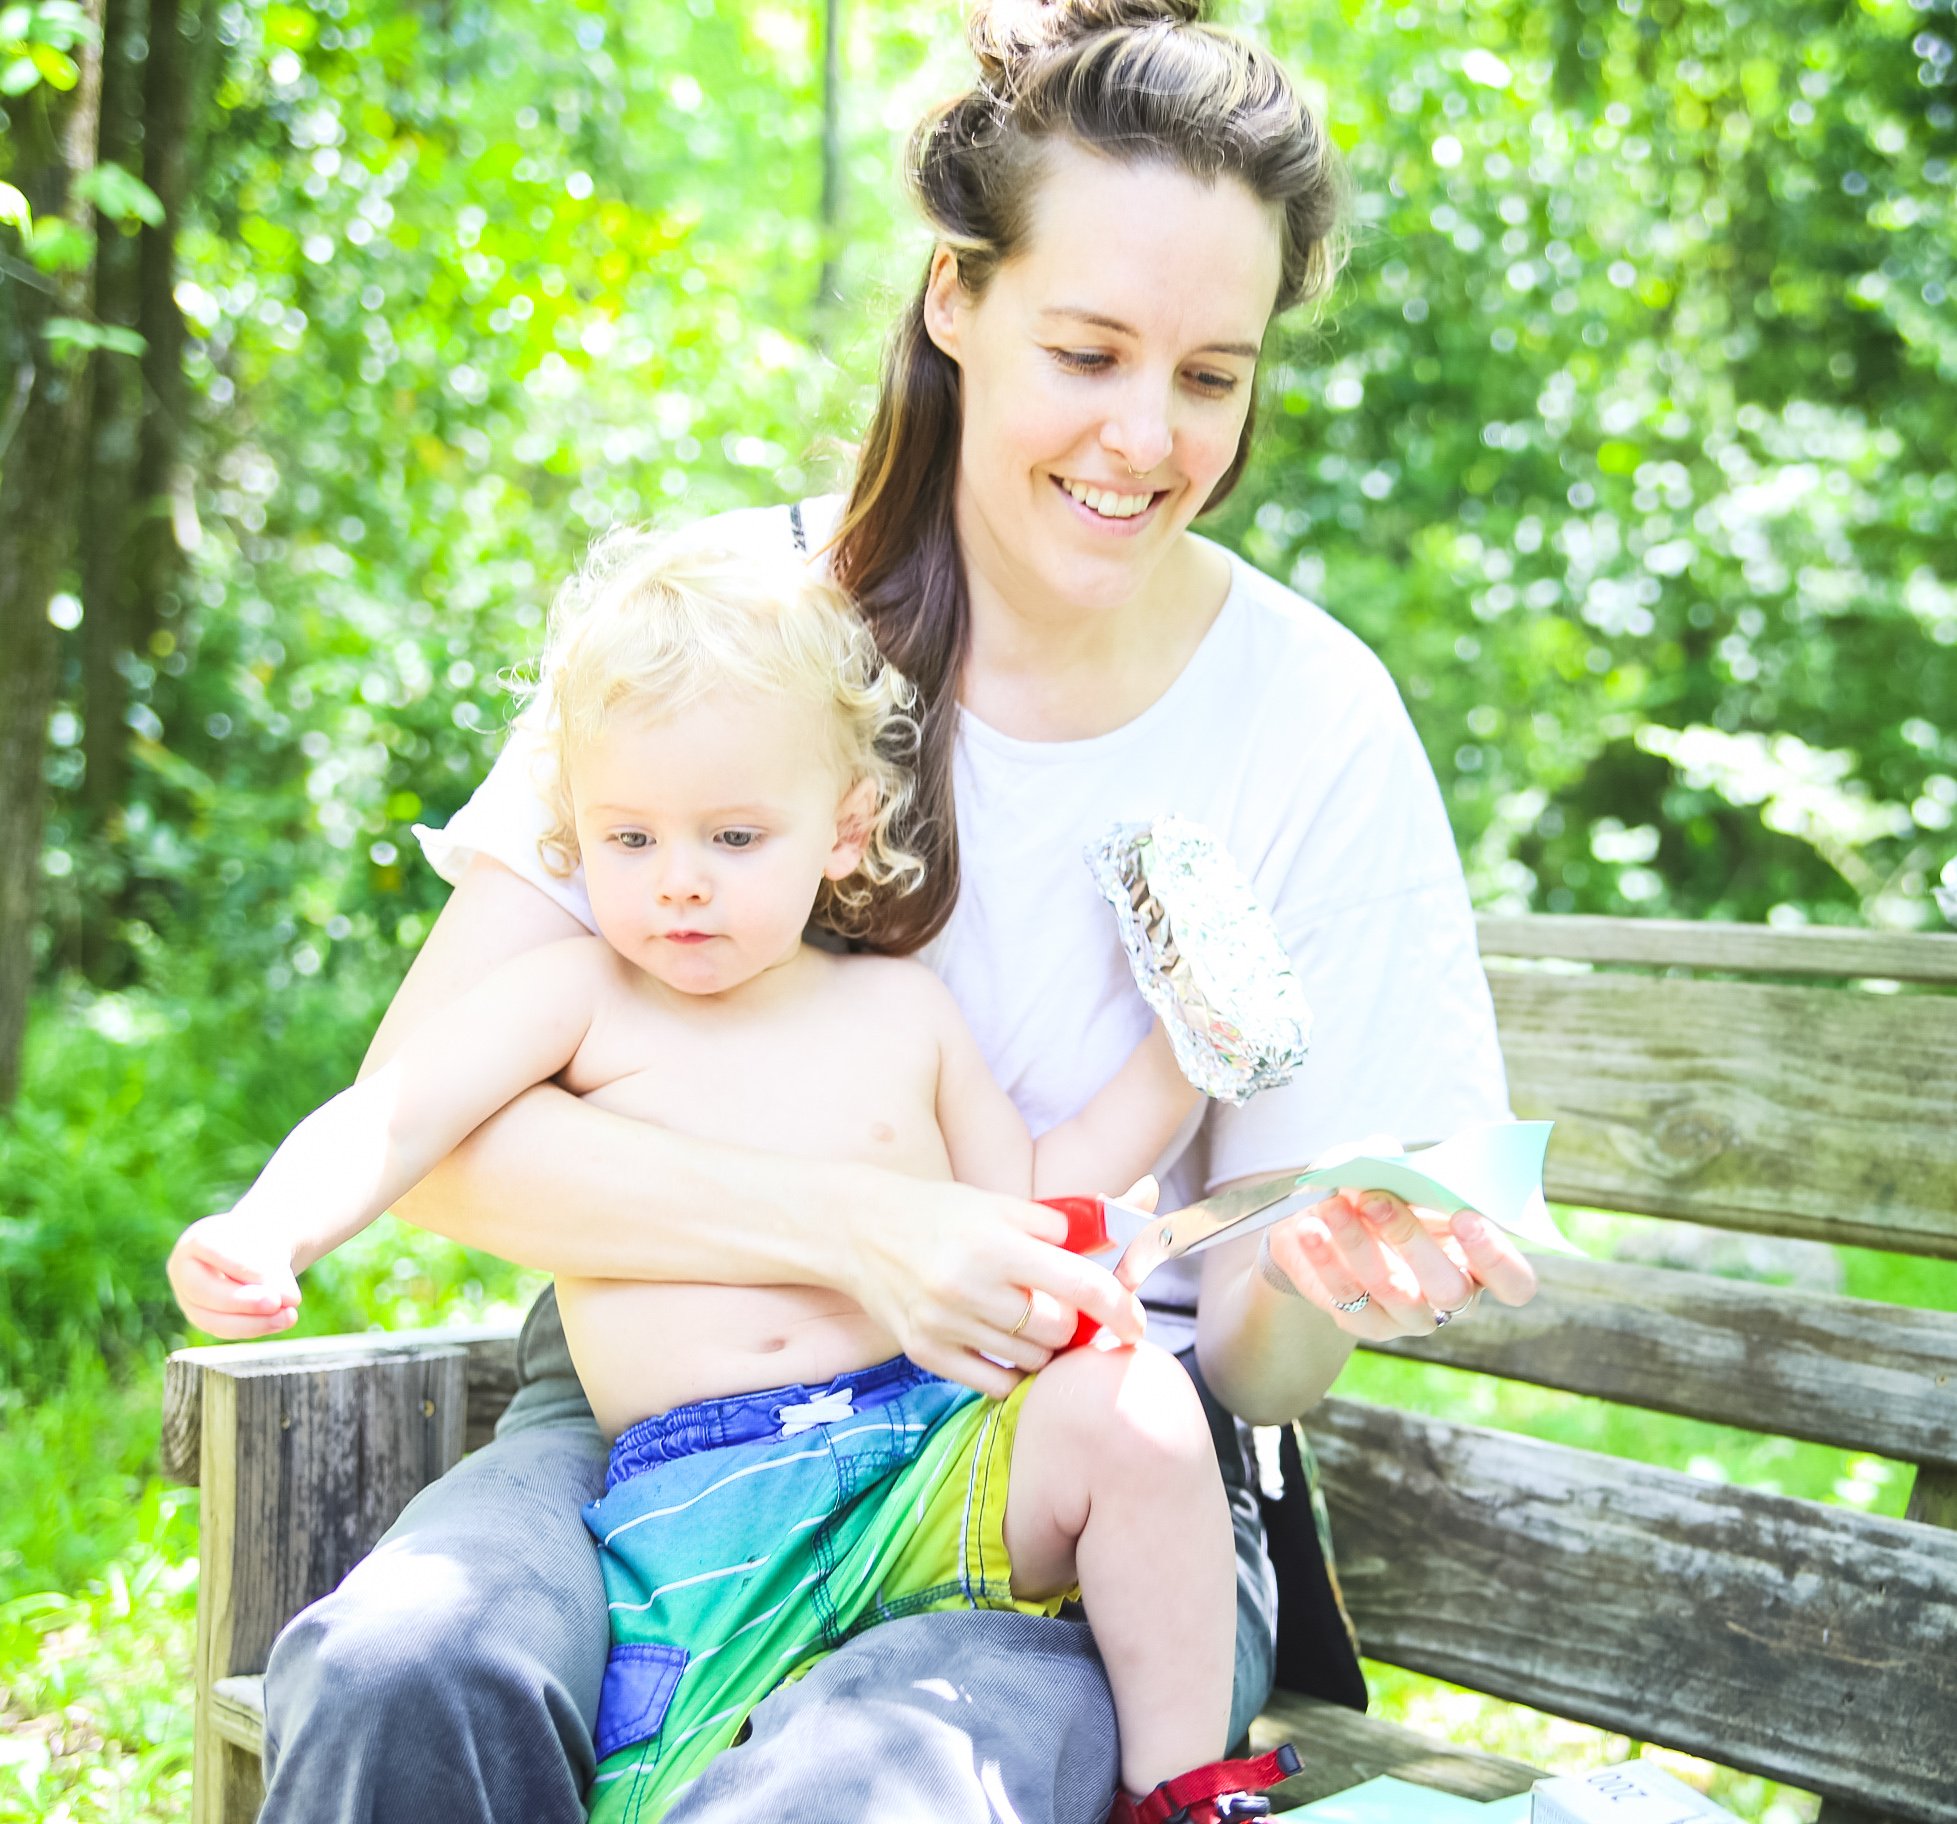
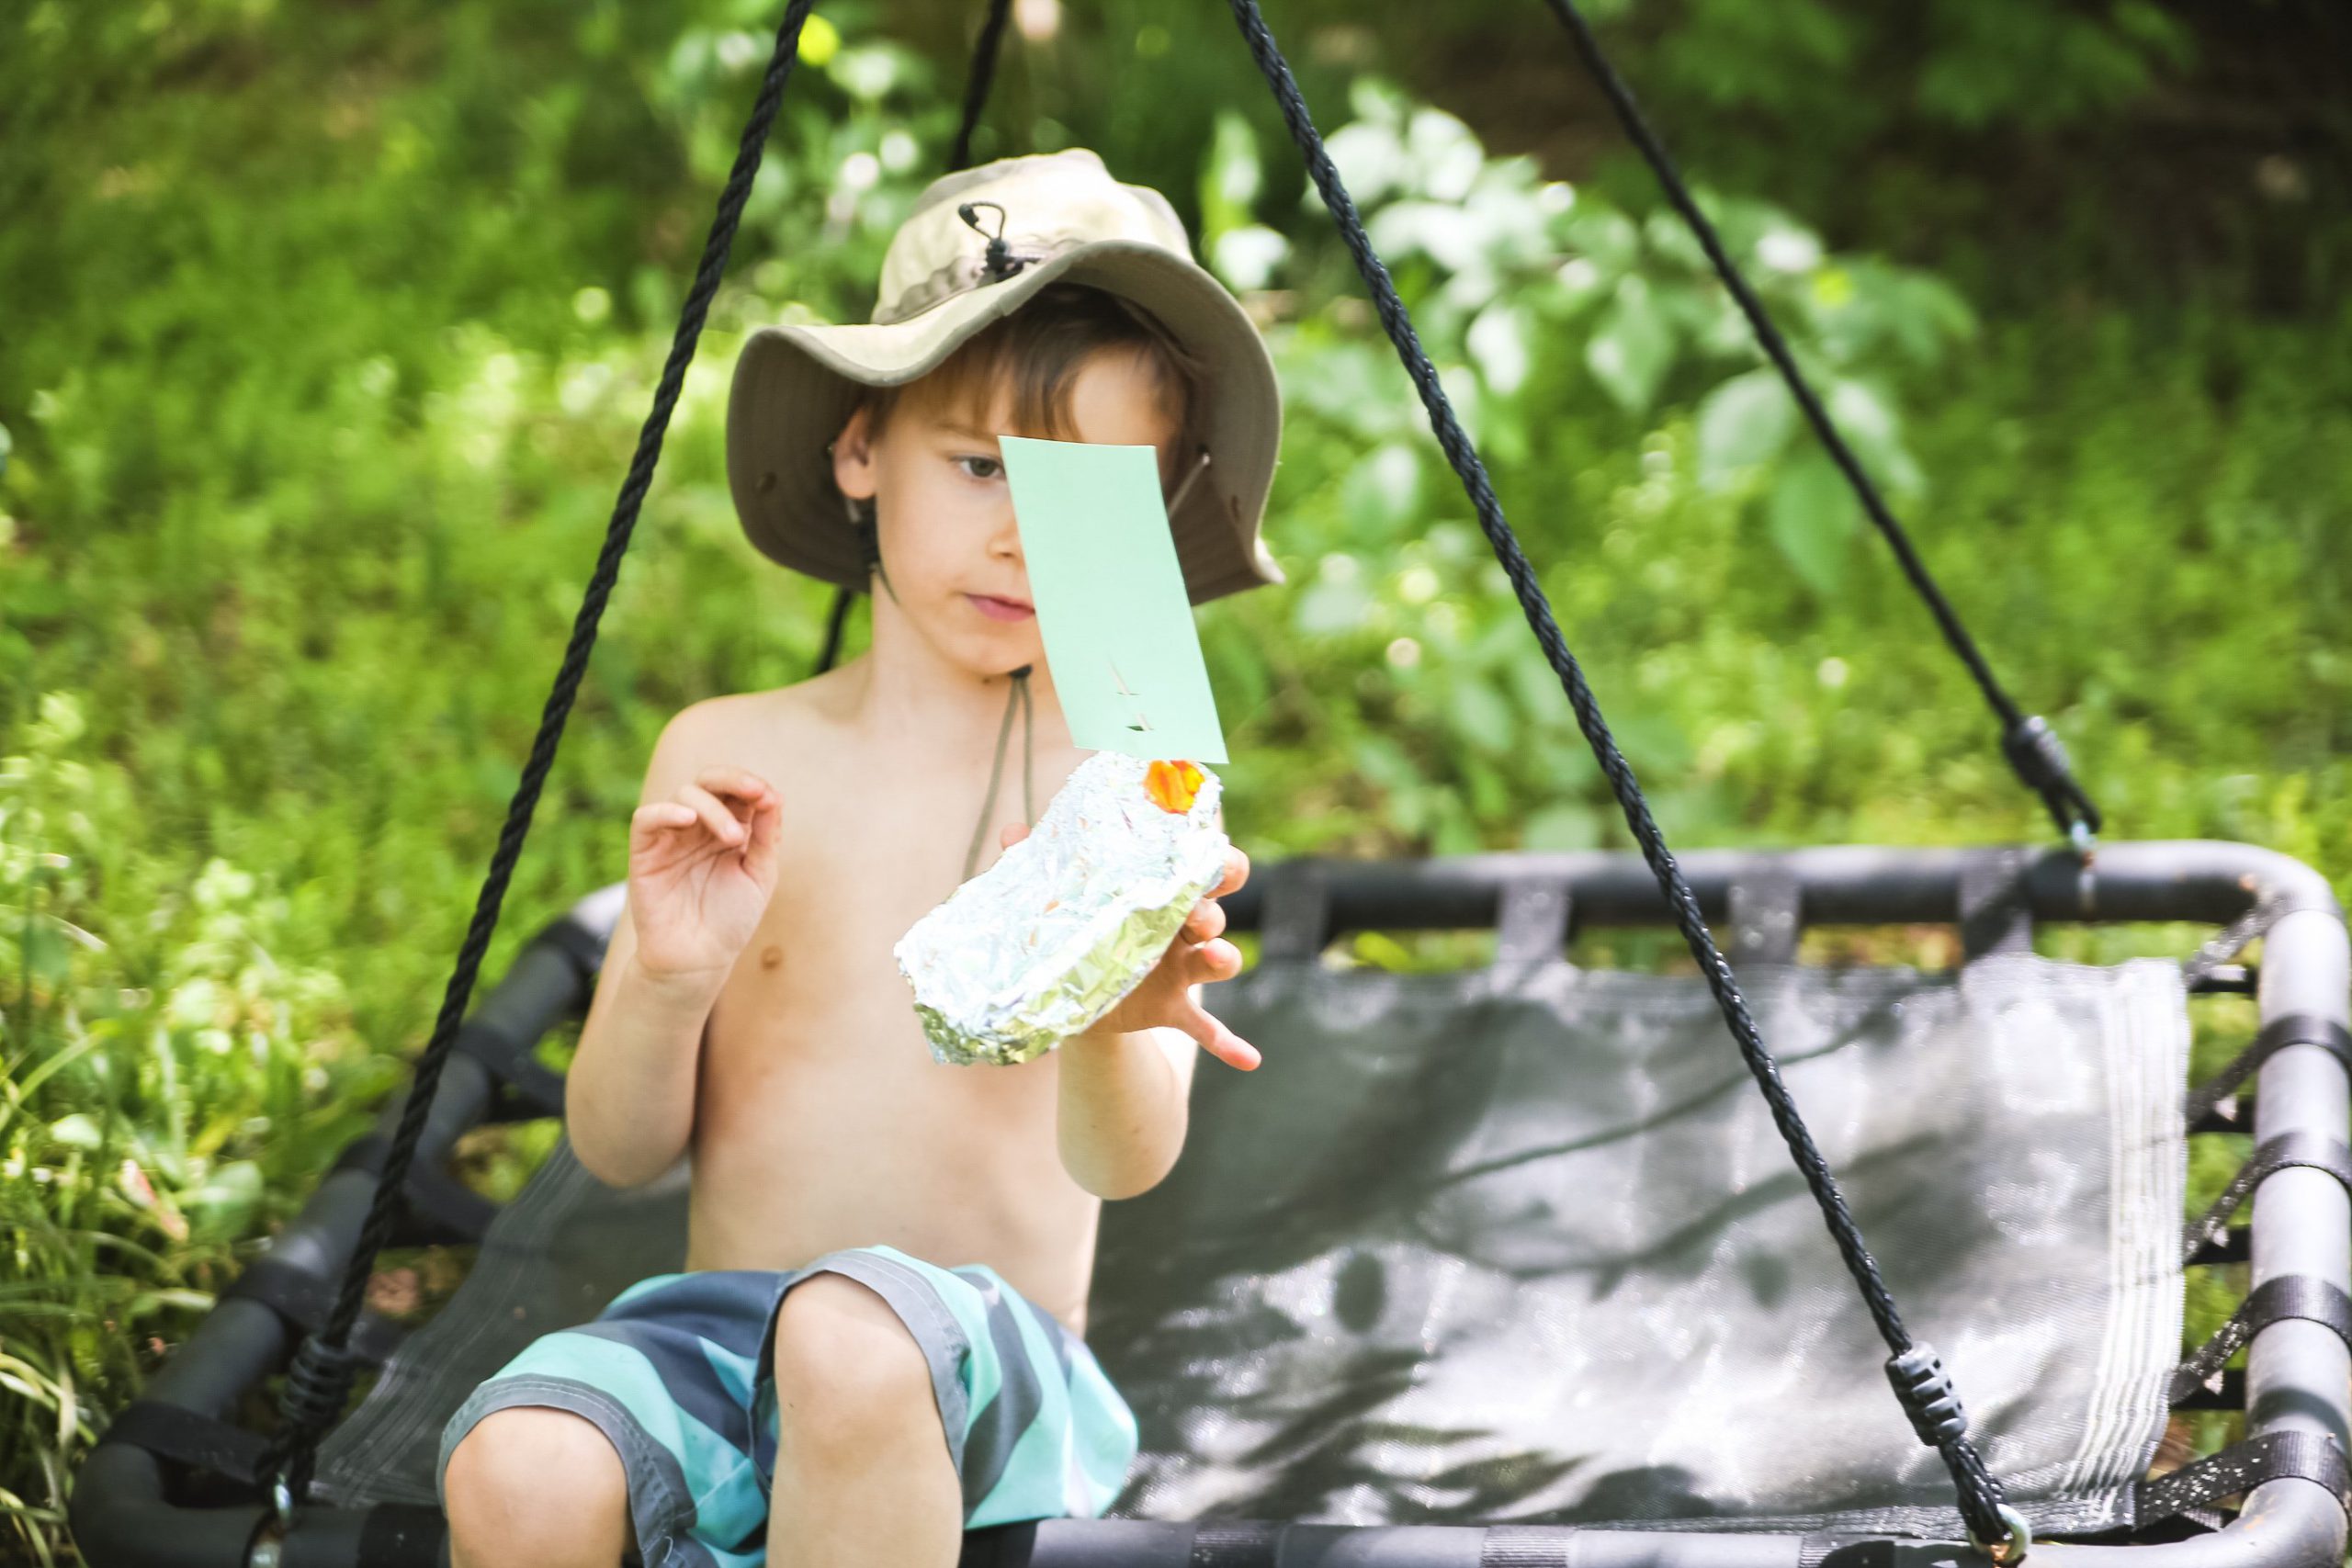
This craft is completely open ended. The fun part is using the tinfoil to create different sizes and styles of boats. The kids can literally create a anything their imagination can think of! For the sail, cut a sail shape out of the paper and stick it through with the toothpick. You can make little holes in the paper or just poke the toothpick through.
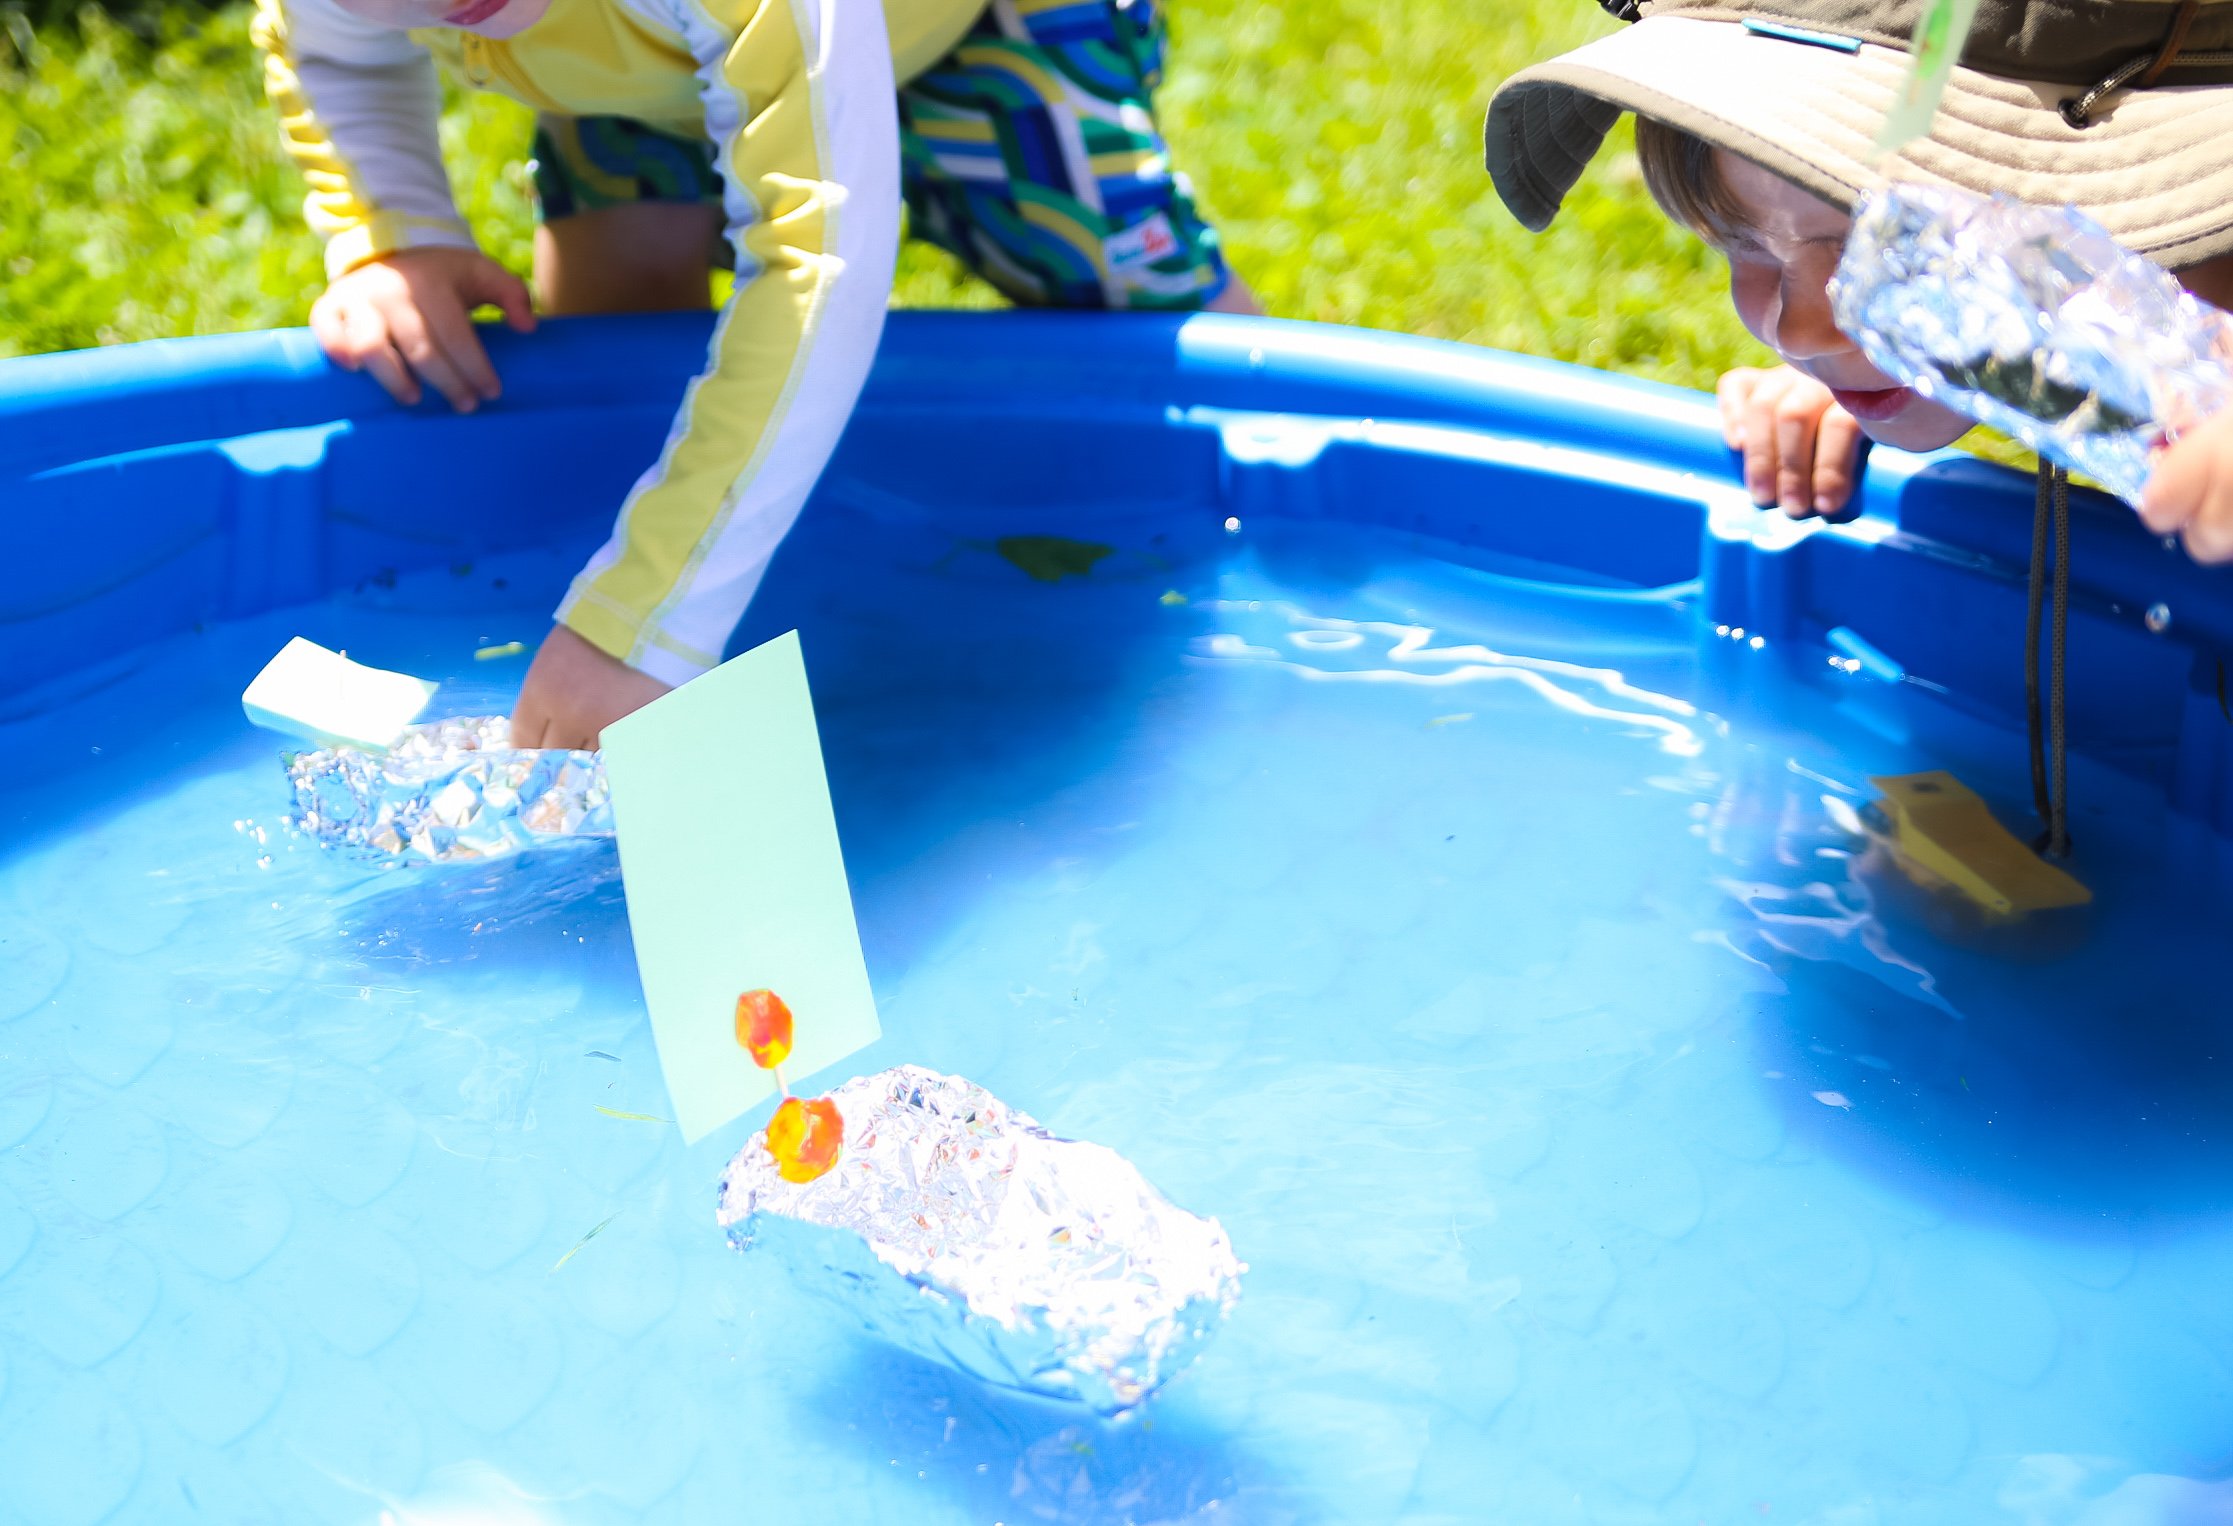
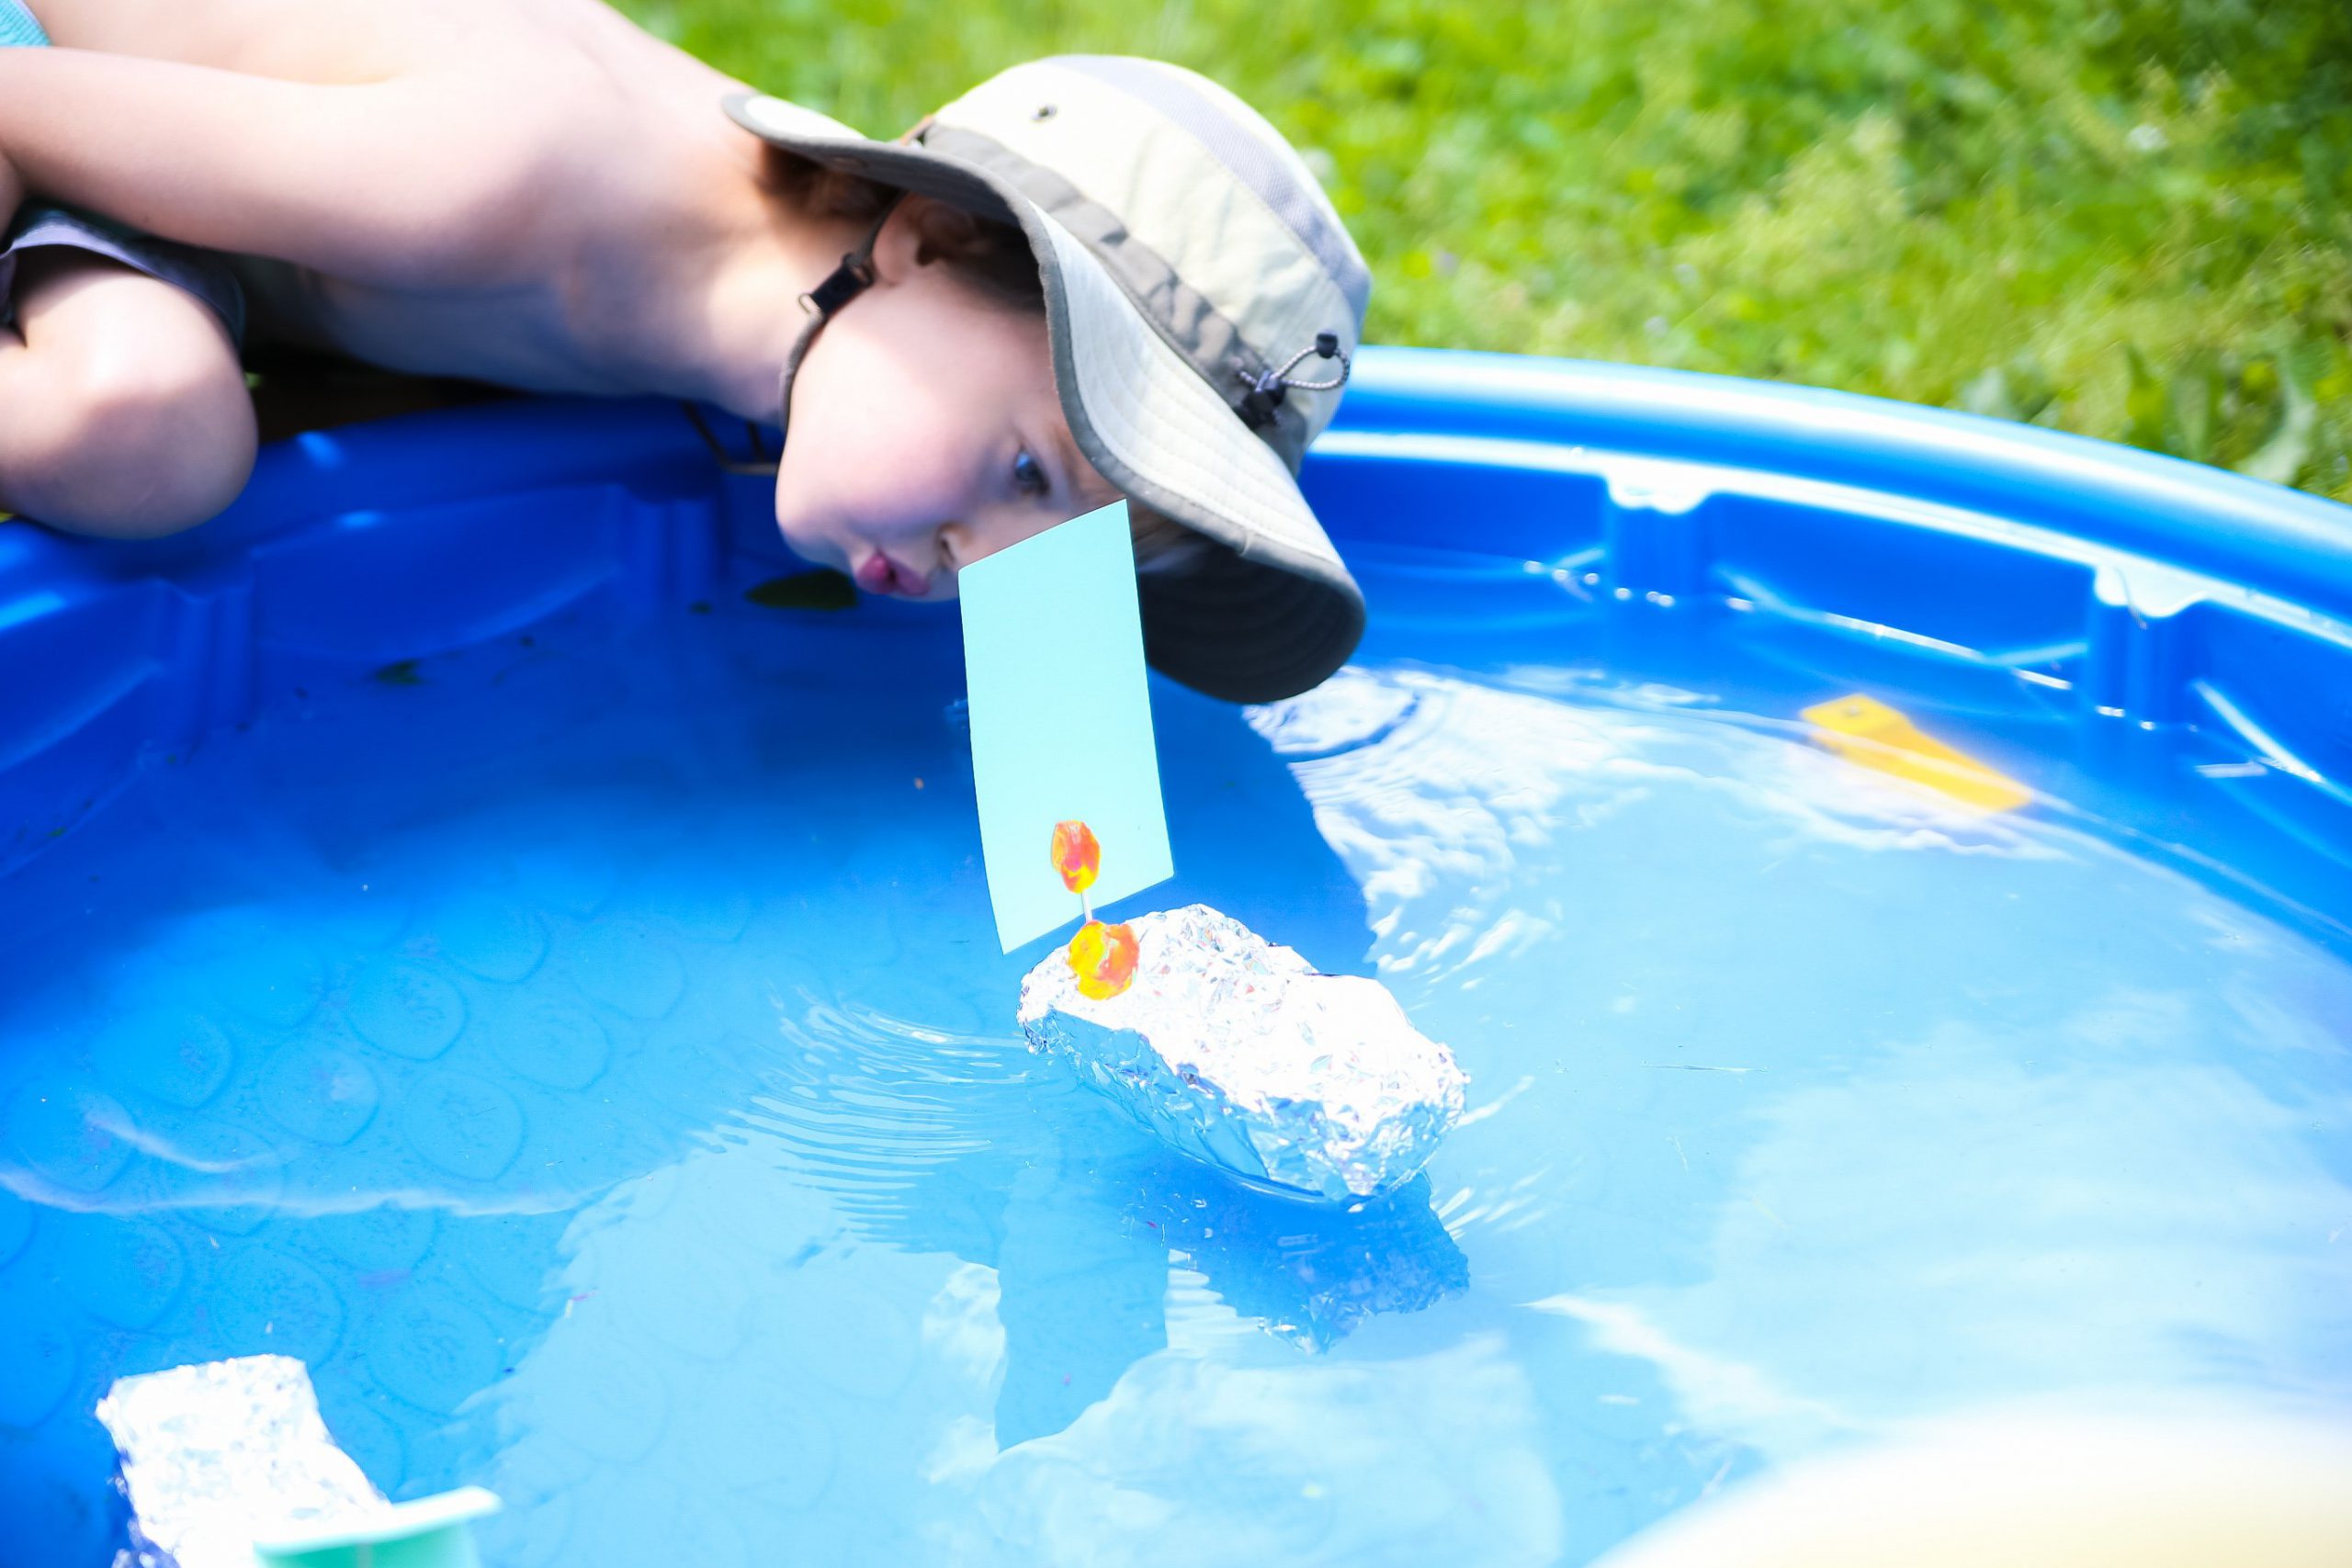
We used playdough to adhere the toothpick and paper sails to the boat. Then put it into the kiddie pool for a test ride! The boats all worked! Obviously the 2 year olds almost immediately capsized their boats, but the 6 year old was captivated by how it worked. He loved blowing it around the pool and watching his “wind” power the boat!
Did you try this craft? Tell us below!
The post Earth Day 2020 appeared first on Not So SuperMom VS Society.
]]>Easy Strawberry Tart Read More »
The post Easy Strawberry Tart appeared first on Not So SuperMom VS Society.
]]>
Strawberry Season
Every year we have a tradition- fruit picking. Sometimes it’s apples, sometimes it’s blueberries & blackberries, but our favorite so far has definitely been strawberries!
Honestly fruit picking is pretty rad. I mean you can stop and have a fresh snack break whenever you want, it’s a great bonding and memory making experience, and it’s fairly economical.
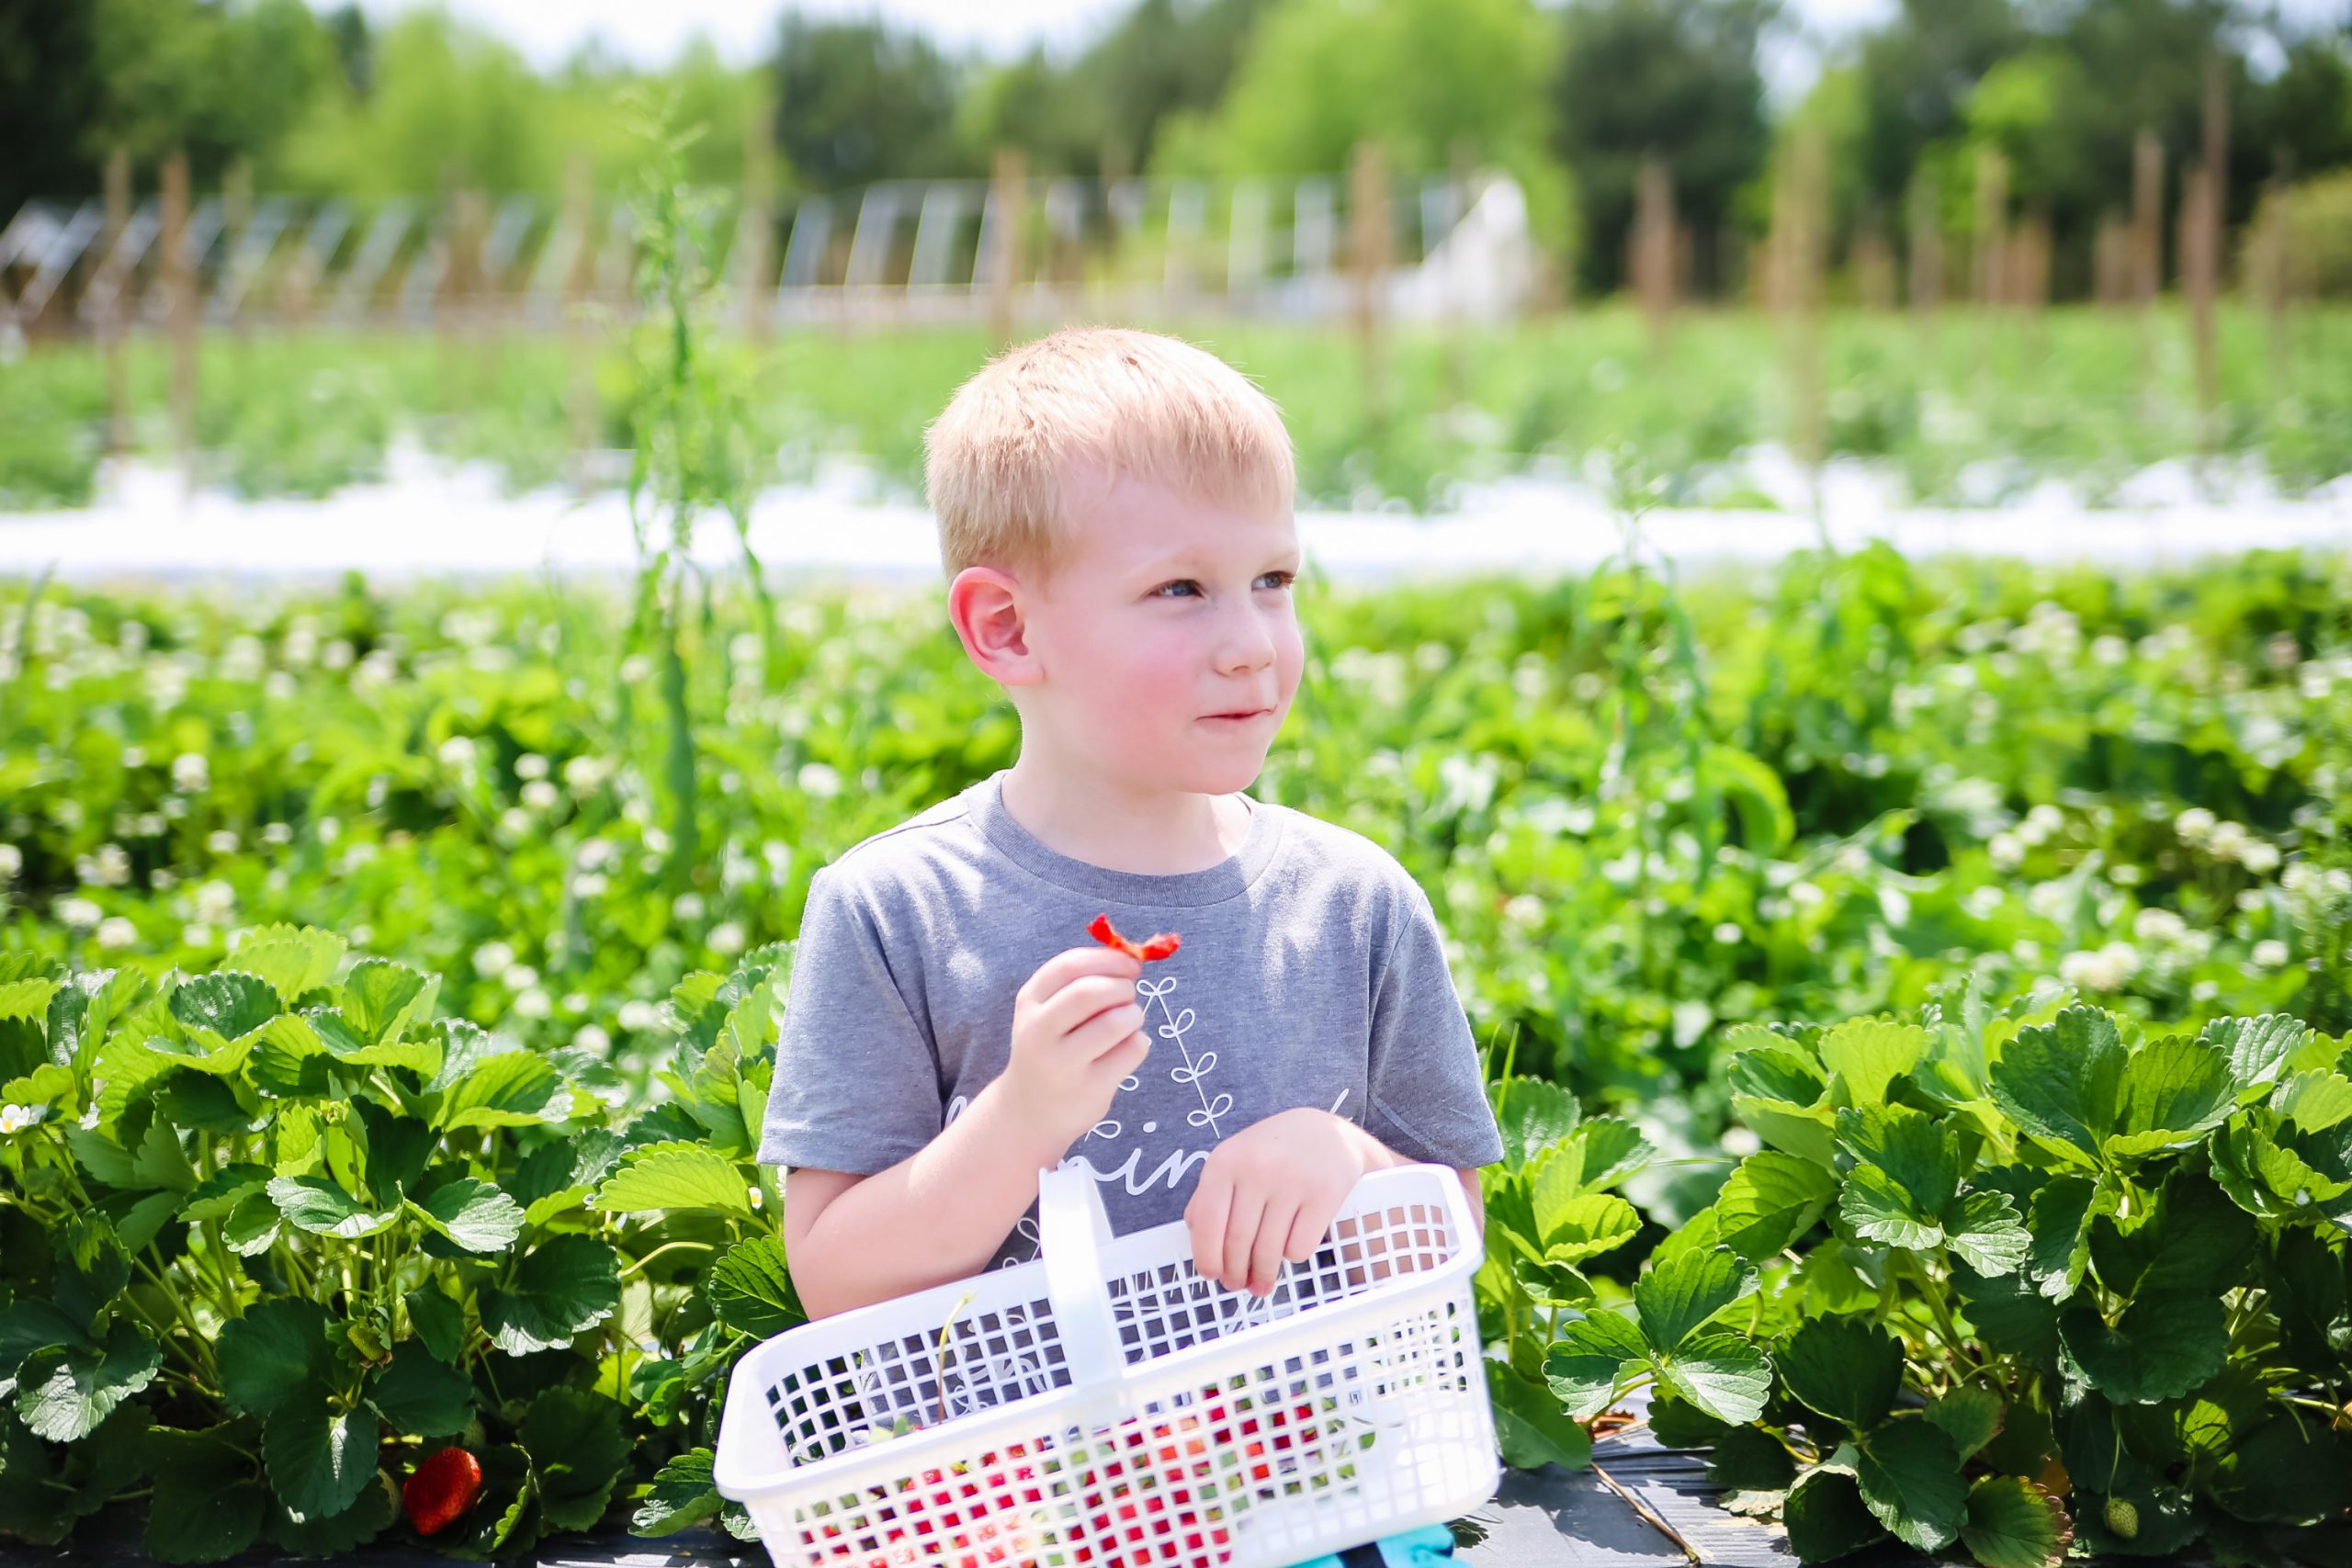
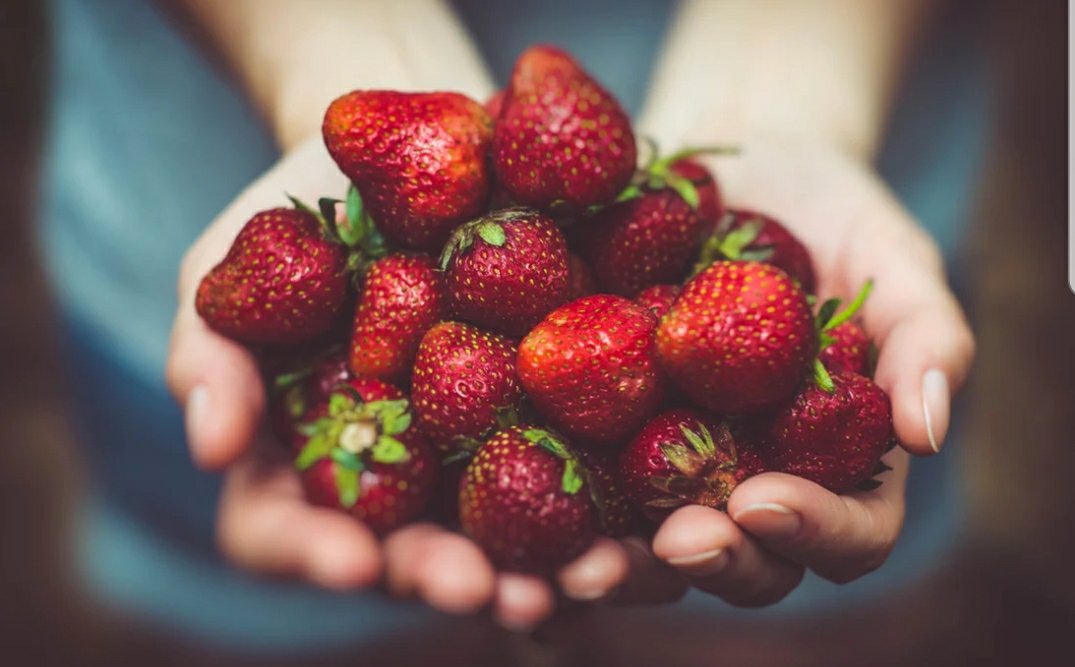
With Spring being here and Strawberry Season starting, I wanted to share my favorite Spring recipe, Strawberry Tarts. This recipe checks all the important boxes:
- Easy & Quick Prep
- Simple
- Delicious Results
Ingredients & Instructions
INGREDIENTS:
- 1 sheet frozen puff pastry, thawed
- 1 egg
- 2 teaspoons water
- sparkling sugar (optional)
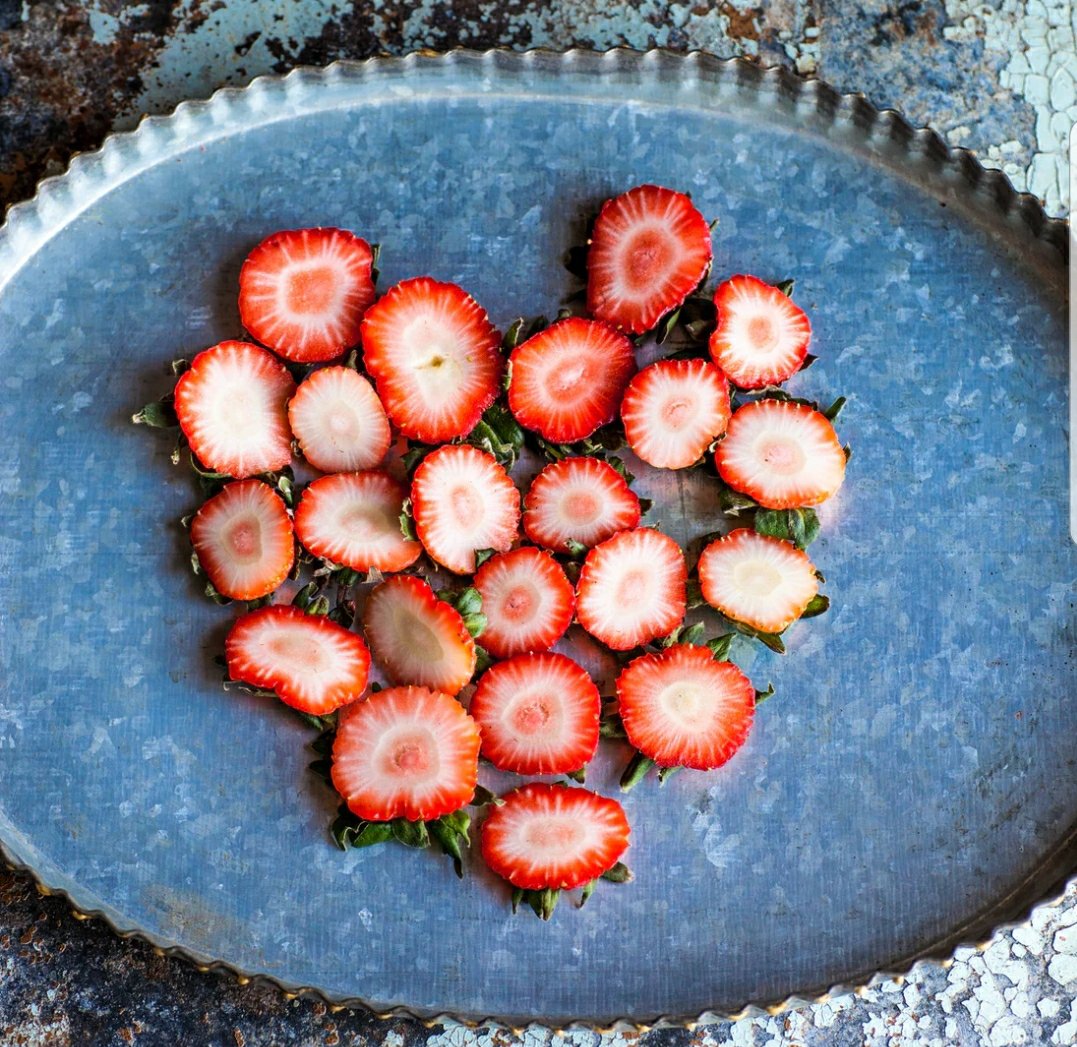
- 1 pint strawberries, washed/hulled, and sliced into 3-4 slices each
- 1/4 cup strawberry jam
- 3/4 cup white sugar, divided
- 4 ounces mascarpone cheese
- 4 ounces whipped cream (fresh whipped cream or cool whip)
- ice cream for garnish (optional)
INSTRUCTIONS:
- Preheat oven to 400F
- On a parchment lined baking sheet, roll out the puff pastry dough to a large rectangle.
- In a small bowl, whisk together the egg and the water.
- Use a knife to score a border 3/4 of an inch inside from the edge of the puff pastry. Use a fork to pierce the inside of the tart several times.
- Brush the pastry with the egg wash along the border. Sprinkle with sparkling sugar if desired.
- Bake for 20 minutes until golden brown and cooked. Set aside to cool.
- While the puff pastry is cooking, prepare the topping. In a large bowl, stir together the whipped cream, 1/2 cup white sugar, and mascarpone cheese.
- In a separate bowl, mix together the strawberry slices, 1/4 cup white sugar, and strawberry jam.
- Once puff pastry is cool, top with the cream and then the strawberries. Keep refrigerated until ready to slice and serve.
- Top with vanilla ice cream. Enjoy!
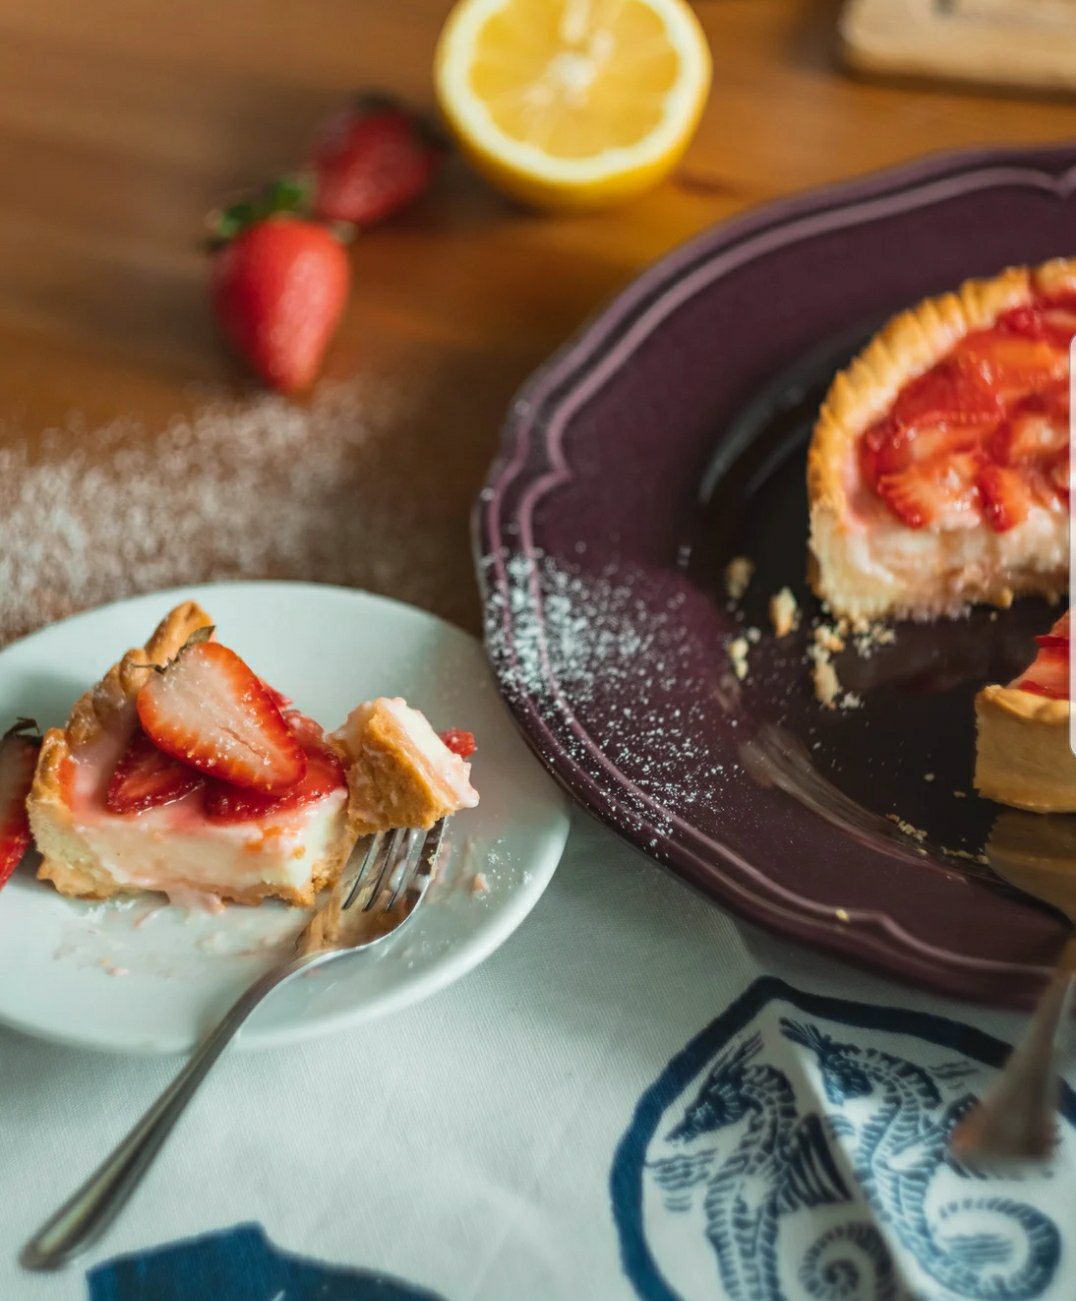
Everett comes back from his Gigi’s house in a week, and I absolutely cannot wait until we can go strawberry picking and make all of our strawberry treats!
Did you try this recipe? Tell us below!
The post Easy Strawberry Tart appeared first on Not So SuperMom VS Society.
]]>The post Rainbow Fun appeared first on Not So SuperMom VS Society.
]]>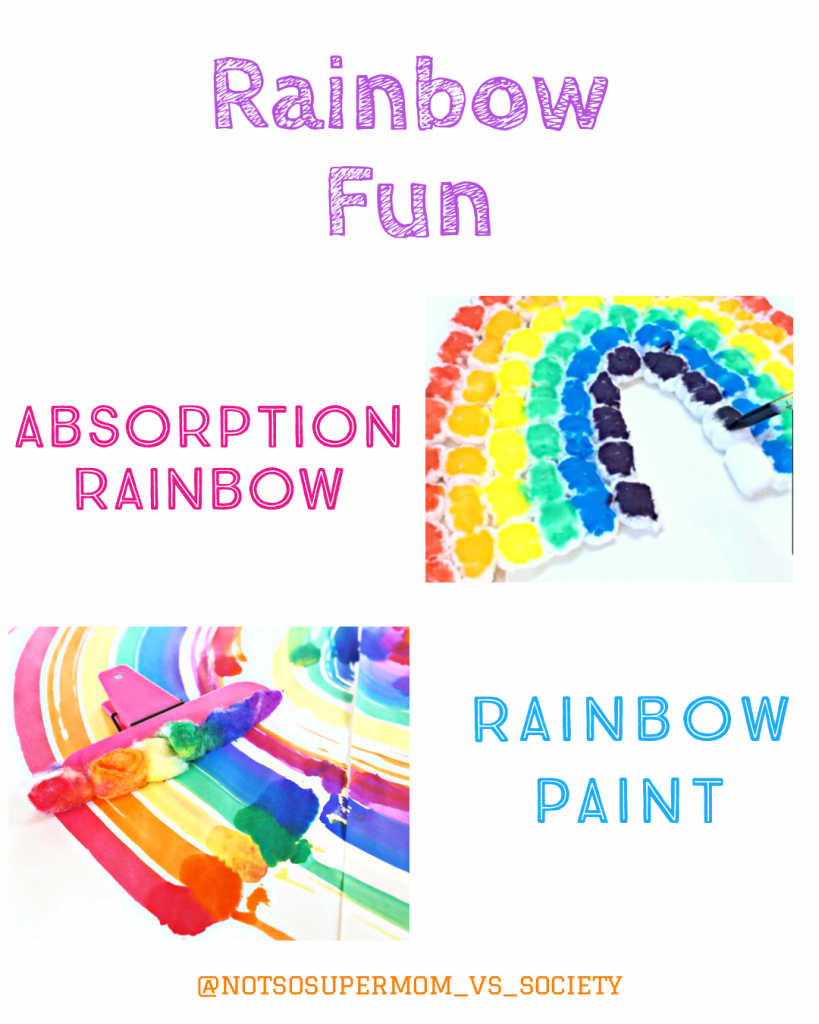
On Monday we woke up to find that the crazy storms knocked over a huge tree in our front yard. Finn is having the time of his life exploring it and we were lucky that it didn’t do much damage. Our luck inspired me to make some fun rainbow crafts, because after all, after every storm, comes a rainbow!

Instructions
Steps:
- Add adhesive to your chosen sturdy paper/canvas. I used Elmer’s adhesive spray, but you can use almost any glue.
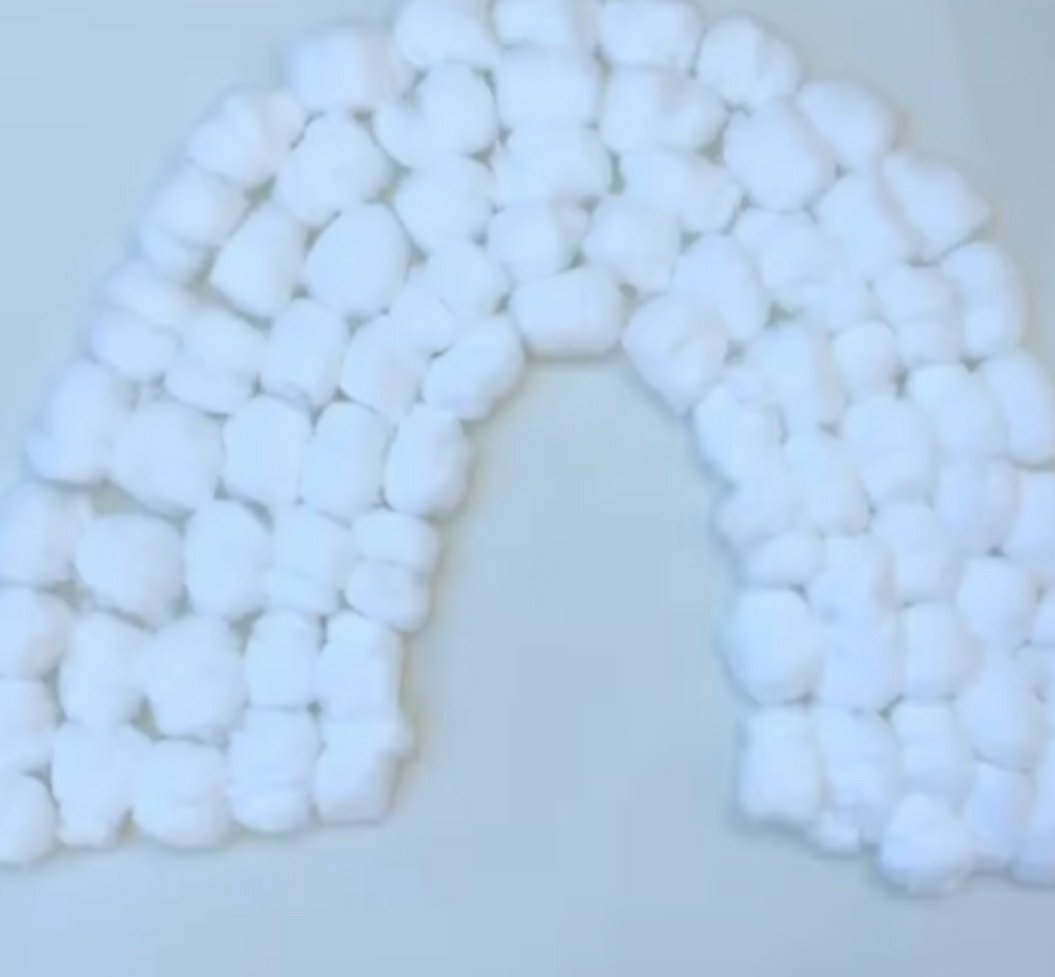
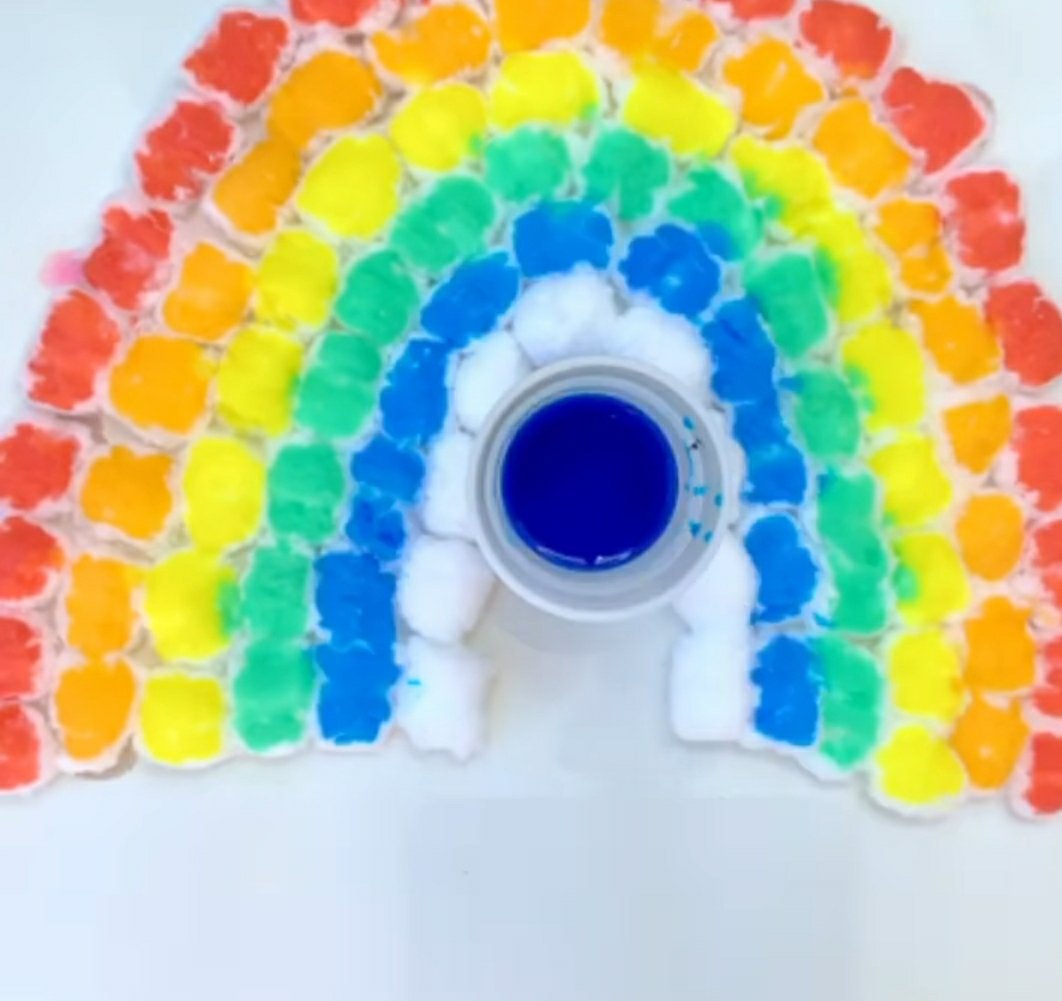
- Place cotton balls in rows that form the shape of a rainbow.
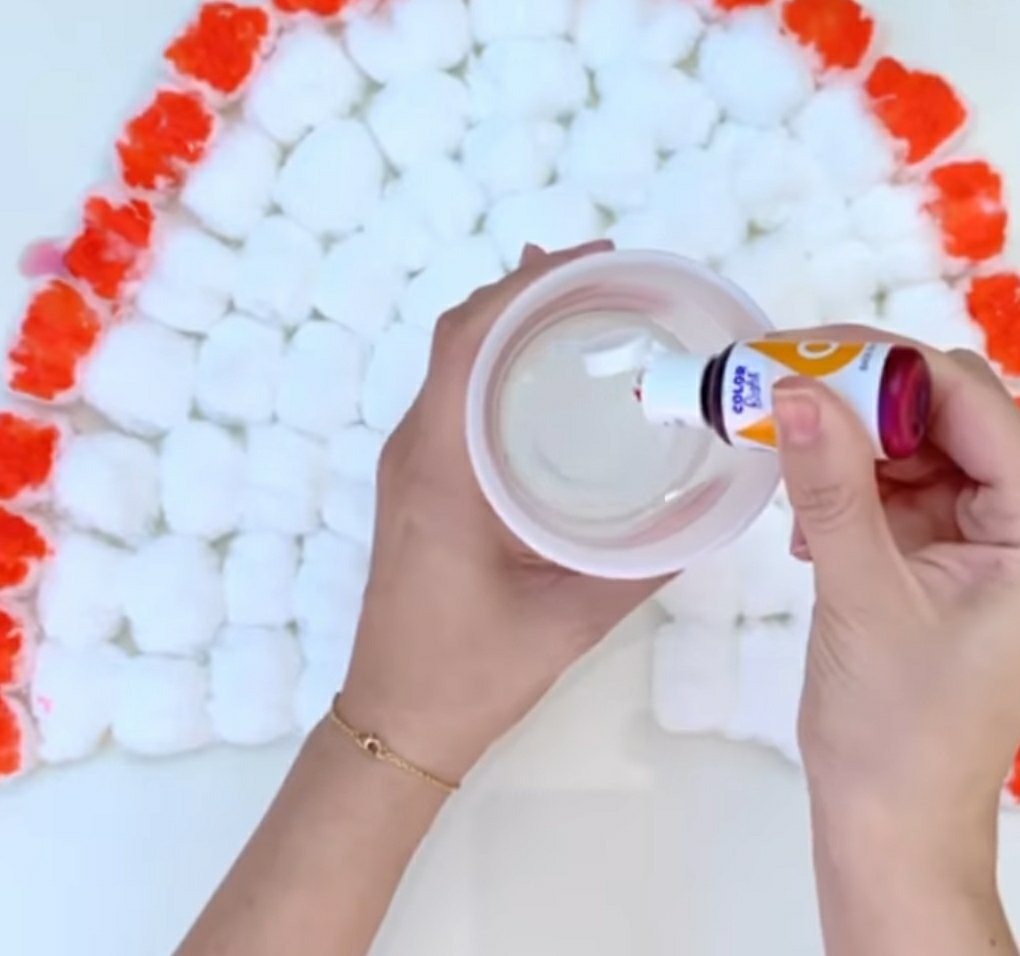
- Start with red food coloring and make a cup of red water.
- Use your pipette to add water to your outer layer.
- Work your way through the colors of the rainbow, working inward.
This is a super cool craft and the further into the rainbow you go, the cooler it gets! Talk to your kids about why it absorbs and how the colors start to blend in together. It’s also a cool way to talk about weather- the cotton balls are like clouds and the more water you add to it, the less it can absorb until it starts to “rain.” Also, I highly recommend using a thick poster board or a canvas for this. The more water you add, the heavier it gets, so thinner papers will tear under the strain and also be at risk for also absorbing the water.
Steps:
- Using cups or an ice cube tray, place a drop or 2 of food coloring in each spot, utilizing all colors of the rainbow.
- Fully immerse a cotton ball in each color.
- Take your soaked cotton ball and place it in the chip bag clip, forming a rainbow.
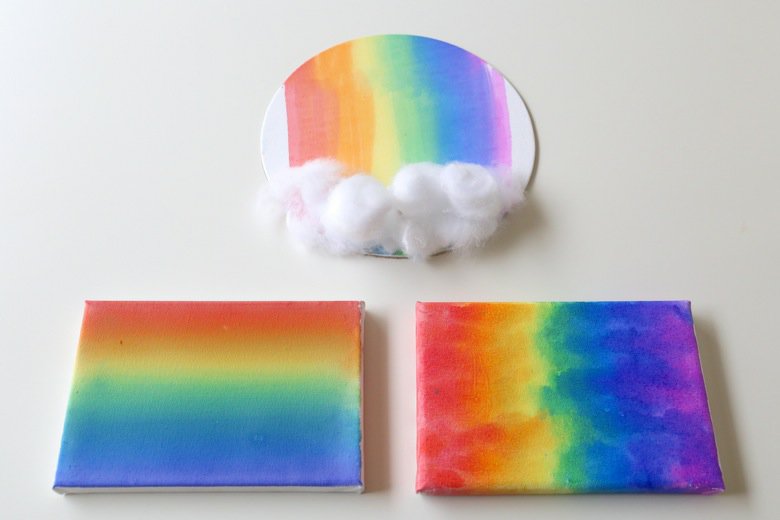
- Use chip clip on your canvas/paper, creating beautiful works of art.
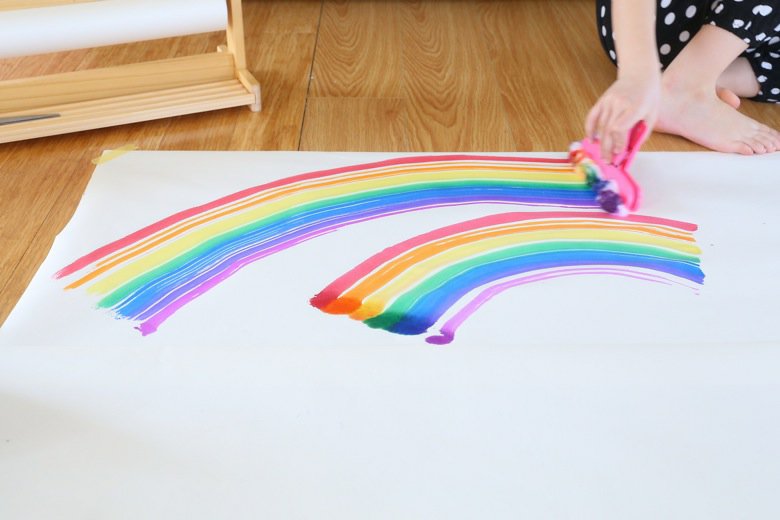
This is a visually beautiful craft. It also leaves very little mess behind. We tried it both with paint and food coloring. The paint works, but it mixes together slowly forming an ugly mud color the more you spread it, whilst the food coloring mixes together beautifully. You can get really creative with your color combinations and make cool paintings with it. For less rainbow-y or more detailed results, you can also use a clothespin instead of a chip clip.
Did you try one of these crafts? Tell us below!
The post Rainbow Fun appeared first on Not So SuperMom VS Society.
]]>Mess-Free Ziploc Bag Painting Read More »
The post Mess-Free Ziploc Bag Painting appeared first on Not So SuperMom VS Society.
]]>
Everett is spending the next week or two with his Gigi, so Finn and I get to spend some quality one-on-one time together. Today, I decided to commemorate our special time together with a mess-free painting project.
Items Needed
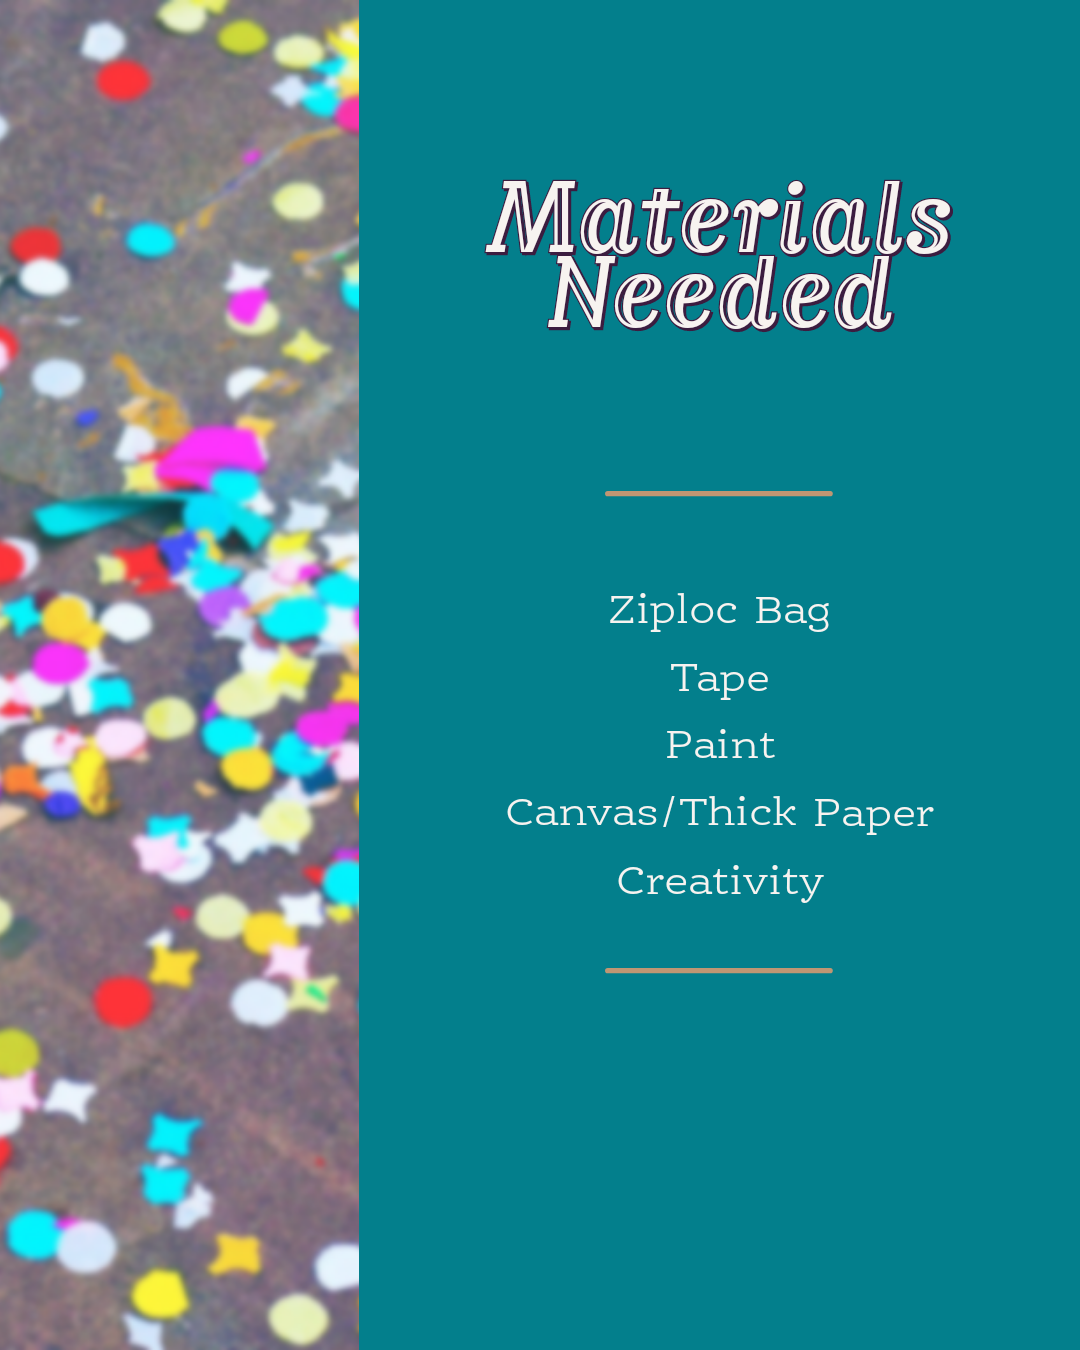
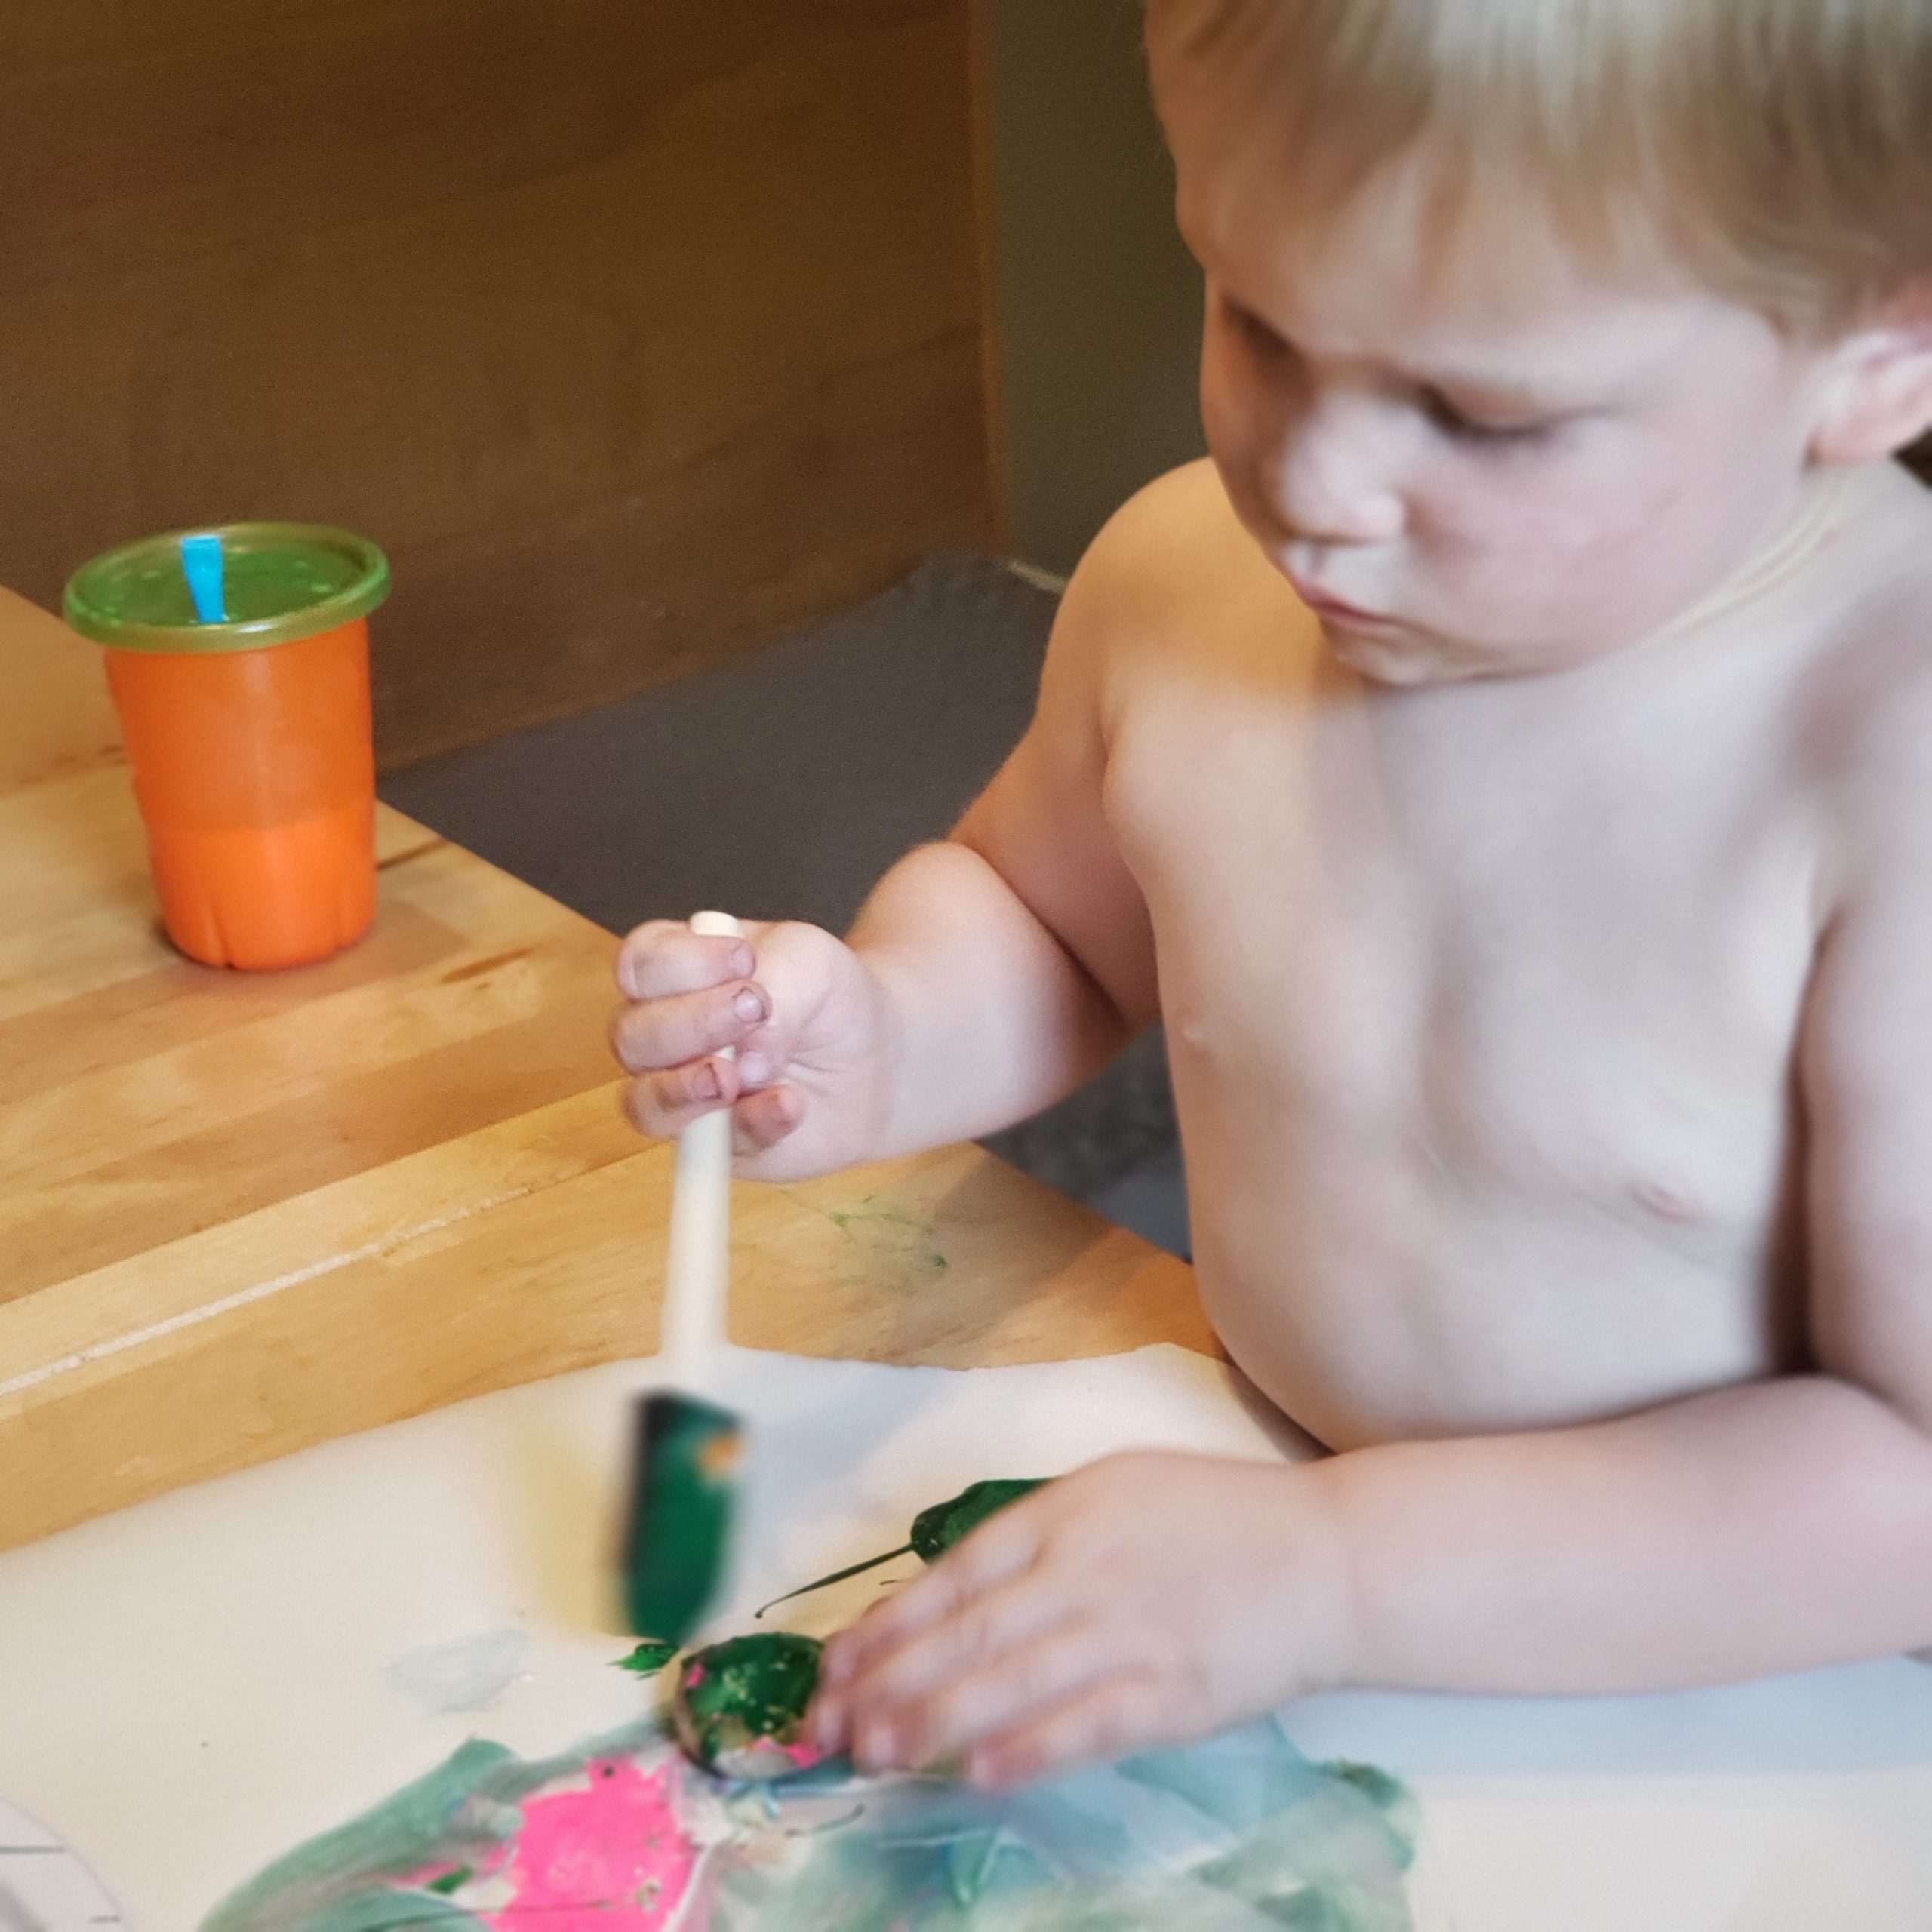
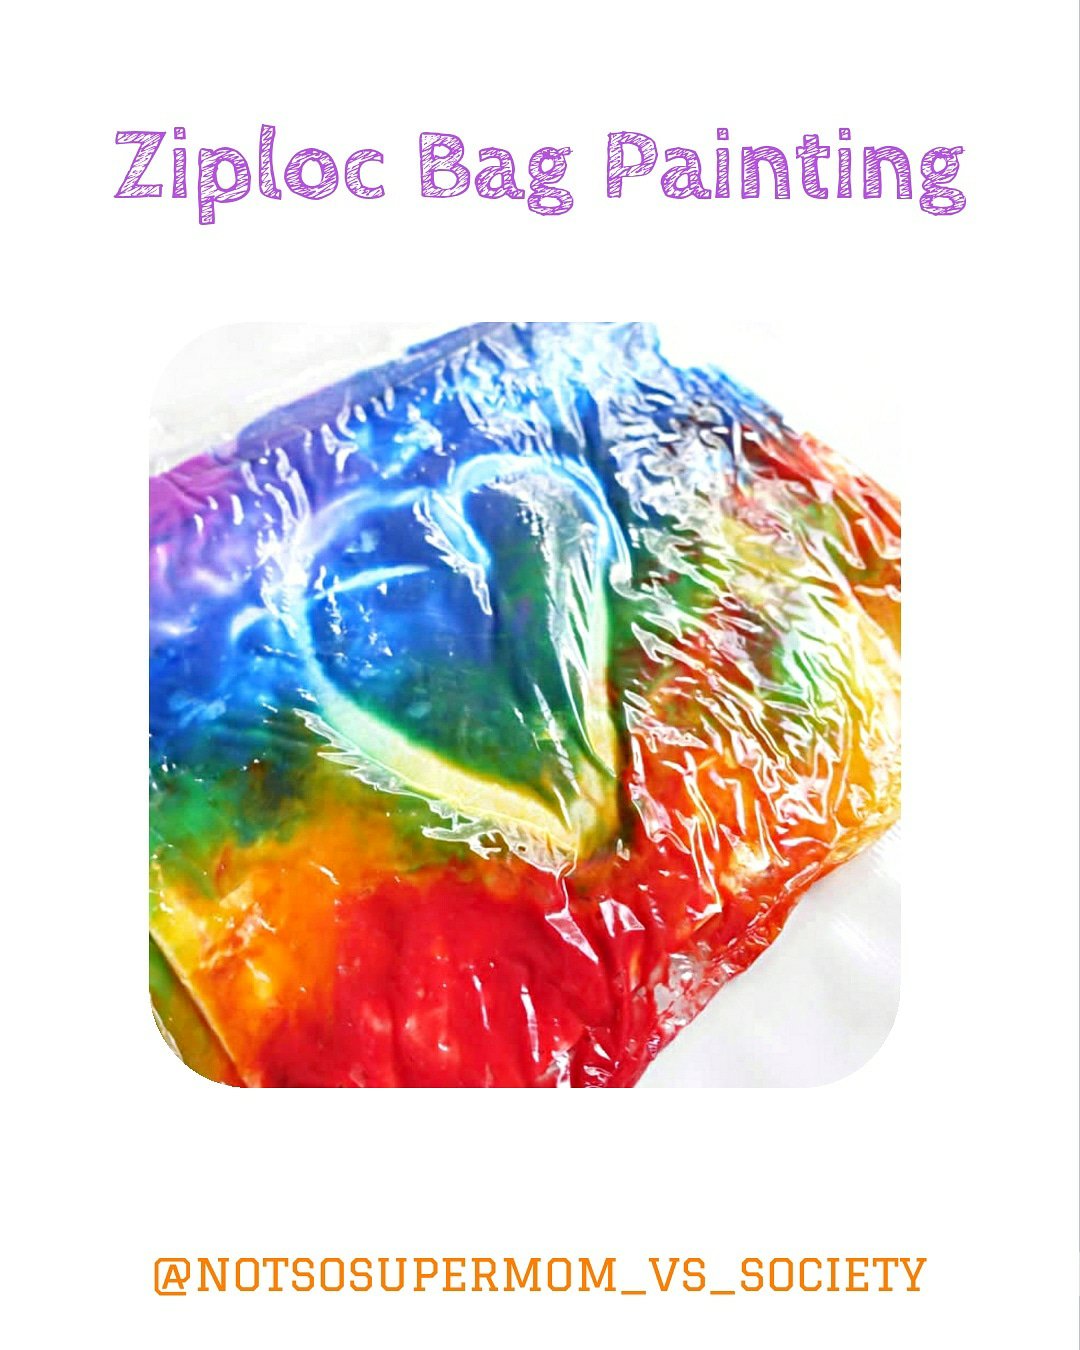
This is one activity that can go so many ways. It’s totally open ended. You can just let them mix and smoosh paint or make a beautiful work of art. It’s a great way to showcase color mixing and sensory play without making a huge mess. They can mix the paint with their hands, a rolling pin, q-tips, or even things like matchbox cars and monster trucks. You’re only limited by you and your toddlers imagination!
If you don’t want to make an artwork, simply add paint to the ziploc bag and tape it to your window or table with painter’s tape. As they mix up the paint, have them make letters or shapes.
If you do want to make a keepsake, tape off shapes/words/designs on your canvas or paper, place it in a ziploc bag, and carefully add paint. Let your kiddo mix the paint and fully cover the canvas. Once the canvas is covered, take the canvas out and put it somewhere safe to dry. Once it’s dry, take off the paint and enjoy your masterpiece!
The post Mess-Free Ziploc Bag Painting appeared first on Not So SuperMom VS Society.
]]>Easter Sensory Bins Read More »
The post Easter Sensory Bins appeared first on Not So SuperMom VS Society.
]]>
Yesterday we made shaving cream paint and it quickly turned into utter chaos. Finn started painting himself, both boys wanted their booties painted, and so on.
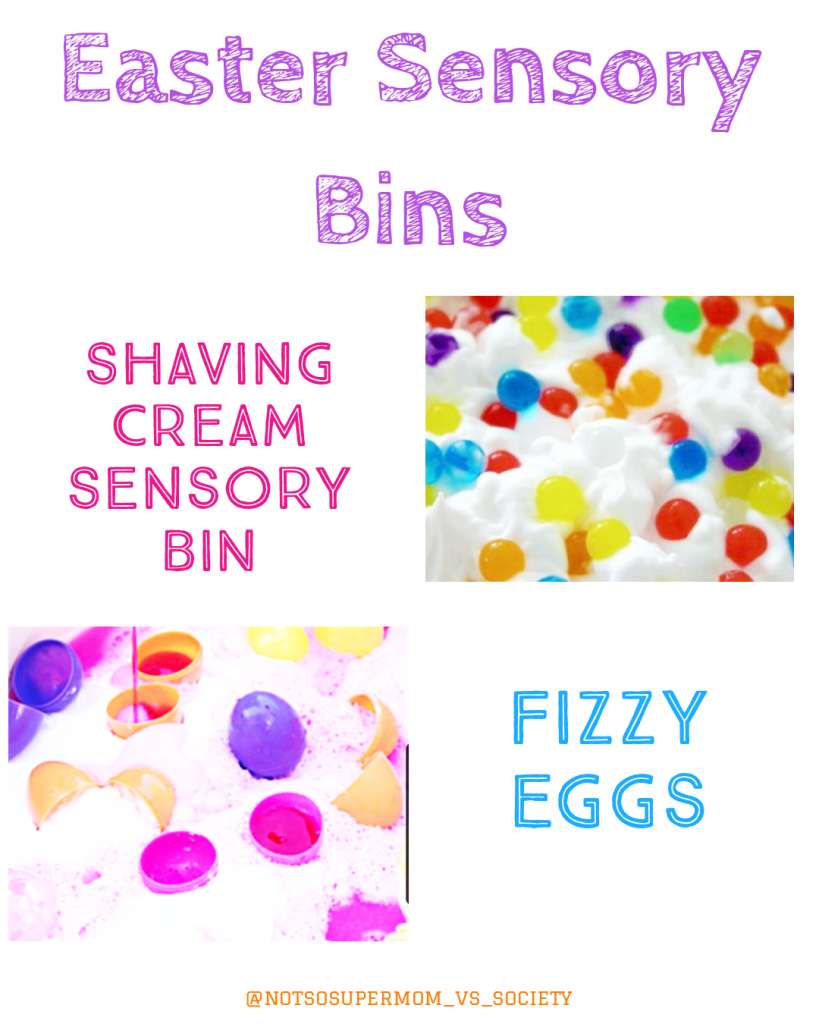
I decided to embrace the chaos of messy play and use the remaining shaving cream for a sensory tub. I used some water marbles, eggs, and also grabbed some vinegar & baking soda to have some extra sensory fun.
Ingredients & Instructions
Sensory Bin
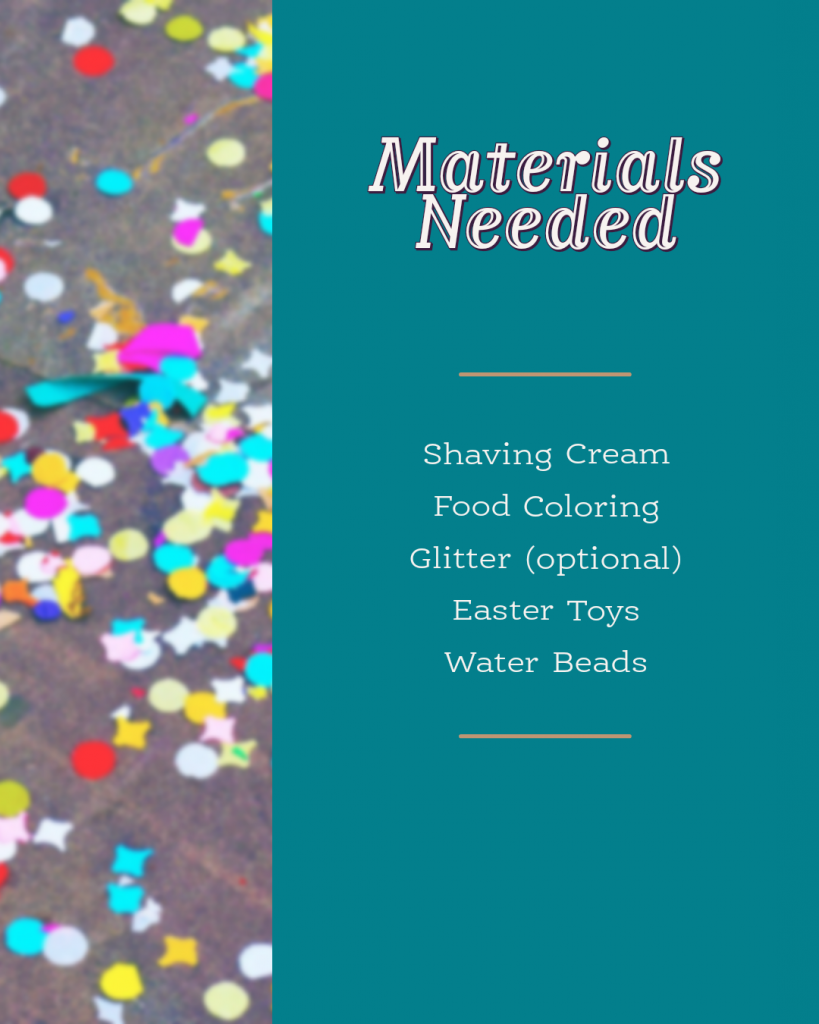
This one is pretty open ended. We had a lot of shaving cream left over from our painting endeavours, leftover water beads, and leftover plastic eggs. You could honestly use almost anything in these tubs. Also, for a more kid safe version of the shaving cream, you can use whipped cream or Mr. Bubble foam soap.
Fizzy Eggs
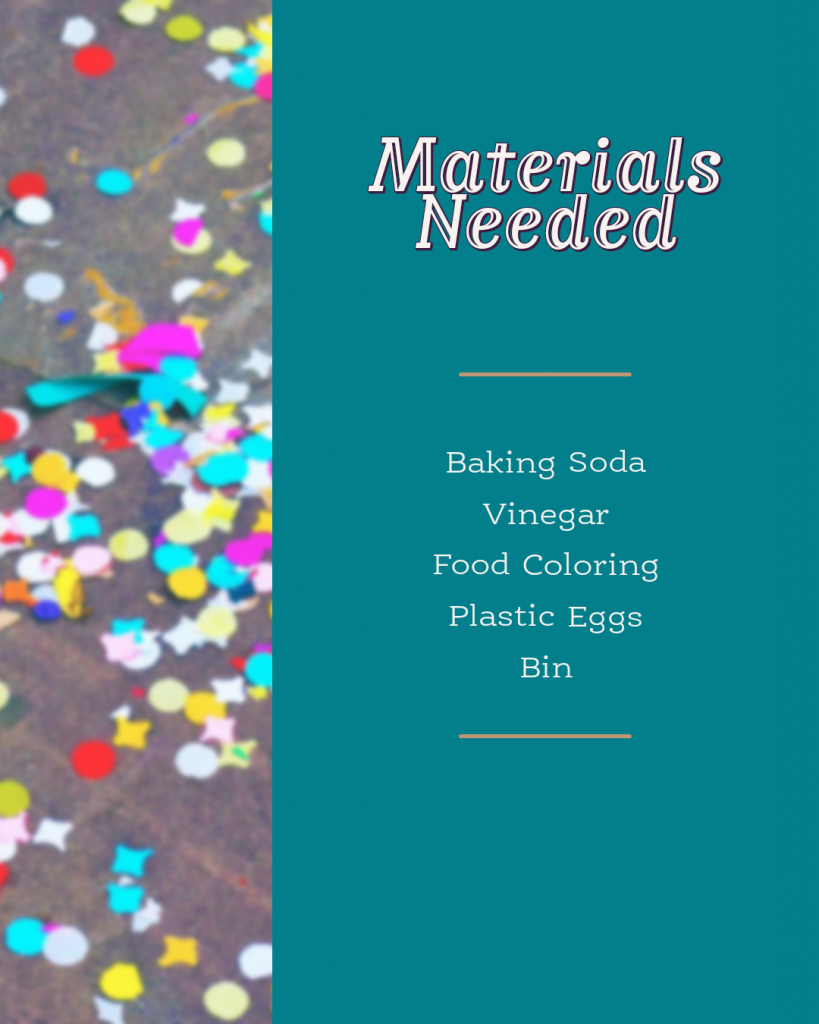
Similar to our Volcano Egg Dyeing, we simply added baking soda to our shaving cream bin and I gave them colored vinegar to put on top. You can use empty plastic eggs, add baking soda to them, and then let them add vinegar with a spray bottle or pipette.
After we were done, we finished up with a fun egg washing water activity!
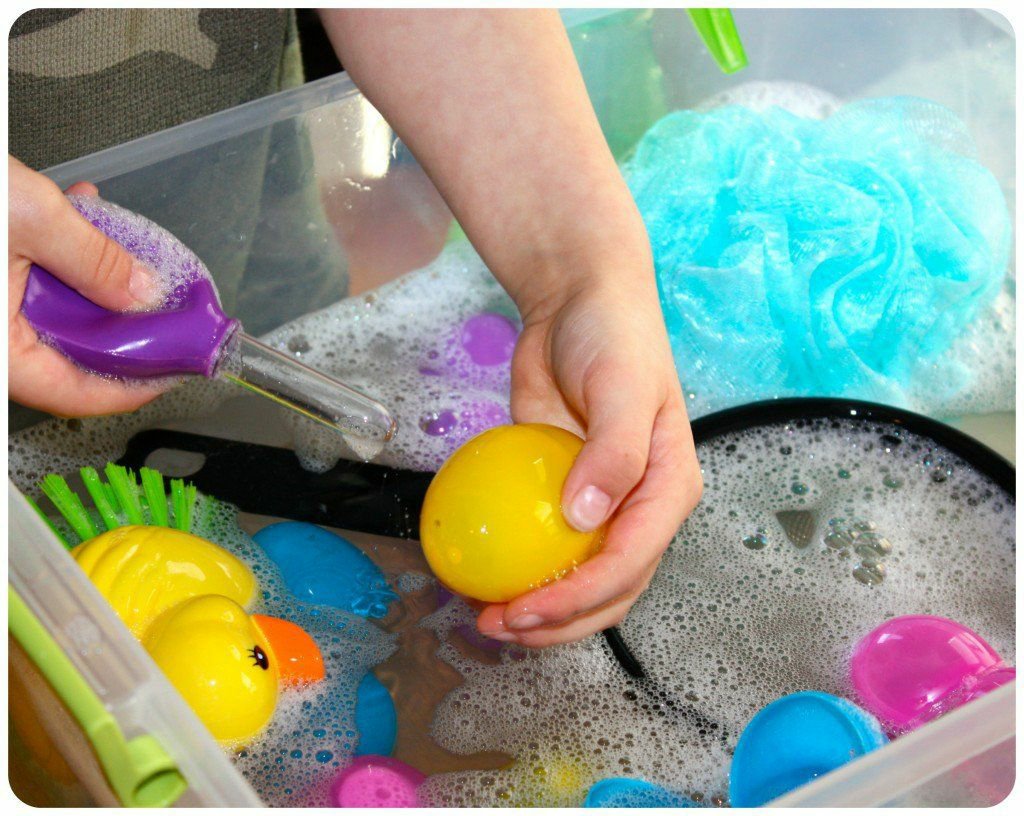
Did you do one of these? Which one? Did you modify it? Tell us below!
The post Easter Sensory Bins appeared first on Not So SuperMom VS Society.
]]>Easter Painting Projects Read More »
The post Easter Painting Projects appeared first on Not So SuperMom VS Society.
]]>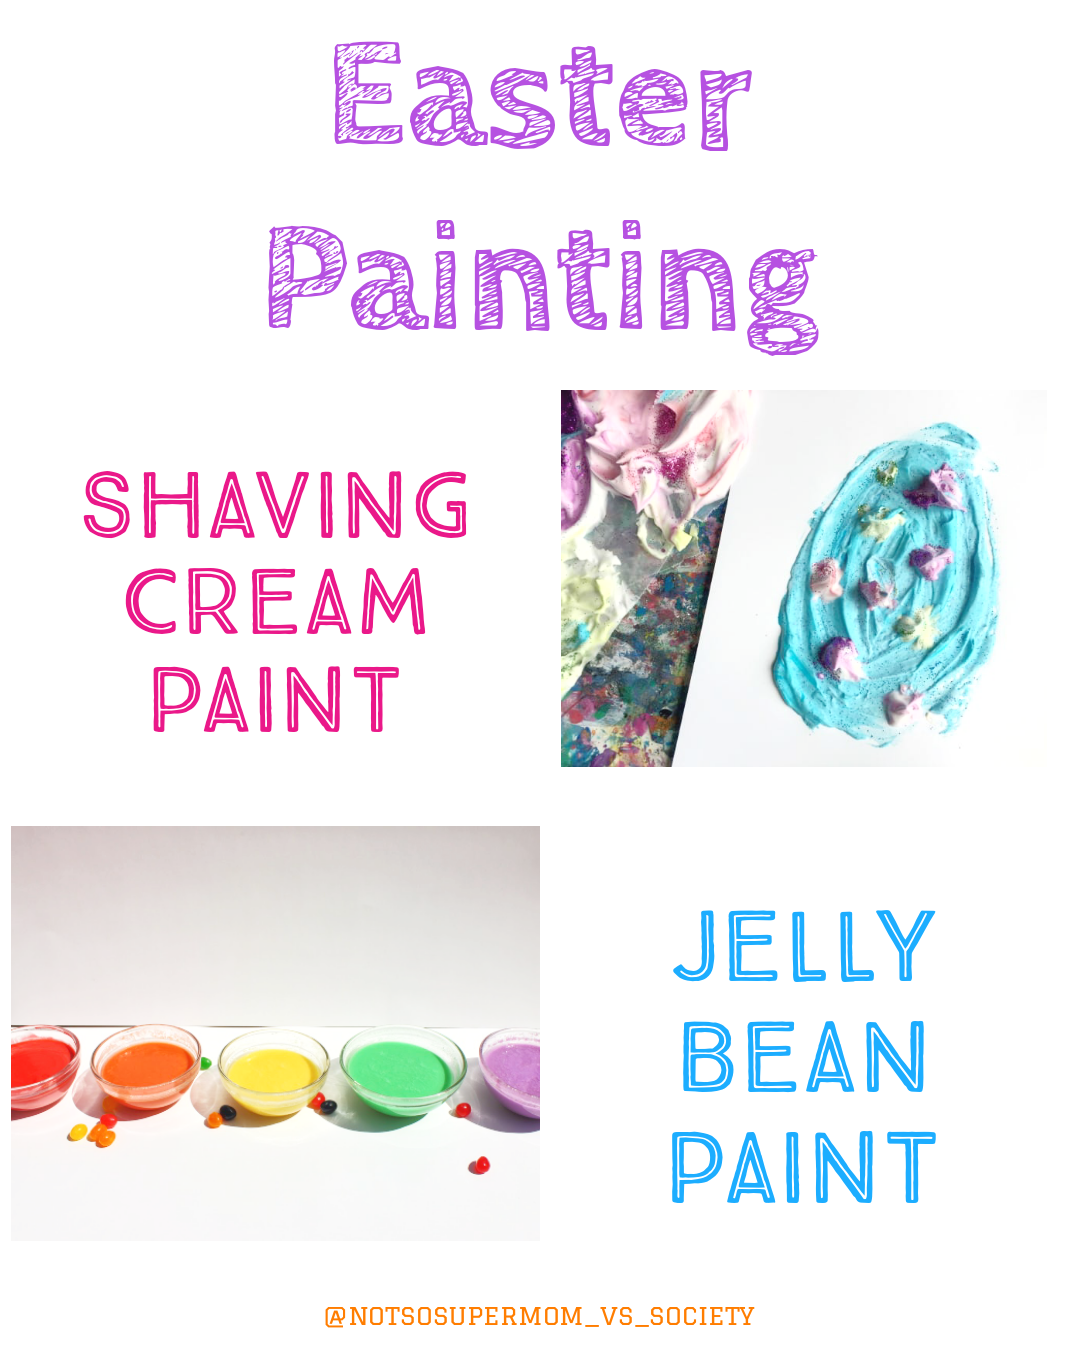
Today we brought out more fun painting projects! I wanted to have today’s painting projects be a little less messy than our rock painting day, so I found some easy to make and clean up painting projects.
I think now that we are schooling at home, I really need to invest in a drop cloth! The kids reallllly love painting and Finn definitely takes a “all hands on deck” approach.
These 2 are paints are fun to make. The jelly bean one is taste safe, so it makes a great choice for littles who like to stick everything in their mouths. It’s also pretty neat for older kids, due to the fact that process to make it is pretty cool!
The shaving cream one is pretty neat because you can add a lot of fun elements to it and you are supposed to use your fingers to paint it. It makes a great sensory experience for the kids, plus we turned the leftover shaving cream into a sensory bin (check tomorrow’s blog for that activity!).
Paint Ingredients & Instructions
Shaving Cream Paint
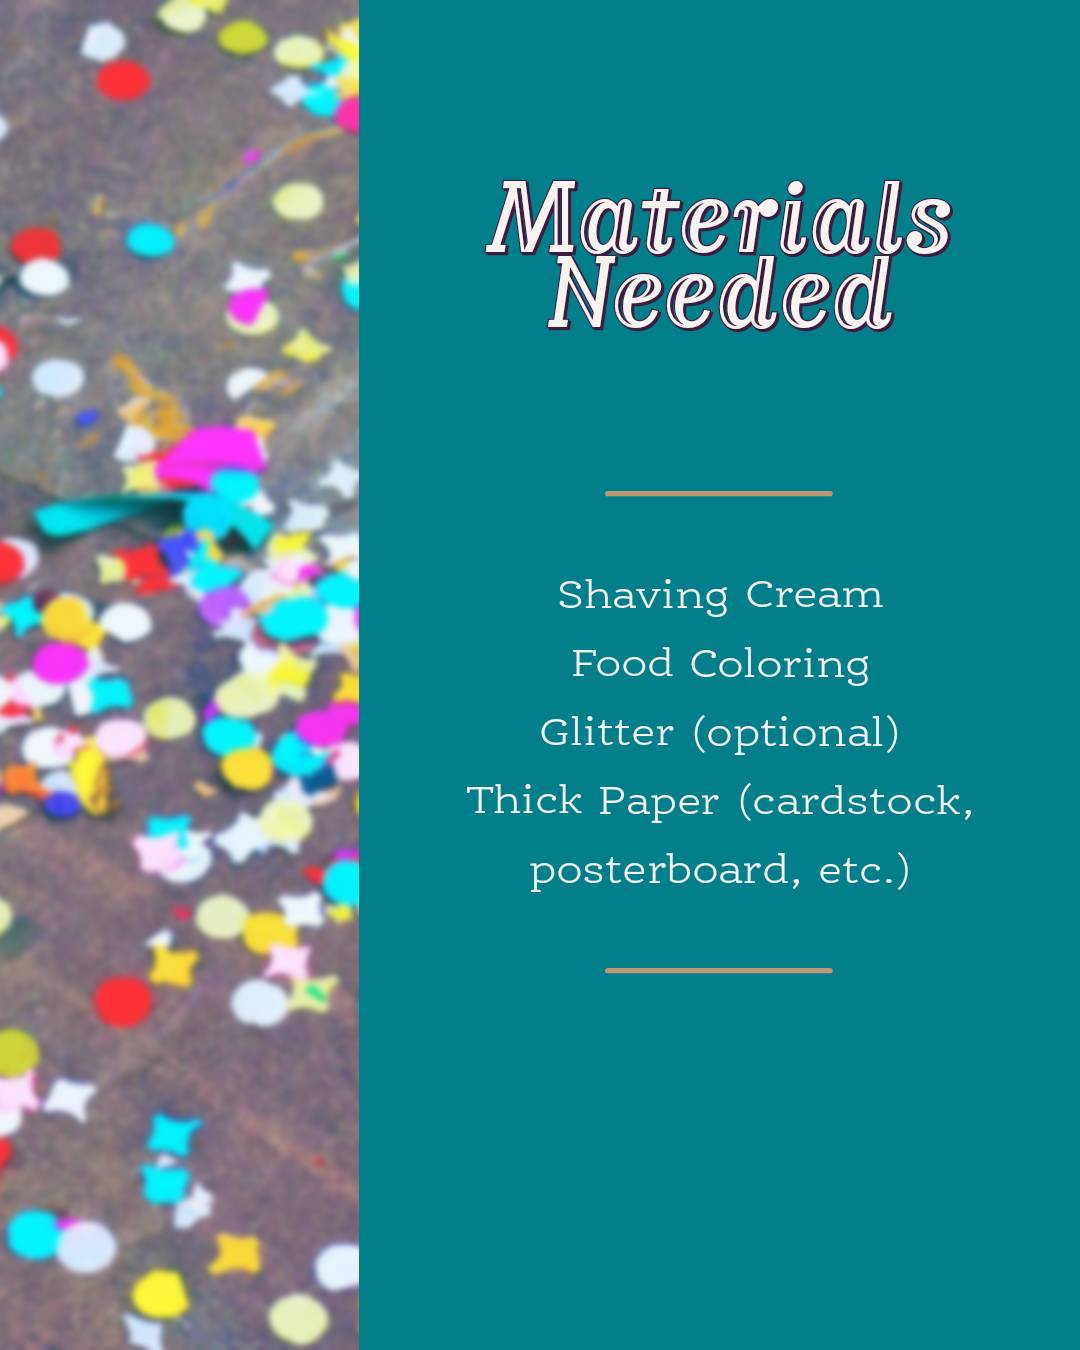
Steps:
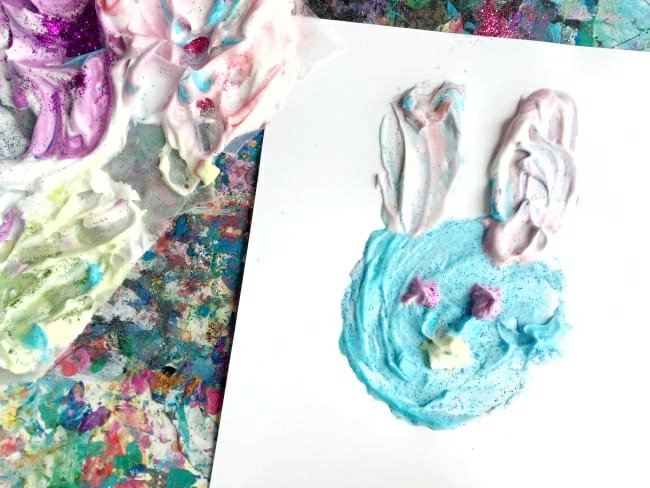
- Squeeze out a few dollops of plain shaving cream, making separate piles. I used a paper plate as a palette. This is a fun way for your child to practice their fine motor skills and self-control. If they start getting a little crazy with the cream, encourage them to take control of their own actions.
- Mix the paint. Drip a drop or two of food coloring into each pile. If you only have a few colors, blend a drop of each to make new ones. The primary colors (red, yellow and blue) combine to make purple, orange and green. Keep in mind, food coloring is extremely messy. It will stain clothes and may temporarily stain your child’s hands. The more it mixes in with the shaving cream, the lighter it will become. If you’re concerned about staining, using a plastic spoon or a craft stick to mix the food coloring until it lightens up enough for your child to touch it.
- Add some glitter. This really makes the paint fun, however, as I’m sure you’re aware, glitter gets EVERYWHERE.
- For smaller children, use a marker to draw a Easter egg/ bunny on their paper. Have them paint it. For older kids, have them create their own!
- Ask them questions while they paint. Have them talk about their observations. What happens as the paint dries? What colors mix? Etc.
Jelly Bean Paint
Steps:
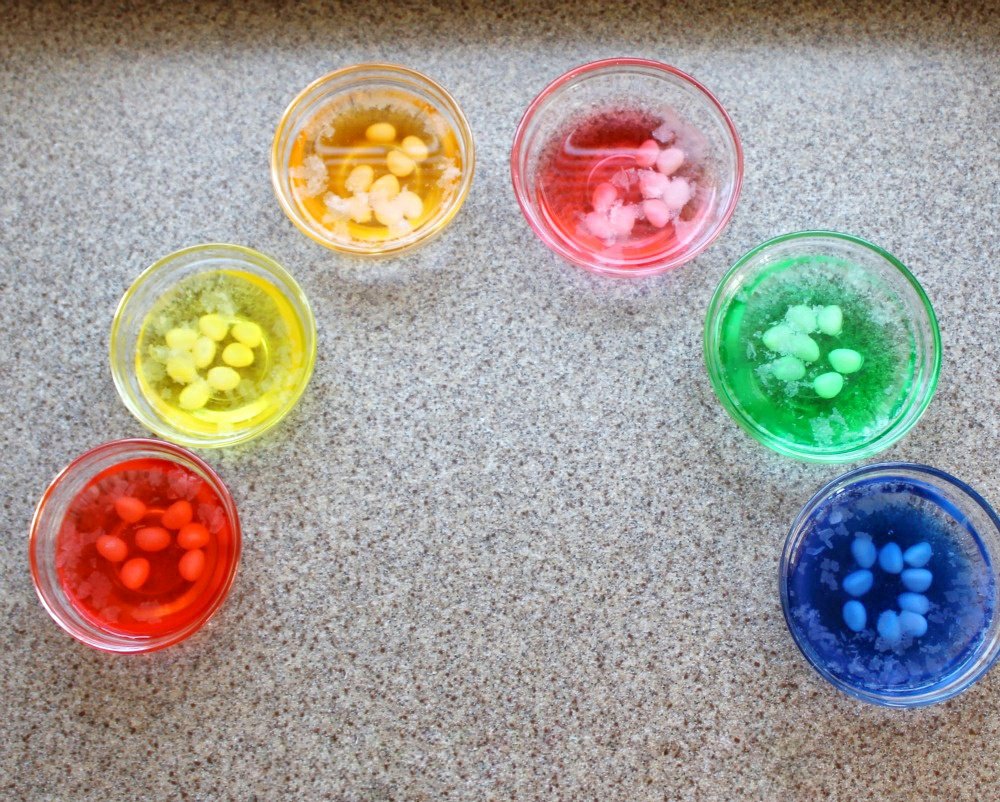
This painting craft starts with a fun candy science experiment. This experiment is super simple and relies purely on observation skills. The boys already had a pretty good idea of what was going to happen after we did our skittles candy rainbow a couple weeks ago.
Experiment Steps:
- Ask your children “What do you think will happen to these jelly beans when they soak in water?”
- Make as many cups/bowls as you have jelly bean colors and fill them with around 1 cup of water. I found warm water worked the fastest. (For further experimentation, you can use other liquids, such as vinegar, Sprite, etc, we used water so we could transform ours into paint)
- Pro-tip: if you plan on making paint, use a muffin tin and you’ll automatically have an easy to use paint pallet!
- Place 8-10 jelly beans in each cup.
- Check the jelly beans every hour until there isn’t any more color left on the beans. Have them note the changes each hour. This process takes around 30min-1 hour.
- Once the jelly bean color has dissolved into the water, remove the beans from the water and save the water for later. (Note the jelly beans will still have a light color to them)
- Have them feel the jelly beans and observe their new texture. Have them smell it. Have them taste the jelly bean and see if it still tastes the same. Ask them questions about why and how this experiment turned out.
Once your experiment is over use the colored water that you saved to make fun taste-safe paint!
Paint & Brush Steps:
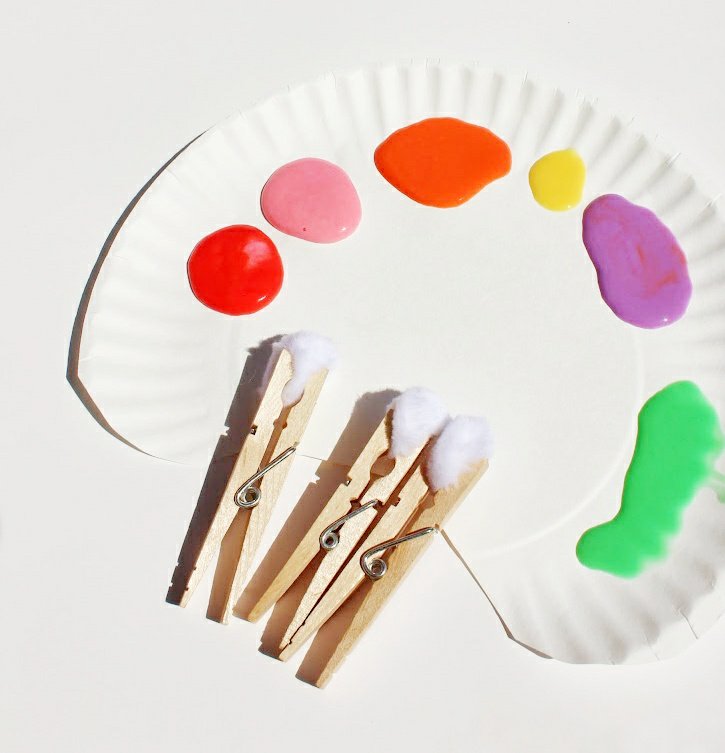
- Take your jelly bean water and add around 1/3 cups worth of flour to the liquid. Add as much flour to the mixture as you need to make a nice semi-thick paste. You want it to be smooth enough to easily paint, but not too runny. If it’s too runny the paint won’t stick well.
- For more vibrant color, add a couple drops of food coloring to your mixture and stir it up.
- Make your “cottontail” paintbrushes by taking a cotton ball and grabbing it with your clothespins. Full disclosure- while this brush is super cute for Easter crafts, it does absorb a lot of the paint and gets warped pretty quickly.
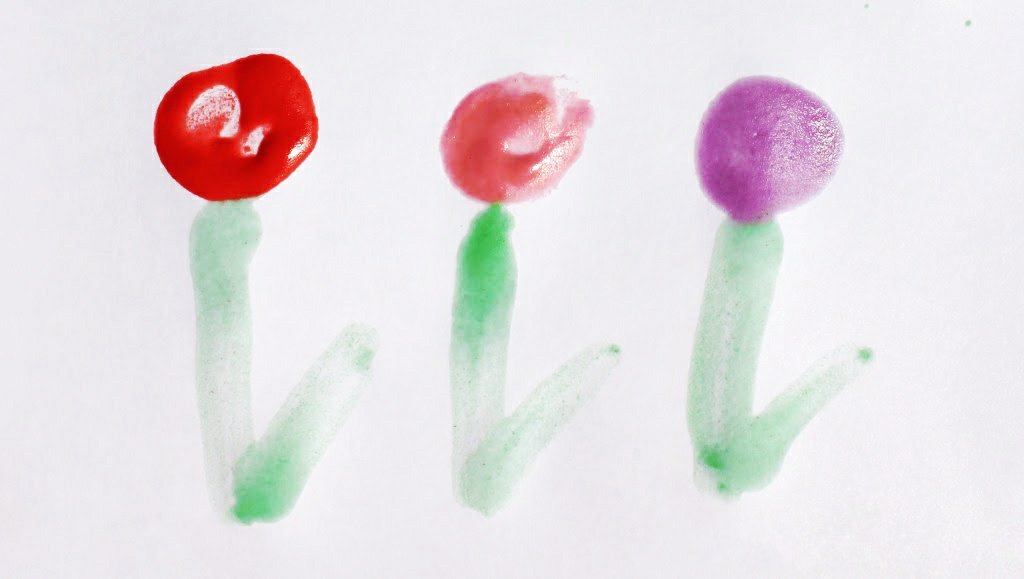
- Have fun! Paint Easter designs or something of your own design. The paint will be a little gritty from the residual sugar in the water and it gives the paint a cool texture!
Did you try one of our crafts? Tell us below!
The post Easter Painting Projects appeared first on Not So SuperMom VS Society.
]]>Educational Egg Activities Read More »
The post Educational Egg Activities appeared first on Not So SuperMom VS Society.
]]>
Every Easter I end up with a gazillion plastic eggs that the kids like to trail across the house like little egg landmines. I’m stuck with the conundrum: do I toss this plastic crap away and just buy new eggs next year or do I save them and reuse them next year?
I always end up saving them, but I forget where I put them so I inevitably end up buying more. This year though, I’m using the little devils to actually help me teach the kids something during #QuarantineHomeschool.
I told anyone that would listen this week that sight words may be the death of us. My mother’s suggestion was to make it into a game for Everett. Both his teacher and my mom suggested cutting out the letters/words and having him match them. He is already getting sight word flash cards for Easter so I didn’t reallllly want to make bunch of crappy cutouts that would get everywhere. That’s when I decided to use Easter eggs.
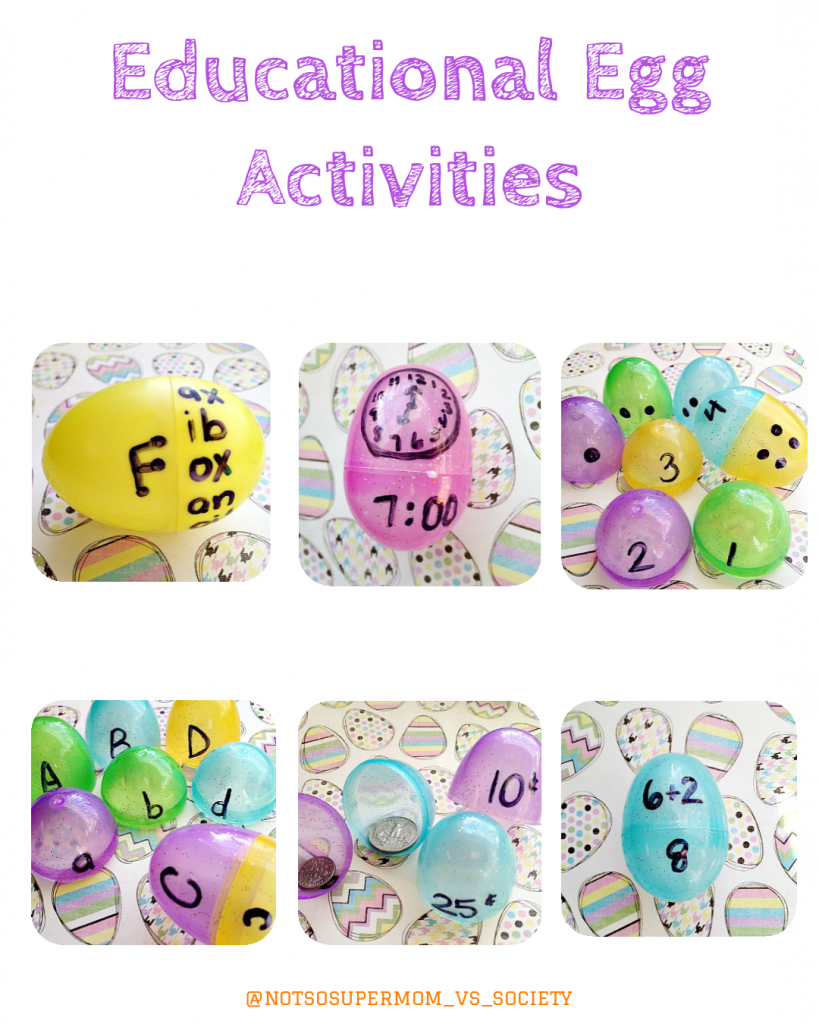
You can make these egg puzzles as easy or as hard as you need to. For Finn we did pompom color matching and egg sorting. For Everett we did sight words and basic math skills. If you have older kids, you can use it for things like contractions and more advanced math.
Instructions & Items Needed
Instructions:
Honestly, I know I normally lay out entire step by step guides, but these are pretty self explanatory. Instead, I’m going to make a list of ideas that you can use the eggs for:
- Matching Uppercase with Lowercase Alphabet Letters
- Sight Words
- Shape Matching. Draw a shape that covers both sides of the egg and have the kids match the right shapes.
- Synonym & Antonym matching
- Math (counting, addition, subtraction, multiplication, division, fractions, etc)
- Color Sorting & Matching
- Money Counting/Learning Currency (you can make this simple or hard)
- Science: Alka Seltzer Rockets (put water in half the shell, toss a quarter to half tab of alka seltzer in, quickly close egg, and place it down. Wait and watch the explosion!)
- Egg Art (make the eggs into bugs, chicks, etc)
- Guessing Games (hide snacks or small toys inside and have them guess)
- Egg Noise Makers (fill with different objects and observe the different types of sounds. I suggest taping the eggs so things like rice and sand don’t go everywhere)
- Fill eggs with slips of paper that list funny activities (hop on one foot for 15 seconds, do the chicken dance, etc.)
Honestly, the possibilities really are endless. You can get as creative as you need to to keep your little scholar entertained.
Did you try any egg activities? Tell us which ones below!
The post Educational Egg Activities appeared first on Not So SuperMom VS Society.
]]>Rock Easter Egg Hunt Read More »
The post Rock Easter Egg Hunt appeared first on Not So SuperMom VS Society.
]]>
With everything going on with Covid-19, understandably all of our local Easter Egg Hunts were canceled. The boys were pretty bummed, and although we have some egg filled goodies ready for them to hunt on Easter, we wanted to spread some joy to our friends and neighbors.
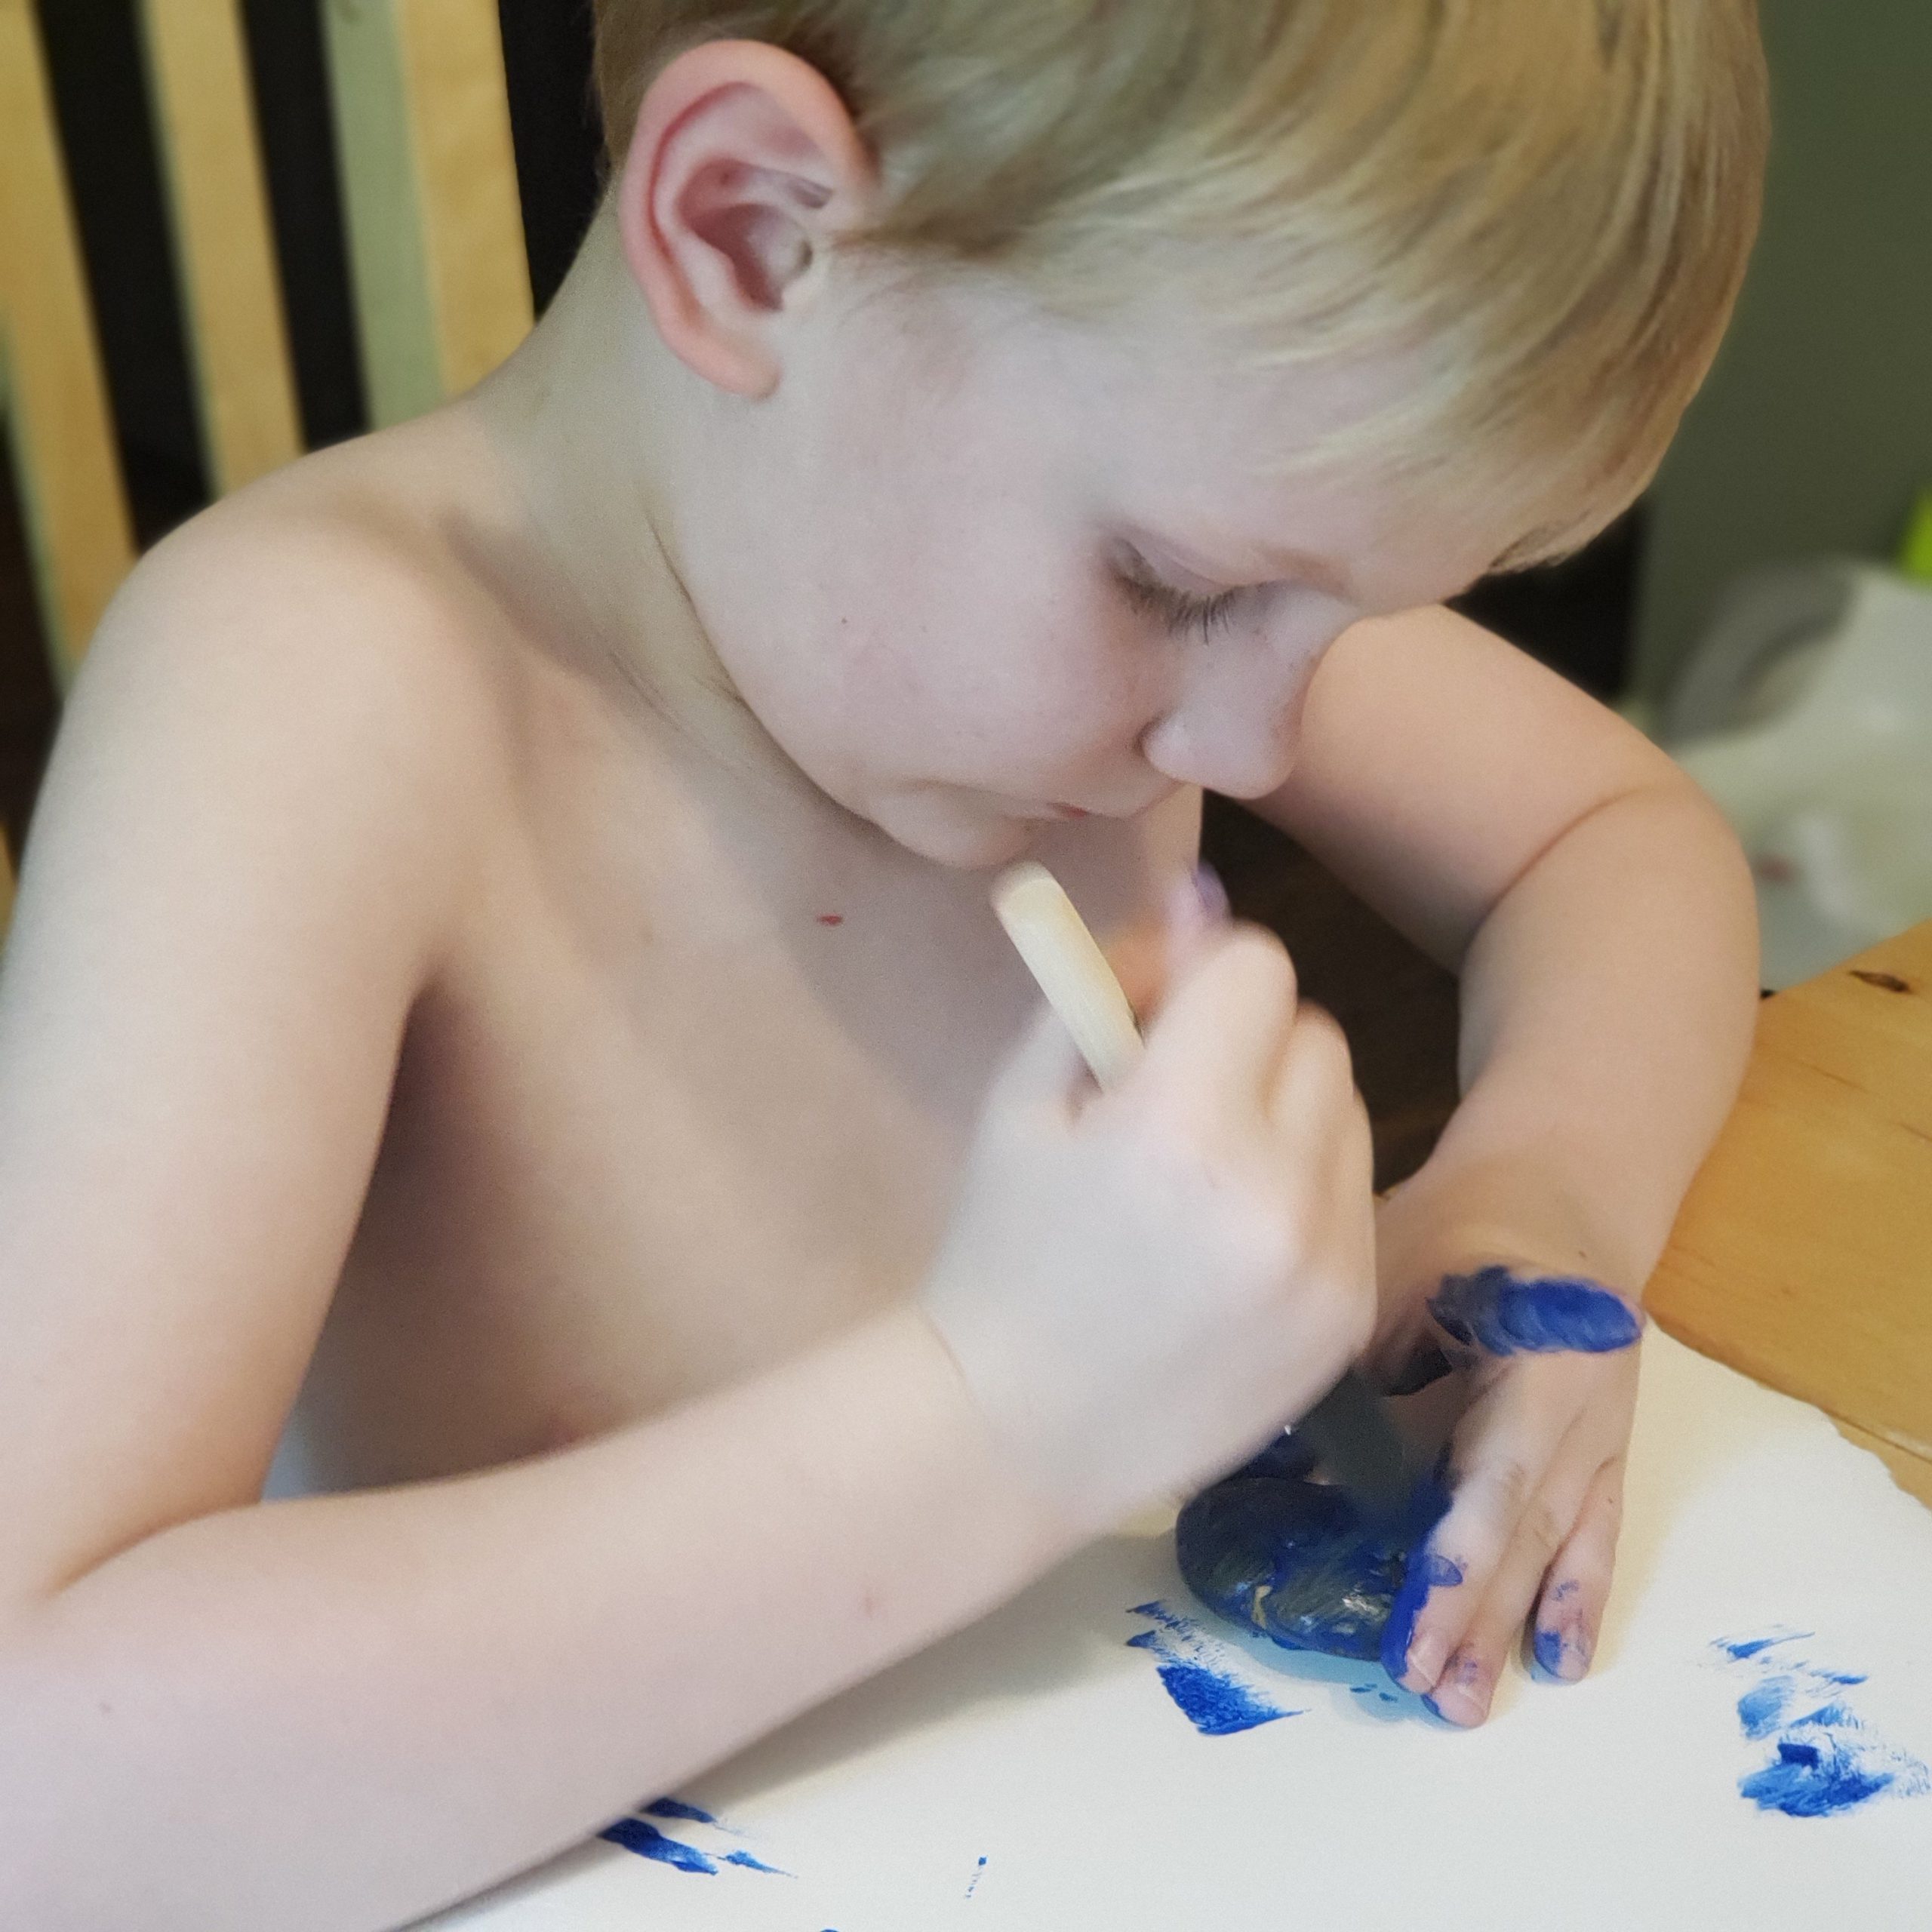
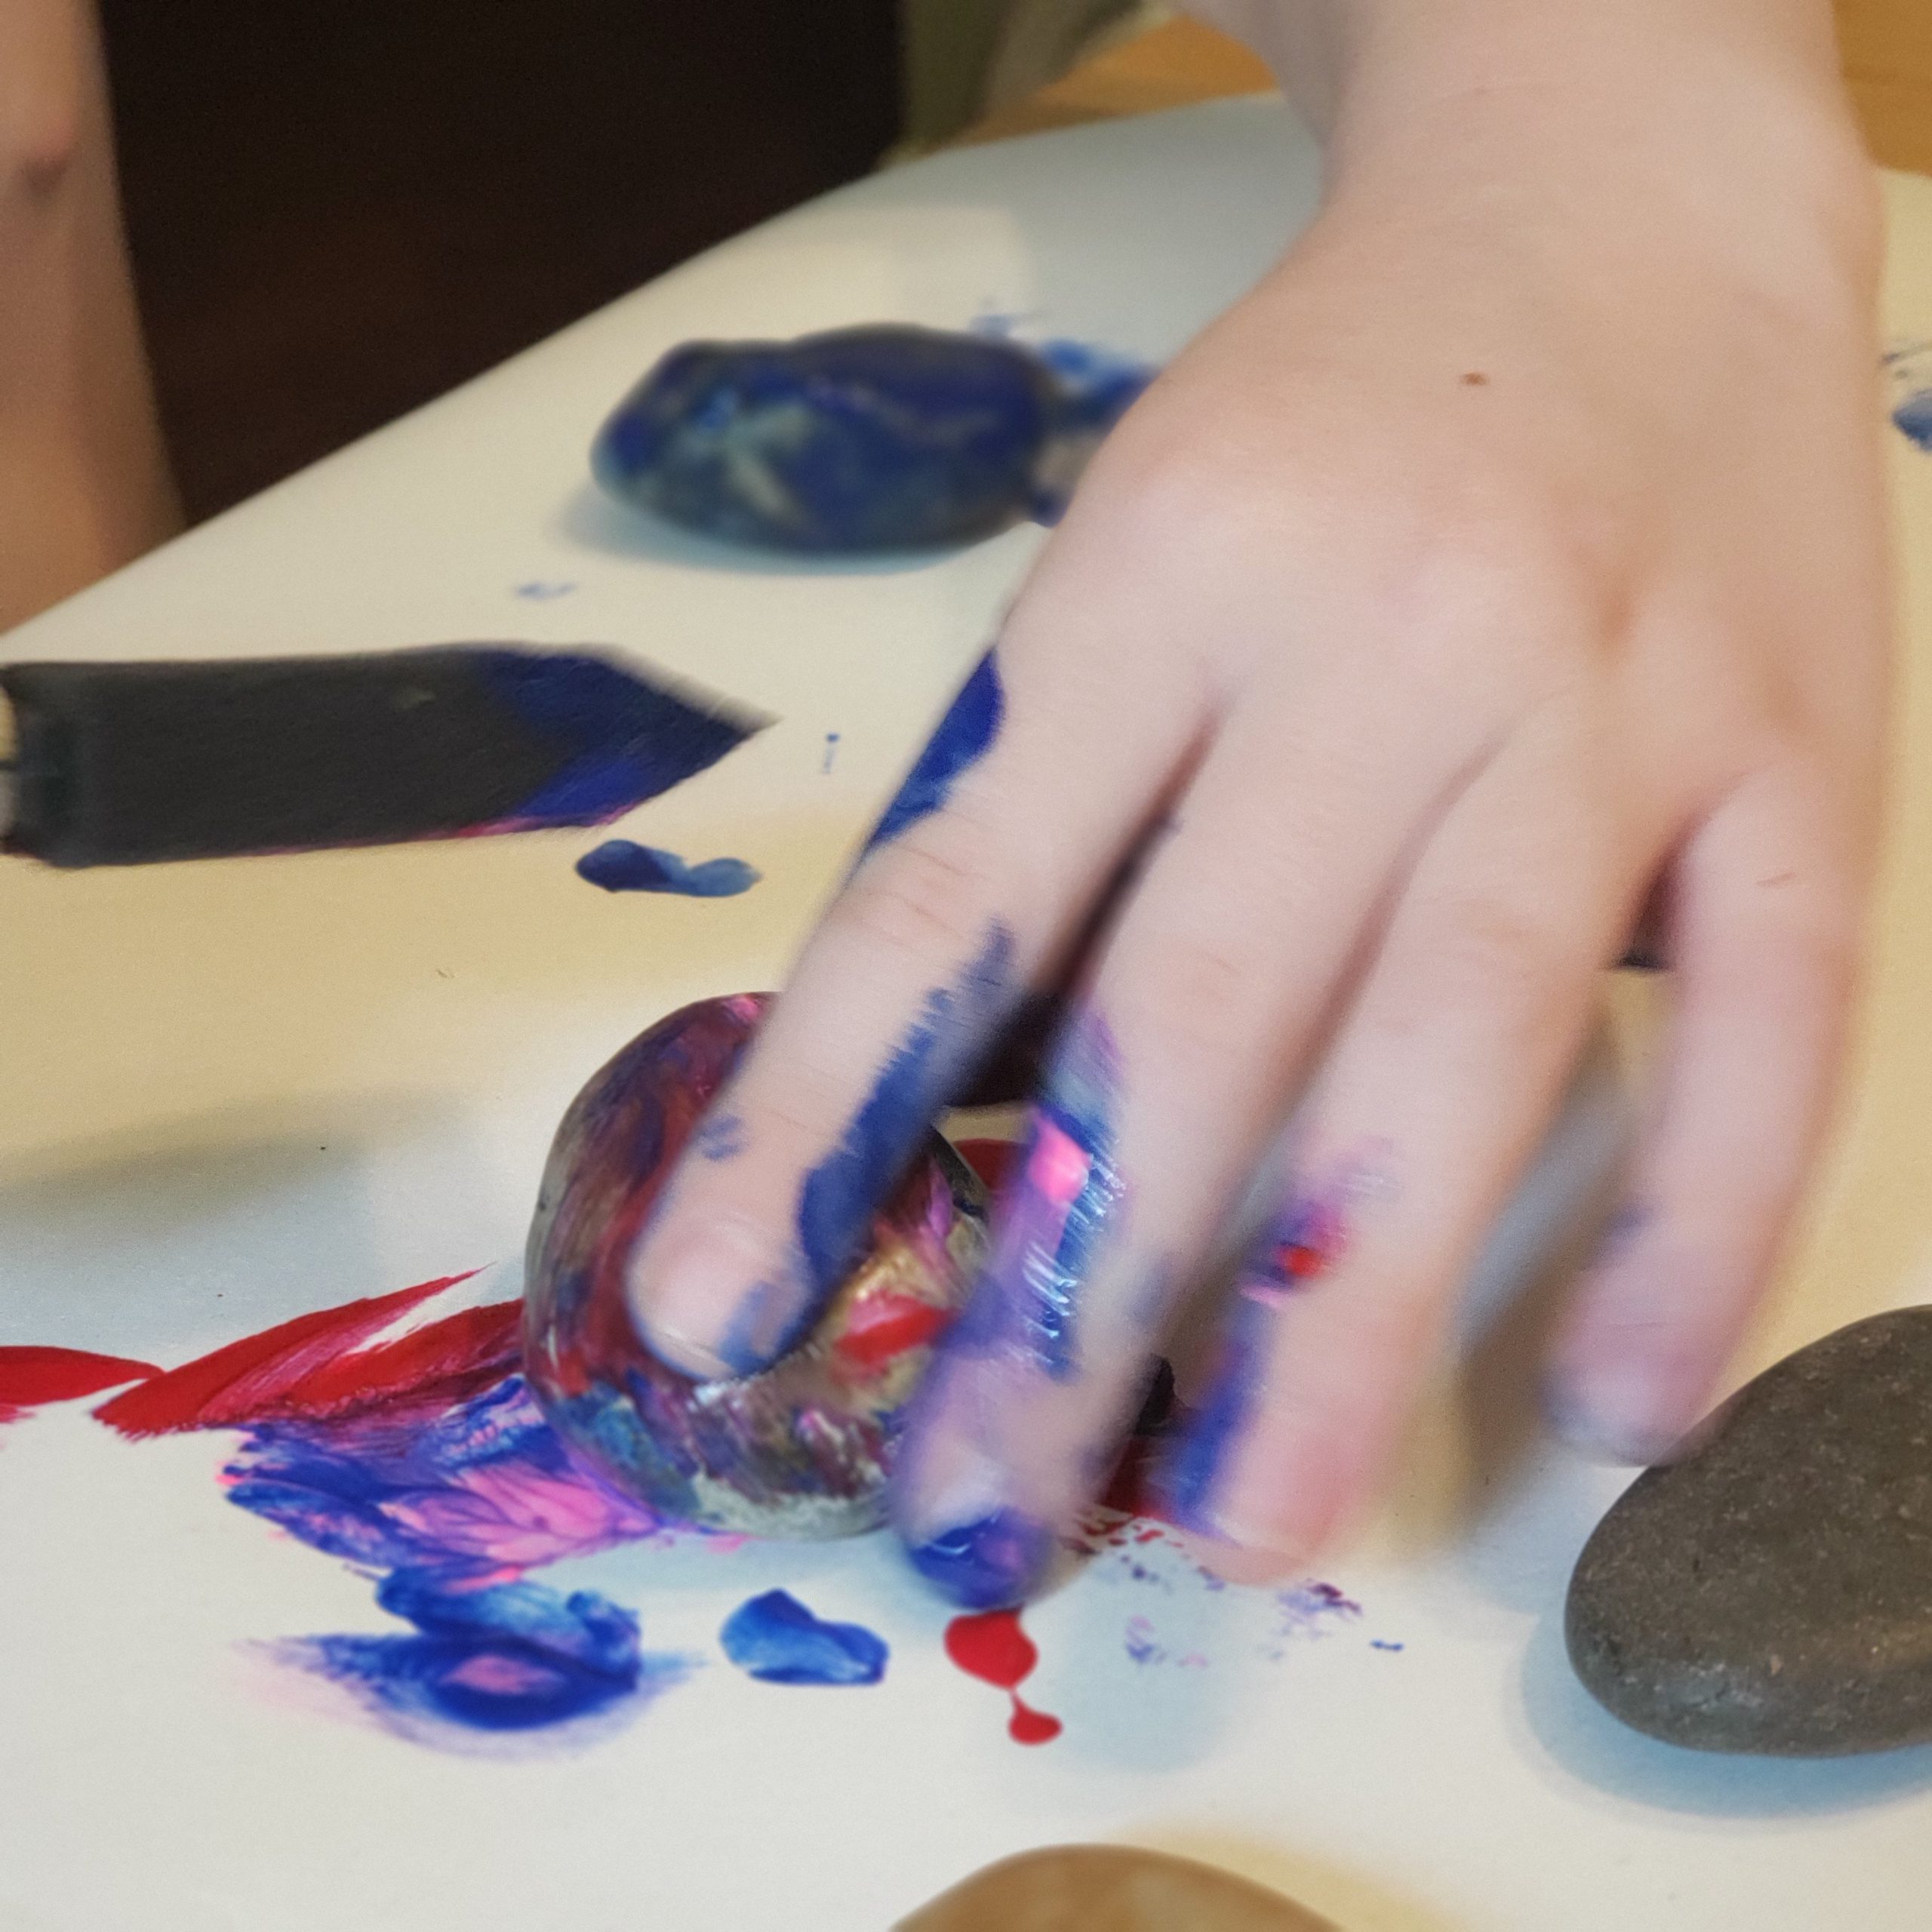
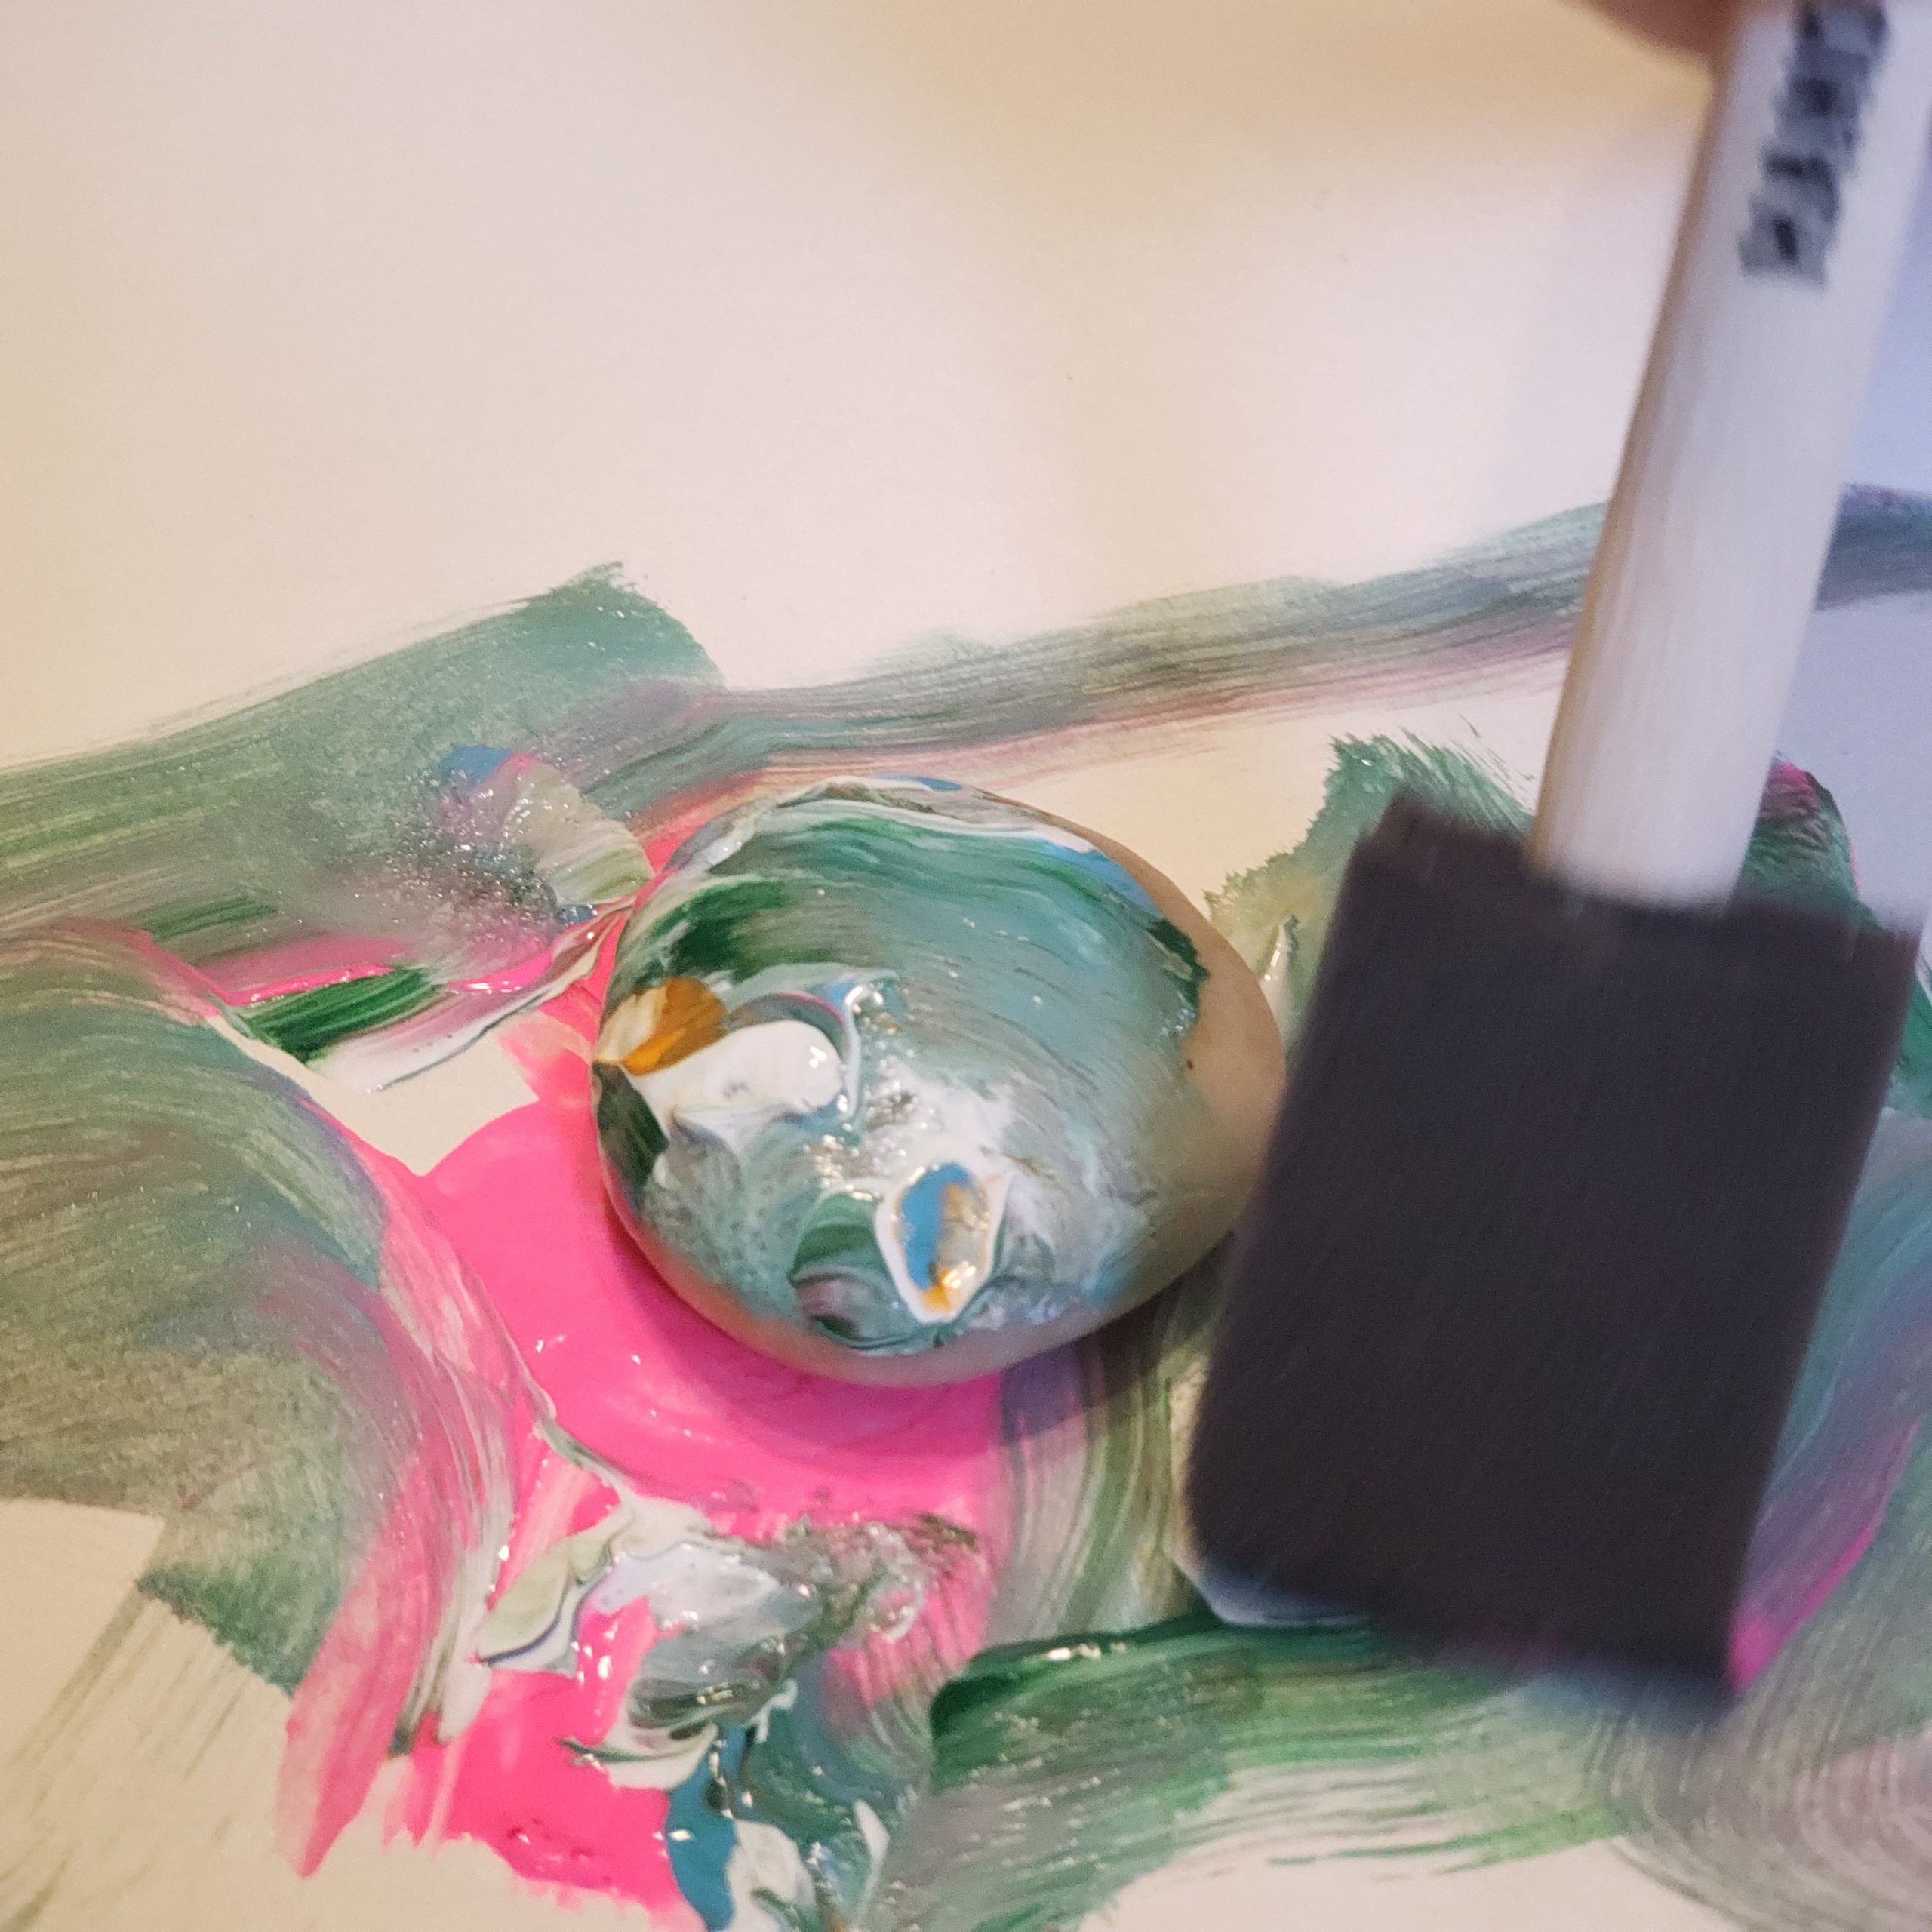
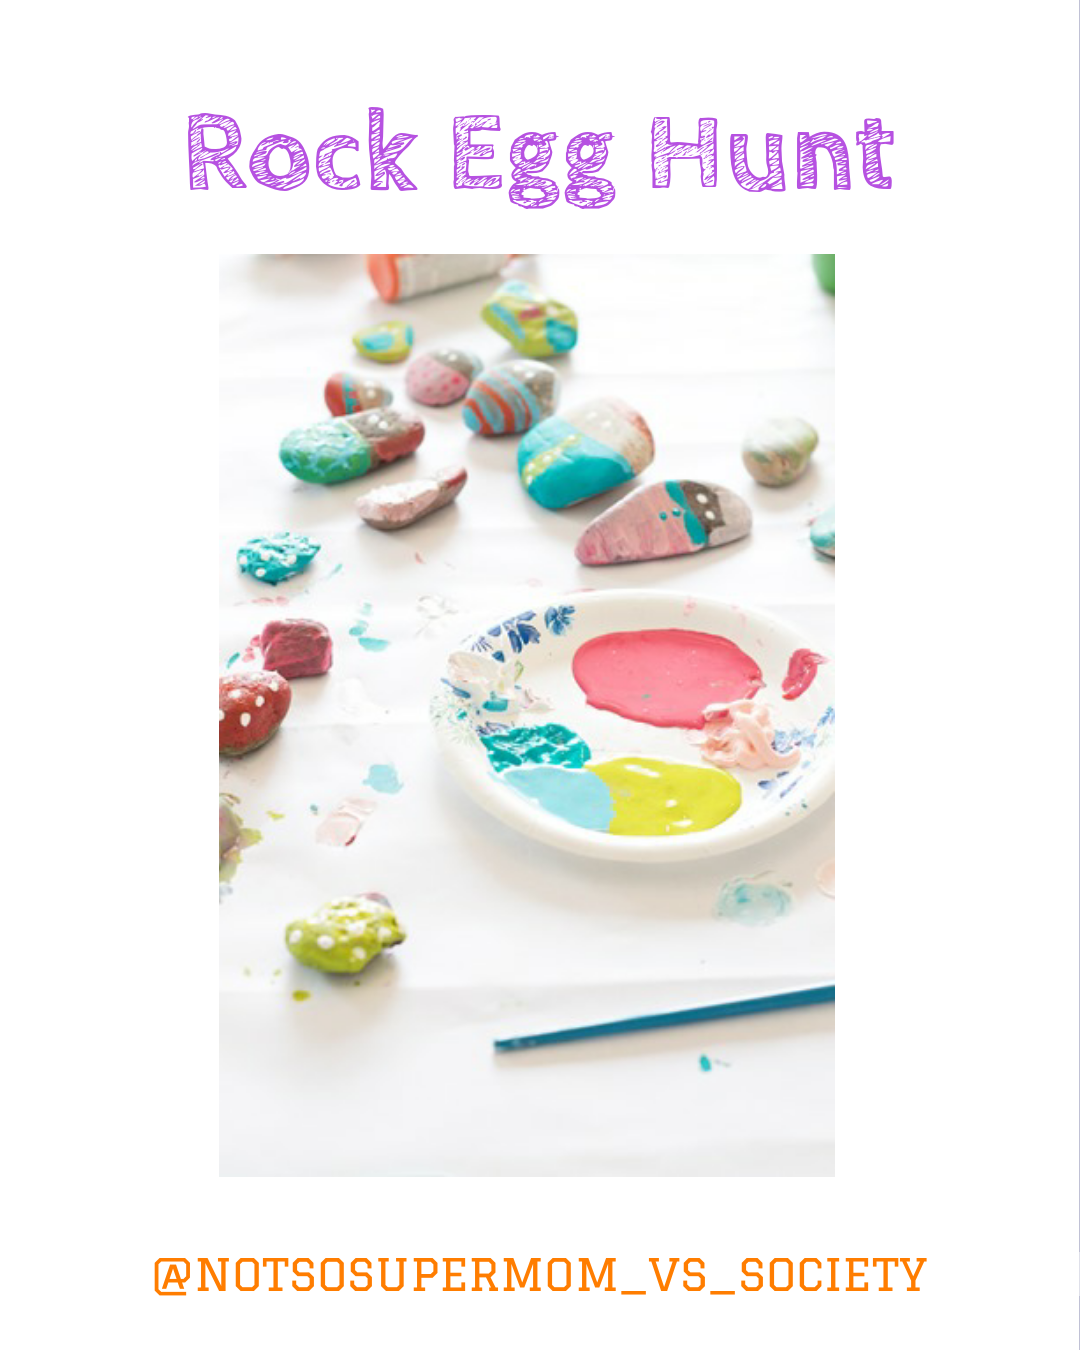
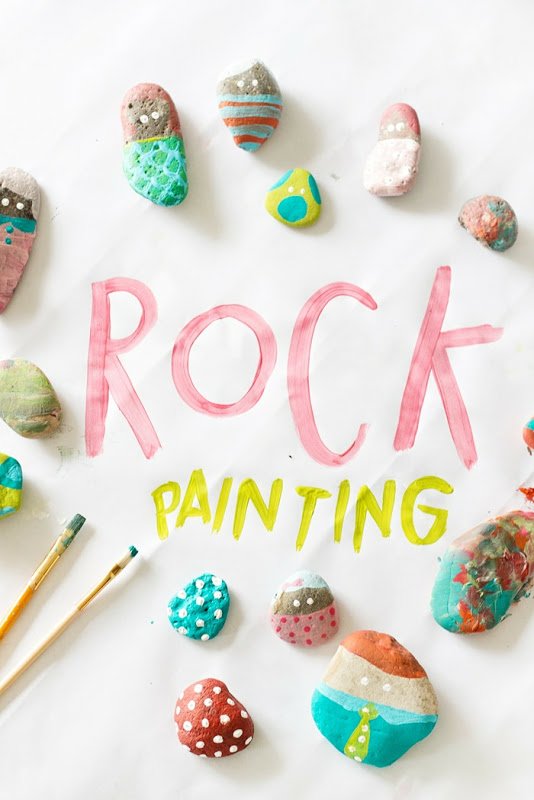
We decided to put on our own little “egg hunt” by painting rocks and hiding them around our neighborhood. We got lucky and found some random bags of rocks from a project my husband did a few years ago that we used. Then the boys went crazy painting rocks. I thought the boys might get bored after painting a couple rocks, but surprisingly they painted around 30. They aren’t very picturesque- most just looked like the paint is randomly globbed on and patchy, however the love behind them truly makes them stunning!
Honestly, art activities like this kind of make me cringe. I hate the mess making that comes with small children and paint. I also had a hard time not micromanaging them to create actual designs instead of my preconceived notions. It was a good experience for all of us- me in getting patience and the boys in creative art fun.
Ingredients & Instructions
Instructions:
- Wash your rocks and let them dry.
- Put down a drop cloth, newspaper, or anything that will protect your furniture from paint splatters.
- Place the paint on a paper plate or tray.
- Let the kids go wild! Every kid is an artist in their own right.
- Place rocks in a safe place to dry. With the current weather, ours were mostly dry within 4-6 hrs.
- Once rocks are dry, you can add a thin cover of modpodge to protect the painting from elements (we didn’t have any!). You can also add detail work, sayings, googly eyes, etc at this point.
- Take a walk and hide the rocks for your neighbors. Prior to hiding, we washed hands throughly and took our sanitizer with us. We carefully sprayed each rock after setting it down to minimize the risk to our neighbors.
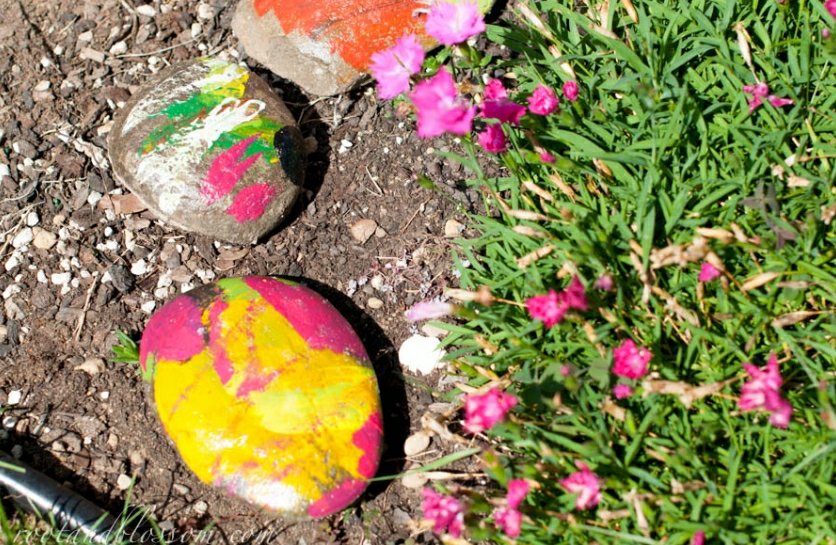
We also placed our blog name on the back and hope people will post/share photos if they find them!
Benefits Of Letting Kids Paint
This process art sneaks in a lot of important learning! When the kids paint these rocks, they are:
- Practicing and gaining fine muscle control and strengthening eye-hand motor coordination. By holding paintbrushes and learning how to control the paint, as well as grasping the rocks, children focus on skills necessary for later writing activities.
- The opportunity to make choices and solve problems. Children make decisions about what colors they use, how to apply them to the rock, and if they will be using a pattern or solid color, to name a few.
- Problem Solving! When the children makes choices, they learn that some of the choices don’t turn out as expected. How can they remove paint once it is on the rock? Also, spills will happen – how best to clean up these spills?
- Experiencing different points of view. The children will find that their siblings paint their rocks differently. Why did they choose yellow while you chose green? It opens up conversations and discussions about why we like different things.
- Imagination and Creativity! There are so many ways they can create their rock masterpieces.
Did you find one of our rocks? Please share an image with us on Instagram or Facebook! Did you do your own rock egg hunt? Tell us below!
The post Rock Easter Egg Hunt appeared first on Not So SuperMom VS Society.
]]>