Living Life On The Spectrum, Homeschool Edition Read More »
The post Living Life On The Spectrum, Homeschool Edition appeared first on Not So SuperMom VS Society.
]]>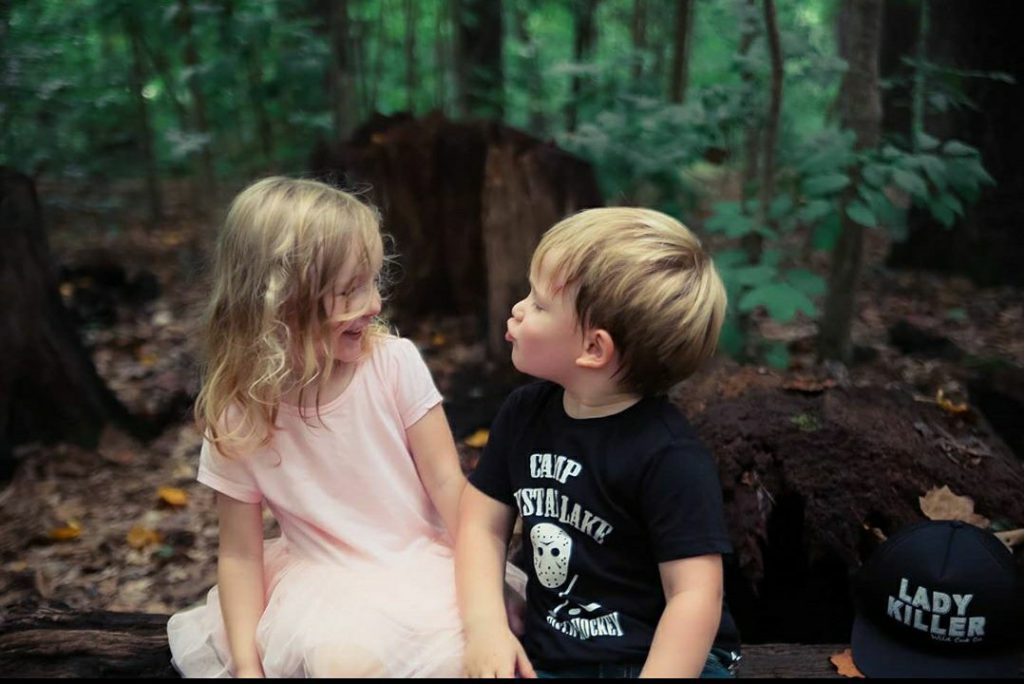
It’s nice to have another mom to talk to, especially a local one, who has a child with similar issues the same age. The thing is, even though our boys have similar issues, they deal with them different ways. Hence why Autism is called a spectrum.
This year, while I decided Everett actually needed to be in school to thrive, Marjorie made the opposite decision. I felt like it’s a decision a lot of Autism Moms are faced with, even when there isn’t a global pandemic, and I loved her reasoning behind it. I invited her to write a post for the NSSM blog to help out other mothers in a similar situation. I hope you love it as much as I did!
Buckling In: Why I Chose to
Homeschool My Neurodivergent Child

It started with a preschool teacher’s accusatory finger pointed toward my face and ended with me in tears so heavy I could barely catch my breath. Was it all my fault? I felt like an amateur and a failure as a parent.
We moved from Ohio to Alabama only two months prior. This wasn’t our first cross-country move, but it was certainly the hardest on our 5-year-old son, Connor. Connor is on the autism spectrum, and while he has low-support needs, changes as big as moving to a new state can be incredibly difficult for him. He has “invisible” struggles that are, as I’ve learned, hard for others—even educators—to understand.
We were able to get him a last-minute spot in a public preschool program here in our current nook of greater Birmingham. Connor did very well during his 4-hour per day program—just as he did in Ohio, just as I expected. But likewise, just like in Ohio, he was becoming overloaded due to the complicated expectations of school (this isn’t something we were fully able to grasp at the time, however).
Each afternoon when I would pick him up from preschool, he fell apart. He would hold it together in school, and then when I arrived at pick-up, he would immediately let that composure go. It would, on some days, be a momentous struggle to get him buckled in his car seat. He would kick and run around. He would sometimes throw fits and yell. By this point, I was normally sweating with rising anxiety.
When we would arrive at home a short one-minute drive later, he would let it all go. And I mean all of it. He was back in his safe space. At this time, after school each day, he was having legitimate meltdowns—the kind that depleted all of the energy he had and all of the energy I had. While the meltdowns eventually ended each day, he was often left in a very irritable state for nearly the rest of each evening. He would continuously grab and pull things at home and in public in order to gain input to calm himself. He was easily triggered by seemingly small occurrences. My husband and I were both struggling to handle these behaviors and struggling to find an answer. We weren’t perfect, but we were absolutely trying.
On that day the teacher put her finger in my face, I was already close to my mental breaking point. I politely asked her if she had noticed Connor’s struggles to get into his car seat and I asked her if she had any suggestions to help. To my surprise, she said to me, finger pointed toward my face: “I’m probably going to say this the wrong way, but that’s on you.” I was told that I simply needed “clearer boundaries” for him. She did not see him as struggling because she was blinded by his ability to mask in school.
That might not sound like the most terrible thing to hear, but in that moment, it felt like a huge slap in the face. I was a struggling parent and simply asked for advice. Even after I tried explaining during an IEP meeting what I saw happening (no, clear instructions and a social story were NOT working, per her suggestions), she seemed to completely disregard those thoughts.
The consideration that maybe there was something more going on that she couldn’t see was obviously not something that would be entertained during this meeting. I started to question if I could continue to participate in IEP meetings and continue to have teachers misunderstand me and my child.
Unfortunately, kids like Connor are often misunderstood. Behaving in school and academically advanced? Clearly his after-school behavior is simply a result of a lack of parental boundaries.
Oddly enough, we saw a psychologist during this time period and he was able to witness the meltdowns and behaviors I was seeing. Maybe teachers didn’t believe me, but he saw it. He said, “Marjorie, I need you to know that this is not parenting related. He is struggling with anxiety and impulsivity and overload. This is nothing you are responsible for. I’m glad I got to see it so I can get the full picture.”
“Marjorie, I need you to know that this is not parenting related. He is struggling with anxiety and impulsivity and overload. This is nothing you are responsible for. I’m glad I got to see it so I can get the full picture.”
THIS.
THIS lifted me away from anger. I think I called everyone I knew that day to tell them how validated I felt. I wasn’t a failure. I had a kid who was struggling and now it was time to “buckle in” and figure out how to drive all over again.
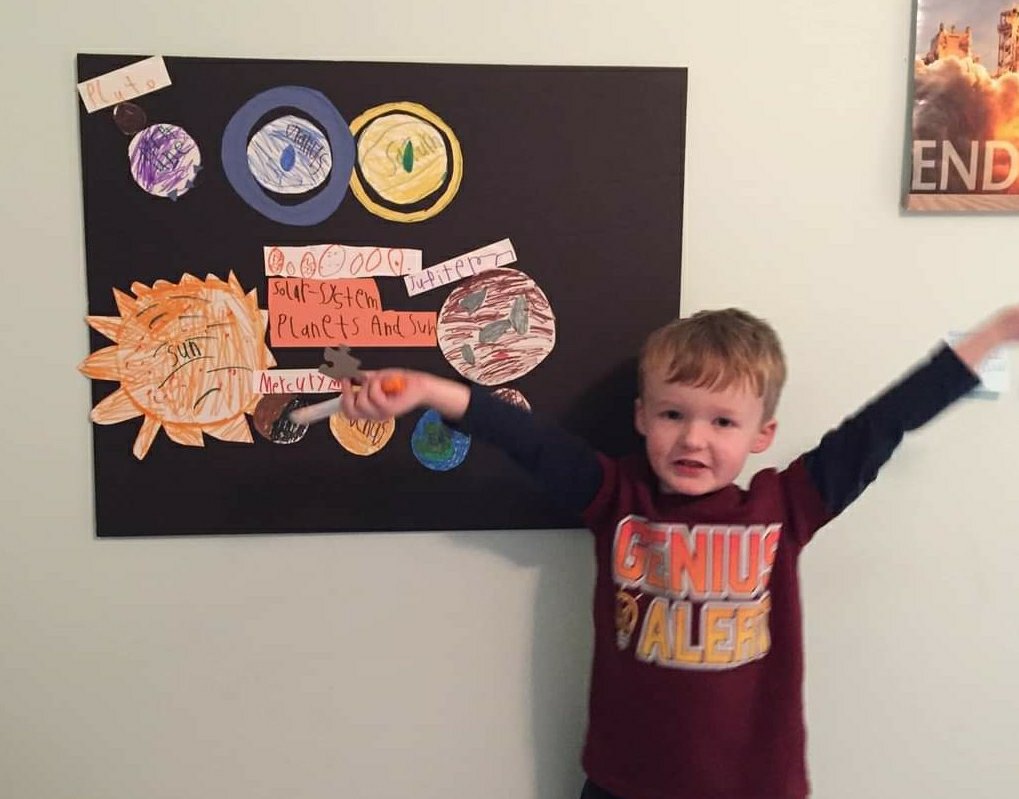
Shortly after, to the shock of everyone around the world, covid-19 happened. And our worlds changed drastically. While many others were struggling, we were, for the first time in years, finding peace and calm and happiness.
This is not to say everything was immediately perfect. But once school abruptly ended, we were able to study our son more closely. We started to figure out his triggers, his limits, and what was overstimulating for him. We noticed that his moods were getting better. He wasn’t as irritable or as easily frustrated. I can’t say it was all due to school, but that was certainly a huge part of his life that had been taken away completely. It only made sense.
We’re now starting to see and understand that Connor “masks” in some situations like school and then lets go of that mask when he’s no longer forced in that situation, or when he just can’t take it anymore. We have since witnessed this in other circumstances (after long outings or especially overwhelming environments like restaurants or chaotic playgrounds, for instance).
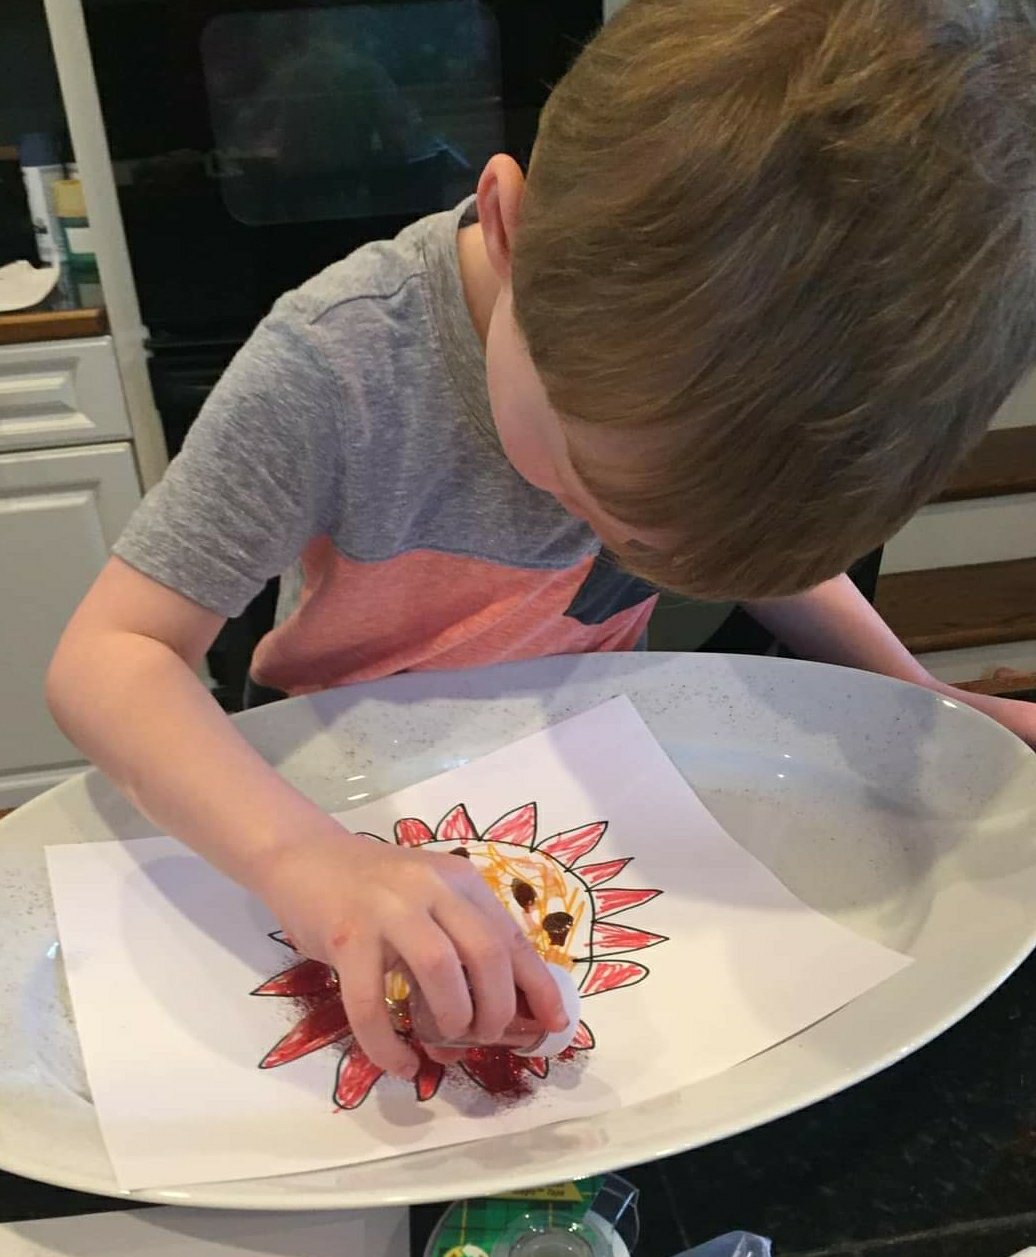
As the weeks went by, I was able to create the type of peaceful routines I noticed that he needed. I utilized some strategies taught to me in OT. When I noticed him becoming overloaded, I pumped the brakes and allowed him to do things like use his iPad, draw, use materials like play-doh, and just generally unwind. It was starting to work. My husband and I were in true disbelief. He hadn’t had a single meltdown in weeks. He was listening better. He was behaving better. He was connecting more than ever before with his sister and with us.

When it came time to make a decision about homeschooling, we decided it was worth giving a shot. After all, at the time it didn’t seem like schools would be a safe place anyway, and I knew the addition of wearing masks would be even more overwhelming for Connor. Not to mention going from a 4-hour preschool day to a 7-hour Kindergarten day.
I consider myself to be a very quietly stubborn person—as in you might not realize how much I will fight or push or work to make something I care about happen. And that’s exactly what I did when it came to homeschooling. I researched and learned along the way. I ended up switching curriculums just two months in, because I found one that better met my son’s needs. I fiddled around with schedules and observed how much time my son could spend learning each subject before needing a sensory break. I was able to fully advance him a grade level (and sometimes more depending on the subject). As a child who is academically strong, he was both struggling in school and not working at his ability levels.
Talk about a less-than-ideal situation.
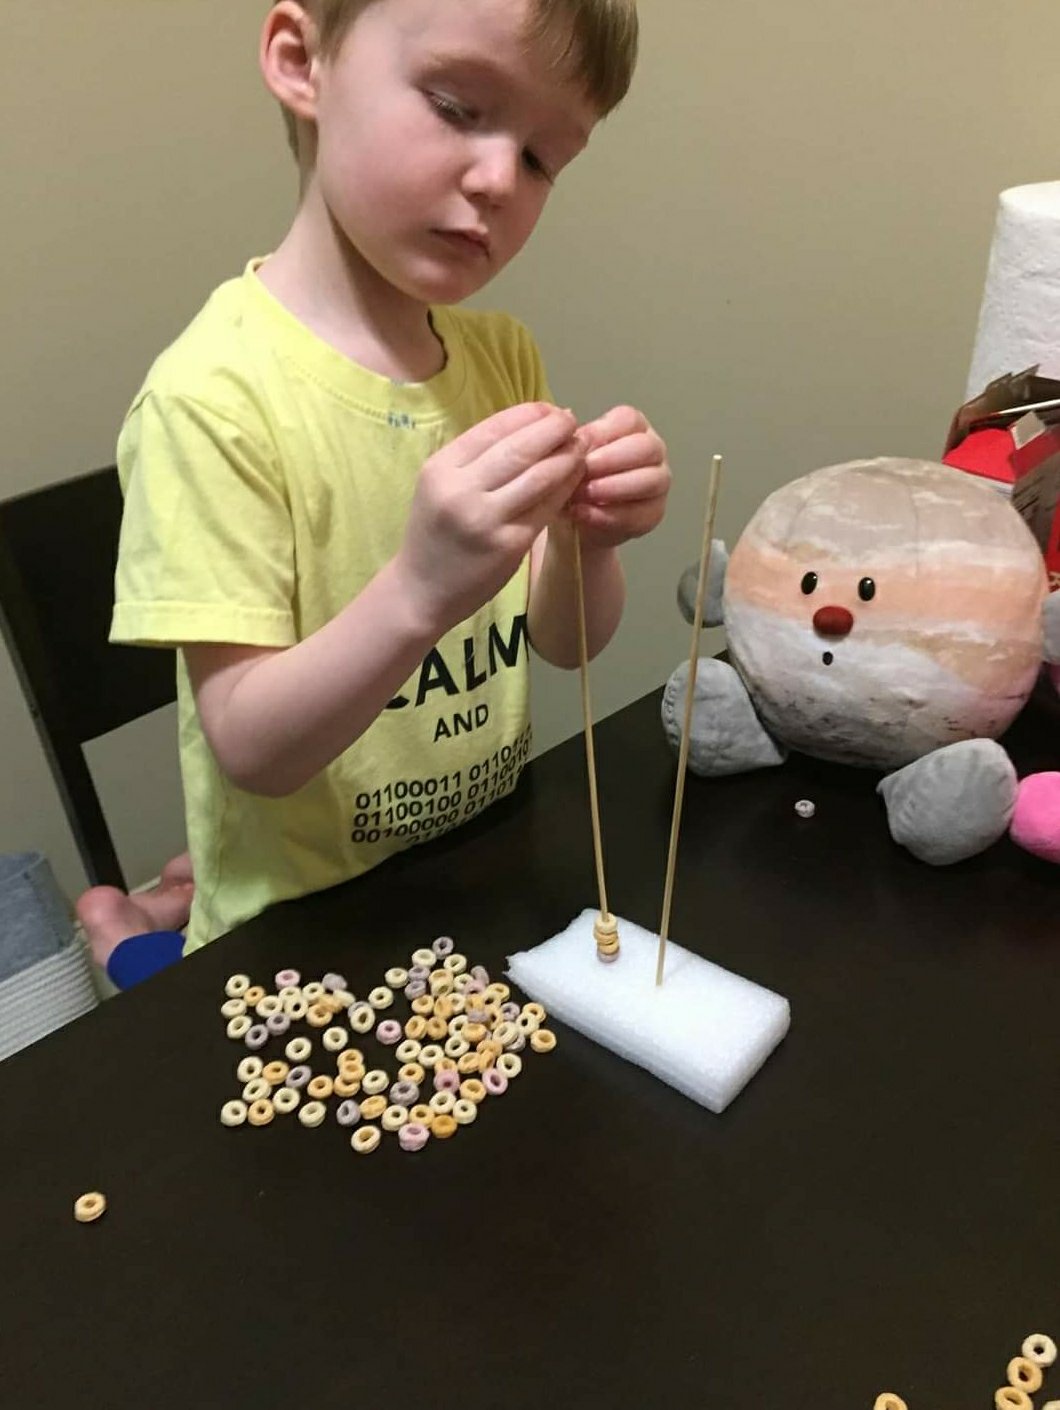
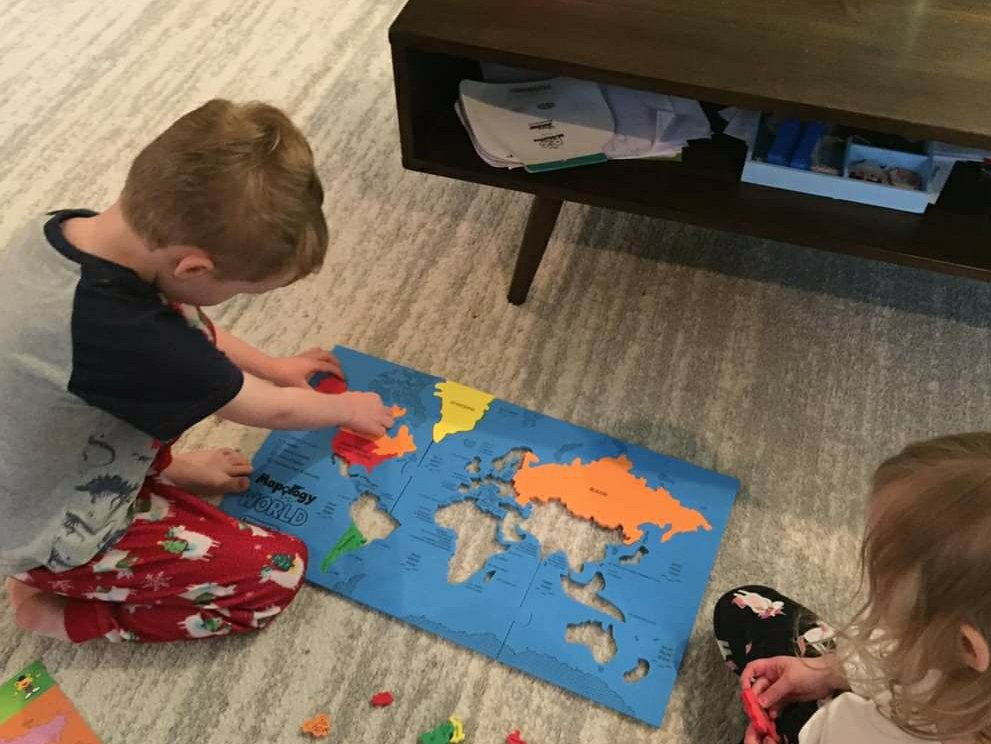
Now, he gets to work exactly where he’s at and even pursue topics of interest that are not covered in kindergarten—he loves studying countries, cells, computer animation, you name it! He also has more time to participate in wonderful social skills groups, martial arts (which is proving to be an awesome outlet for him), and I am able to help guide and process social interactions with him. For the first time in years, I can take deep breaths again.
I can honestly say that, right now, I rarely have moments where I sit and cry because I’m so overwhelmed and feeling hopeless. And goodness, my child really seems like a happy child, which is all I’ve ever wanted for him. He really isn’t having meltdowns anymore, like, at all. Sure, he certainly doesn’t always behave or listen, he still gets overloaded and irritable sometimes. Life isn’t perfect, and I’m still learning as we go.) But, it’s been five months since schools shut down in March and we’ve only had a few meltdowns here and there. He used to have them everyday, sometimes multiple times a day. His general mood is so much calmer and happier. He follows directions well and even volunteers to help around the house. He does really kind things for everyone in his family, and because he’s happy, we can see how that impacts our entire family. We are all happier. There is a sense of peacefulness in our home that we’ve never experienced. And I’m no longer as anxious when I take him to parks or around other kids. He’s making a lot of progress. I think because we are now in this calmer place, we’ve been able to actually focus on skills like socializing and good behavior.
Before, it just felt like getting through the day was all we could do. I know new challenges may arise (actually, undoubtedly, they will), but I’m ready for them. And through this experience and transition to homeschooling, I’ve learned that I have the tools and ability to figure it out. I have more trust and confidence in myself as a parent. Even on days I feel discouraged, I remind myself that I love my child more than anyone on this planet, and that has to be enough. I will always do what’s best for him and tweak our situation and environment as needed.
Homeschooling was never something I thought I’d do. But I was given a child who is a little “different” and is honestly more amazing than I can put into words. The way his brain works astonishes me. That may mean that he doesn’t fit neatly into the box others expect him to fit into, but that’s the beauty of homeschooling—he doesn’t have to be in a box. Actually, his space and capacity to learn is now wide open. I cannot say with certainty that we will homeschool forever. I have no idea what the future holds.

I do know that this is absolutely working for now. Even on days we have setbacks, it’s still so much better. Homeschooling I’m sure will not or does not work for all neurodivergent children, but I do know that it works for some. (Sidenote: there are numerous Facebook groups just for autism and homeschooling!)
Oh, and in case you’re wondering, Connor now gets in his car seat for me with no issues. He buckles himself in and it’s no longer a stressful experience. I think it’s safe to say it took a whole lot more than clearer boundaries and a social story attached to the back of my seat.
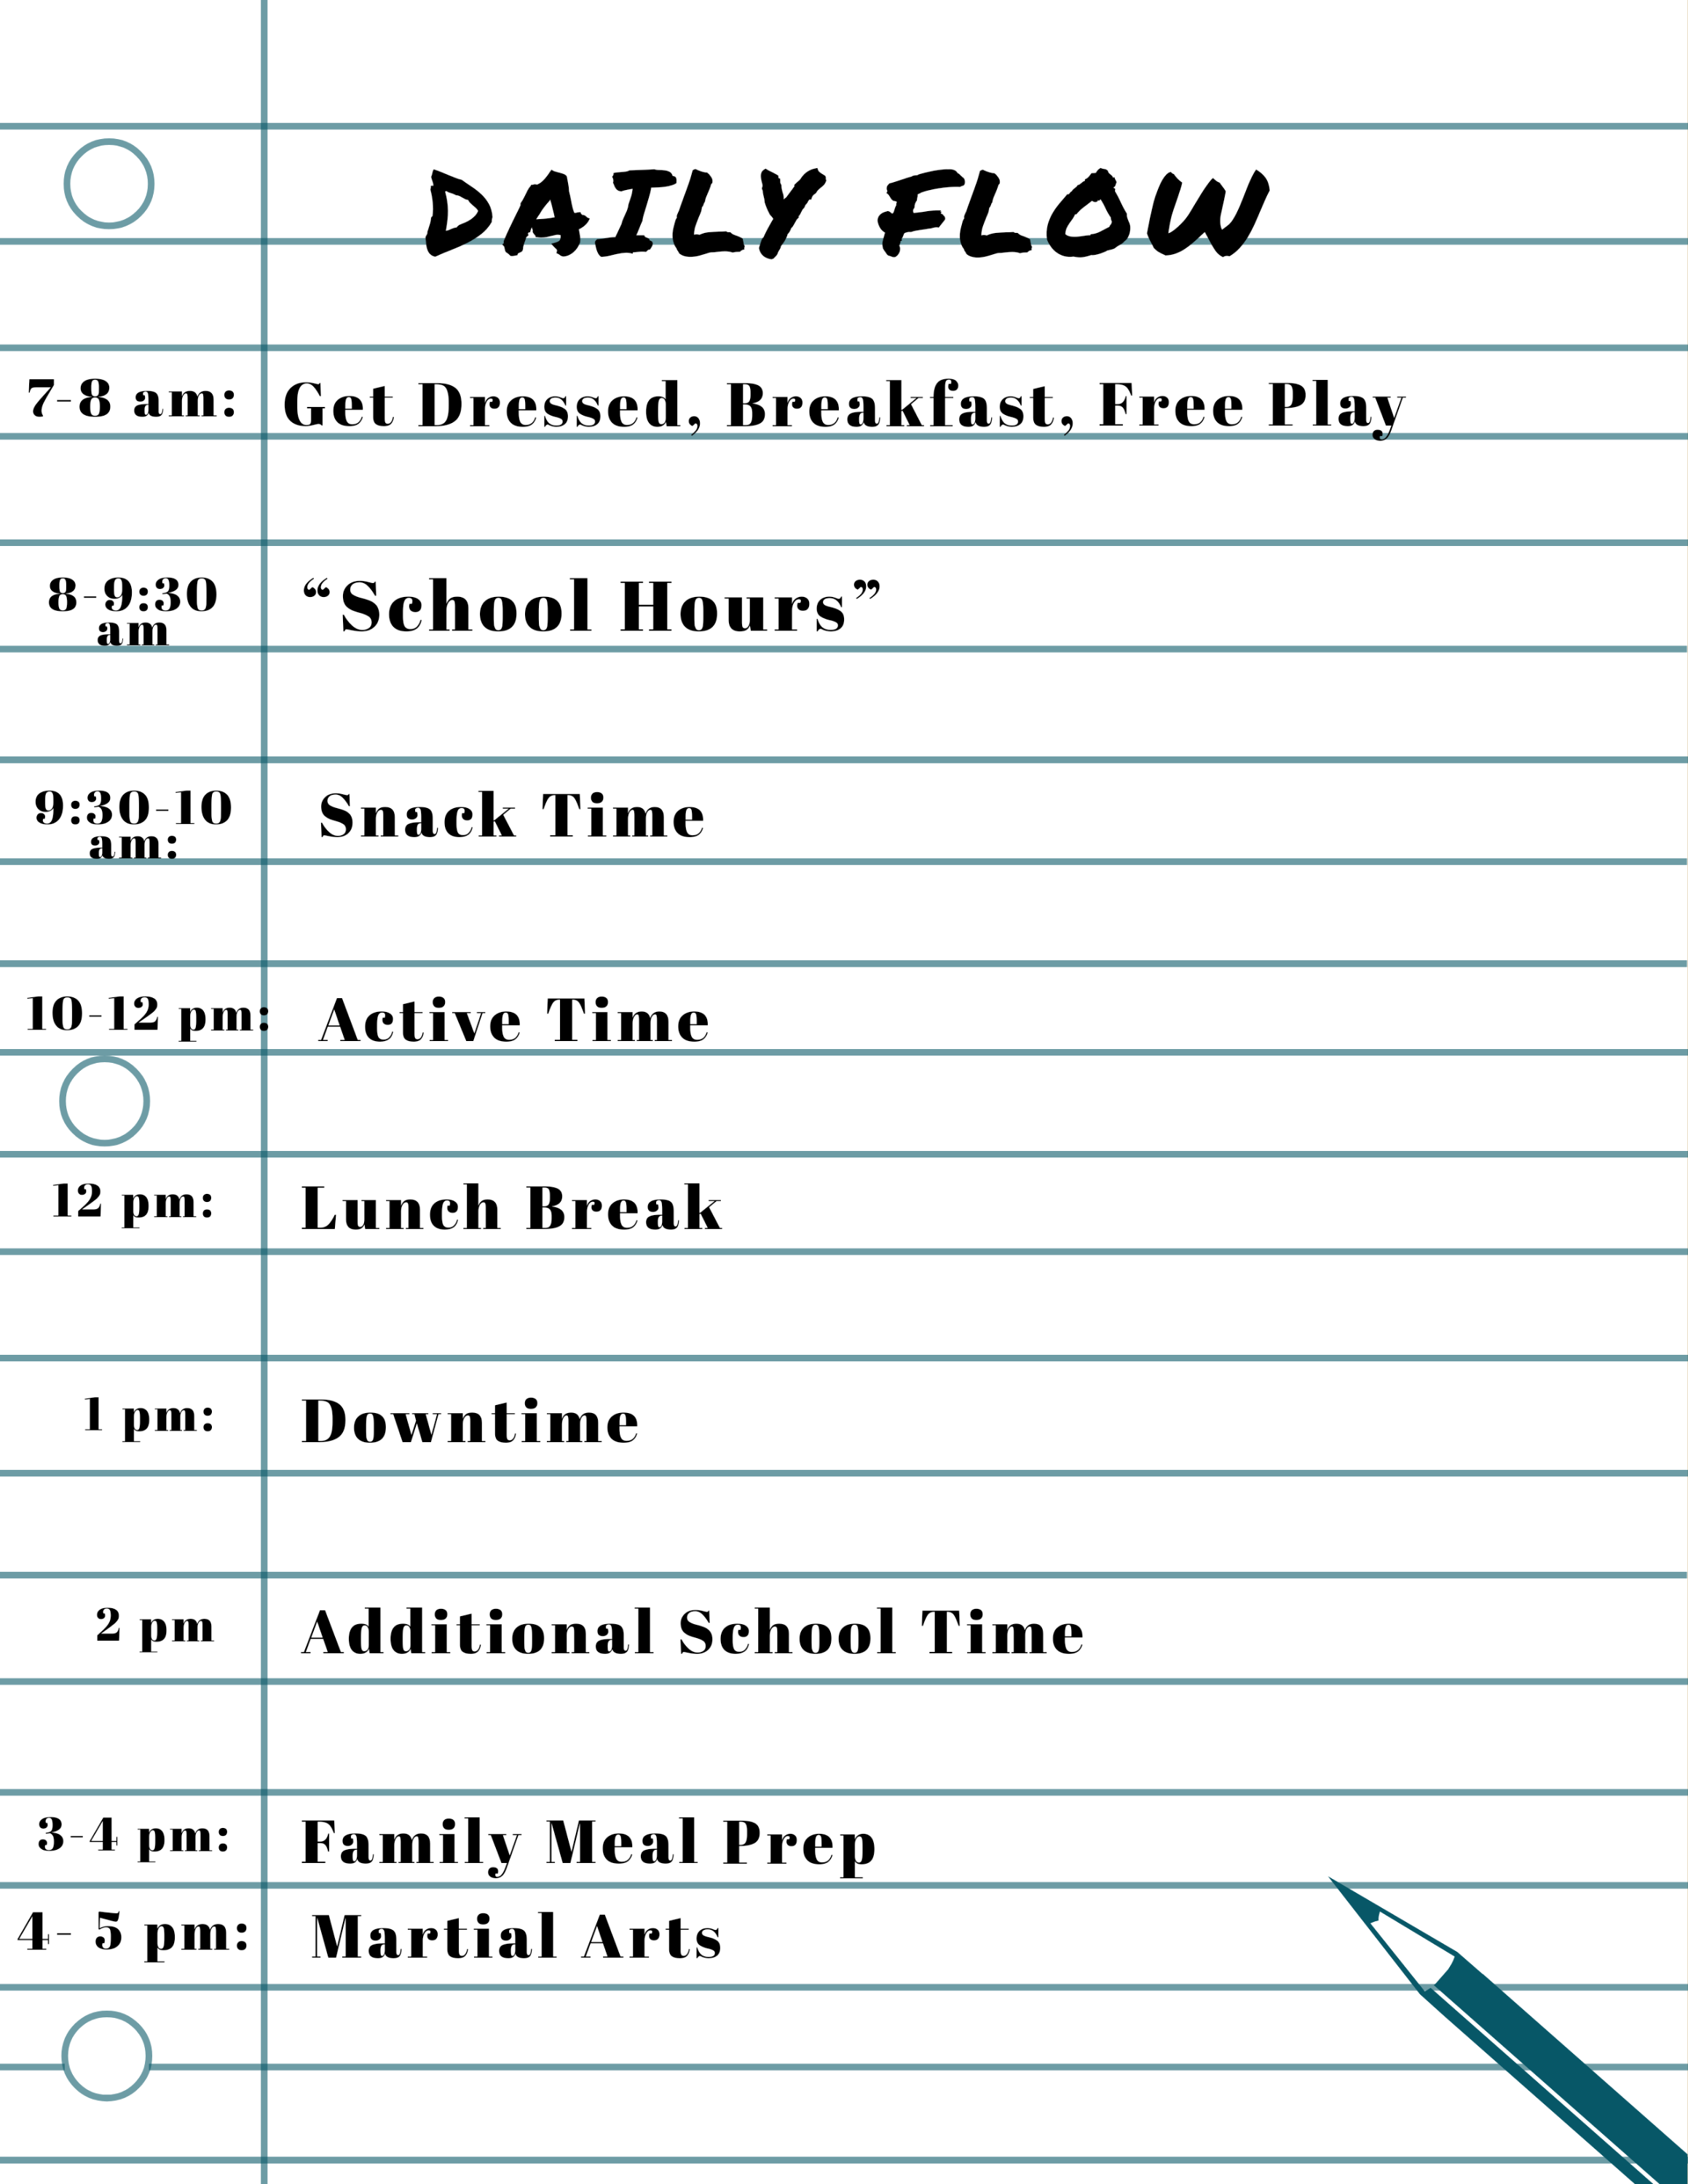
Daily schedule (times vary by the day, but this is a “typical day”)
7-8 am: get dressed (we get dressed even on days we stay home!), breakfast, free play
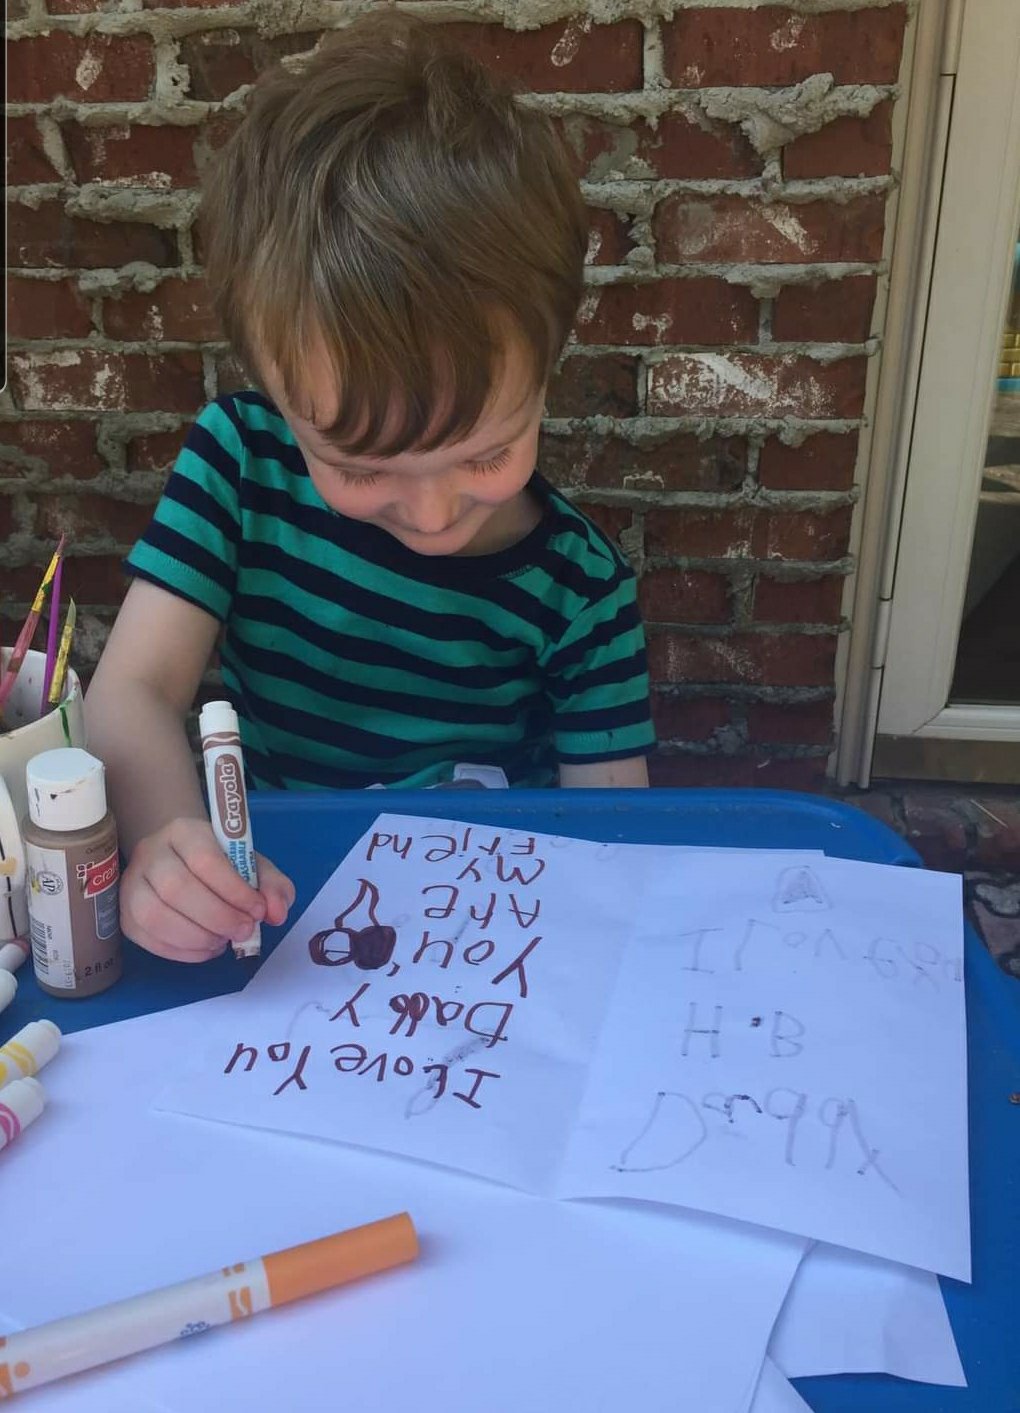
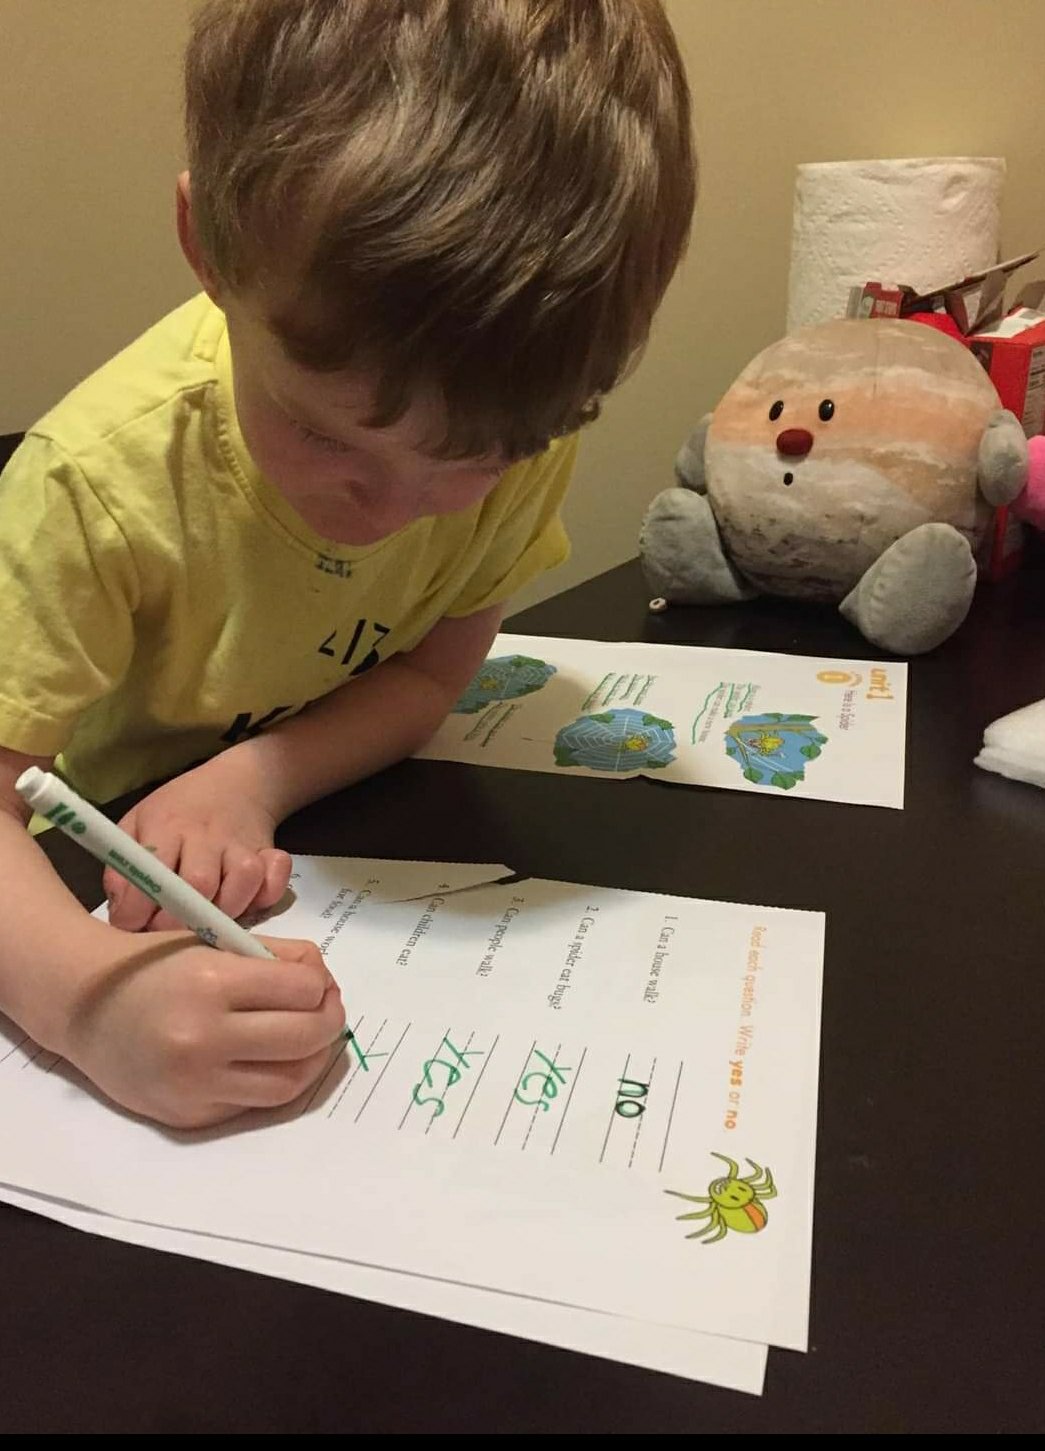
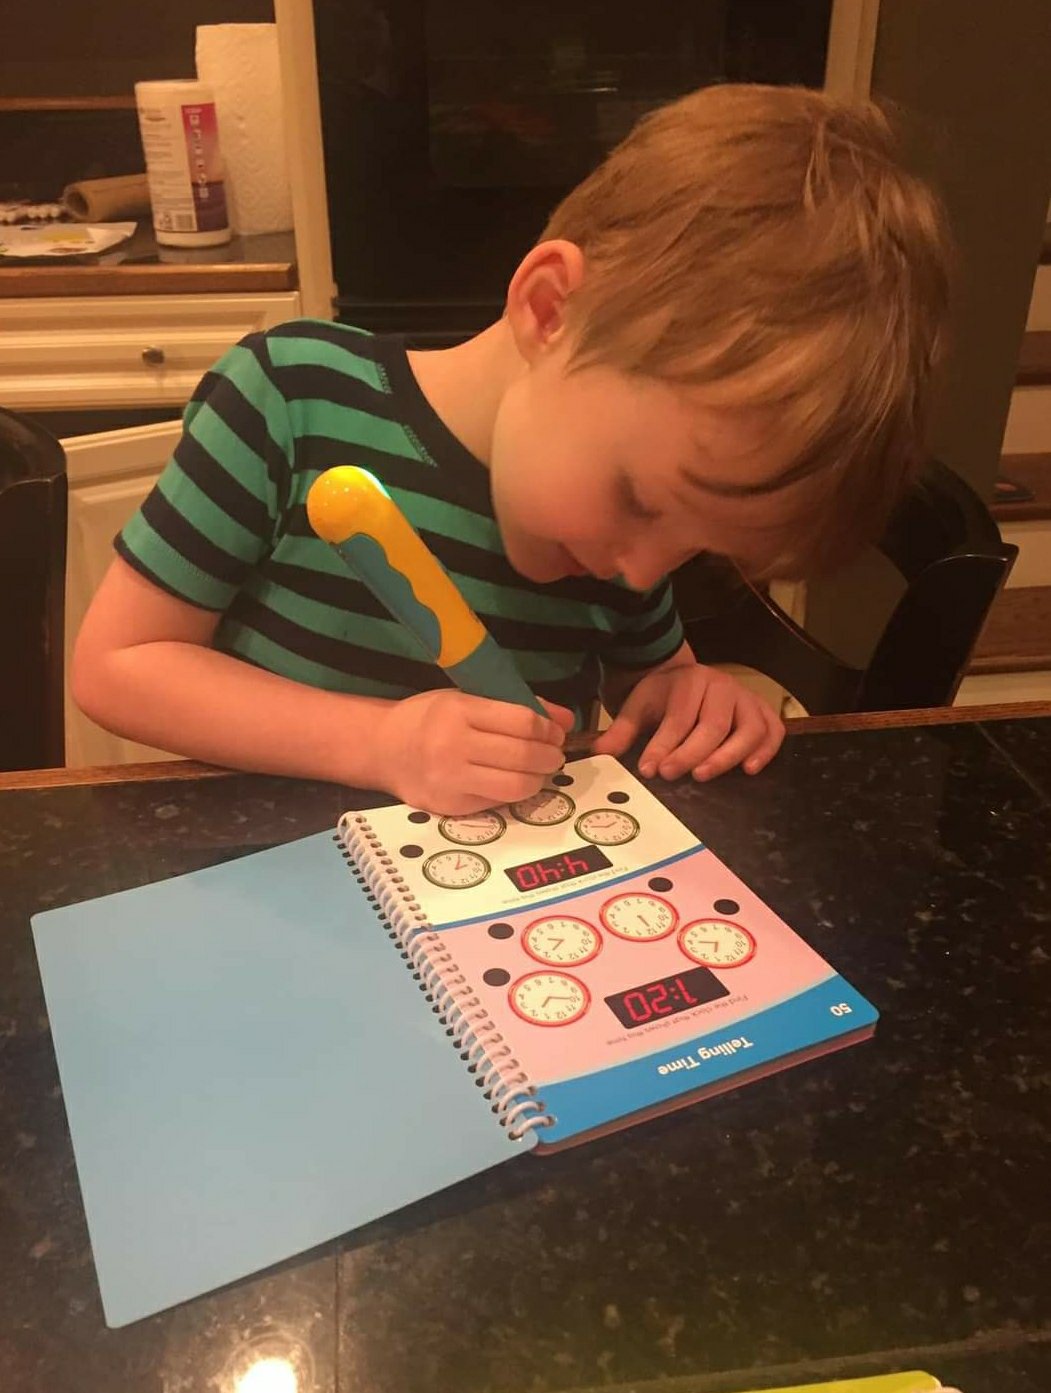
8-930 am: our typical “school hours” where we cover core subjects, including ELA, math, and handwriting (we use “The Good & The Beautiful” curriculums, primarily). I also have activities from “The Peaceful Preschool” for my 3-year-old daughter.
9:30-10 am: snack time
10-12 pm: active time – we like (have to!) to get out of the house, so usually this means a playground, a visit to the science center, a playdate with friends, etc.
12 pm: lunch out or at home
1 pm: usually our “down time,” which can mean anything from a little bit of iPad time, sensory bin play, doodling with art supplies, etc.
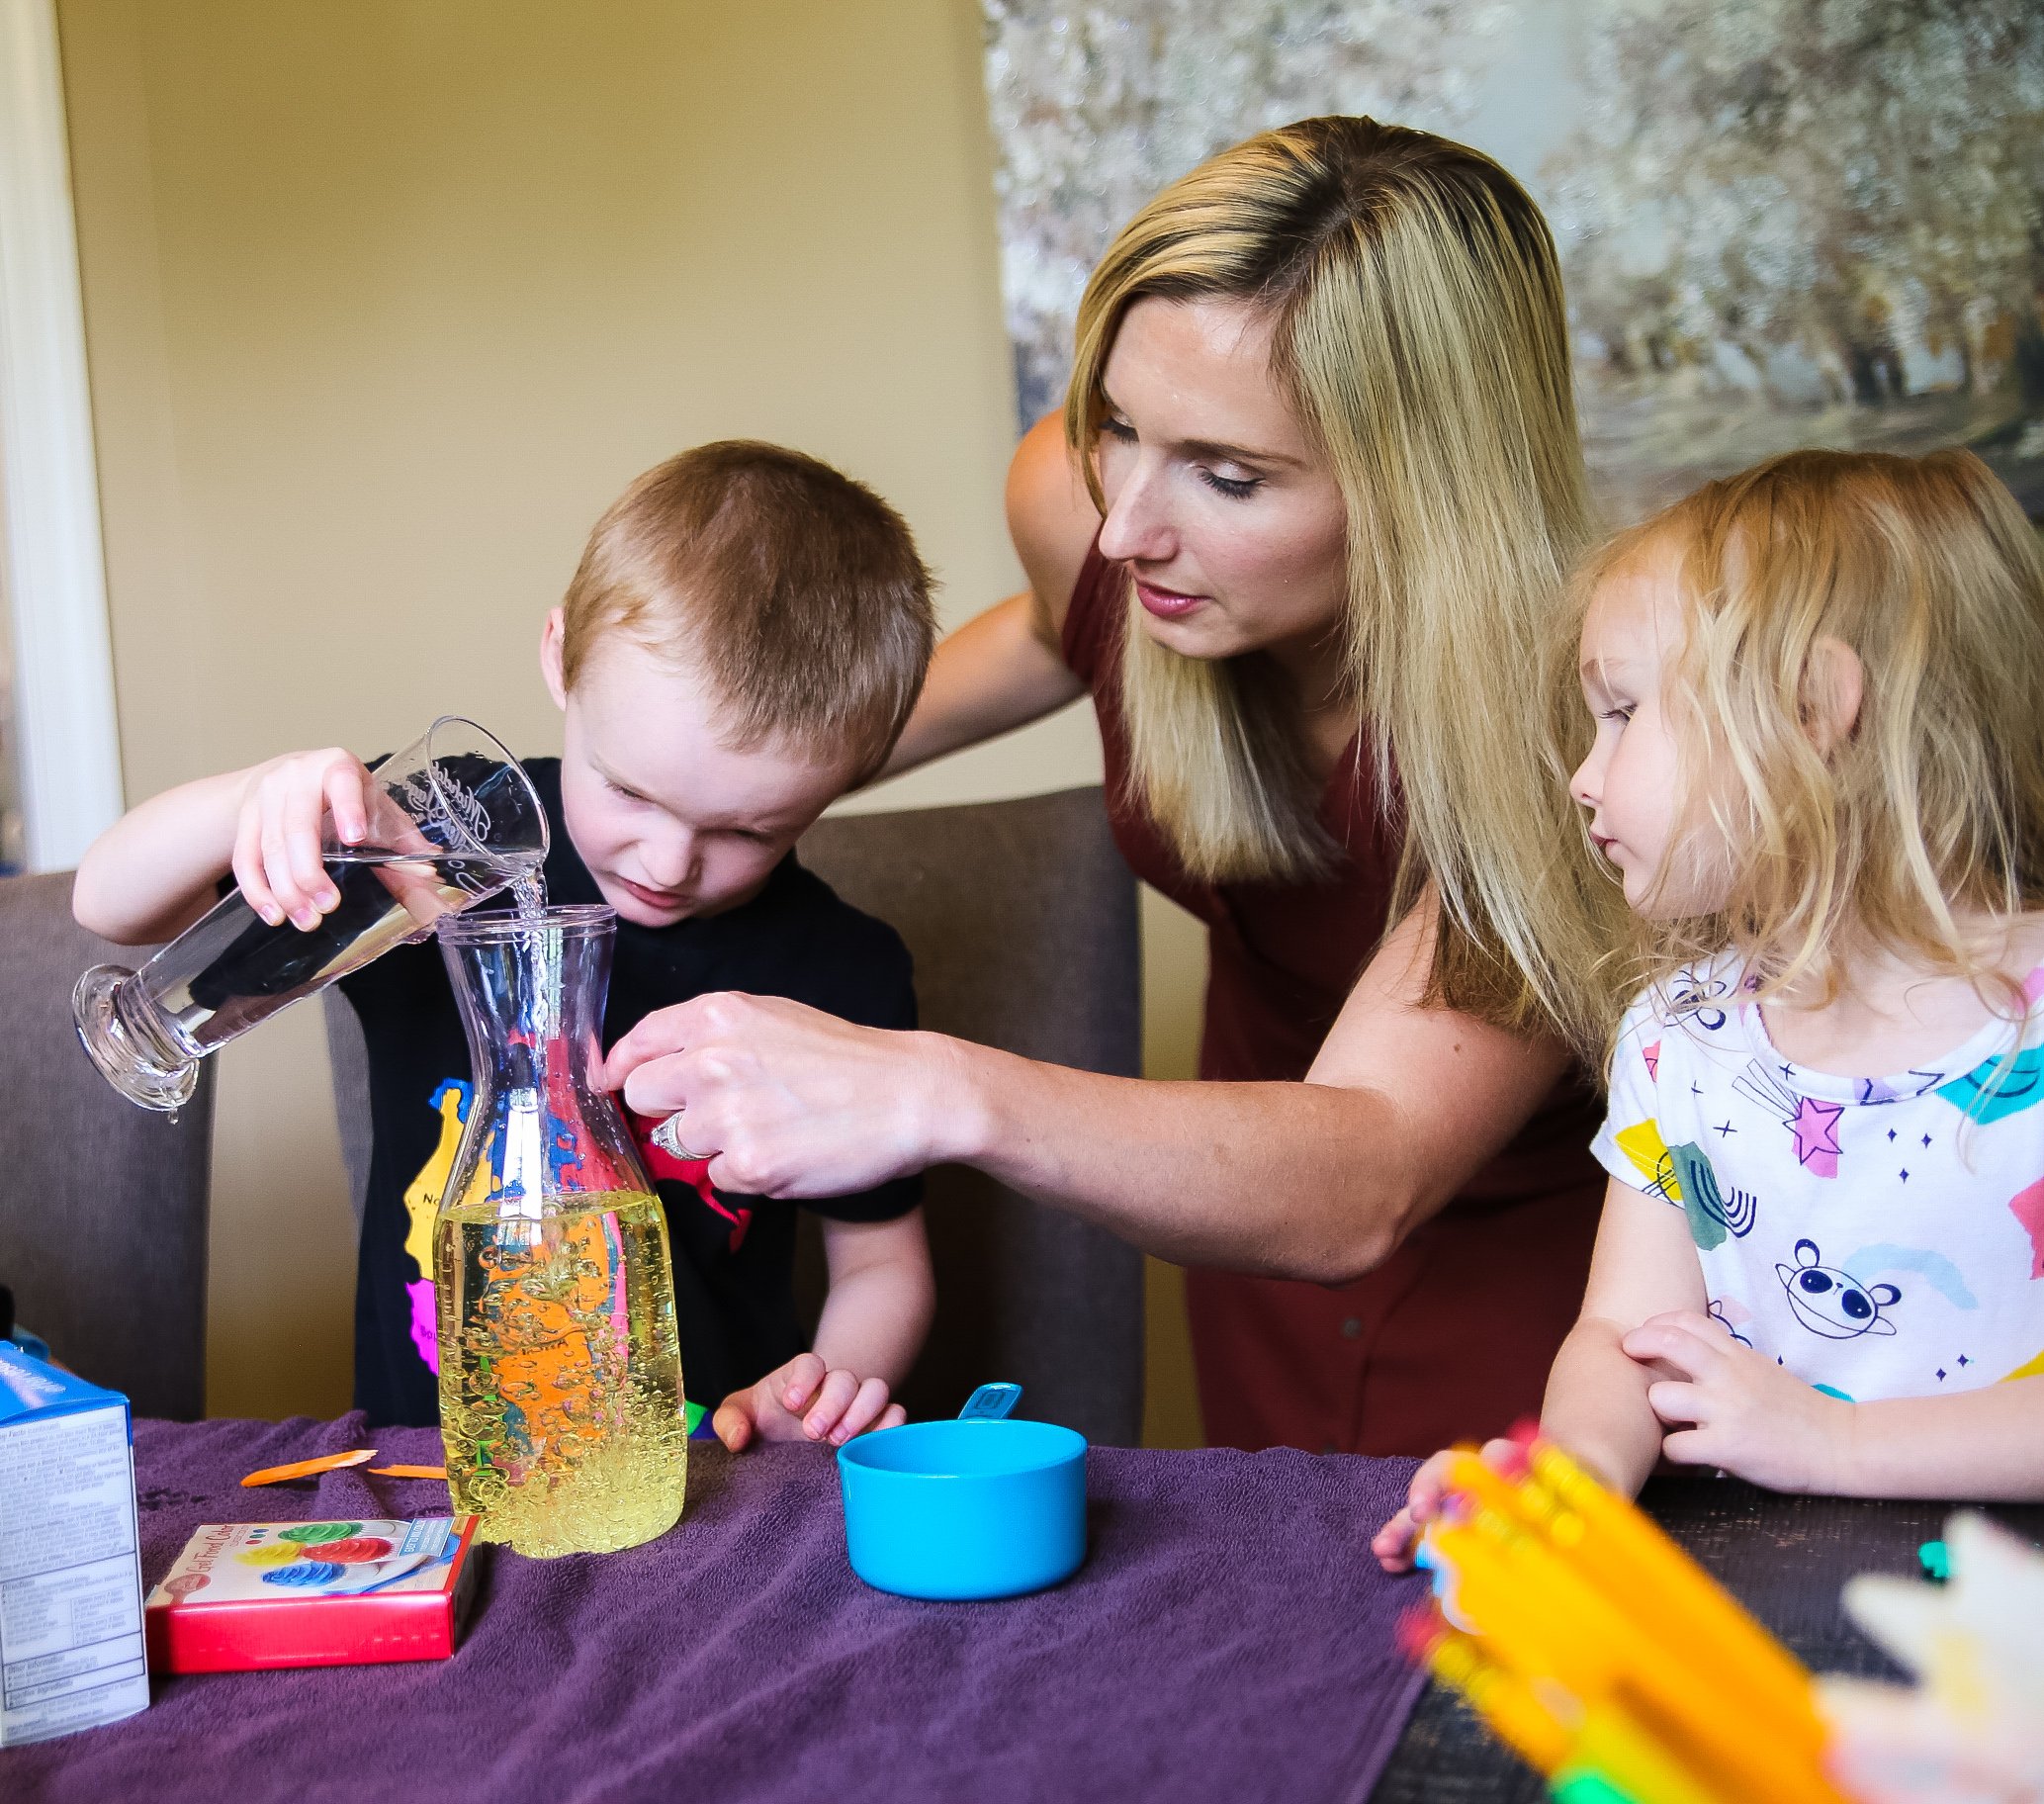
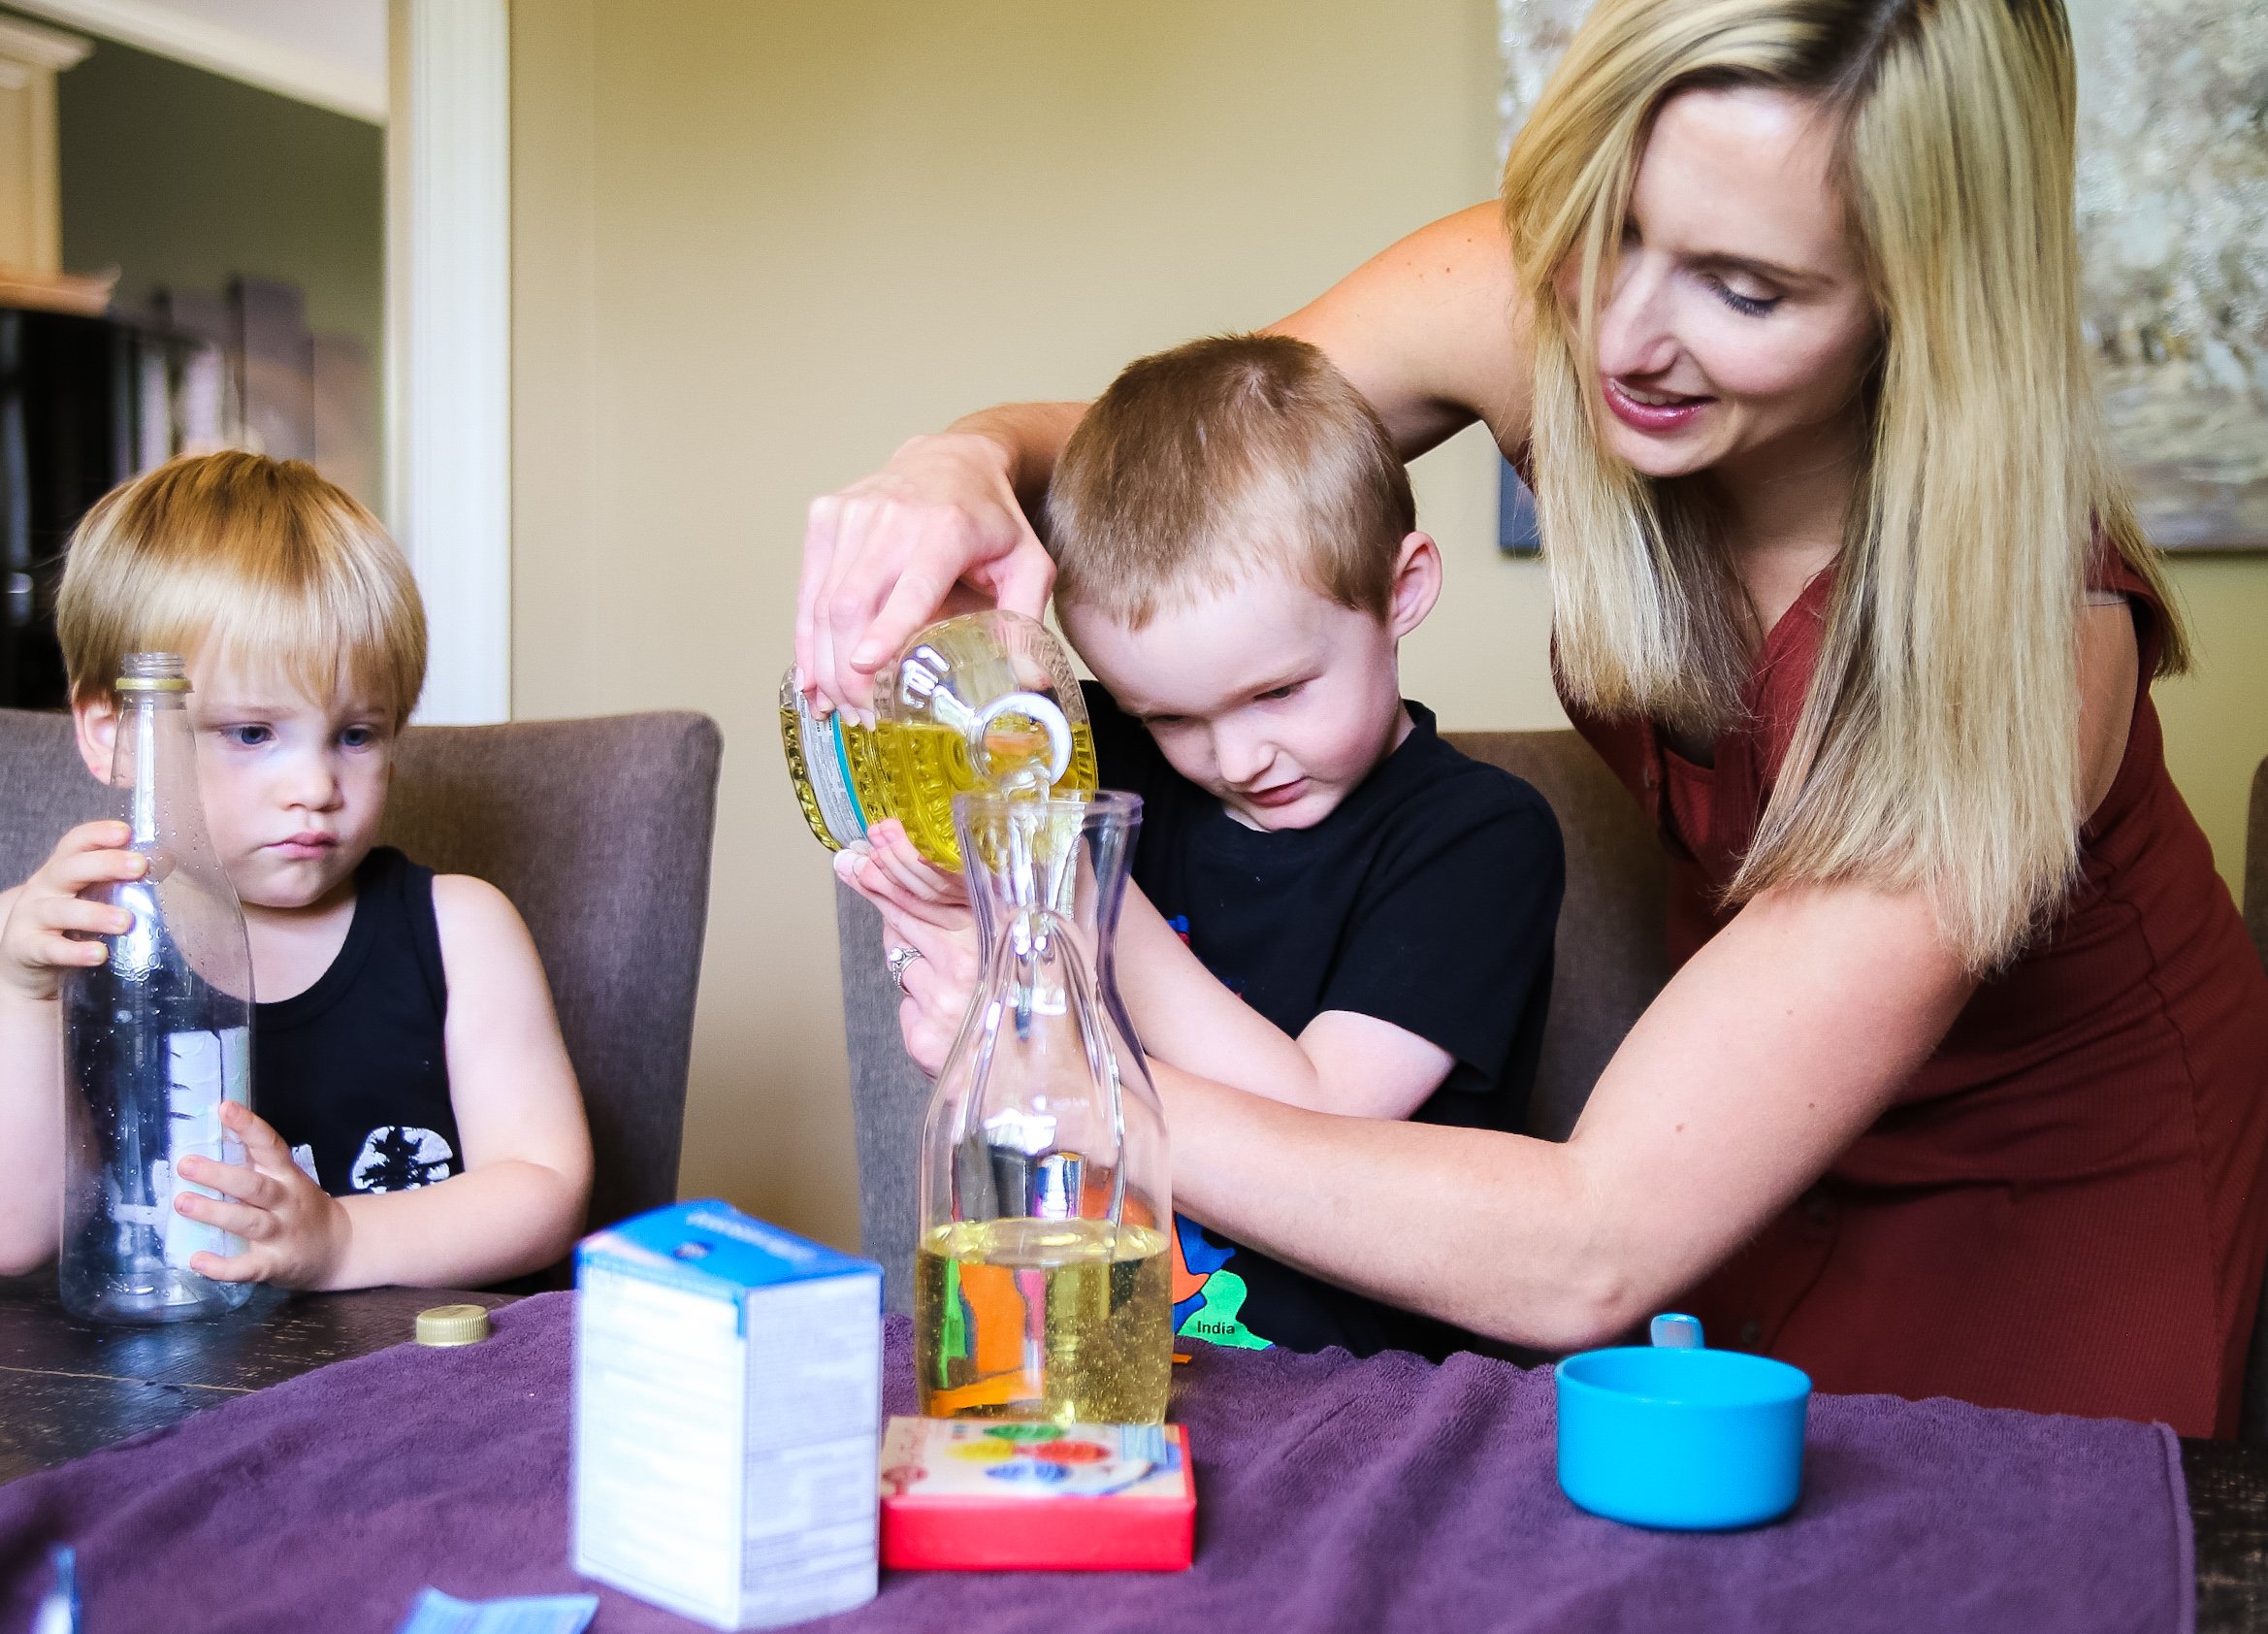
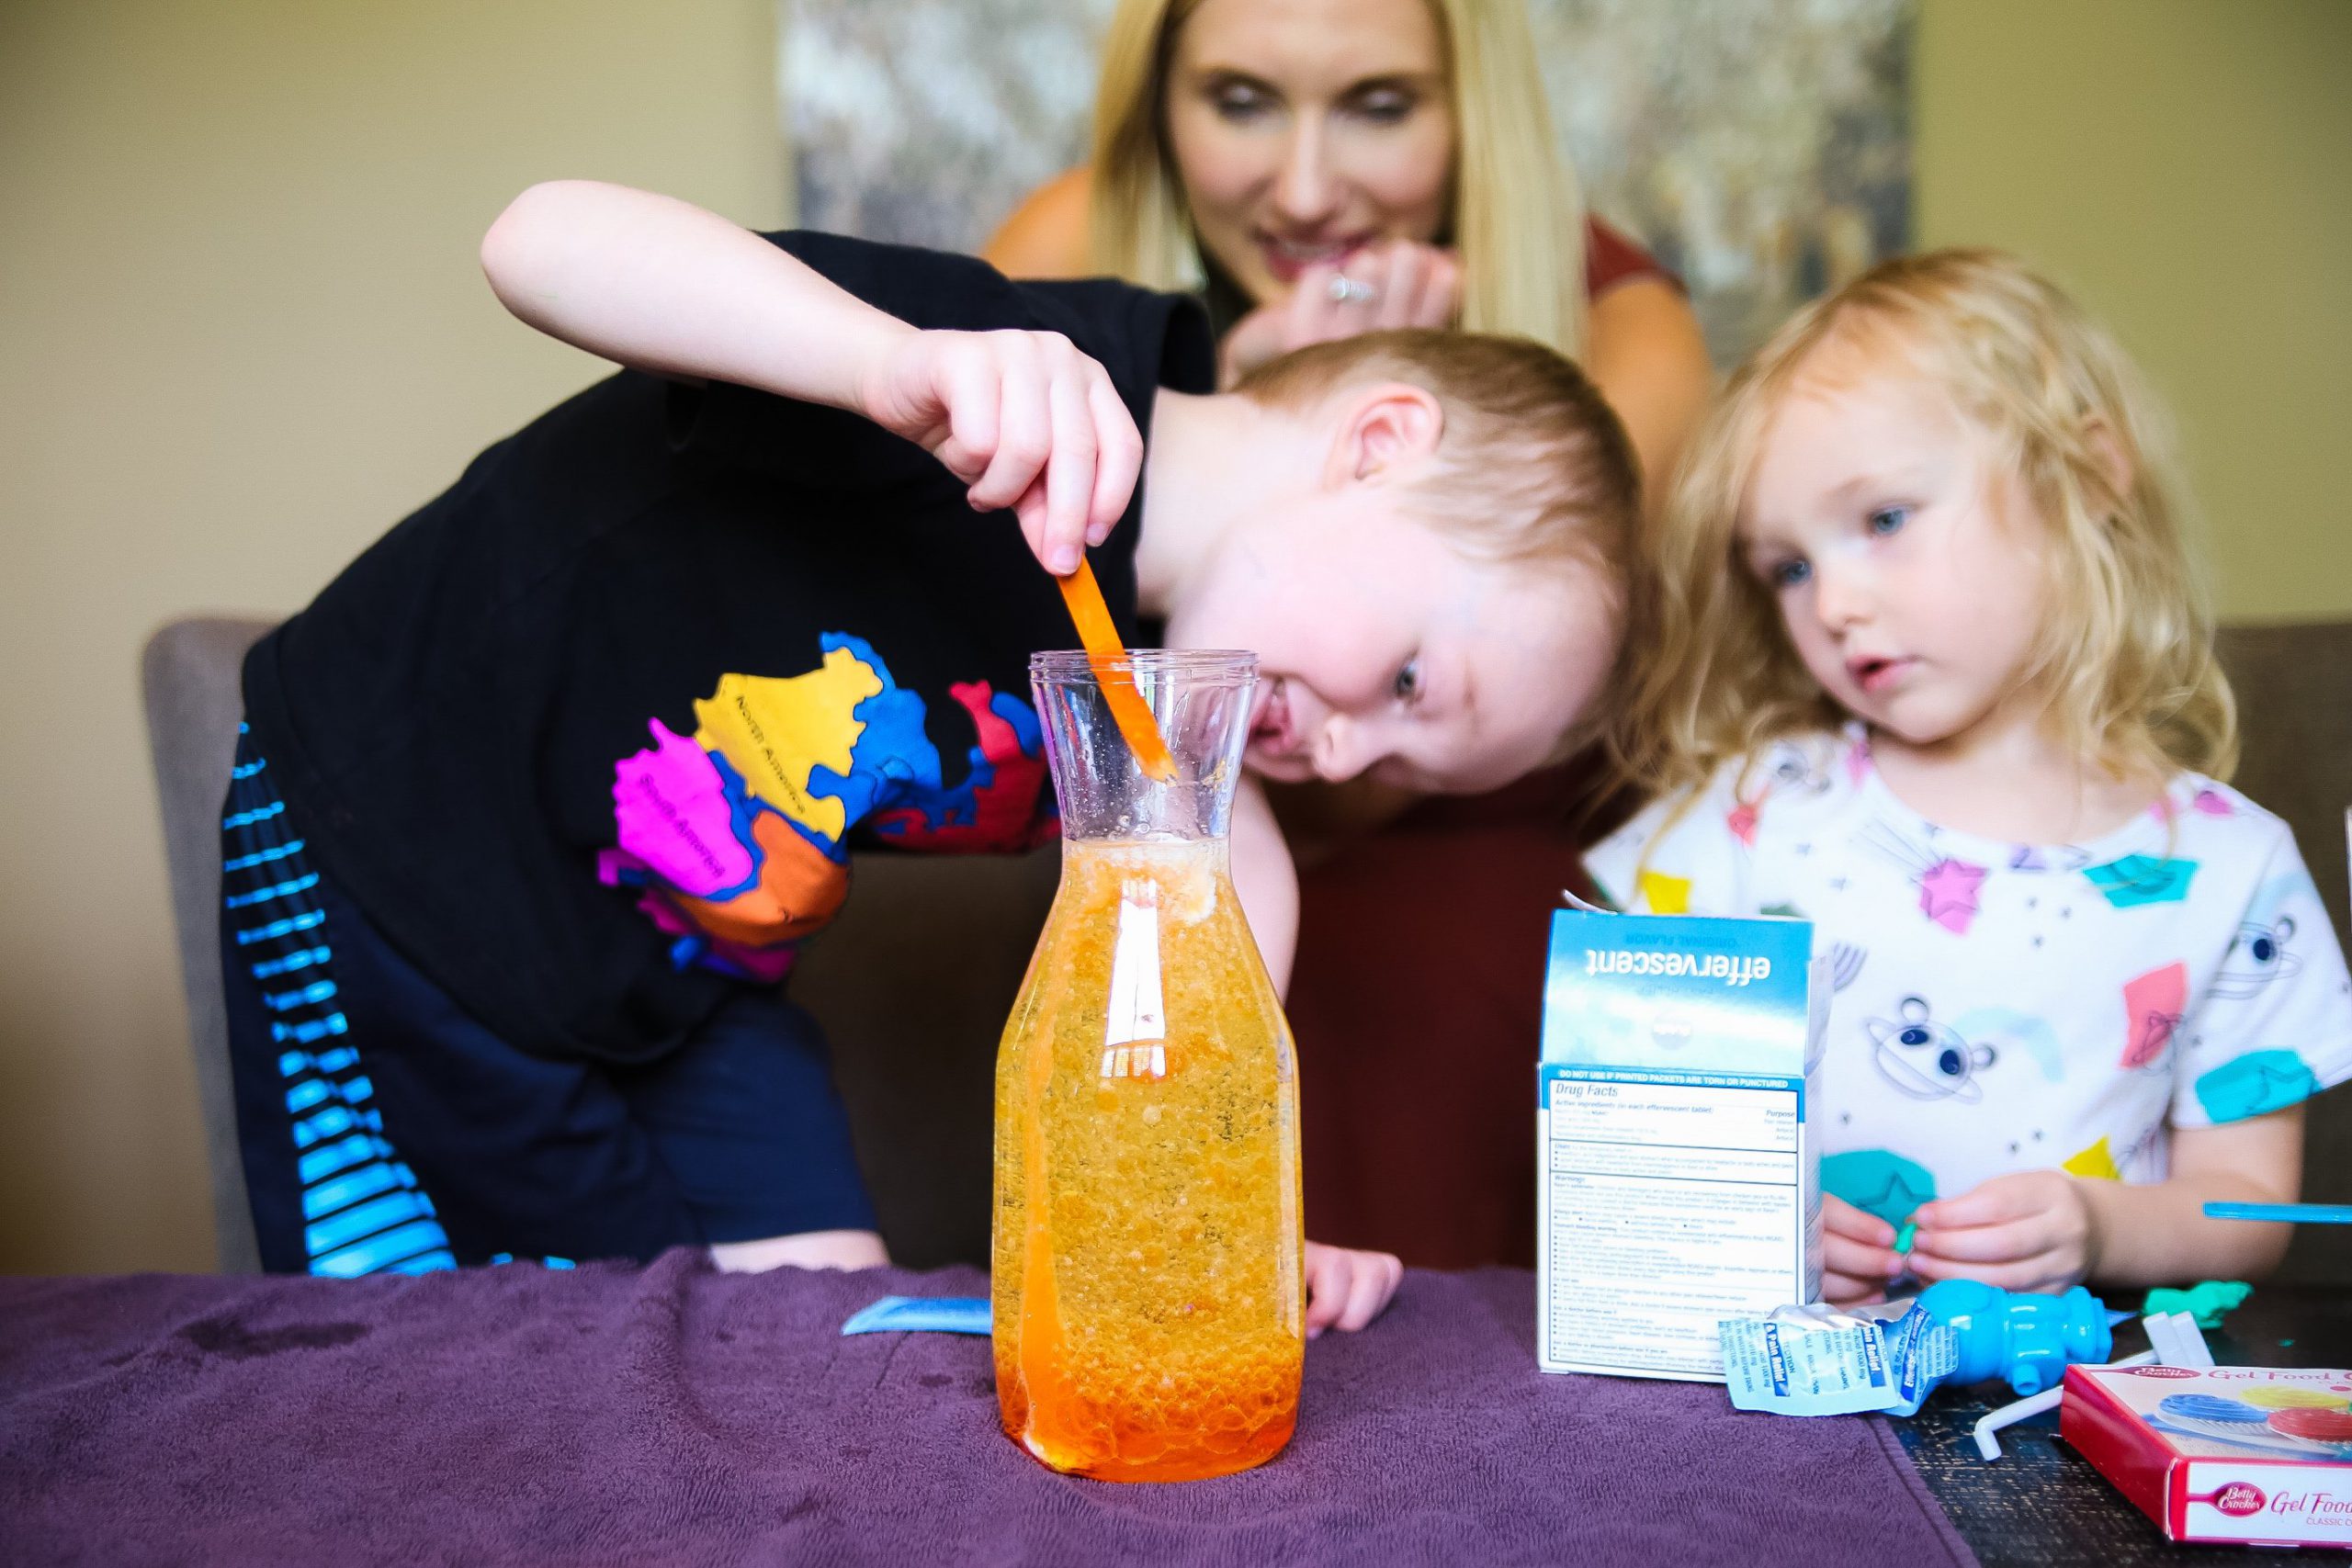
2 pm: This is when we often do other subjects, like science and social studies. We do science experiments (a favorite!), read books on social studies topics, art projects, etc.
3-4 pm: I try to cook most days and include the kids! So we are typically getting things prepped and cooked for dinner at this time.
4-5 pm: Connor just started taking martial arts classes, so usually this is the time we are heading there or participating in martial arts

The post Living Life On The Spectrum, Homeschool Edition appeared first on Not So SuperMom VS Society.
]]>The post Rainbow Fun appeared first on Not So SuperMom VS Society.
]]>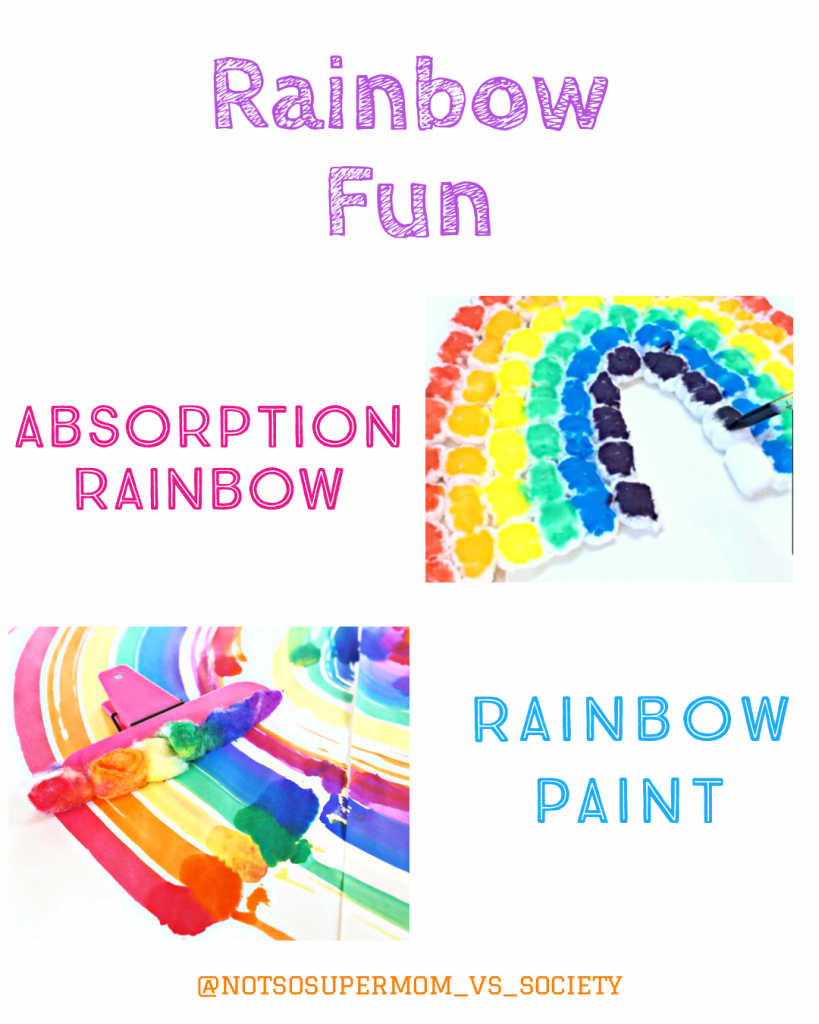
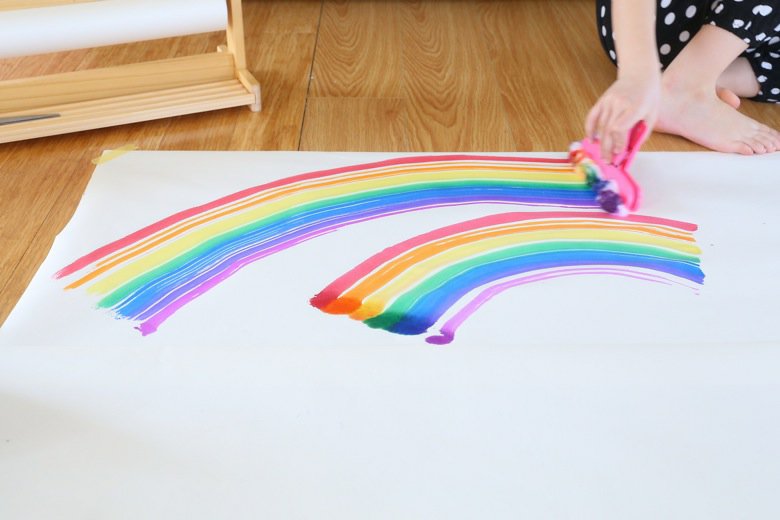
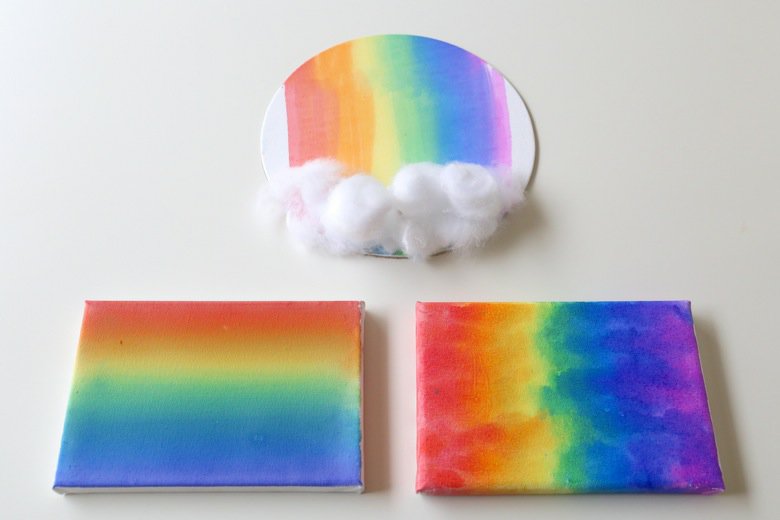
On Monday we woke up to find that the crazy storms knocked over a huge tree in our front yard. Finn is having the time of his life exploring it and we were lucky that it didn’t do much damage. Our luck inspired me to make some fun rainbow crafts, because after all, after every storm, comes a rainbow!

Instructions

Steps:
- Add adhesive to your chosen sturdy paper/canvas. I used Elmer’s adhesive spray, but you can use almost any glue.
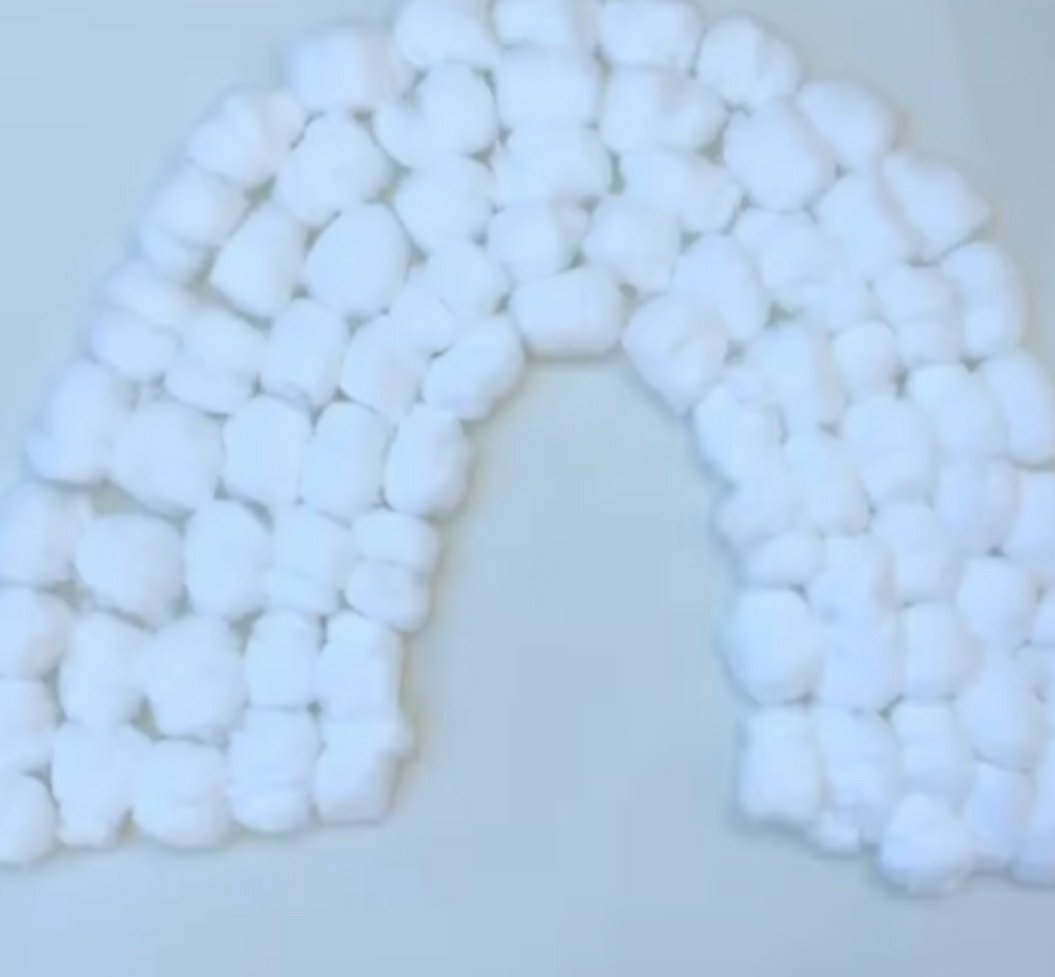
- Place cotton balls in rows that form the shape of a rainbow.
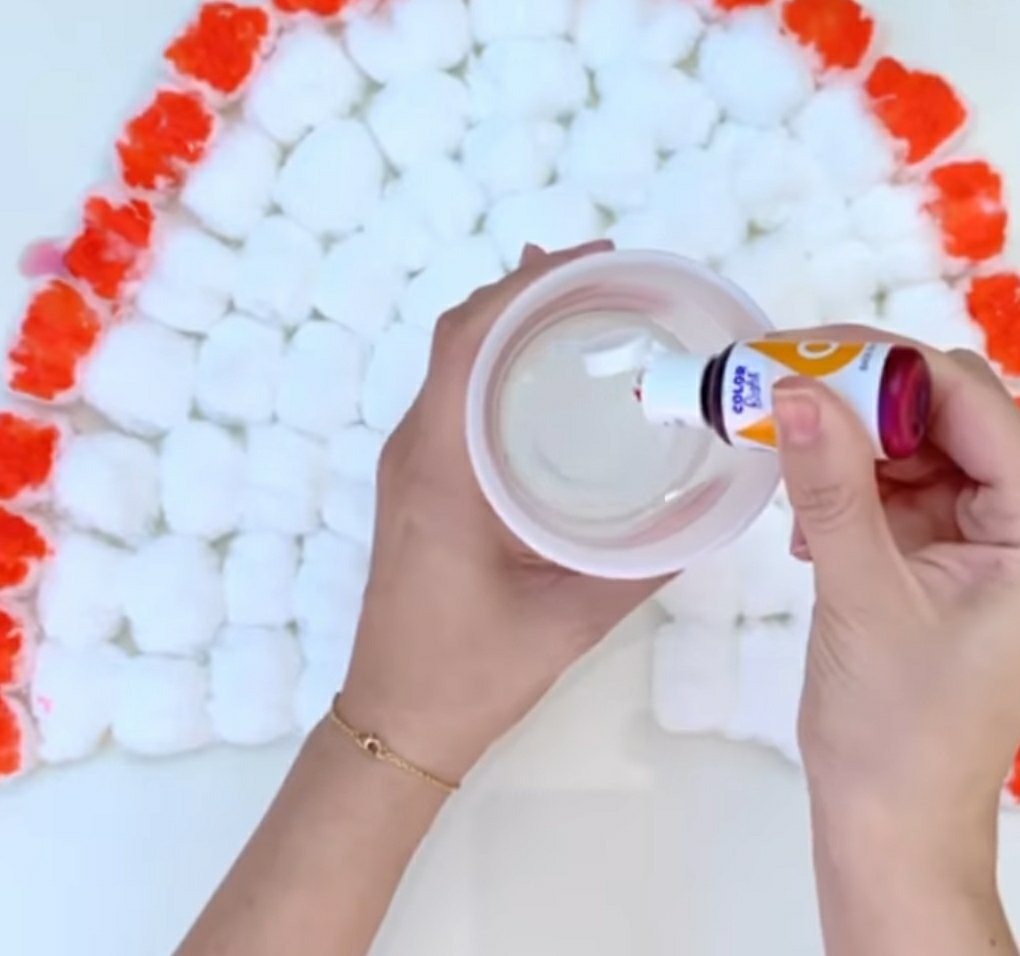
- Start with red food coloring and make a cup of red water.
- Use your pipette to add water to your outer layer.
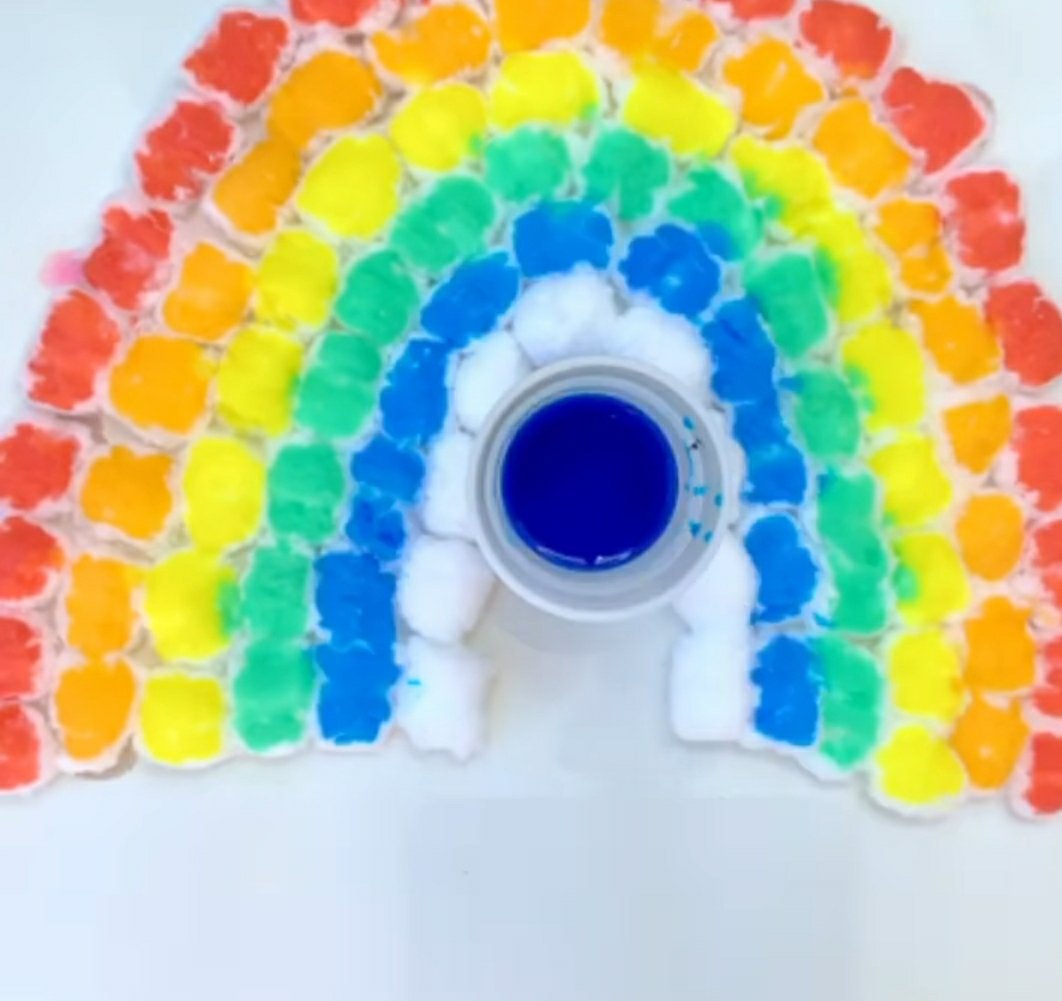
- Work your way through the colors of the rainbow, working inward.
This is a super cool craft and the further into the rainbow you go, the cooler it gets! Talk to your kids about why it absorbs and how the colors start to blend in together. It’s also a cool way to talk about weather- the cotton balls are like clouds and the more water you add to it, the less it can absorb until it starts to “rain.” Also, I highly recommend using a thick poster board or a canvas for this. The more water you add, the heavier it gets, so thinner papers will tear under the strain and also be at risk for also absorbing the water.

Steps:
- Using cups or an ice cube tray, place a drop or 2 of food coloring in each spot, utilizing all colors of the rainbow.
- Fully immerse a cotton ball in each color.
- Take your soaked cotton ball and place it in the chip bag clip, forming a rainbow.
- Use chip clip on your canvas/paper, creating beautiful works of art.
This is a visually beautiful craft. It also leaves very little mess behind. We tried it both with paint and food coloring. The paint works, but it mixes together slowly forming an ugly mud color the more you spread it, whilst the food coloring mixes together beautifully. You can get really creative with your color combinations and make cool paintings with it. For less rainbow-y or more detailed results, you can also use a clothespin instead of a chip clip.
Did you try one of these crafts? Tell us below!
The post Rainbow Fun appeared first on Not So SuperMom VS Society.
]]>Easter Sensory Bins Read More »
The post Easter Sensory Bins appeared first on Not So SuperMom VS Society.
]]>
Yesterday we made shaving cream paint and it quickly turned into utter chaos. Finn started painting himself, both boys wanted their booties painted, and so on.
I decided to embrace the chaos of messy play and use the remaining shaving cream for a sensory tub. I used some water marbles, eggs, and also grabbed some vinegar & baking soda to have some extra sensory fun.
Ingredients & Instructions
Sensory Bin
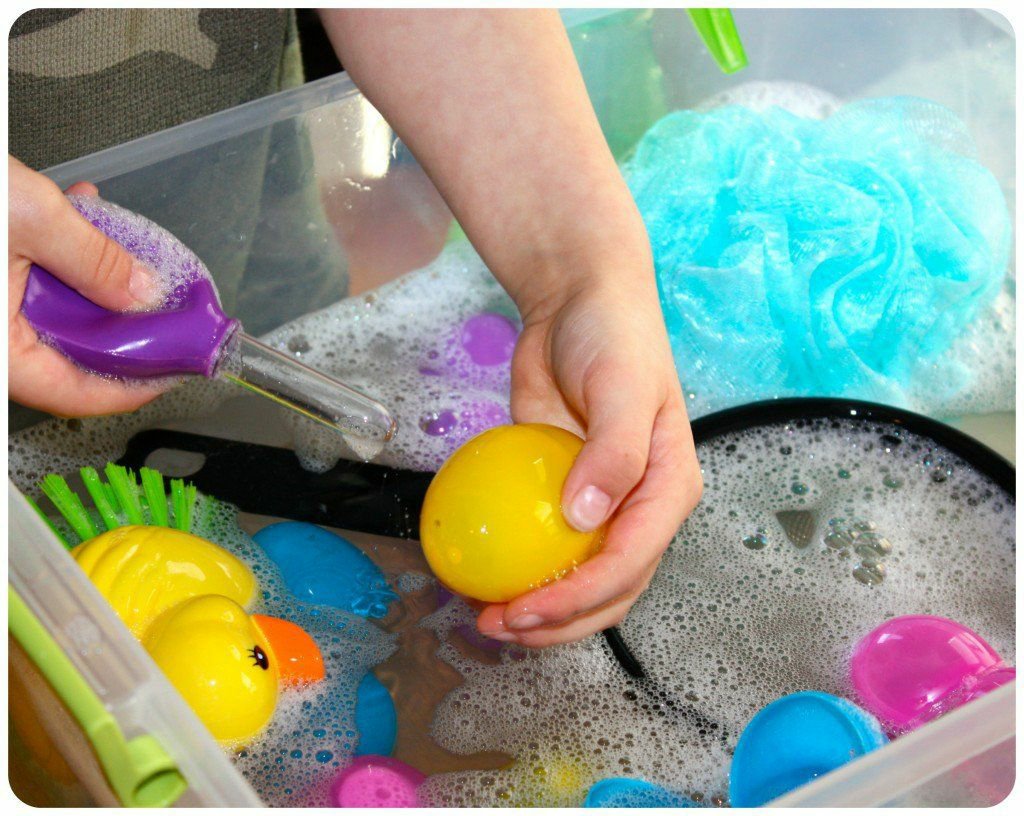
This one is pretty open ended. We had a lot of shaving cream left over from our painting endeavours, leftover water beads, and leftover plastic eggs. You could honestly use almost anything in these tubs. Also, for a more kid safe version of the shaving cream, you can use whipped cream or Mr. Bubble foam soap.
Fizzy Eggs

Similar to our Volcano Egg Dyeing, we simply added baking soda to our shaving cream bin and I gave them colored vinegar to put on top. You can use empty plastic eggs, add baking soda to them, and then let them add vinegar with a spray bottle or pipette.
After we were done, we finished up with a fun egg washing water activity!
Did you do one of these? Which one? Did you modify it? Tell us below!
The post Easter Sensory Bins appeared first on Not So SuperMom VS Society.
]]>Easter Painting Projects Read More »
The post Easter Painting Projects appeared first on Not So SuperMom VS Society.
]]>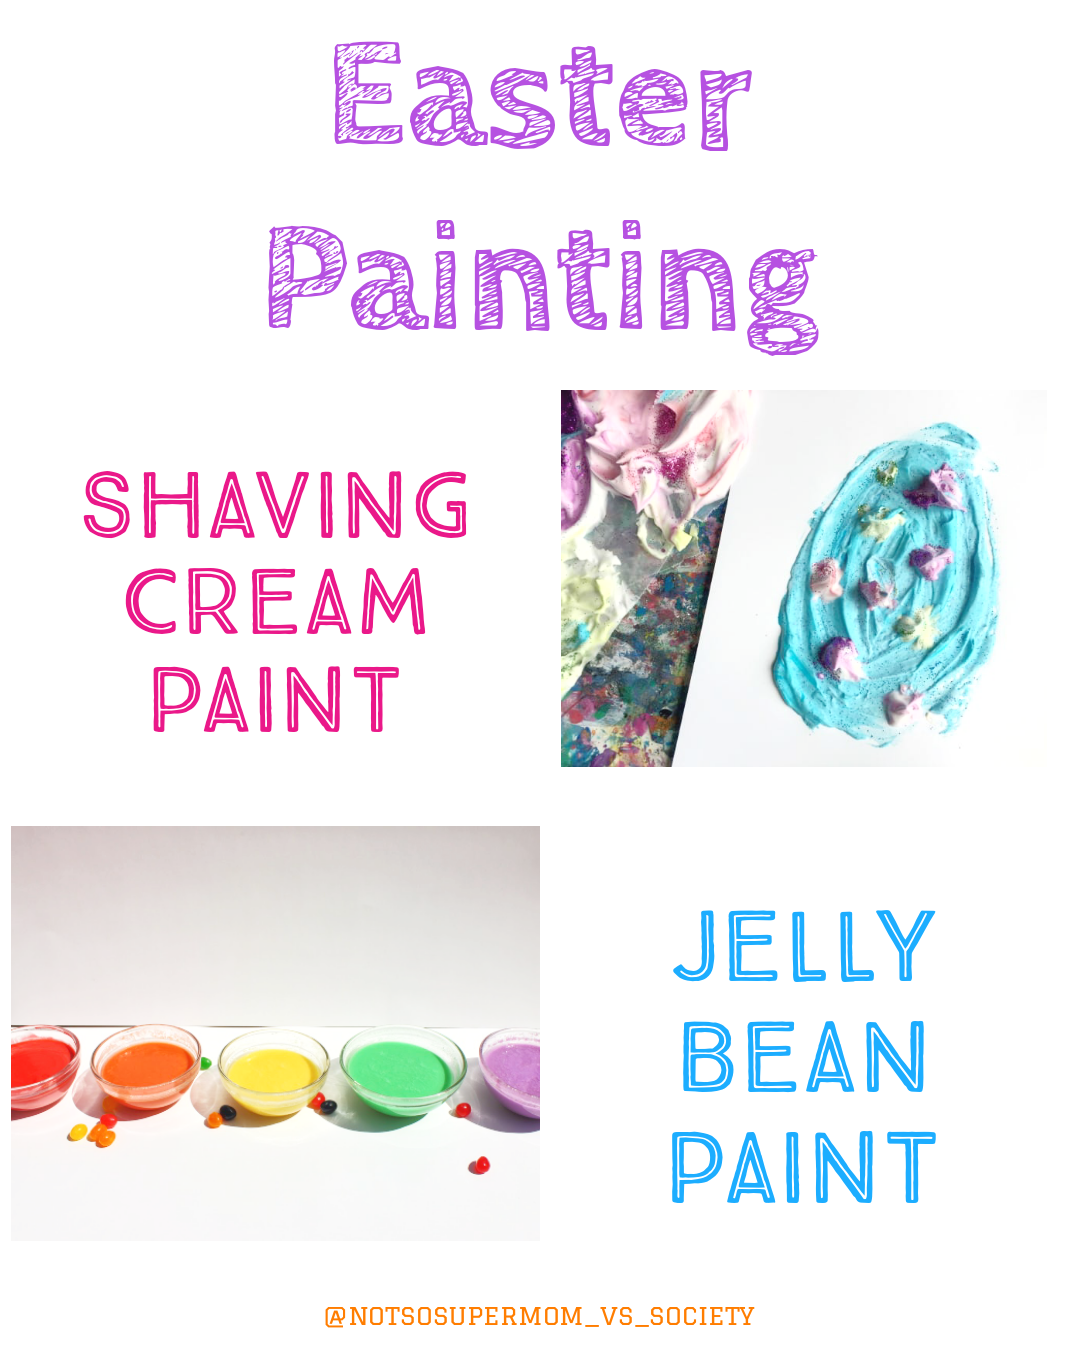
Today we brought out more fun painting projects! I wanted to have today’s painting projects be a little less messy than our rock painting day, so I found some easy to make and clean up painting projects.
I think now that we are schooling at home, I really need to invest in a drop cloth! The kids reallllly love painting and Finn definitely takes a “all hands on deck” approach.
These 2 are paints are fun to make. The jelly bean one is taste safe, so it makes a great choice for littles who like to stick everything in their mouths. It’s also pretty neat for older kids, due to the fact that process to make it is pretty cool!
The shaving cream one is pretty neat because you can add a lot of fun elements to it and you are supposed to use your fingers to paint it. It makes a great sensory experience for the kids, plus we turned the leftover shaving cream into a sensory bin (check tomorrow’s blog for that activity!).
Paint Ingredients & Instructions
Shaving Cream Paint

Steps:
- Squeeze out a few dollops of plain shaving cream, making separate piles. I used a paper plate as a palette. This is a fun way for your child to practice their fine motor skills and self-control. If they start getting a little crazy with the cream, encourage them to take control of their own actions.
- Mix the paint. Drip a drop or two of food coloring into each pile. If you only have a few colors, blend a drop of each to make new ones. The primary colors (red, yellow and blue) combine to make purple, orange and green. Keep in mind, food coloring is extremely messy. It will stain clothes and may temporarily stain your child’s hands. The more it mixes in with the shaving cream, the lighter it will become. If you’re concerned about staining, using a plastic spoon or a craft stick to mix the food coloring until it lightens up enough for your child to touch it.
- Add some glitter. This really makes the paint fun, however, as I’m sure you’re aware, glitter gets EVERYWHERE.
- For smaller children, use a marker to draw a Easter egg/ bunny on their paper. Have them paint it. For older kids, have them create their own!
- Ask them questions while they paint. Have them talk about their observations. What happens as the paint dries? What colors mix? Etc.
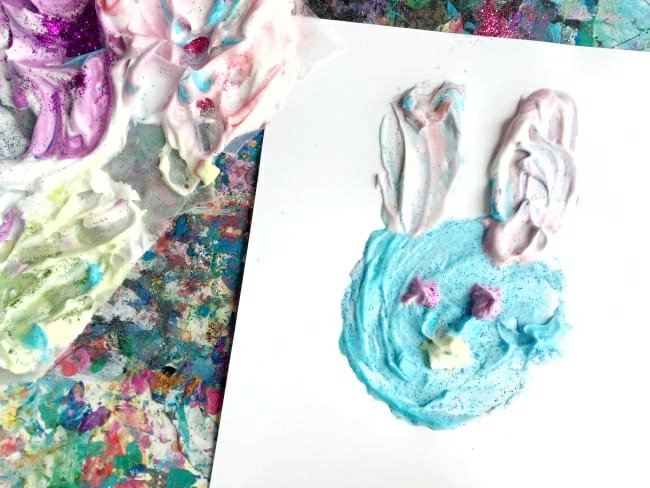
Jelly Bean Paint

Steps:
This painting craft starts with a fun candy science experiment. This experiment is super simple and relies purely on observation skills. The boys already had a pretty good idea of what was going to happen after we did our skittles candy rainbow a couple weeks ago.
Experiment Steps:
- Ask your children “What do you think will happen to these jelly beans when they soak in water?”
- Make as many cups/bowls as you have jelly bean colors and fill them with around 1 cup of water. I found warm water worked the fastest. (For further experimentation, you can use other liquids, such as vinegar, Sprite, etc, we used water so we could transform ours into paint)
- Pro-tip: if you plan on making paint, use a muffin tin and you’ll automatically have an easy to use paint pallet!
- Place 8-10 jelly beans in each cup.
- Check the jelly beans every hour until there isn’t any more color left on the beans. Have them note the changes each hour. This process takes around 30min-1 hour.
- Once the jelly bean color has dissolved into the water, remove the beans from the water and save the water for later. (Note the jelly beans will still have a light color to them)
- Have them feel the jelly beans and observe their new texture. Have them smell it. Have them taste the jelly bean and see if it still tastes the same. Ask them questions about why and how this experiment turned out.
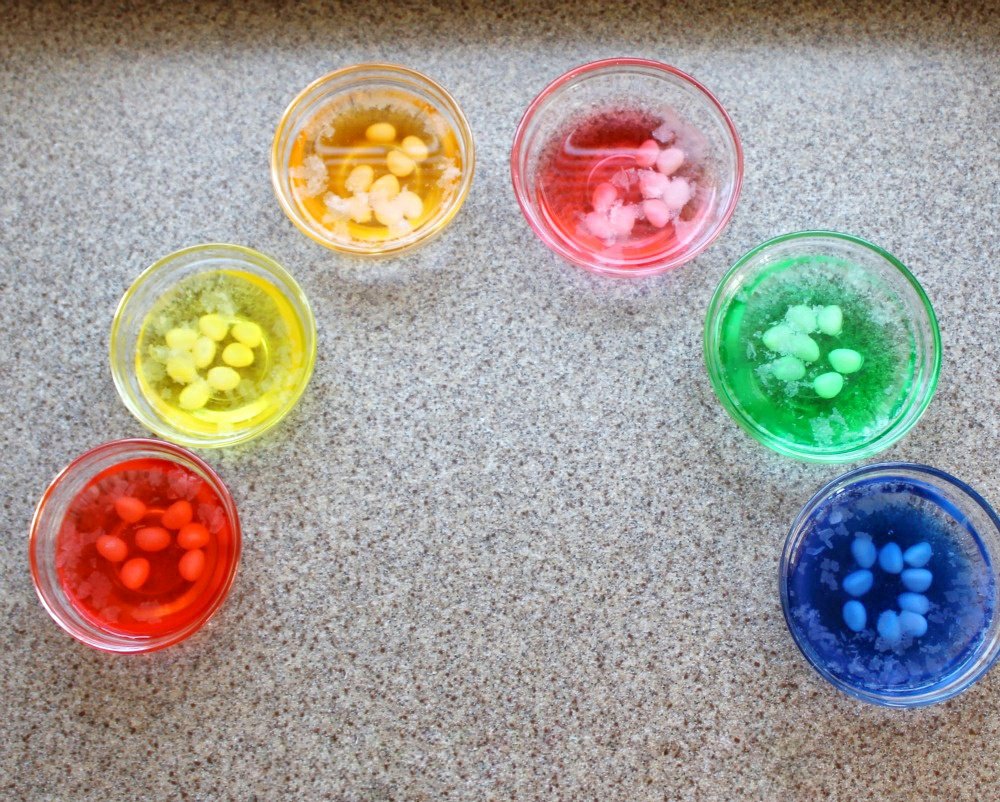
Once your experiment is over use the colored water that you saved to make fun taste-safe paint!
Paint & Brush Steps:
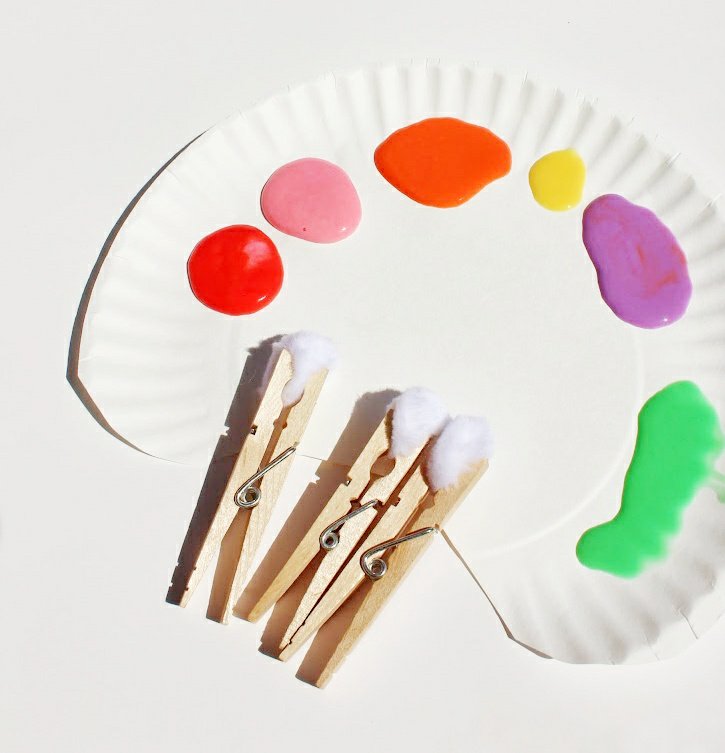
- Take your jelly bean water and add around 1/3 cups worth of flour to the liquid. Add as much flour to the mixture as you need to make a nice semi-thick paste. You want it to be smooth enough to easily paint, but not too runny. If it’s too runny the paint won’t stick well.
- For more vibrant color, add a couple drops of food coloring to your mixture and stir it up.
- Make your “cottontail” paintbrushes by taking a cotton ball and grabbing it with your clothespins. Full disclosure- while this brush is super cute for Easter crafts, it does absorb a lot of the paint and gets warped pretty quickly.
- Have fun! Paint Easter designs or something of your own design. The paint will be a little gritty from the residual sugar in the water and it gives the paint a cool texture!
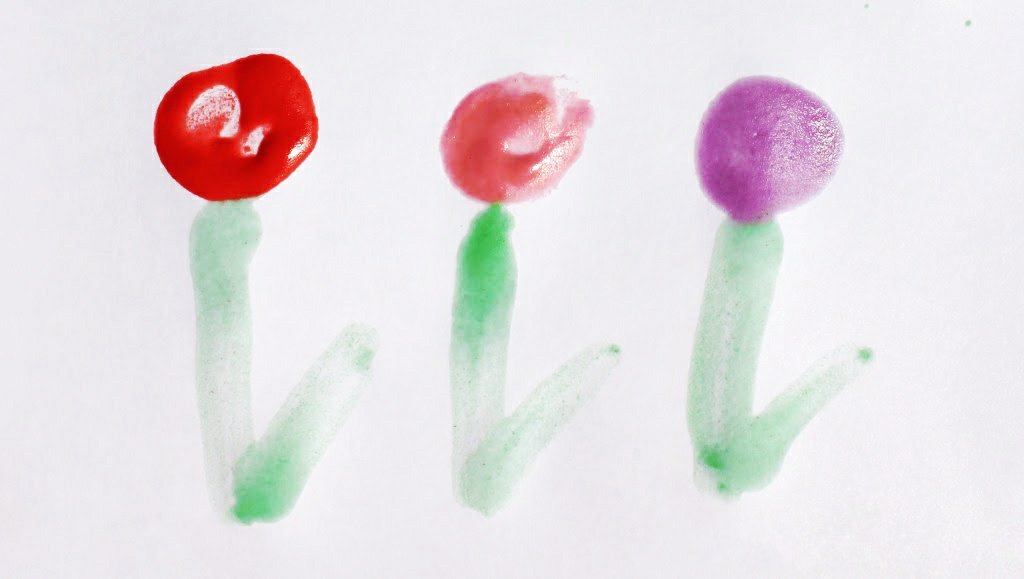
Did you try one of our crafts? Tell us below!
The post Easter Painting Projects appeared first on Not So SuperMom VS Society.
]]>Educational Egg Activities Read More »
The post Educational Egg Activities appeared first on Not So SuperMom VS Society.
]]>
Every Easter I end up with a gazillion plastic eggs that the kids like to trail across the house like little egg landmines. I’m stuck with the conundrum: do I toss this plastic crap away and just buy new eggs next year or do I save them and reuse them next year?
I always end up saving them, but I forget where I put them so I inevitably end up buying more. This year though, I’m using the little devils to actually help me teach the kids something during #QuarantineHomeschool.
I told anyone that would listen this week that sight words may be the death of us. My mother’s suggestion was to make it into a game for Everett. Both his teacher and my mom suggested cutting out the letters/words and having him match them. He is already getting sight word flash cards for Easter so I didn’t reallllly want to make bunch of crappy cutouts that would get everywhere. That’s when I decided to use Easter eggs.
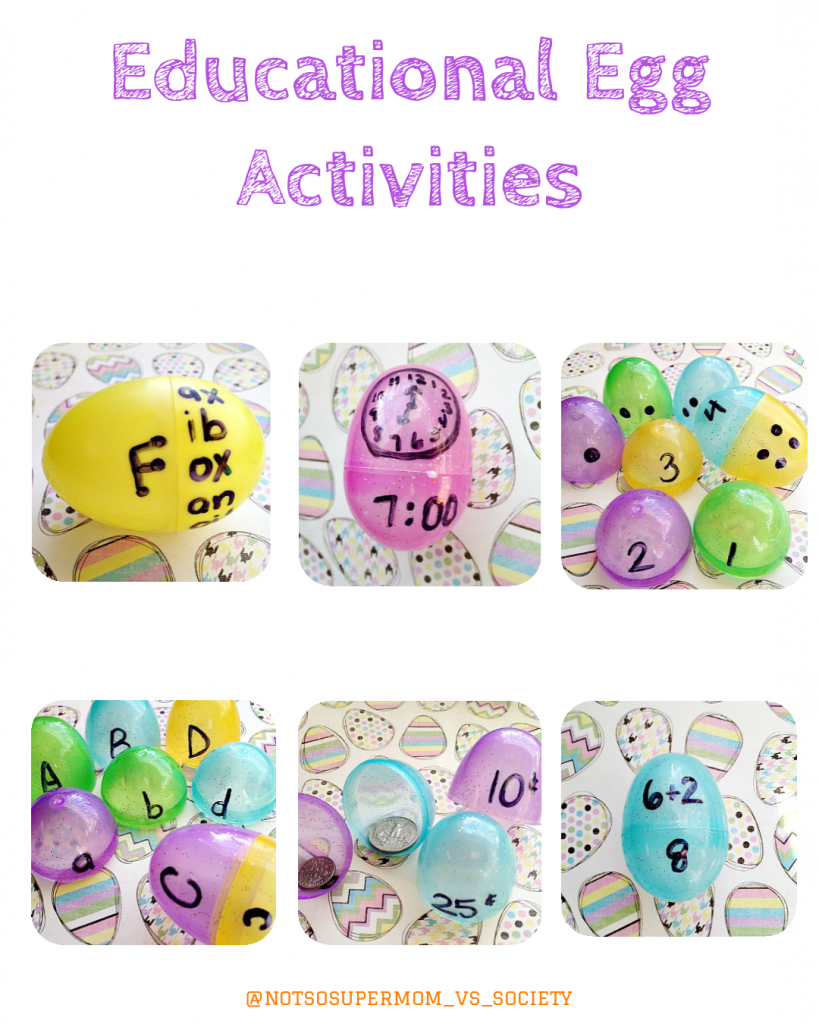
You can make these egg puzzles as easy or as hard as you need to. For Finn we did pompom color matching and egg sorting. For Everett we did sight words and basic math skills. If you have older kids, you can use it for things like contractions and more advanced math.
Instructions & Items Needed

Instructions:
Honestly, I know I normally lay out entire step by step guides, but these are pretty self explanatory. Instead, I’m going to make a list of ideas that you can use the eggs for:
- Matching Uppercase with Lowercase Alphabet Letters
- Sight Words
- Shape Matching. Draw a shape that covers both sides of the egg and have the kids match the right shapes.
- Synonym & Antonym matching
- Math (counting, addition, subtraction, multiplication, division, fractions, etc)
- Color Sorting & Matching
- Money Counting/Learning Currency (you can make this simple or hard)
- Science: Alka Seltzer Rockets (put water in half the shell, toss a quarter to half tab of alka seltzer in, quickly close egg, and place it down. Wait and watch the explosion!)
- Egg Art (make the eggs into bugs, chicks, etc)
- Guessing Games (hide snacks or small toys inside and have them guess)
- Egg Noise Makers (fill with different objects and observe the different types of sounds. I suggest taping the eggs so things like rice and sand don’t go everywhere)
- Fill eggs with slips of paper that list funny activities (hop on one foot for 15 seconds, do the chicken dance, etc.)
Honestly, the possibilities really are endless. You can get as creative as you need to to keep your little scholar entertained.
Did you try any egg activities? Tell us which ones below!
The post Educational Egg Activities appeared first on Not So SuperMom VS Society.
]]>Volcano Egg Dyeing Read More »
The post Volcano Egg Dyeing appeared first on Not So SuperMom VS Society.
]]>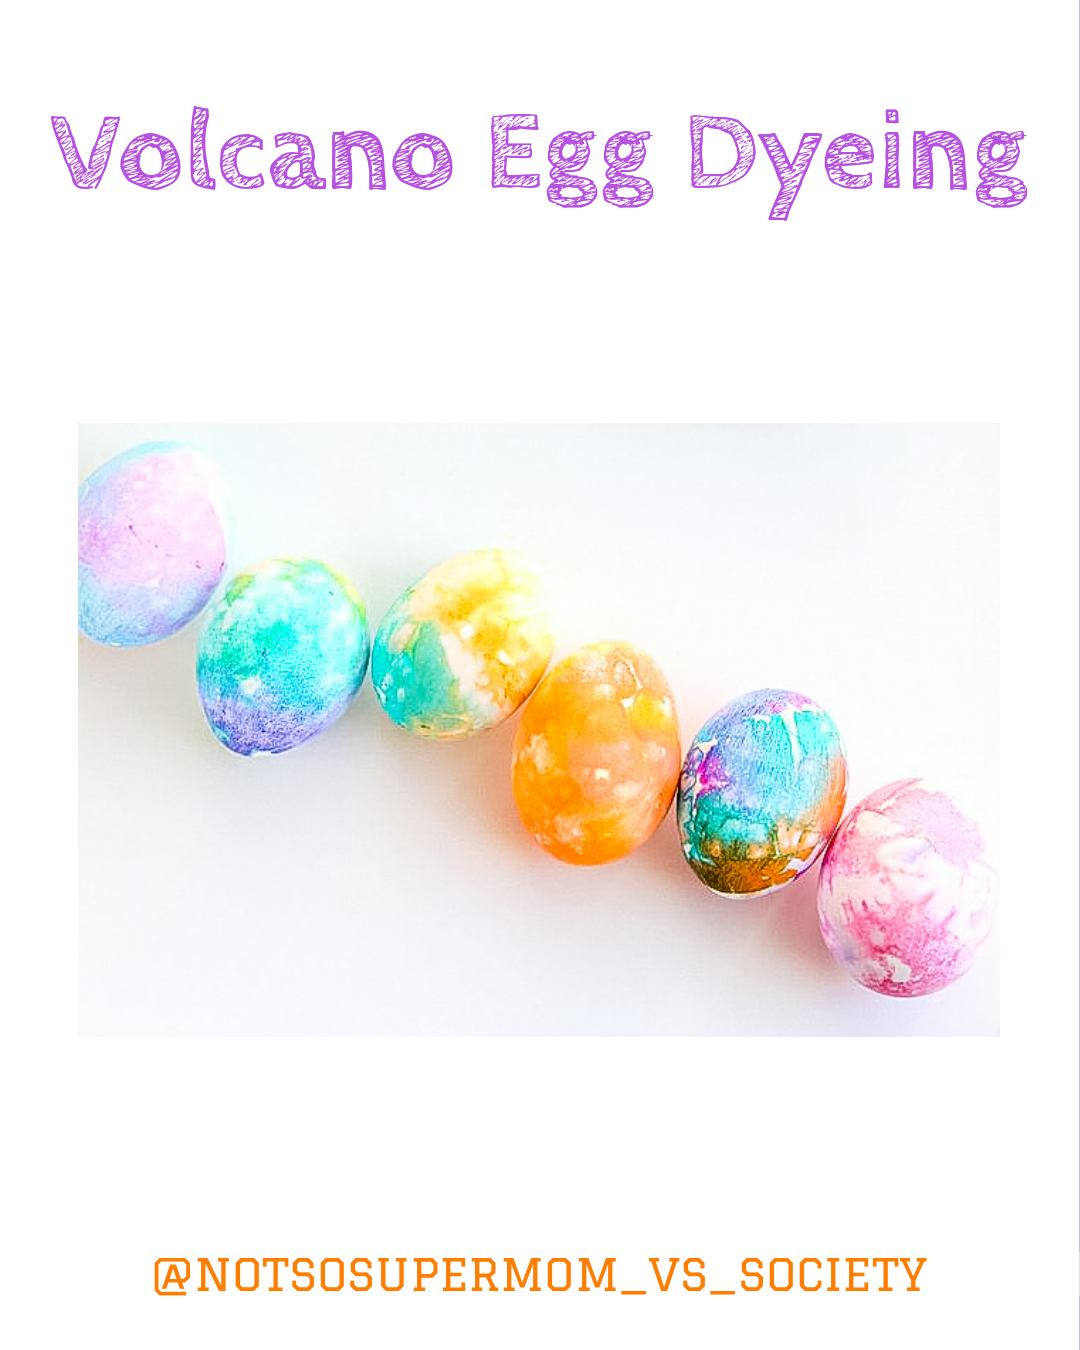
Both boys loved doing Lemon Volcanoes and have been asking to do them every day. With Easter coming up, I decided to give them what they asked for while dyeing their eggs.
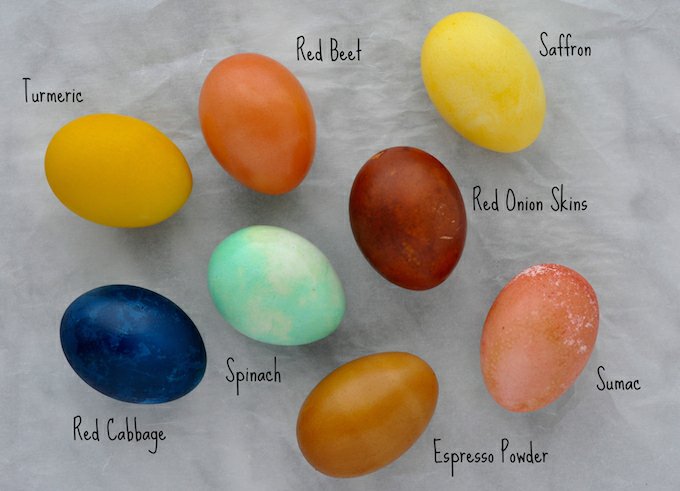
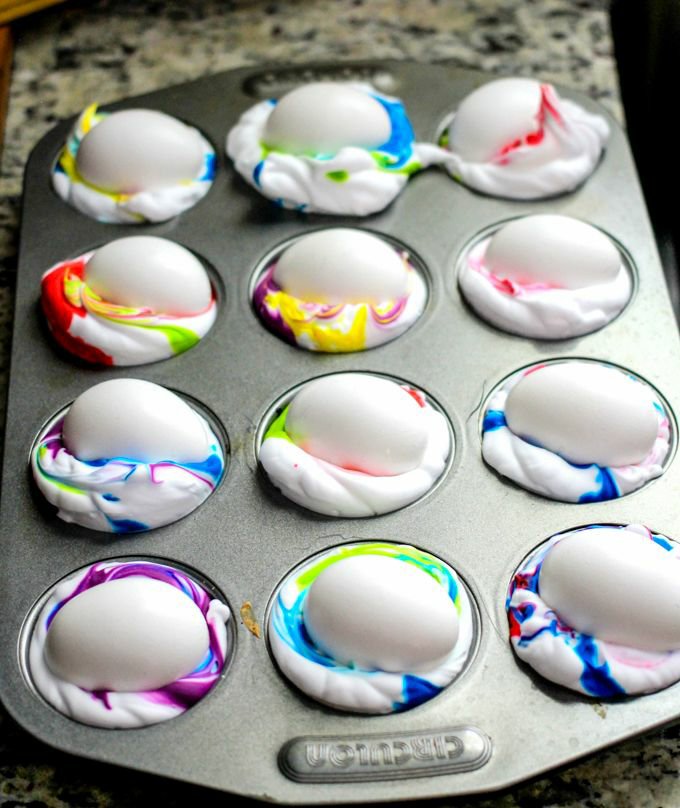
In years past, we’ve done traditional egg dyeing, whip cream egg dyeing, and natural egg dyeing. The whip cream dyeing was our favorite method until volcano dyeing!
Ingredients & Instructions

Instructions:
- Create baking soda paint using a tbsp (or so) of baking soda, couple tsps of water, and some food coloring. Mix it up and experiment until you have the consistency you want.
- Add food coloring to your baking soda paint or drip it directly on your eggs. I found placing your eggs in a muffin tin during this process made things easier.
- Using your paintbrush, carefully paint your eggs with your baking soda paint.
- Pour vinegar on top of the egg and watch the “volcanic eruption” all around your egg. You can also carefully drop your egg into a cup of vinegar, but my boys enjoyed using their pipettes to cause the “eruption.”
- Repeat steps 1-4 as often as you want! Each egg will be different based on your color combinations. You can even add things like rubber bands to the eggs to help make cool patterns!
- Carefully pat eggs dry or simply let them air dry.

For the science behind this activity, check out our Lemon Volcano post!
Did you use this method to dye your eggs? Share your photos on our Facebook Page!
The post Volcano Egg Dyeing appeared first on Not So SuperMom VS Society.
]]>The post Eggshell Geodes appeared first on Not So SuperMom VS Society.
]]>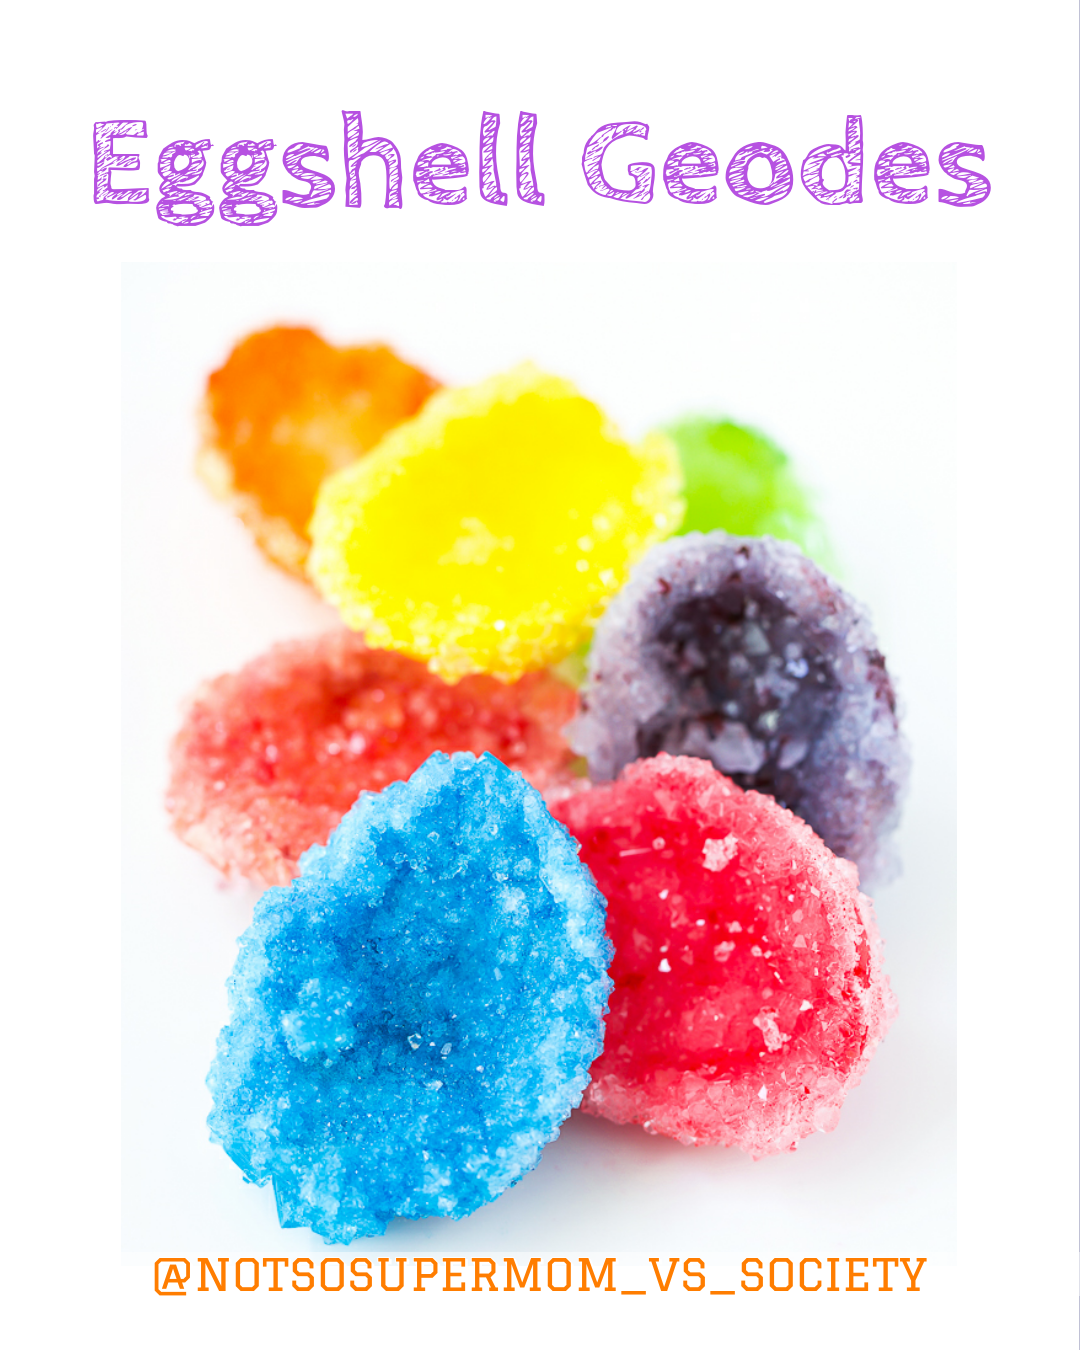
We did another egg-cellent experiment this week, when we made eggshell geodes.
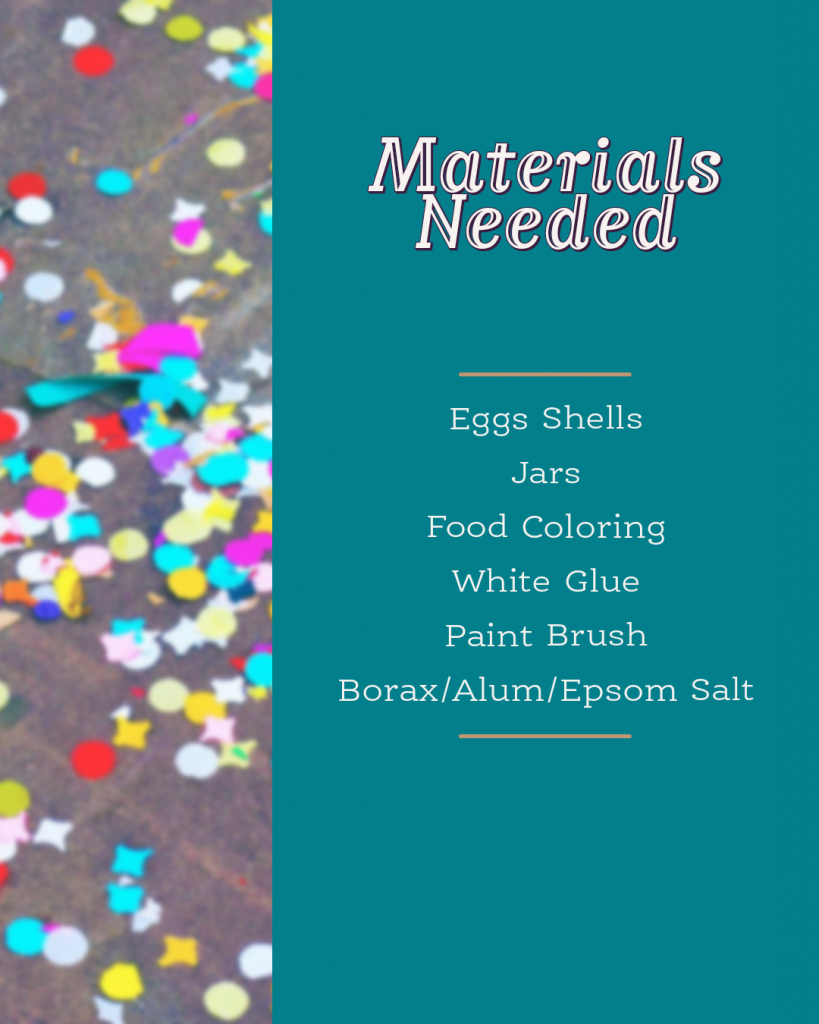
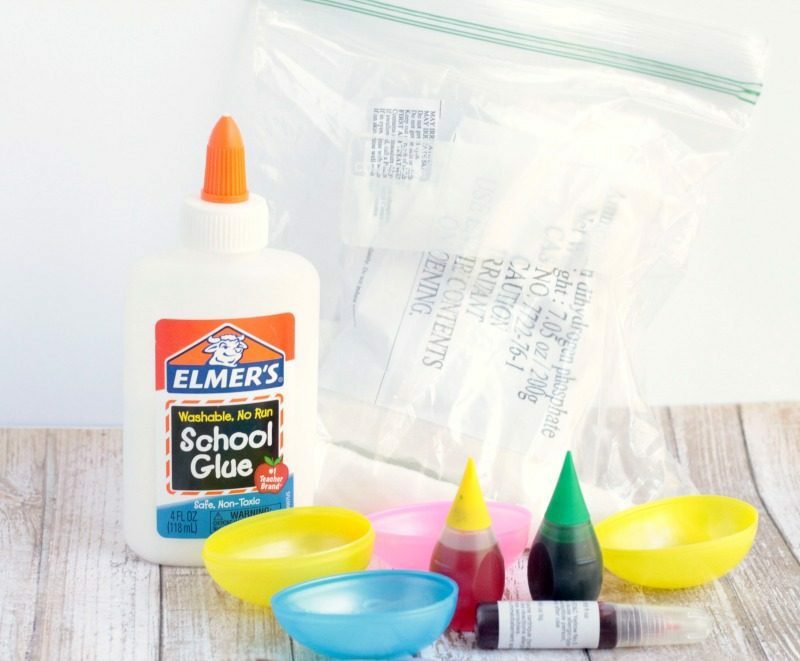
Making eggshell geodes is super simple. It just takes a few simple household items and a couple days. There are a lot of easy variations so odds are that you probably have most of these items at home.
This is also a great way to decorate your house for Easter! These geodes are beautiful once they are done.
Ingredients and Instructions
Steps:
- Begin by cracking the eggs. The easiest way is the crack the egg at the narrow end and pick out the bits of broken shell. The harder, but fancier way is to gently poke a hole in the top with a pair of sharp scissors and gently snip across so you get two half shells. You can also use plastic Easter eggs.
- Wash the eggshells in hot water, carefully removing the membrane. Make sure all of the membrane is removed or it will start to mold.
- Let the egg shell air dry for 12-24 hrs.
- Pro Tip: it’s recommended that you take these extra steps: 1. Pour a glob of Elmer’s Glue into the eggshell. 2. Spread a coat of glue all over the inside and edges of the shell with a paintbrush. 3. Give the inside of the eggshell an ample dusting of alum powder. 4. Turning the eggshell upside down and tapping out the excess alum … And, 5. Letting the eggshell dry overnight before going on to the next steps.
- Place your eggshells in a muffin tin or egg carton. If you don’t mind crystals growing on the outside of the shell, place your shell in a heat safe container.
- Pour half a cup of boiling water into your heatproof container then add 1/4 cup of the solid you are using, such as salt, sugar, etc. Stir the mixture well, then continue to add more of your solid until the mixture is super-saturated, meaning no more of the solid will dissolve. Then add your food coloring.
- Pour your mixture carefully into your eggshells or into your heat safe container. FIll it up as high as you can without causing the eggshell to tip or overflow.
- Place your eggshells in a safe and dry space where they won’t be disturbed. If you disturb the substance, the crystals won’t form correctly.
- In 12-24 hrs you’ll see the crystals forming!
Science
Growing egg geodes teaches kids about how crystals grow, and it also gives you a perfect opportunity to introduce them to scientific concepts such as solvents and solutes, chemical reactions, and geology.
Dissolving the crystals in hot water created what is called a “super-saturated solution.” This basically means that the salts took advantage of the energy of the hot water to help them dissolve until there was no more space between molecules in the solution. As the solution cooled, the water lost its energy and the crystals are forced from the solution to become a solid again. Since this happens slowly along with the evaporation, the crystals have time to grow larger than they were when the experiment started. Natural geodes in rock are form in much the same way as mineralized water seeps into air pockets in rock. This is also how rock candy crystals are formed.
Did you do this experiment? What ingredients did you use? Tell us below! Feel free to share images on our Facebook page too!
The post Eggshell Geodes appeared first on Not So SuperMom VS Society.
]]>Egg-Citing Egg-periments Read More »
The post Egg-Citing Egg-periments appeared first on Not So SuperMom VS Society.
]]>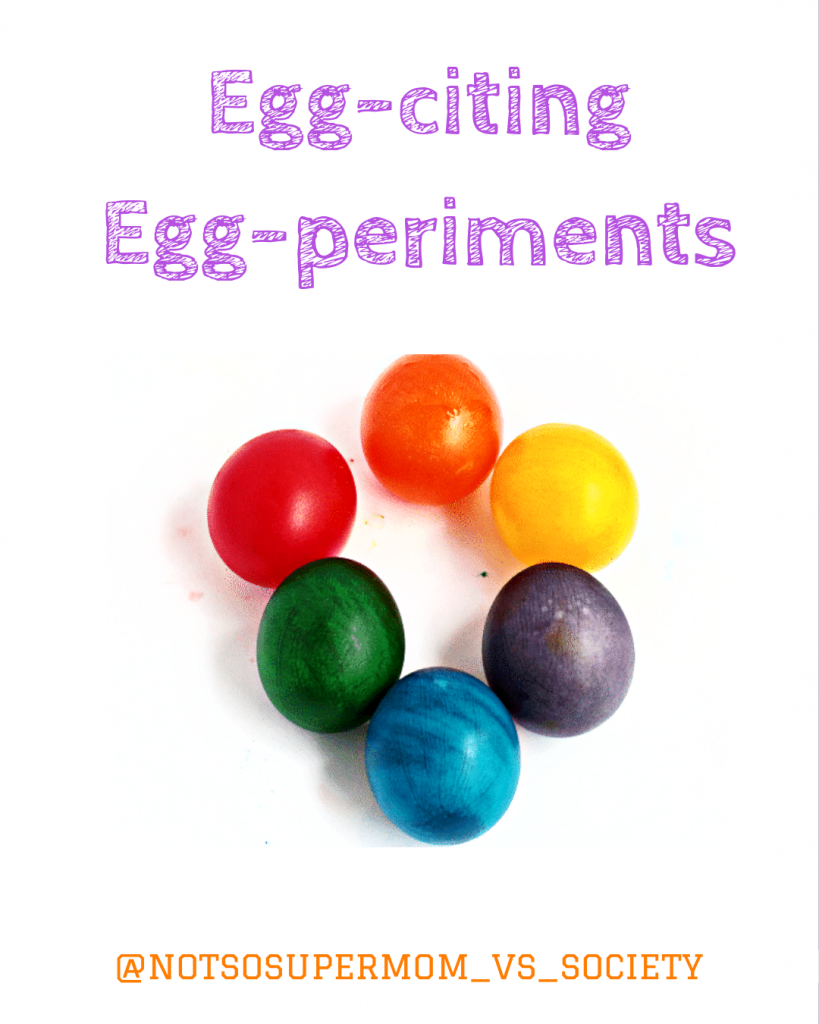
Continuing with this weeks Easter theme, the boys and I did some fun egg-periments. We did 5 experiments in total, however, today we are only going to talk about 3 cool experiments using 1 egg. Look for the other experiments ove the next few days.
The experiments today all evolve around making a rubber egg. Yep, you read that we made a rubber egg! Full disclosure, this experiment isn’t a fast one. It will take place over several days. Though there isn’t an immediate result, the cool part is that it gives you plenty of time to talk through the actual scientific process of what’s going go-which is a lot to process, especially for younger children.
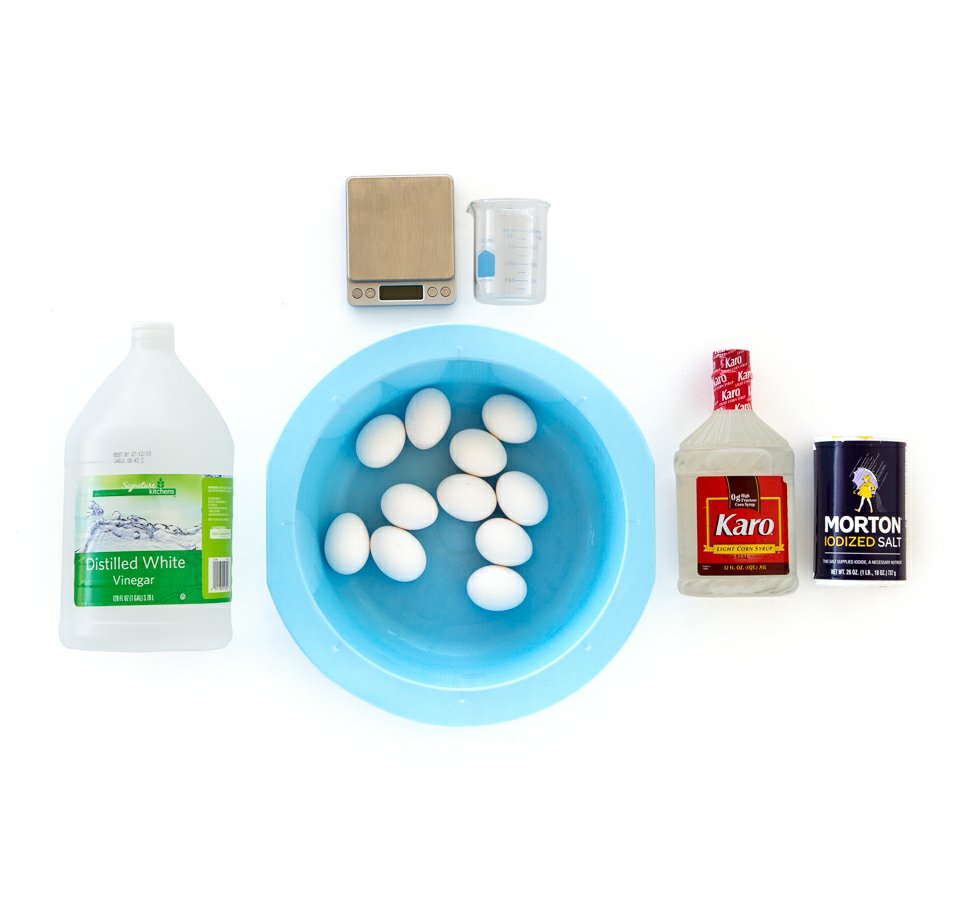
Ingredients & Instructions
Steps:
- Get a jar, cup, or bowl and place an egg in it. I recommend making several jars, just in case one breaks. Also, this is a great way to try different acidic liquids at once, such as soda, orange juice, or coffee.
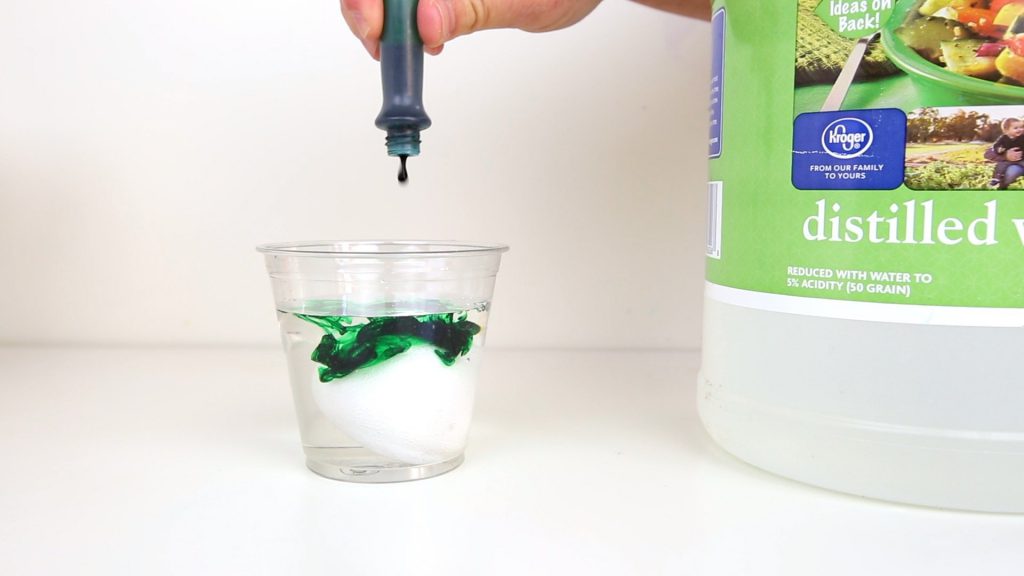
- Place the egg in vinegar solution.
- Wait 24 hrs and check egg.
- I found that it takes a little longer than 24 hrs to fully dissolve the shell. You can add fresh vinegar to the solution at this time to make the process faster.
- After 36 hrs, the egg shell has dissolved. Take the egg and gently rinse off the shell residue.
- Have your children observe the egg changes. Let them gently prod it and bounce it. Compare it to an unaltered egg to show them how much it has grown. I recommend doing this over a cookie sheet in case the egg breaks.
- After experimenting with the rubber egg, gently place it into corn syrup.
- Leave in corn syrup for 24 hrs.
- After 24 hrs, have your child observe the changes. The egg will have significantly shrunk at this point. The egg yolk will also feel kind of hard.
- After experimenting with the shrunken egg, gently place it into a glass of water. For added effects, add food coloring at this stage.
- After 24 hrs take it out and show it to your children. The egg has been rehydrated and the water has been reabsorbed into the membrane.
- At this point, have them experiment with the egg. Then either drop the egg from very high or pop the membrane. You can also place a pin or thumbtack into the outside of the membrane and show them how water squirts out.
- Once the egg is popped have them look at the yolk. Show them how the food color was absorbed through the membrane and changed the yolks color.
Egg Science
Eggshells contain calcium carbonate, which reacts with an acid in vinegar called acetic acid. The acetic acid breaks up the calcium and carbonate, dissolving the shell. While the calcium floats away, the carbonate reacts with the acetic acid to create carbon dioxide. This is why you see bubbles on and around the eggs.
To demonstrate this for smaller children, take their shirt sleeve and blow through it. Ask them if they felt the air through the shirt. Explain that their shirt sleeve is like the eggs membrane. Both has small holes that allow things to pass through them.
Osmosis, is the movement of a liquid, like water, across a membrane. Explain that membranes like to be balanced on both sides. The vinegar solution is mostly water with only a little vinegar in it, while inside the membrane is protein with a little water. So the water molecules travel from the vinegar into the egg to try to balance the concentrations, and the egg expands.
Continuing with the osmosis process, when they place the egg in corn syrup, it shrinks due to corn syrup being very sugary with only a little water dissolved in it. The egg will shrink because the membrane likes to stay balanced on both sides and will move water to do so.
Again with osmosis, when you place the shriveled egg in water, the water absorbs through the membrane to stay balanced. If you add food coloring, when you pop the egg, they will visually be able to see how the colored water was absorbed.
Further Investigation/For Older Children
Here are some steps for your more advanced scientists:
- Ask yourself questions What other acidic liquids would dissolve an eggshell? Would soda, tomato juice, or citrus juice work? Why does the color seep through the membrane but the albumen doesn’t leak out of the membrane? Are some eggshells harder to dissolve than others?
- Research Do research online and at the library to try and predict the answer to your question. Read about how the layers of an egg work and how liquids pass through the membrane. Research other liquids that calcium carbonate might react with. Research other substances that calcium carbonate is found in. Is it found in bones?
- Make a hypothesis A hypothesis is your prediction of the answer to your question based on your research. It may or may not be true.
- Experiment! Test your hypothesis by testing the variables and documenting them. Be sure to take notes of each experiment and what happens; this is called your data.
- Draw a conclusion Based on your experiments form a conclusion. Was your hypothesis correct?
- Share your findings Create a presentation with your findings. Include your research, hypothesis, the data you collected, and your conclusions. Be sure to include images and samples!
Did you do this experiment? Tell us your results below
The post Egg-Citing Egg-periments appeared first on Not So SuperMom VS Society.
]]>Easter Engineering Read More »
The post Easter Engineering appeared first on Not So SuperMom VS Society.
]]>
Todays Easter Activity is: Engineering!
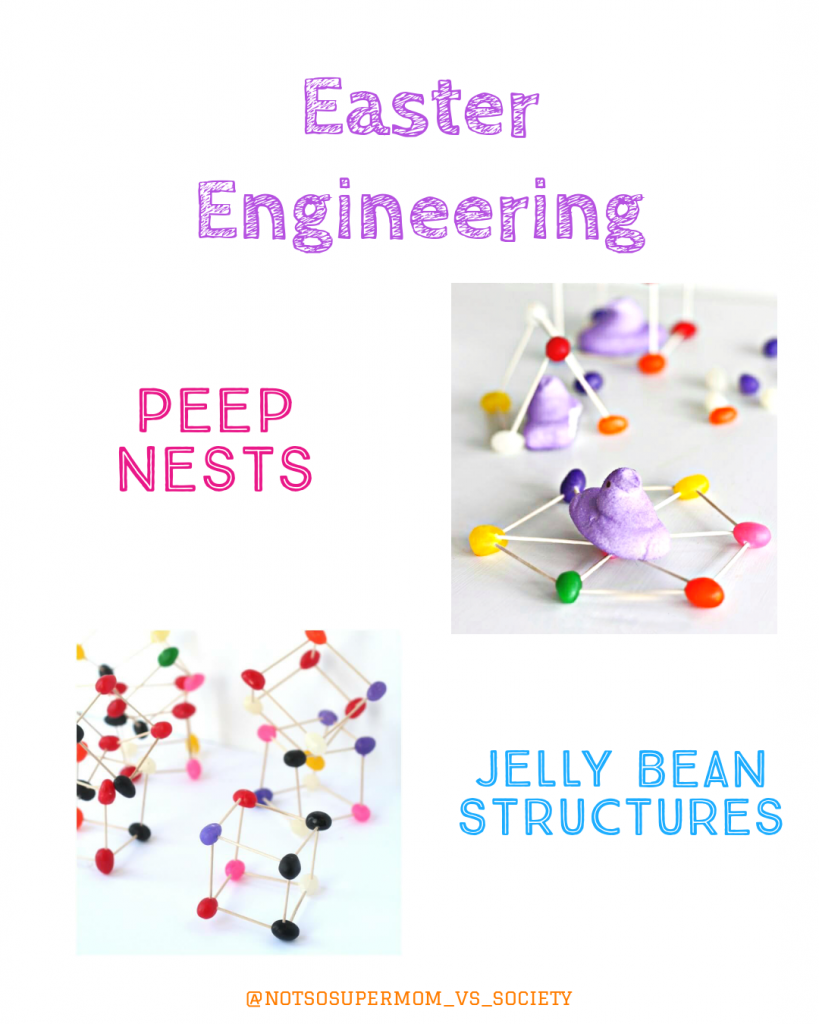
If couldn’t already tell, we LOVE STEAM activities in this house. They are fun and educational on multiple levels. We still had some peeps leftover from yesterday, so we decided to get crafty and build some Easter candy structure challenges.
The cool thing about this activity is that you can easily modify it to engage toddlers through teens. Small simple structures and easy explanations for littles and complex structures with hypotheses and in depth engineering analyses for the older kids. Plus, once you build your structure, you can pretend you’re Godzilla, destroying your structures and eating them!
Ingredients & Instructions

These ingredients are super basic, but you can add additional supplies, such as popsicle sticks, glue, string, etc to make it more challenging and complex.
Instructions:
- Teach your child the basic concepts of structural engineering. For my littles, we watched several programs on structural engineering to help get their brains working and to help them easily understand the concepts of what we were doing.
- Talk with them about the materials you’ve selected and outline what they are building (peep nest or jelly bean structures).
- Get their hypothesis on what shapes they think will work best.
- Have them count out their materials and start building.
- Experiment with different shapes and styles. Try just building with peeps and toothpicks. Ask them questions. See if their structure stands up to a weight test (can it hold a peep? How much more could it hold?) Will it survive if you blow on it super hard?
Science Behind The Experiment
This engineering challenge covers multiple STEAM bases:
Science: Kids will explore the design and construction of a jelly bean construction through individual (or collaborative) use of skills in the scientific method: observing, communicating, comparing, organizing, and relating.
Technology: we are doing a digital building competition with For Mommys Dragons
Engineering: Kids will exhibit simple to complex attempts at design and construction.
Art: Kids will design and create beautiful engineering masterpieces.
Math: Kids will explore patterns, patterning, colors, lines, and angles.
What types of structures did your child build? Were they successful? Let us know below!
The post Easter Engineering appeared first on Not So SuperMom VS Society.
]]>Edible Peep Playdough Read More »
The post Edible Peep Playdough appeared first on Not So SuperMom VS Society.
]]>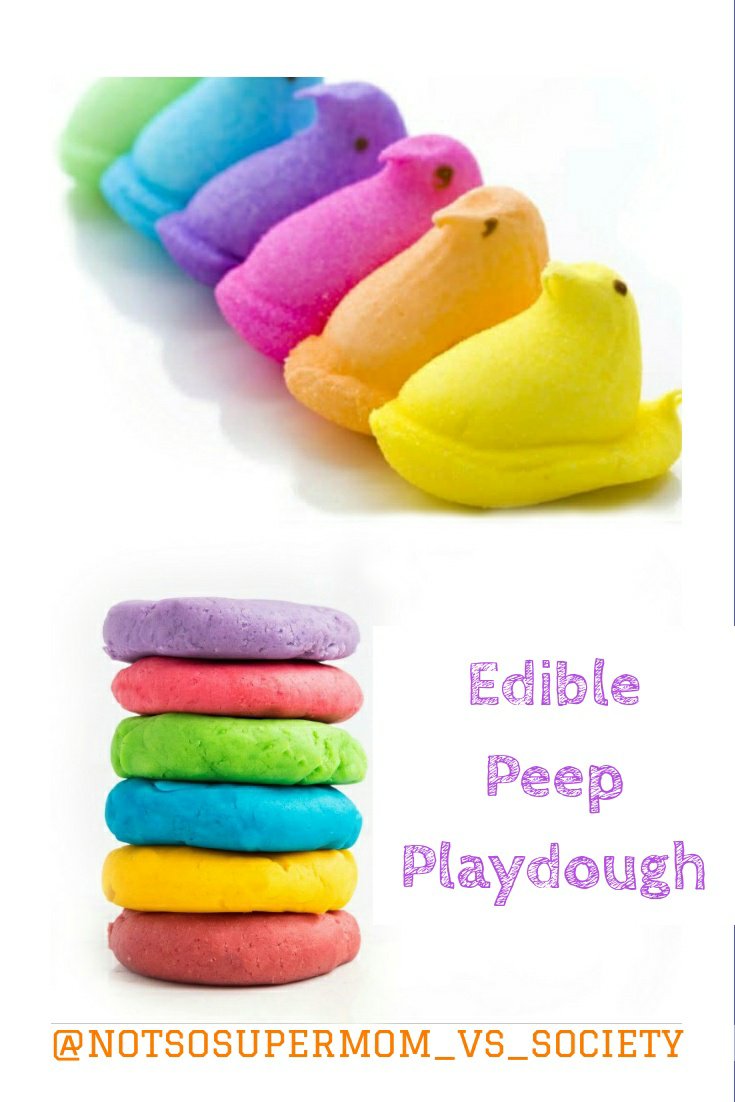
Easter is just around the corner, so this week I’m focusing on fun Easter activities. Today I’ll be focusing on edible peep playdough and slime.
The best thing about this activity, is that it covers all the bases: it’s fun, educational, delicious, easy to make, and pretty to look at!
Ingredients & Instructions
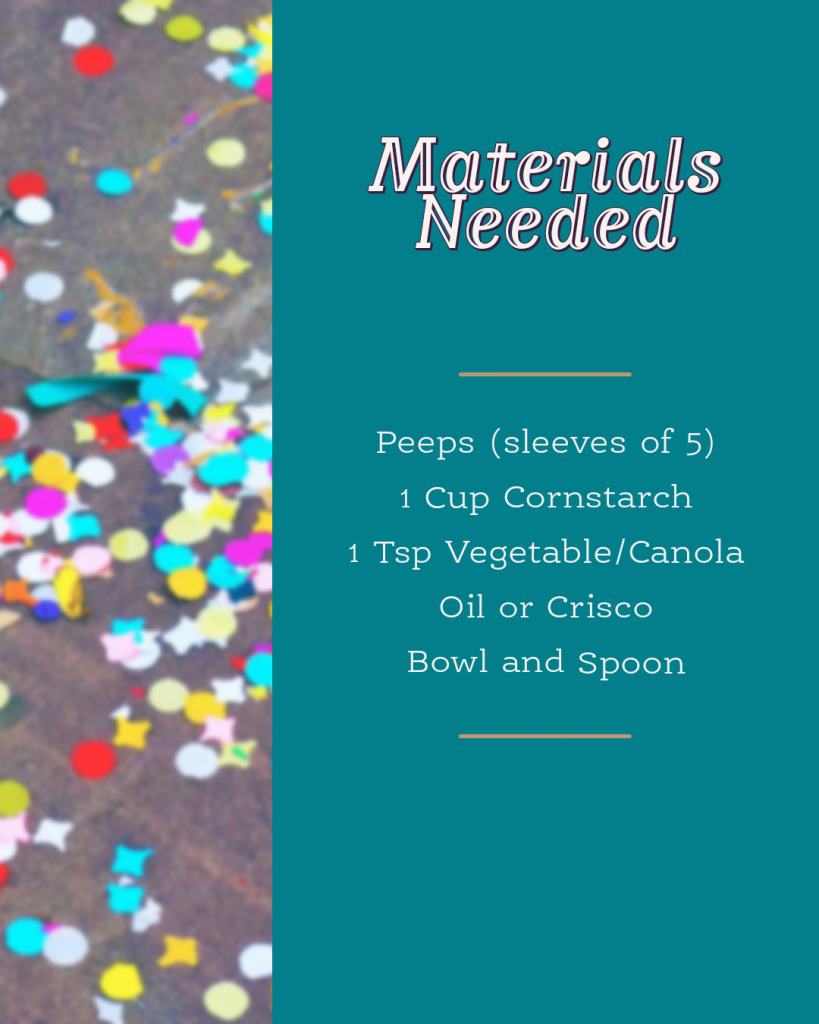
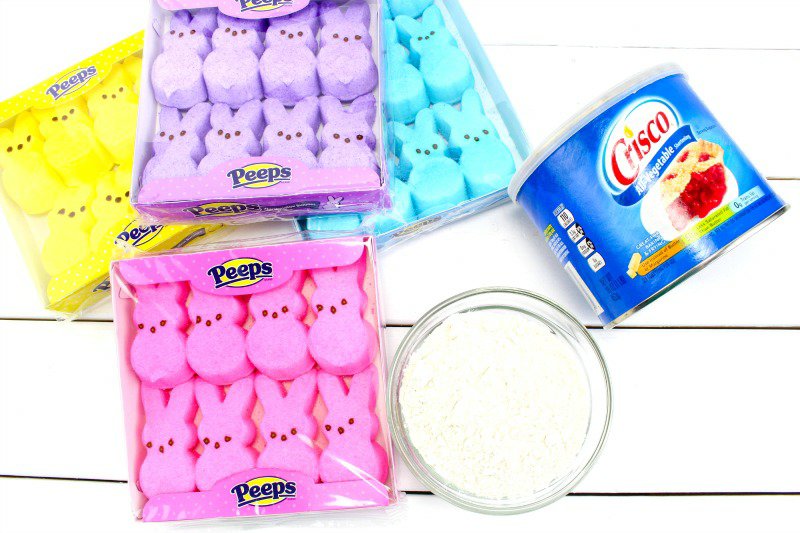
Instructions:
- Place peeps into microwave safe bowl and cook for 30-45 seconds.
- Remove from microwave and add canola oil and 3/4 cups of corn starch.
- Stir until the melted marshmallows can be handled. It’s important to stir until the corn starch is completely mixed in.
- Next, dust hands with corn starch and knead until it’s not sticky and easily pliable.
- Get creative. Use cookie cutters to make shapes. Challenge your child to make cool structures, letters, or shapes.
Pro-Tips:
- Almost any oil will work. My two favorites for making this dough are crisco or coconut. Coconut tastes and smells better (in my opinion), but for those who don’t like coconut, crisco makes a great scent free alternative.
- You can also substitute powdered sugar for cornstarch or make one batch with each and have your children compare/contrast.
- If you’re child is more interested in making slime, decrease the corn starch. Around 3 tablespoons should give you a great consistency, however, I reccomend measuring out 1 tablespoon at a time until you reach the desired consistency. Make sure each tablespoon is thoroughly mixed in before adding the next.
- If it’s too sticky, add more cornstarch/powered sugar. If it’s too stiff add more oil.
- Only store this in a baggie or air tight bowl for around 3 days.
- Use fresh peeps. Stale peeps don’t provide the same consistency.
Science & Sensory Benefits
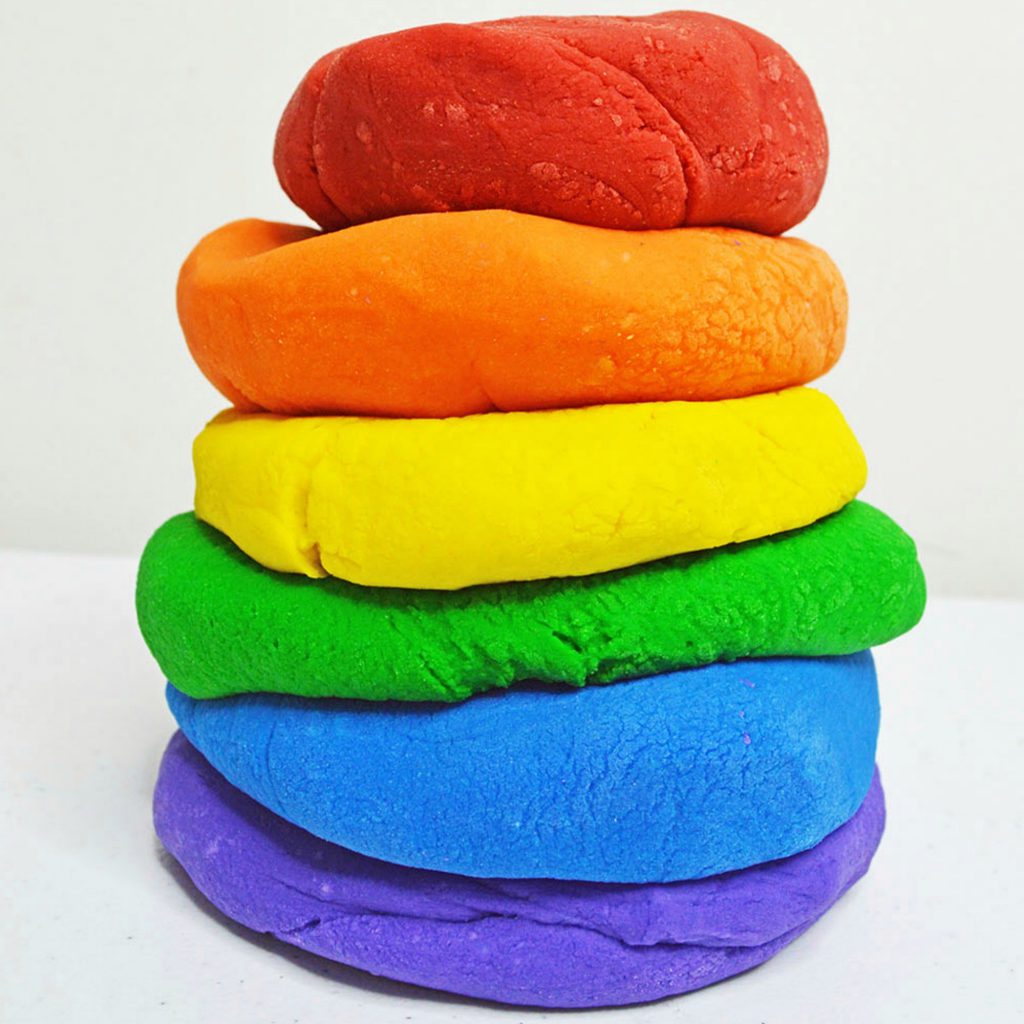
Research shows that sensory play builds nerve connections in the brain’s pathways, which lead to the child’s ability to complete more complex learning tasks. Sensory play supports language development, cognitive growth, fine and gross motor skills, problem solving skills, and social interaction.
Playing with playdough in particular helps little hands improve their fine motor skills, helping improve things like writing. It’s also an amazing tactile experience and gives kids a way to feel unique textures.
The STEAM benefits of this activity are also super awesome:
- Science: How does heating the Peeps change their properties?
- Peeps are marshmallows, and marshmallows are made of tiny air bubbles surrounded by gelatin and sugar syrup (sugar). When the peeps are microwaved, the water molecules in that syrup begin to vibrate and heat up. This process creates steam, and it fills all of the air pockets in the peeps. As the air pockets fill up the peeps expand!
- Technology: What tools do you use to change Peeps into play dough?
- Engineering: What recipe is required to transform Peeps into play dough?
- Art: Which colors are the peeps? What colors can you make mixing them? What shapes can you make?
- Math: How much corn starch is needed to turn Peeps into playdough? How long do the marshmallows have to be heated? What happens if you cook them too long or too little?
Did you try this activity? Let us know your thoughts below!
The post Edible Peep Playdough appeared first on Not So SuperMom VS Society.
]]>