Skateboarding On The Spectrum Read More »
The post Skateboarding On The Spectrum appeared first on Not So SuperMom VS Society.
]]>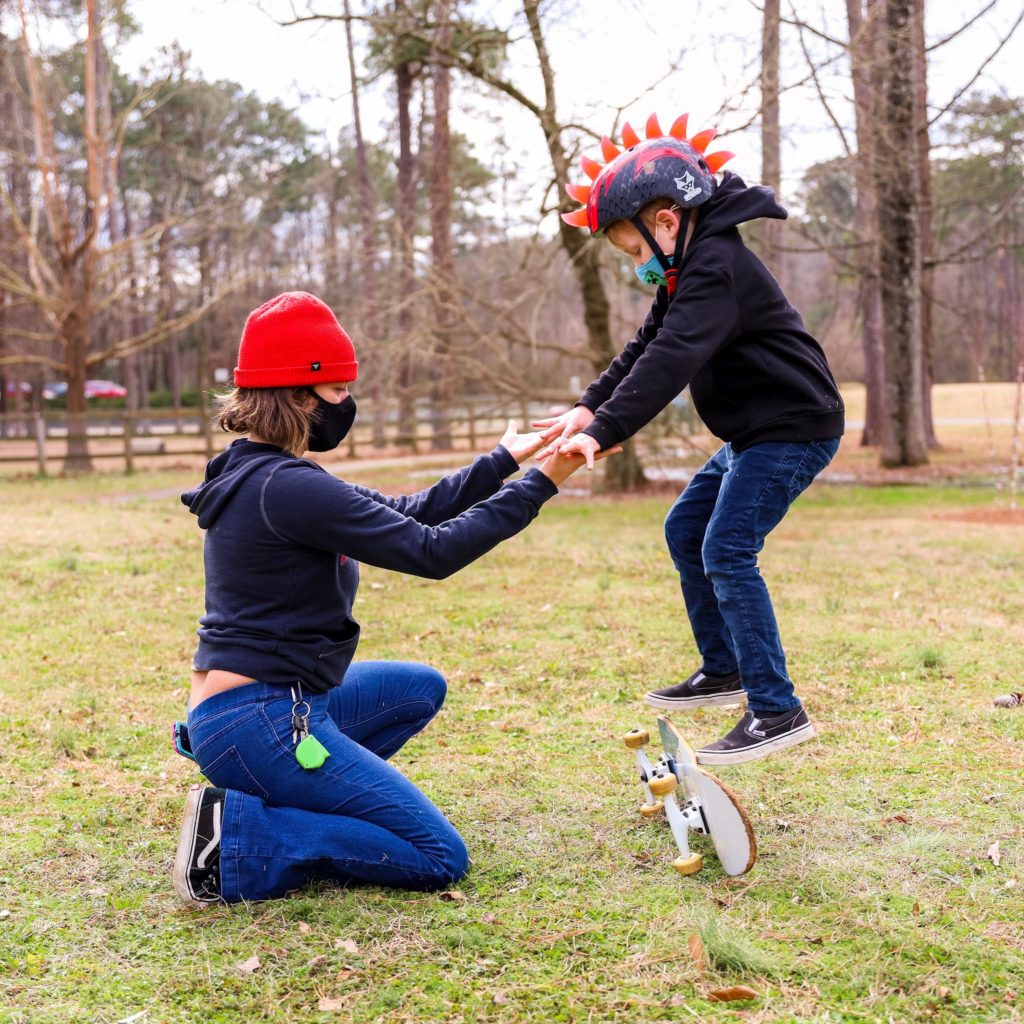
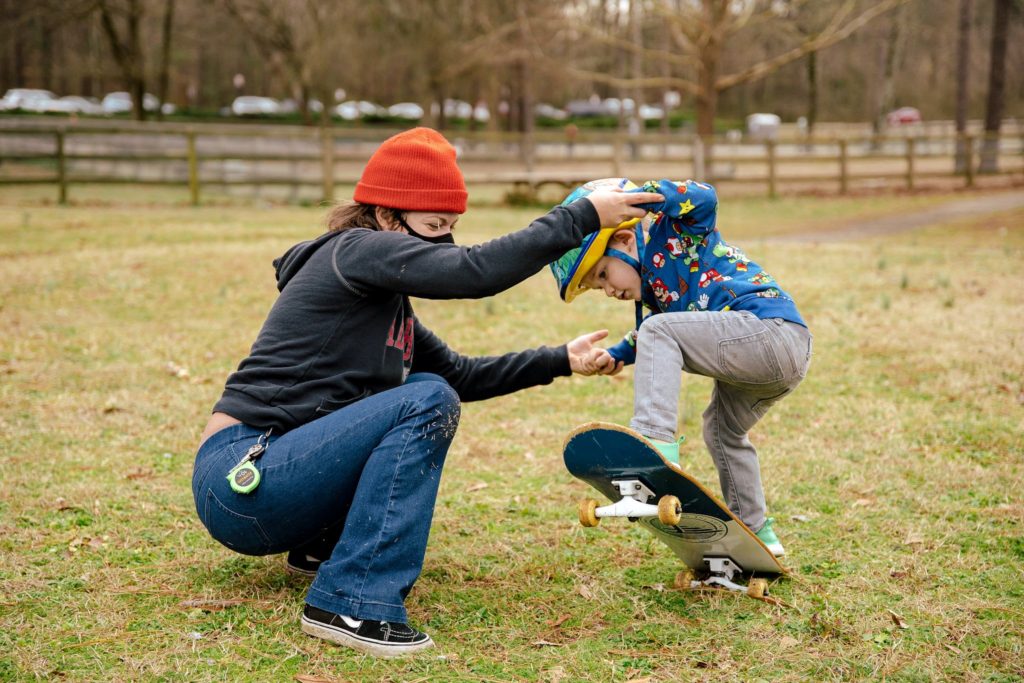
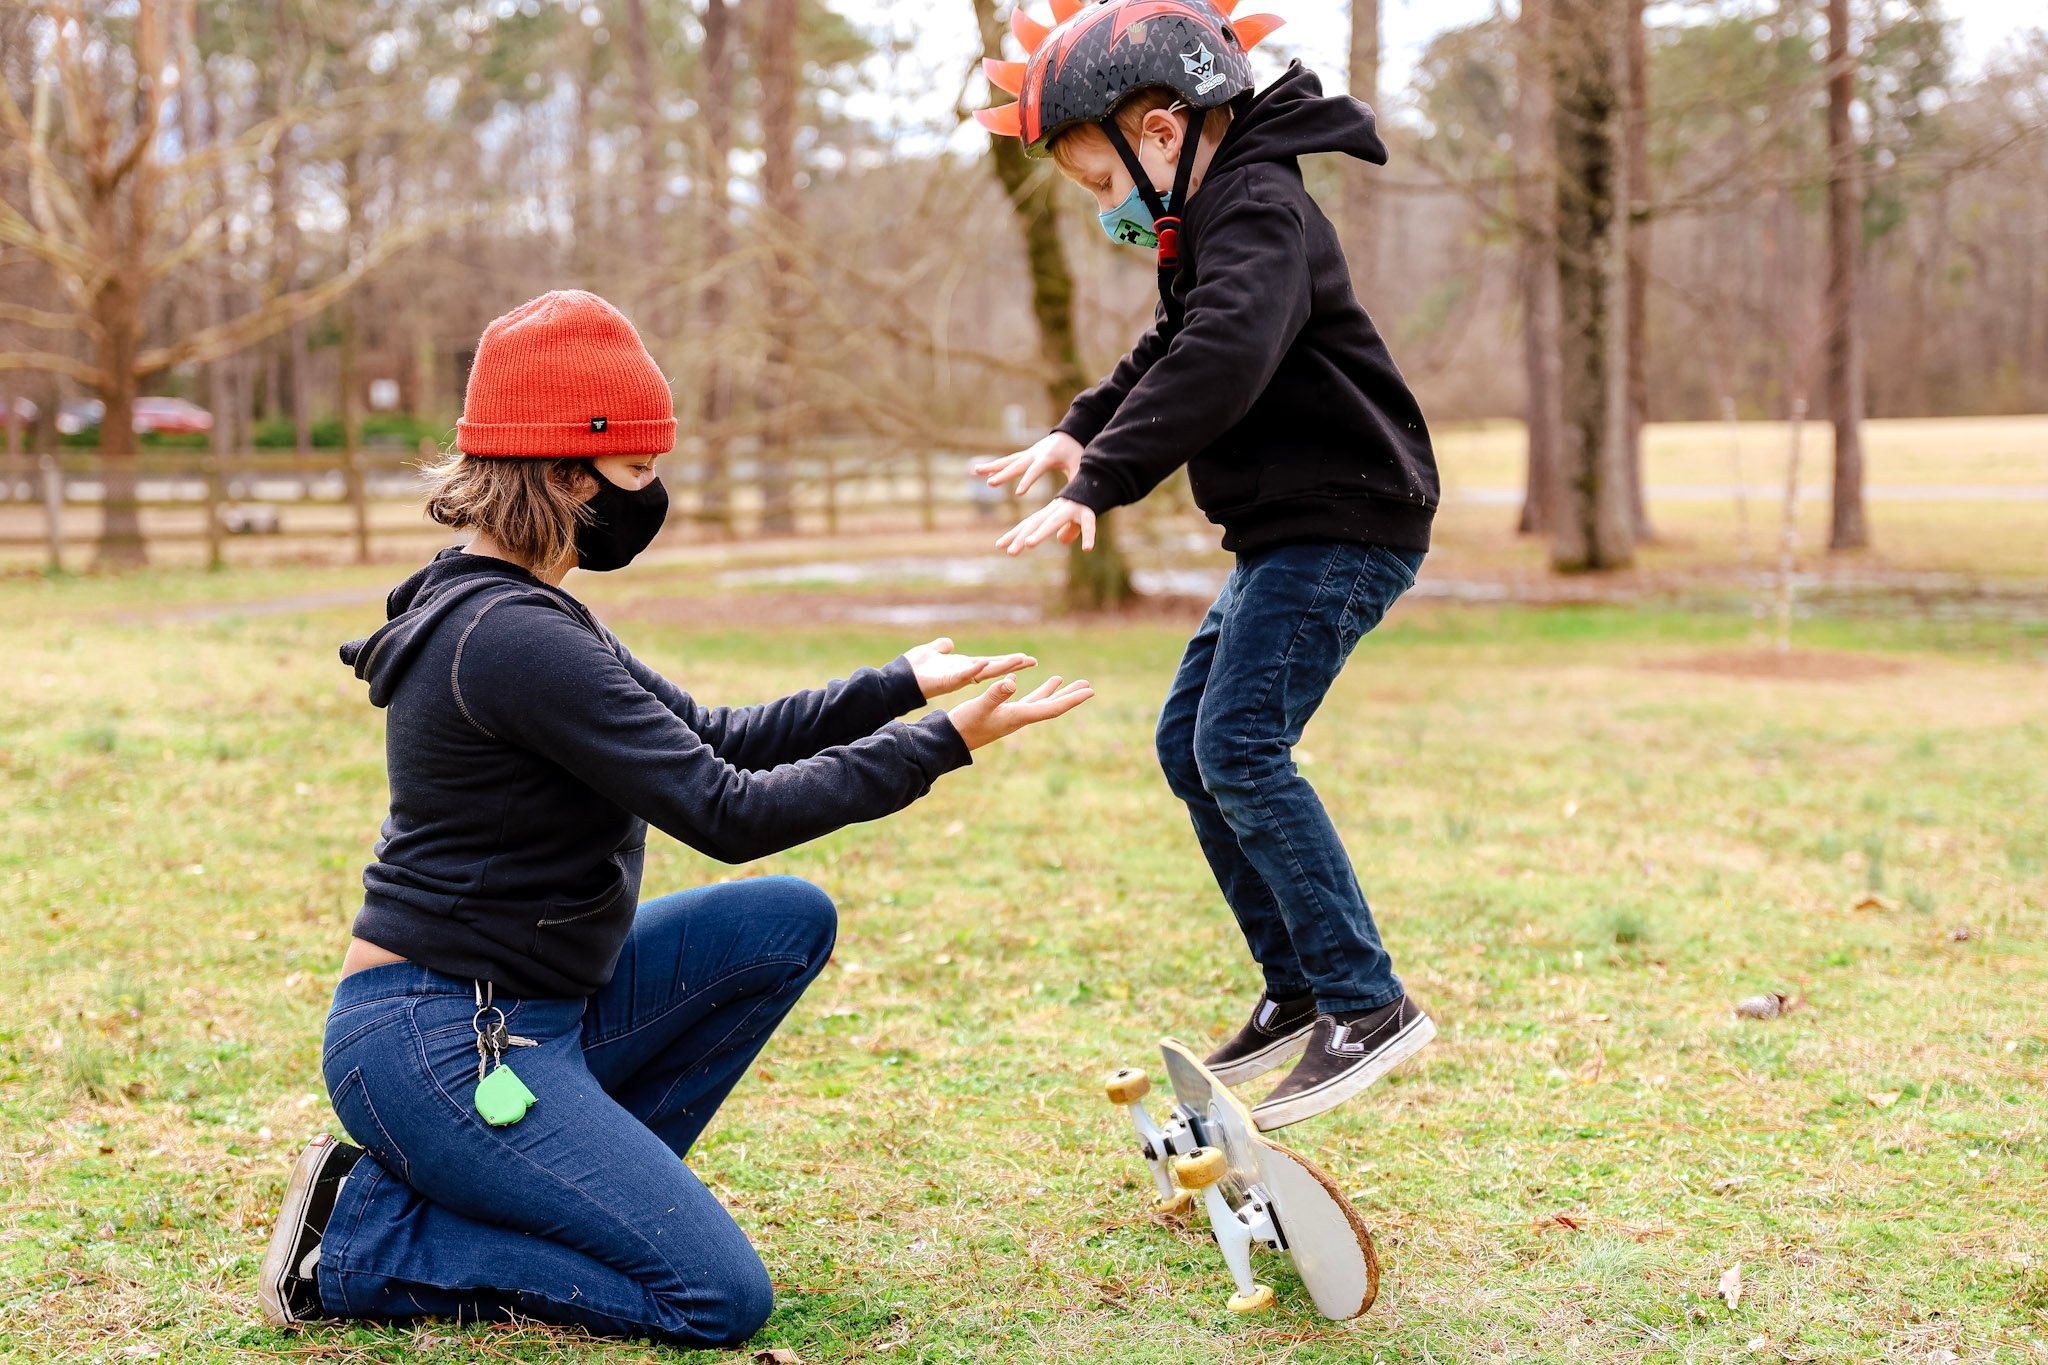
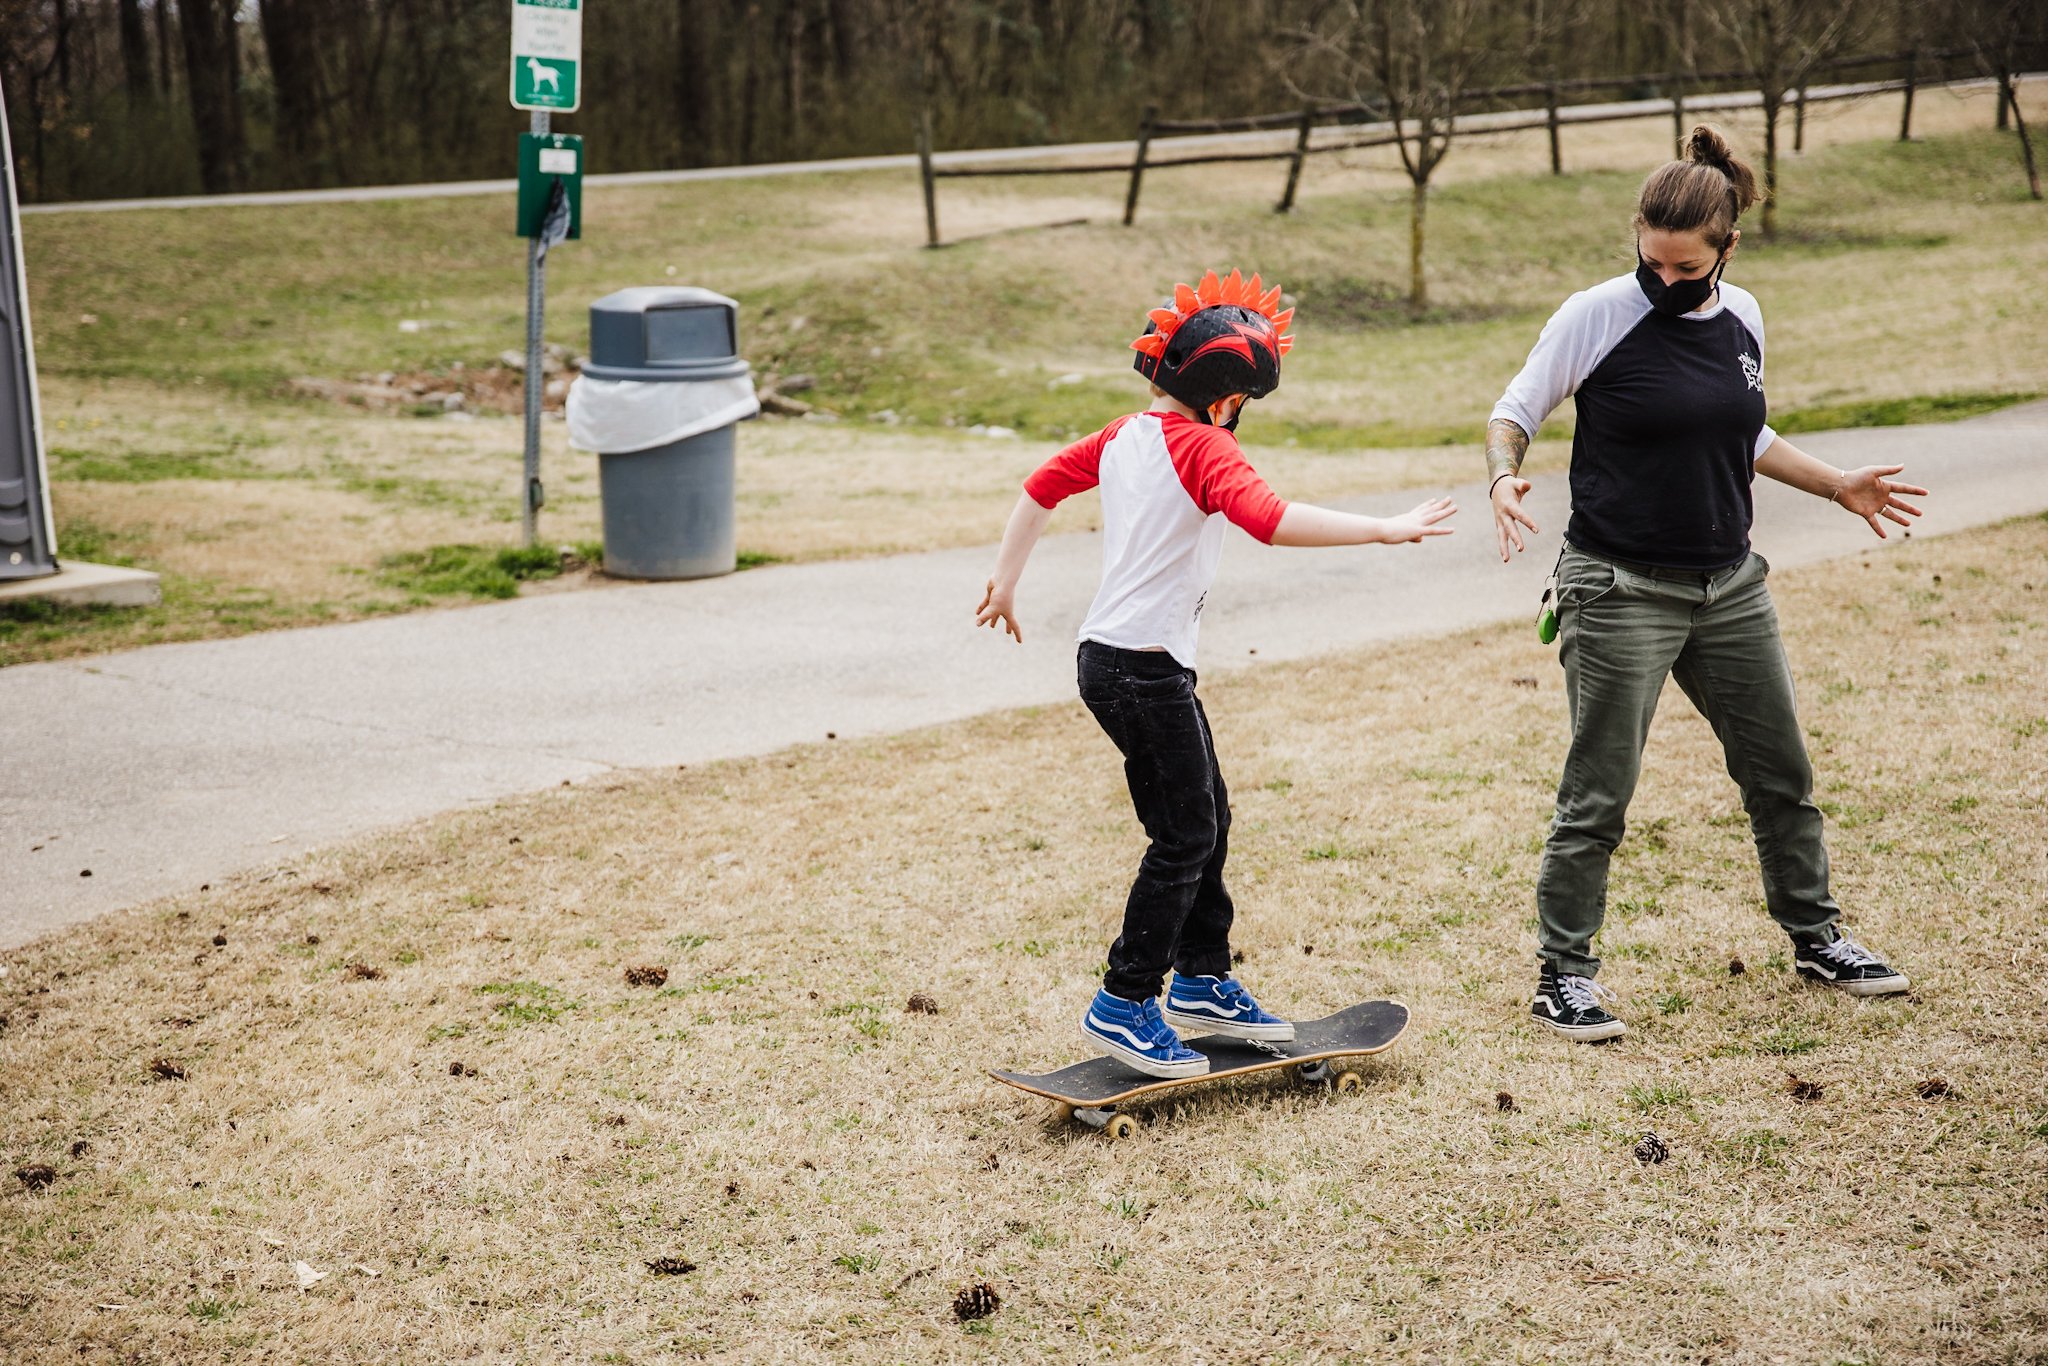
When most people think of skateboarding, their first thoughts are usually something along the lines of misfit teens, punk rock, or maybe even guys like Tony Hawk. What they don’t think about, is just how amazing skateboarding is for kids who need occupational therapy. Kids like Everett, who are on the autism spectrum. Kids like Finn, who need help with impulse control. So today I’m going to highlight the awesome benefits of skateboarding for kids with special needs.
Surprising Benefits of Skateboarding
From the time children with autism are toddlers, they are placed into Occupational Therapy which is needed to develop motor, proprioceptive, vestibular skills and more. Skateboarding offers nearly every component of Occupational Therapy, which is why many of these children “crave” to skateboard. It stimulates parts of their brain that trigger focus, hand-eye coordination, and more. Here are just a few of the health benefits:
- Coordination – Skateboarding improves hand, eye, leg and feet coordination. When skateboarding, you need to alter your movements so you skate smoothly and accurately.
- Pain Tolerance – Other sports improve your pain tolerance, but learning how to skateboard includes constantly falling, tripping, cutting your knees and elbows, etc. Believe it or not, this helps to improve your tolerance and build up resilience.
- Stress Relief – Stresses consume people, even kids, all the time. Skateboarding is an avenue to relieve some of those stresses or frustrations.
- Precision – Skateboarding takes a lot of precision to master. You are constantly adjusting weight from one direction to another, switching your speed, and, when good enough, perfecting tricks.
- Reflexes – This one ties together with coordination. When falling or stopping quickly, you need to have quick reflexes to brace yourself or prevent a collision from happening. You learn quickly that running into a railing is not ideal.
- Patience/Behavior Management– Skateboarding, like other sports, requires an immense amount of patience. You will not be the next Tony Hawk after your first time on the board. Falling countless times, missing that tricky bend, and hitting that awesome trick will test your patience time after time. When a skateboarder is having a bad day, annoyed with the world, feels like he could punch through a brick wall what does he do? He skateboards. Same as kids with autism, when their impulse control is almost lost, their anxiety is through the roof, and the screaming and crying is about to begin, break out the skateboard and you’ll find that it helps them work through their current behaviors.
- Social Development- skateboarding allows those who struggle with normal social interaction interact with peers on the level the individual feels most comfortable with.
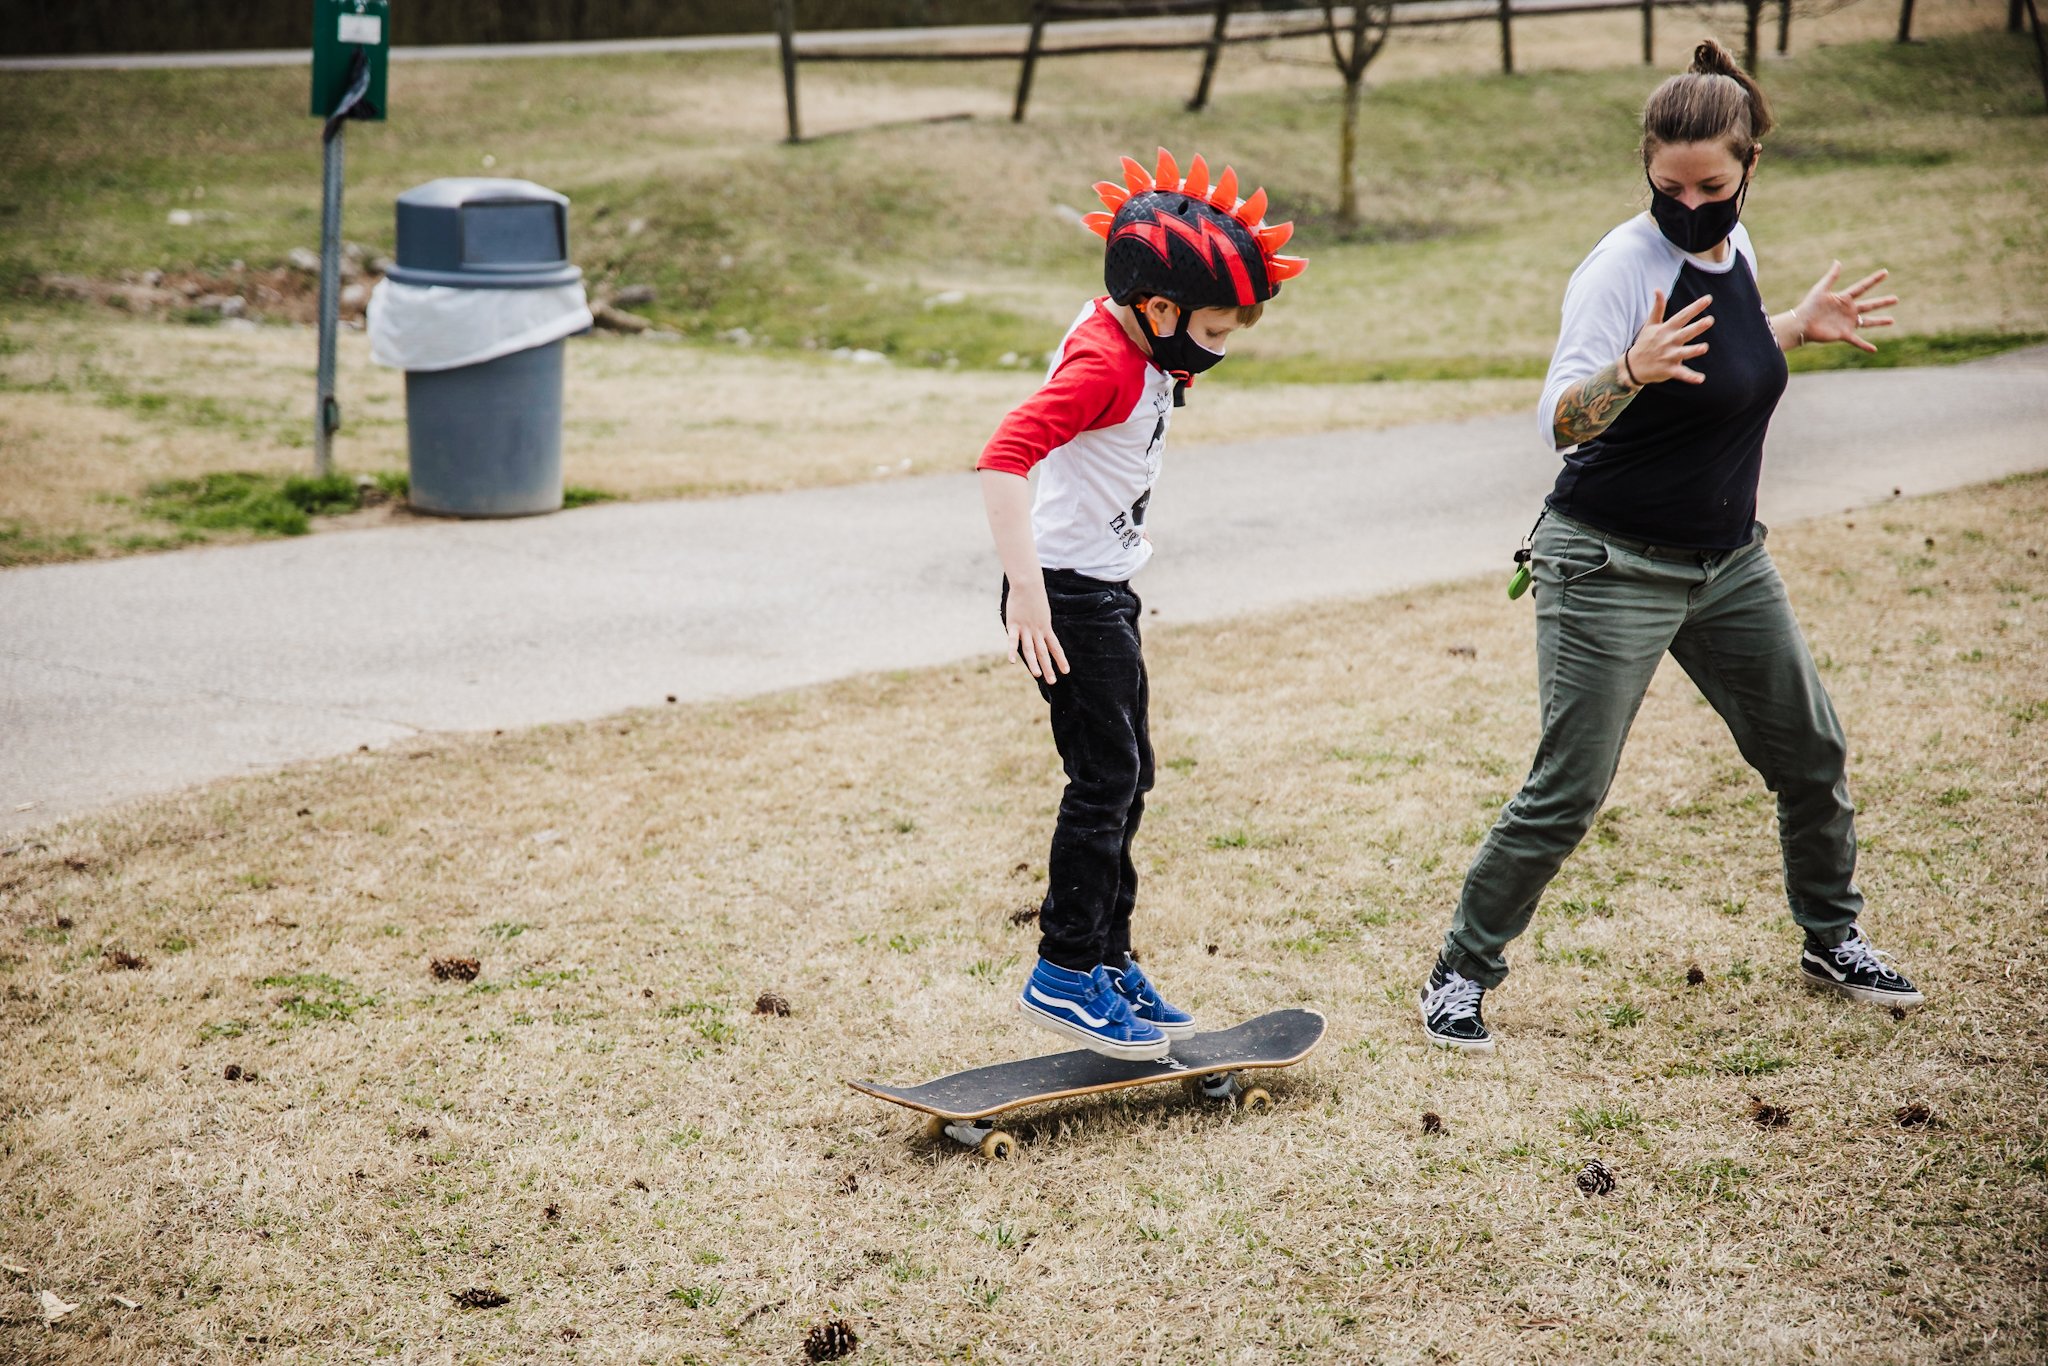
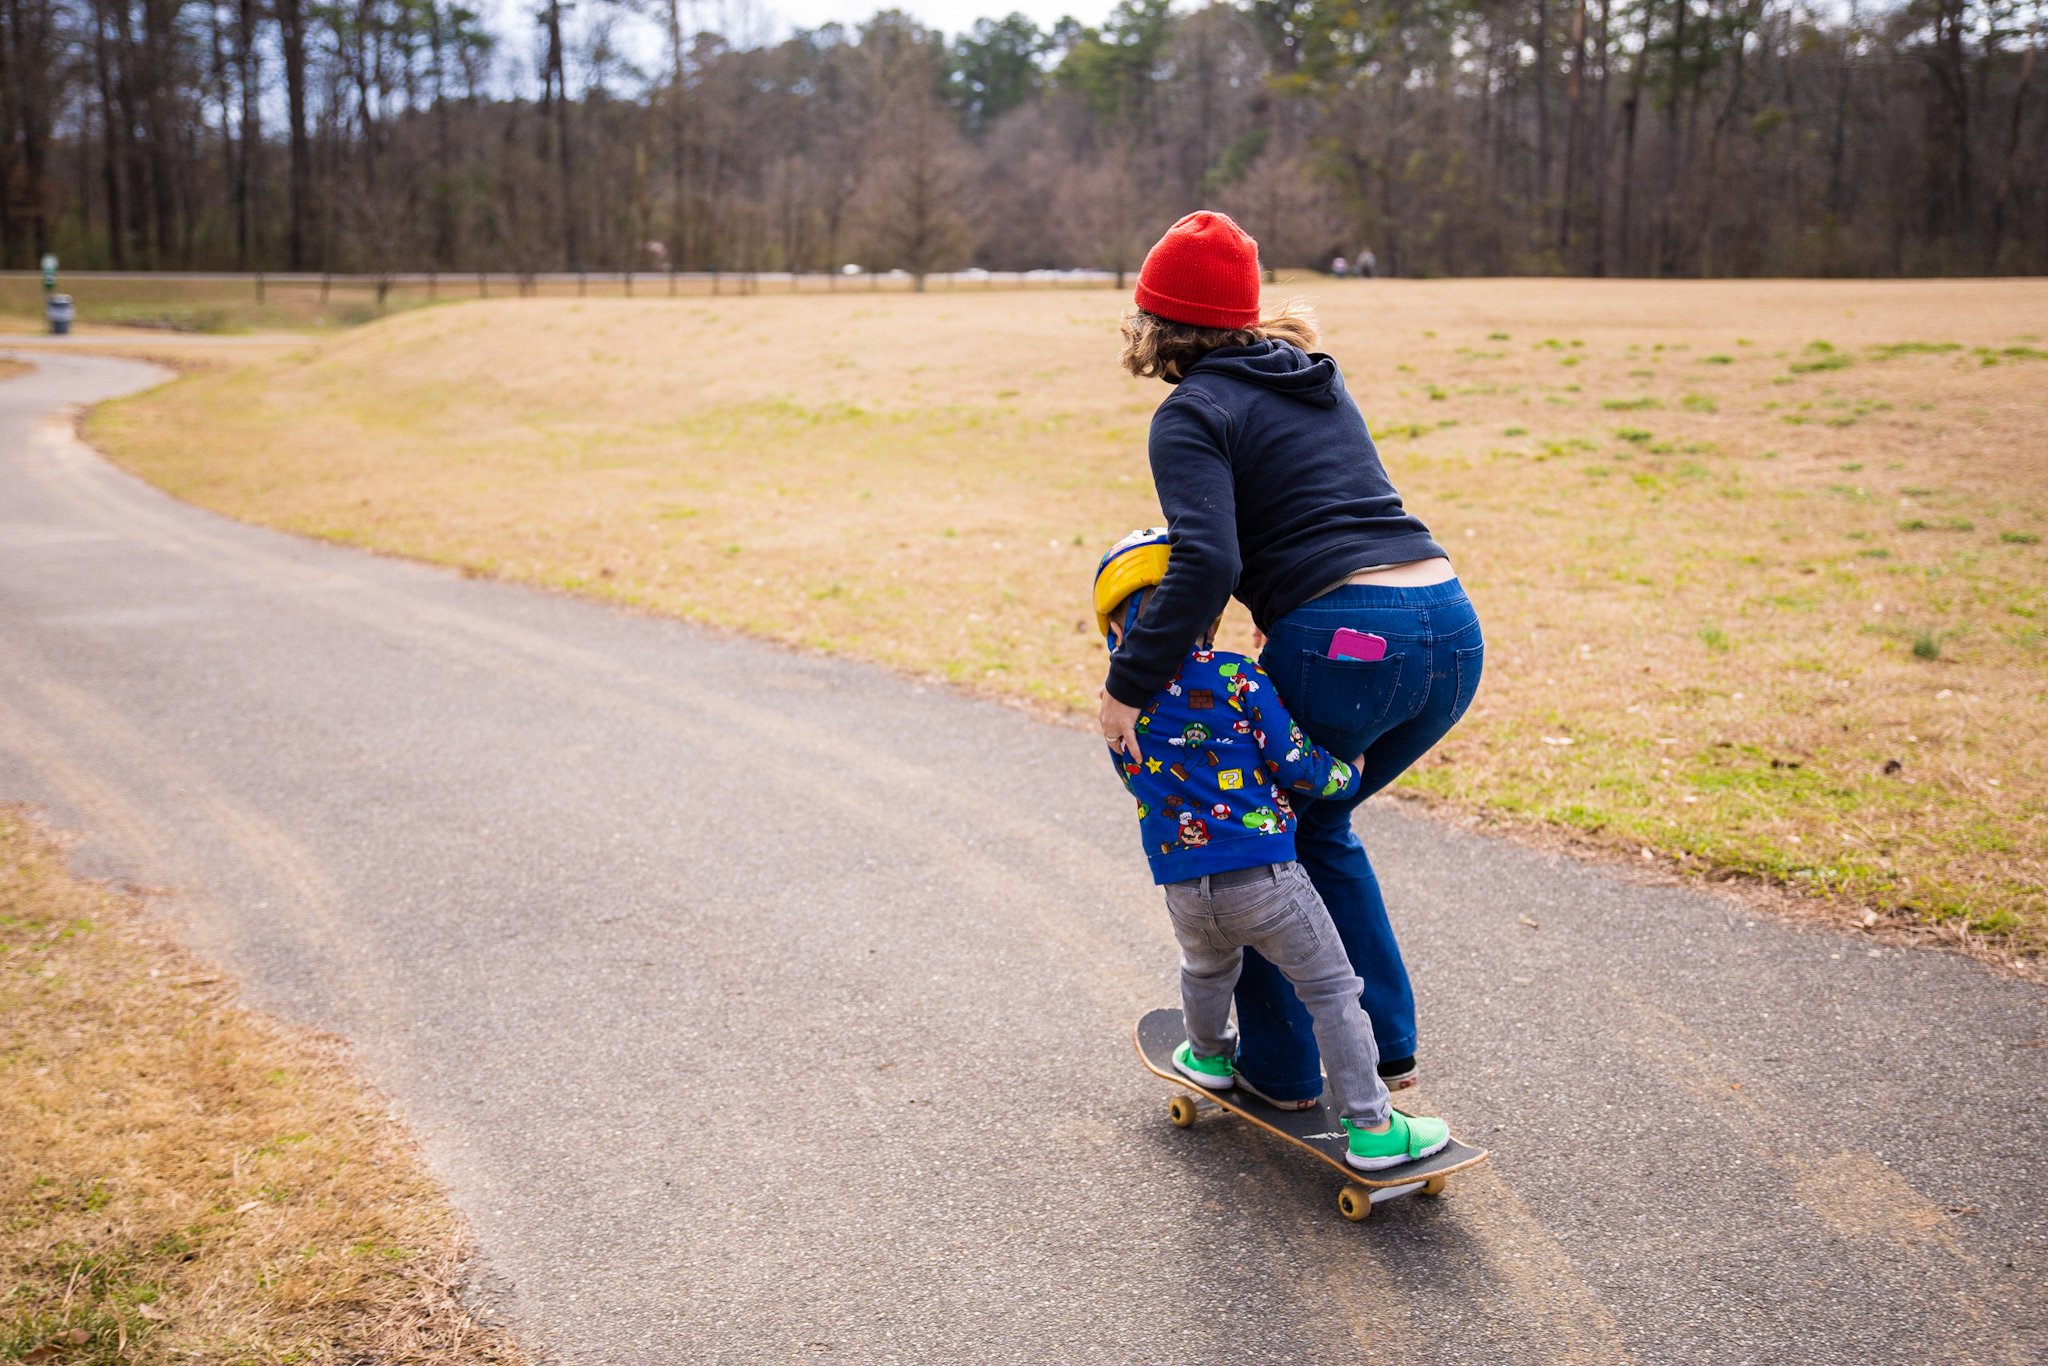
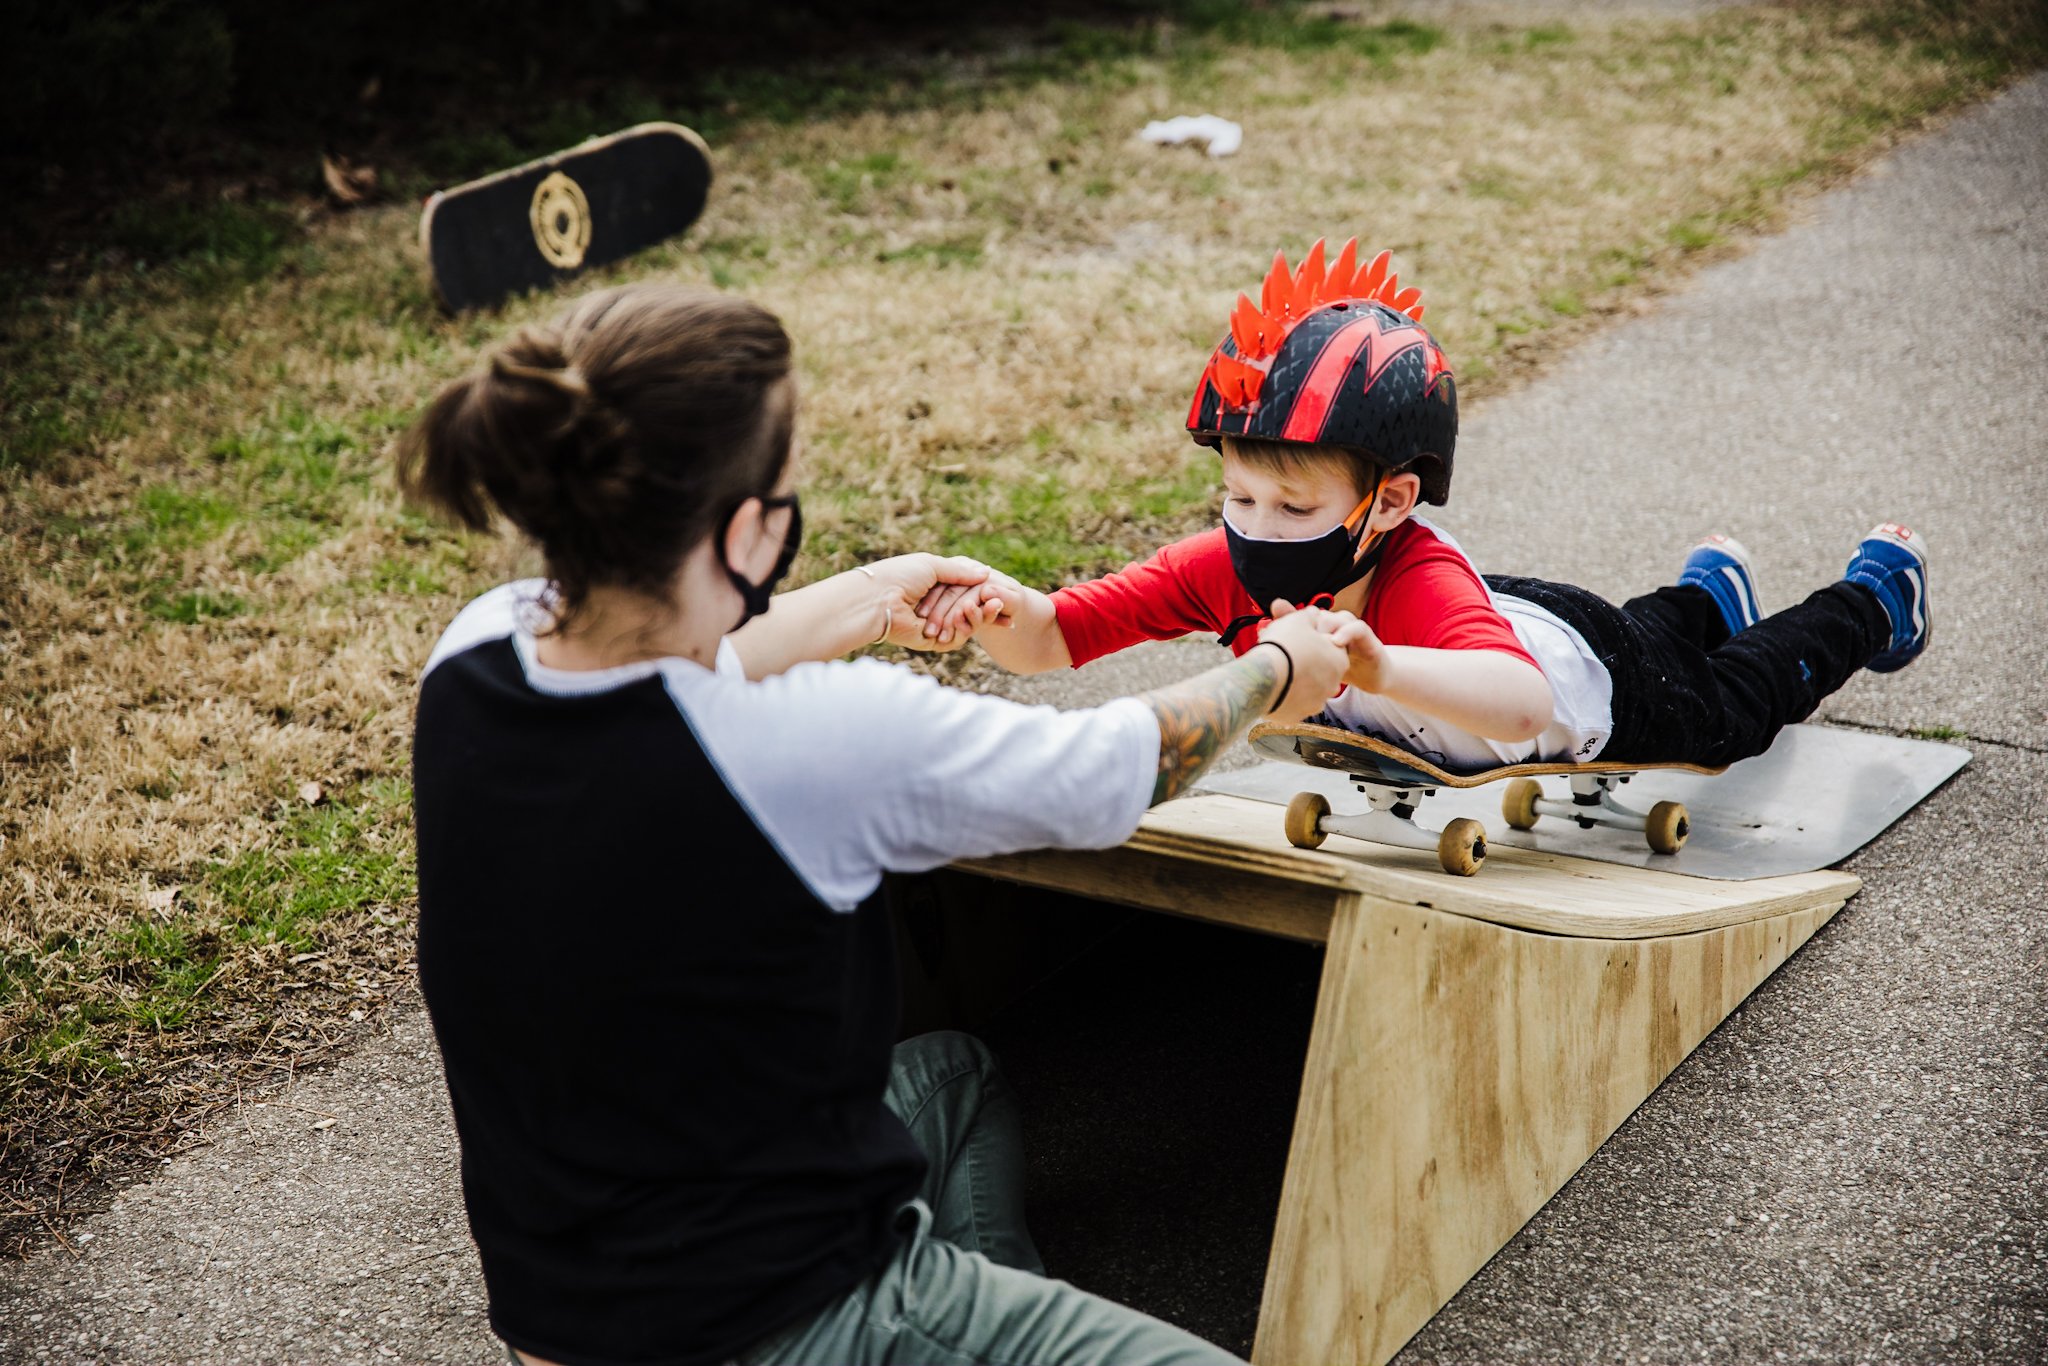
Skateboarding offers many components similar to occupational therapy such as focusing on motor, vestibular and proprioceptive skills. Saturday skateboarding lessons are quickly becoming one of the boys favorite things to do. Both boys have a weak core and crave high impact activities. Everett has poor motor planning and balance issues, while Finn has poor impulse control and anger issues. Skateboarding is helping tremendously with both. Learning self/impulse control and behavior management is a huge part in why I decided to start the boys with lessons. And perhaps, most importantly, it’s also pretty freaking fun!
Skateboarding has had such a amazing impact on kids with autism that there are several nonprofits that have been created to help connect and introduce skateboarding to those the spectrum. There are even studies that have popped up specifically to research the correlation of brain activity and heart rate between autism and skateboarding. It’s even been approved as an acceptable form of occupational therapy in several states.
Hopefully, with these studies and nonprofits, skateboarding will no longer be looked at as a rebellious pasttime by those who don’t understand it and more funding would be available for using skateboarding as a therapy rather that funding just another information autism organization out there.
I know that right now, the boys have found an outlet they both love and I couldn’t be happier with their awesome teacher and their continued progress. I hope they continue to find joy in skateboarding and that the benefits continue to carryover into other aspects of their lives.

The post Skateboarding On The Spectrum appeared first on Not So SuperMom VS Society.
]]>Throwing The Ultimate Harry Potter Party Post-Covid Read More »
The post Throwing The Ultimate Harry Potter Party Post-Covid appeared first on Not So SuperMom VS Society.
]]>
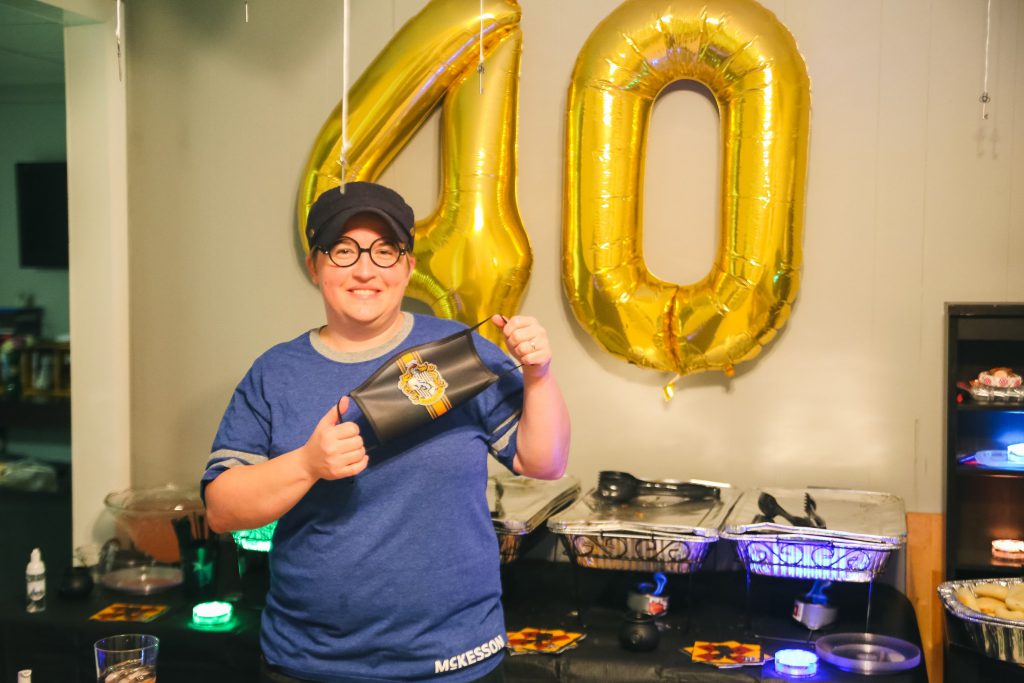
This last weekend, we loaned out our basement & backyard to some very dear friends for a surprise Harry Potter themed 40th birthday.
When our friend asked about using our house to surprise her partner, I said, of course, as long as we keep it safe. After all, one of the reasons we moved into this house was it’s potential for entertaining.
Ground Rules
Given that we are in the middle of a pandemic, one of the things I was adamant about was safety. We quickly established that the party would be primarily outdoors, where everyone could easily social distance and that we were capping the # of guests at 15- which included the 7 of us.
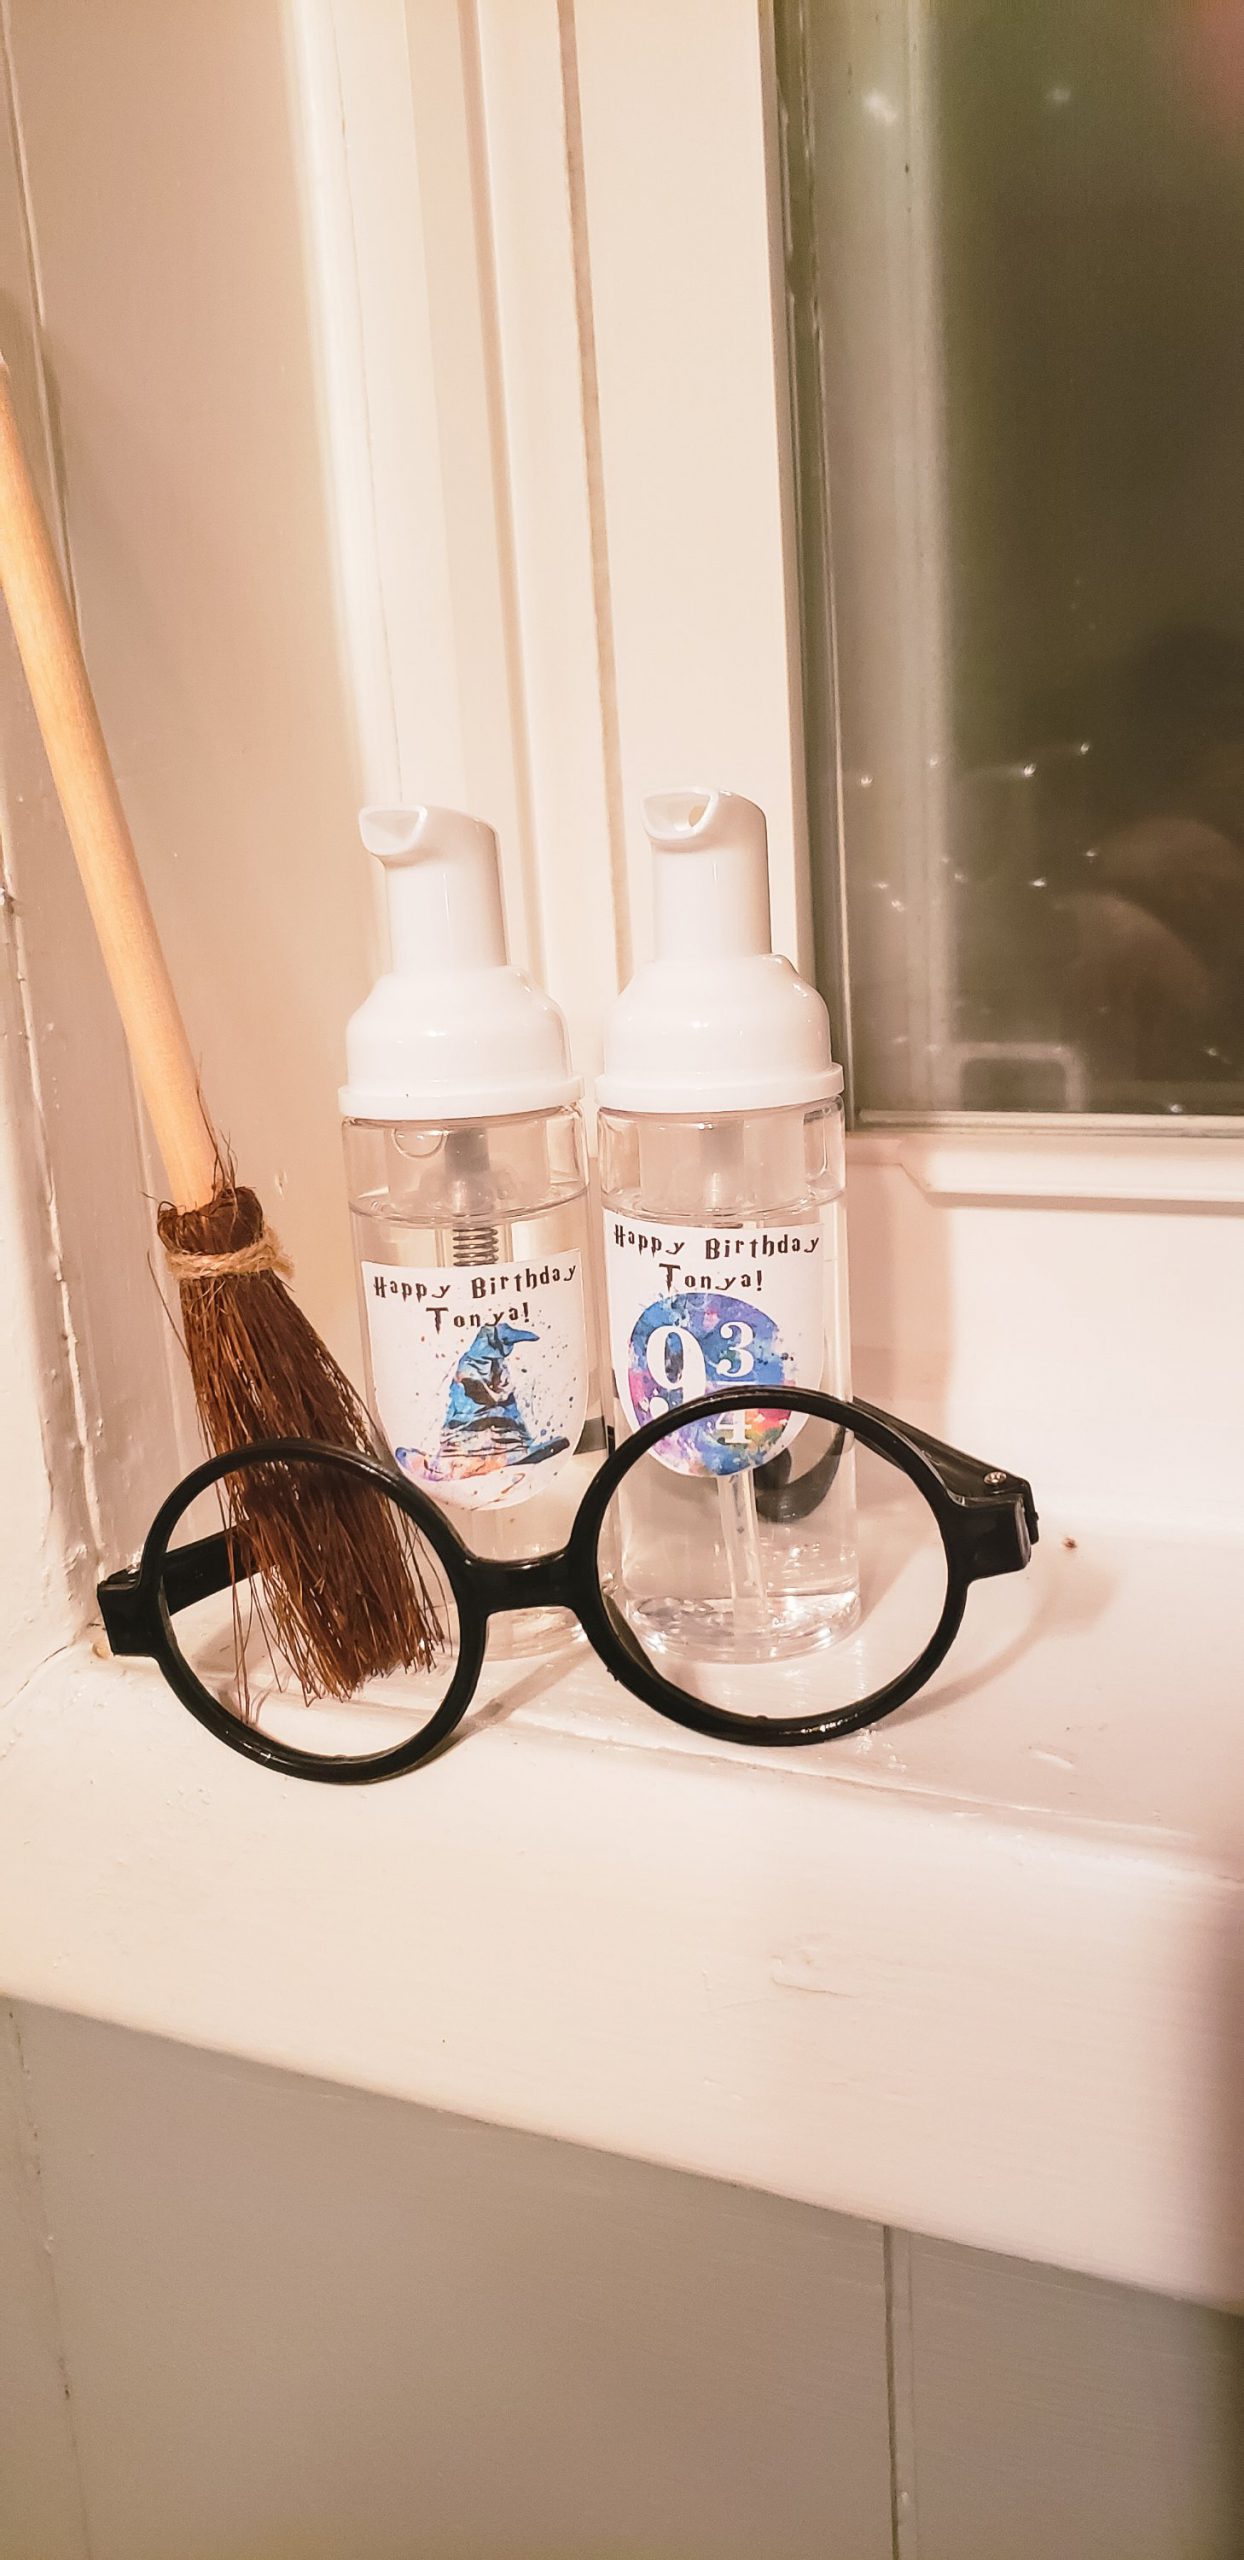
Guests were instructed to enter the party via our back gate, grab a Harry Potter themed mask & personal hand sanitizer. Given that the majority of the guests were in the healthcare profession, this wasn’t an issue.

Guests were encouraged to stay outdoors, however we did set up food and drinks inside. When they came inside, masks were required & they were only allowed in the room with food & the downstairs bathroom. Upstairs was completely off limits-my children were going to spend the majority of the party up there and I wanted them kept as distant as possible from the crowd.
Ground rules for any party are important, but especially mid-pandemic. If your guests can’t respect them, then you shouldn’t be inviting them.
The Details
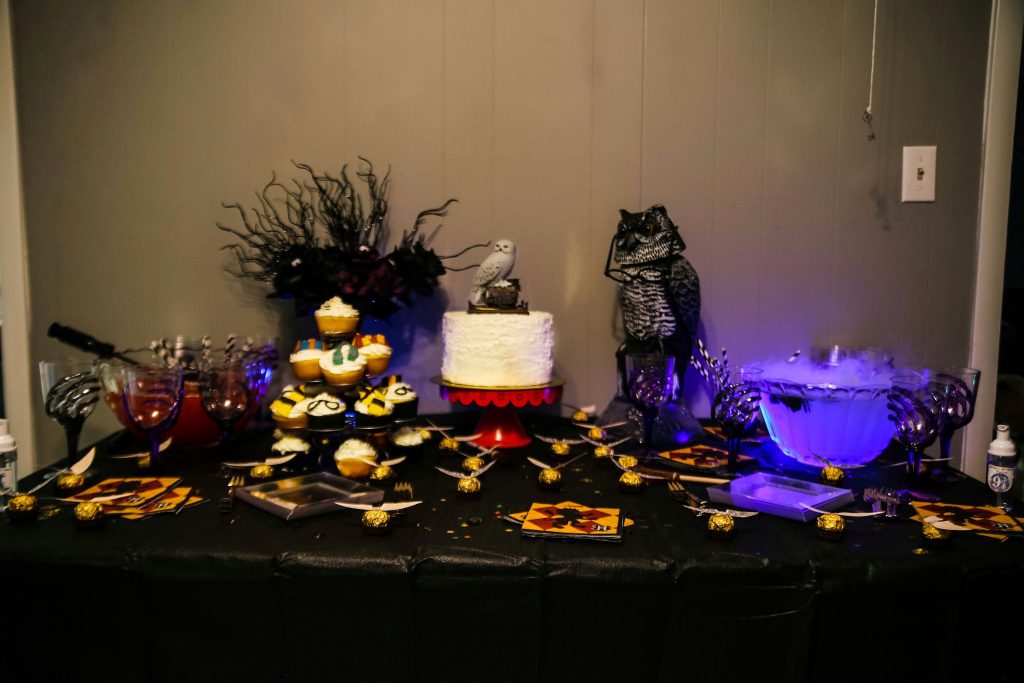
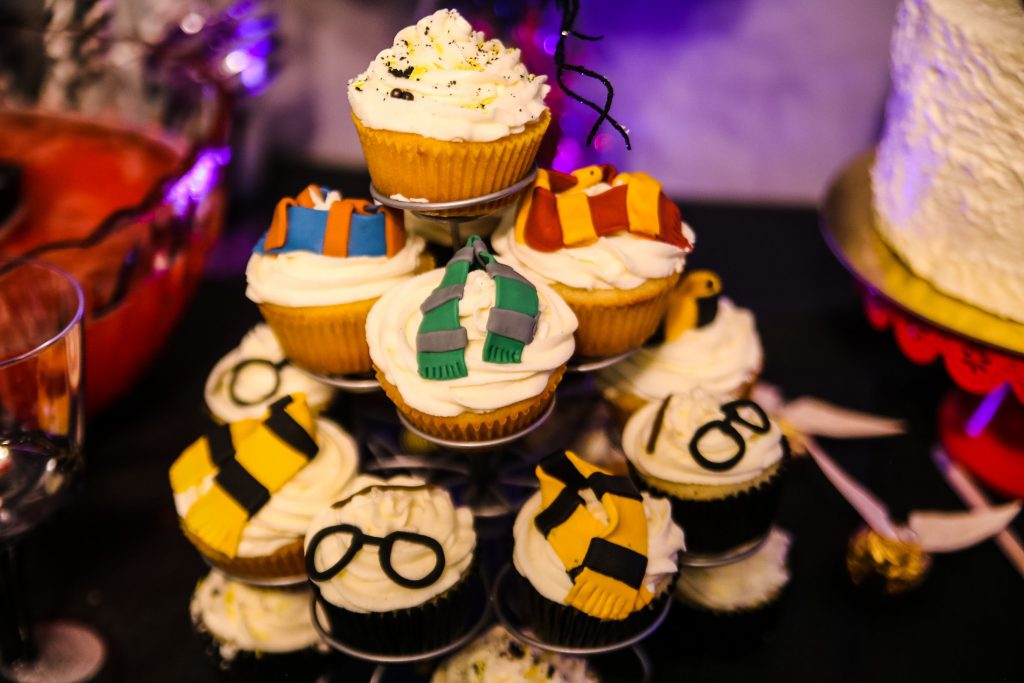
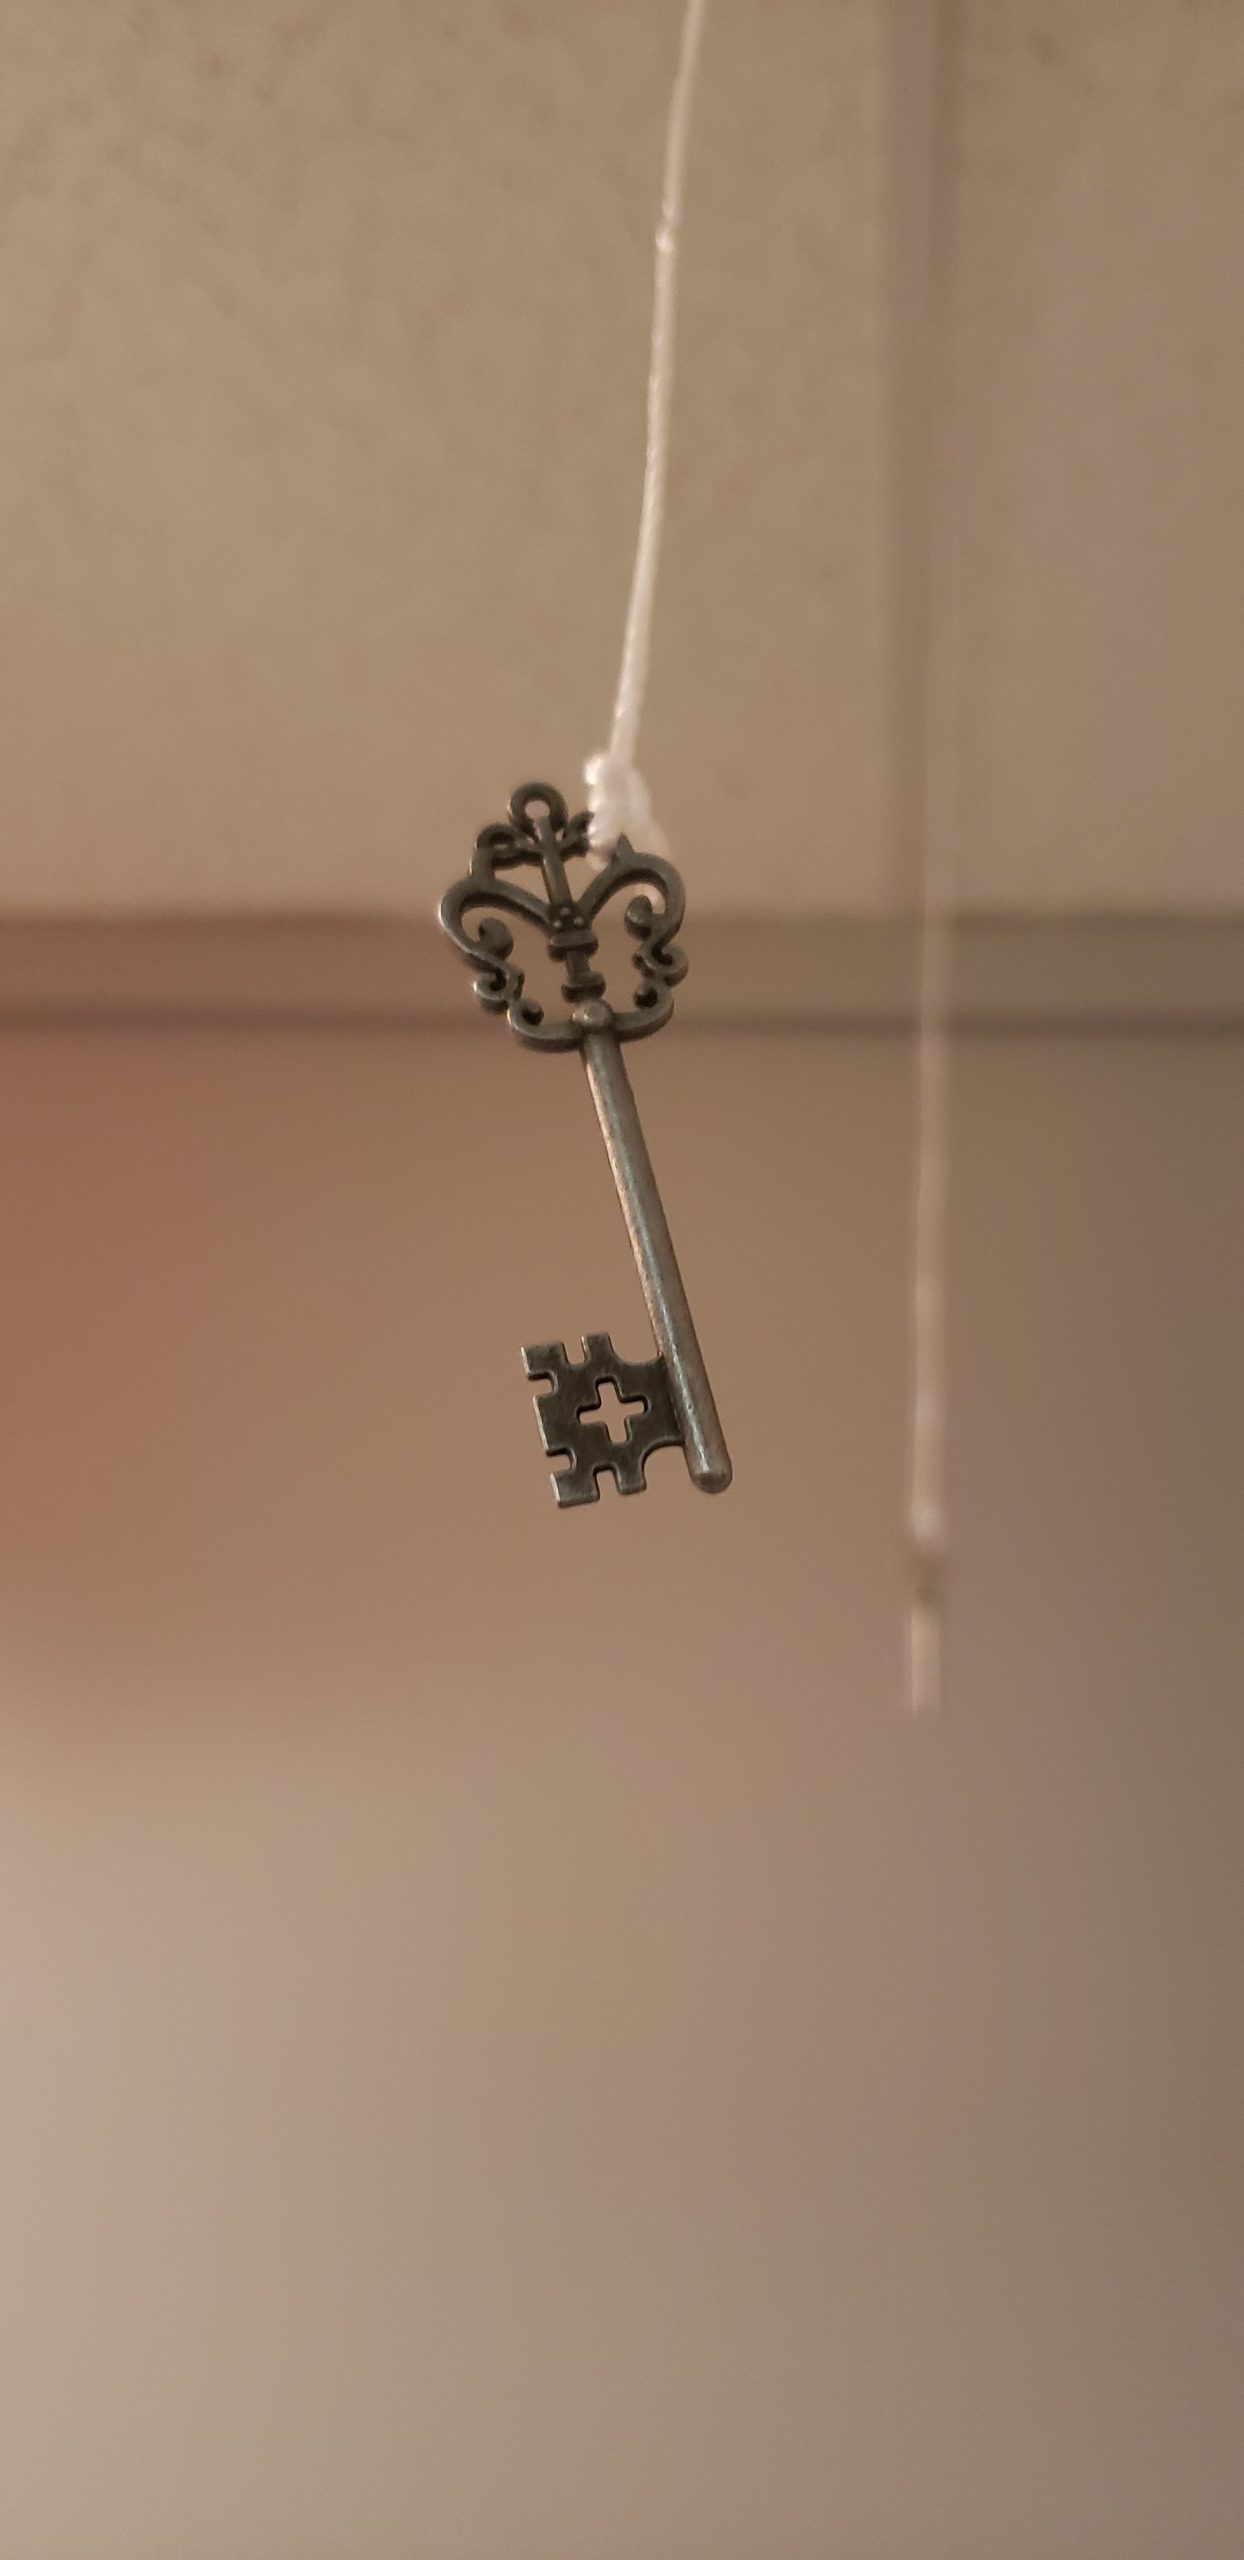
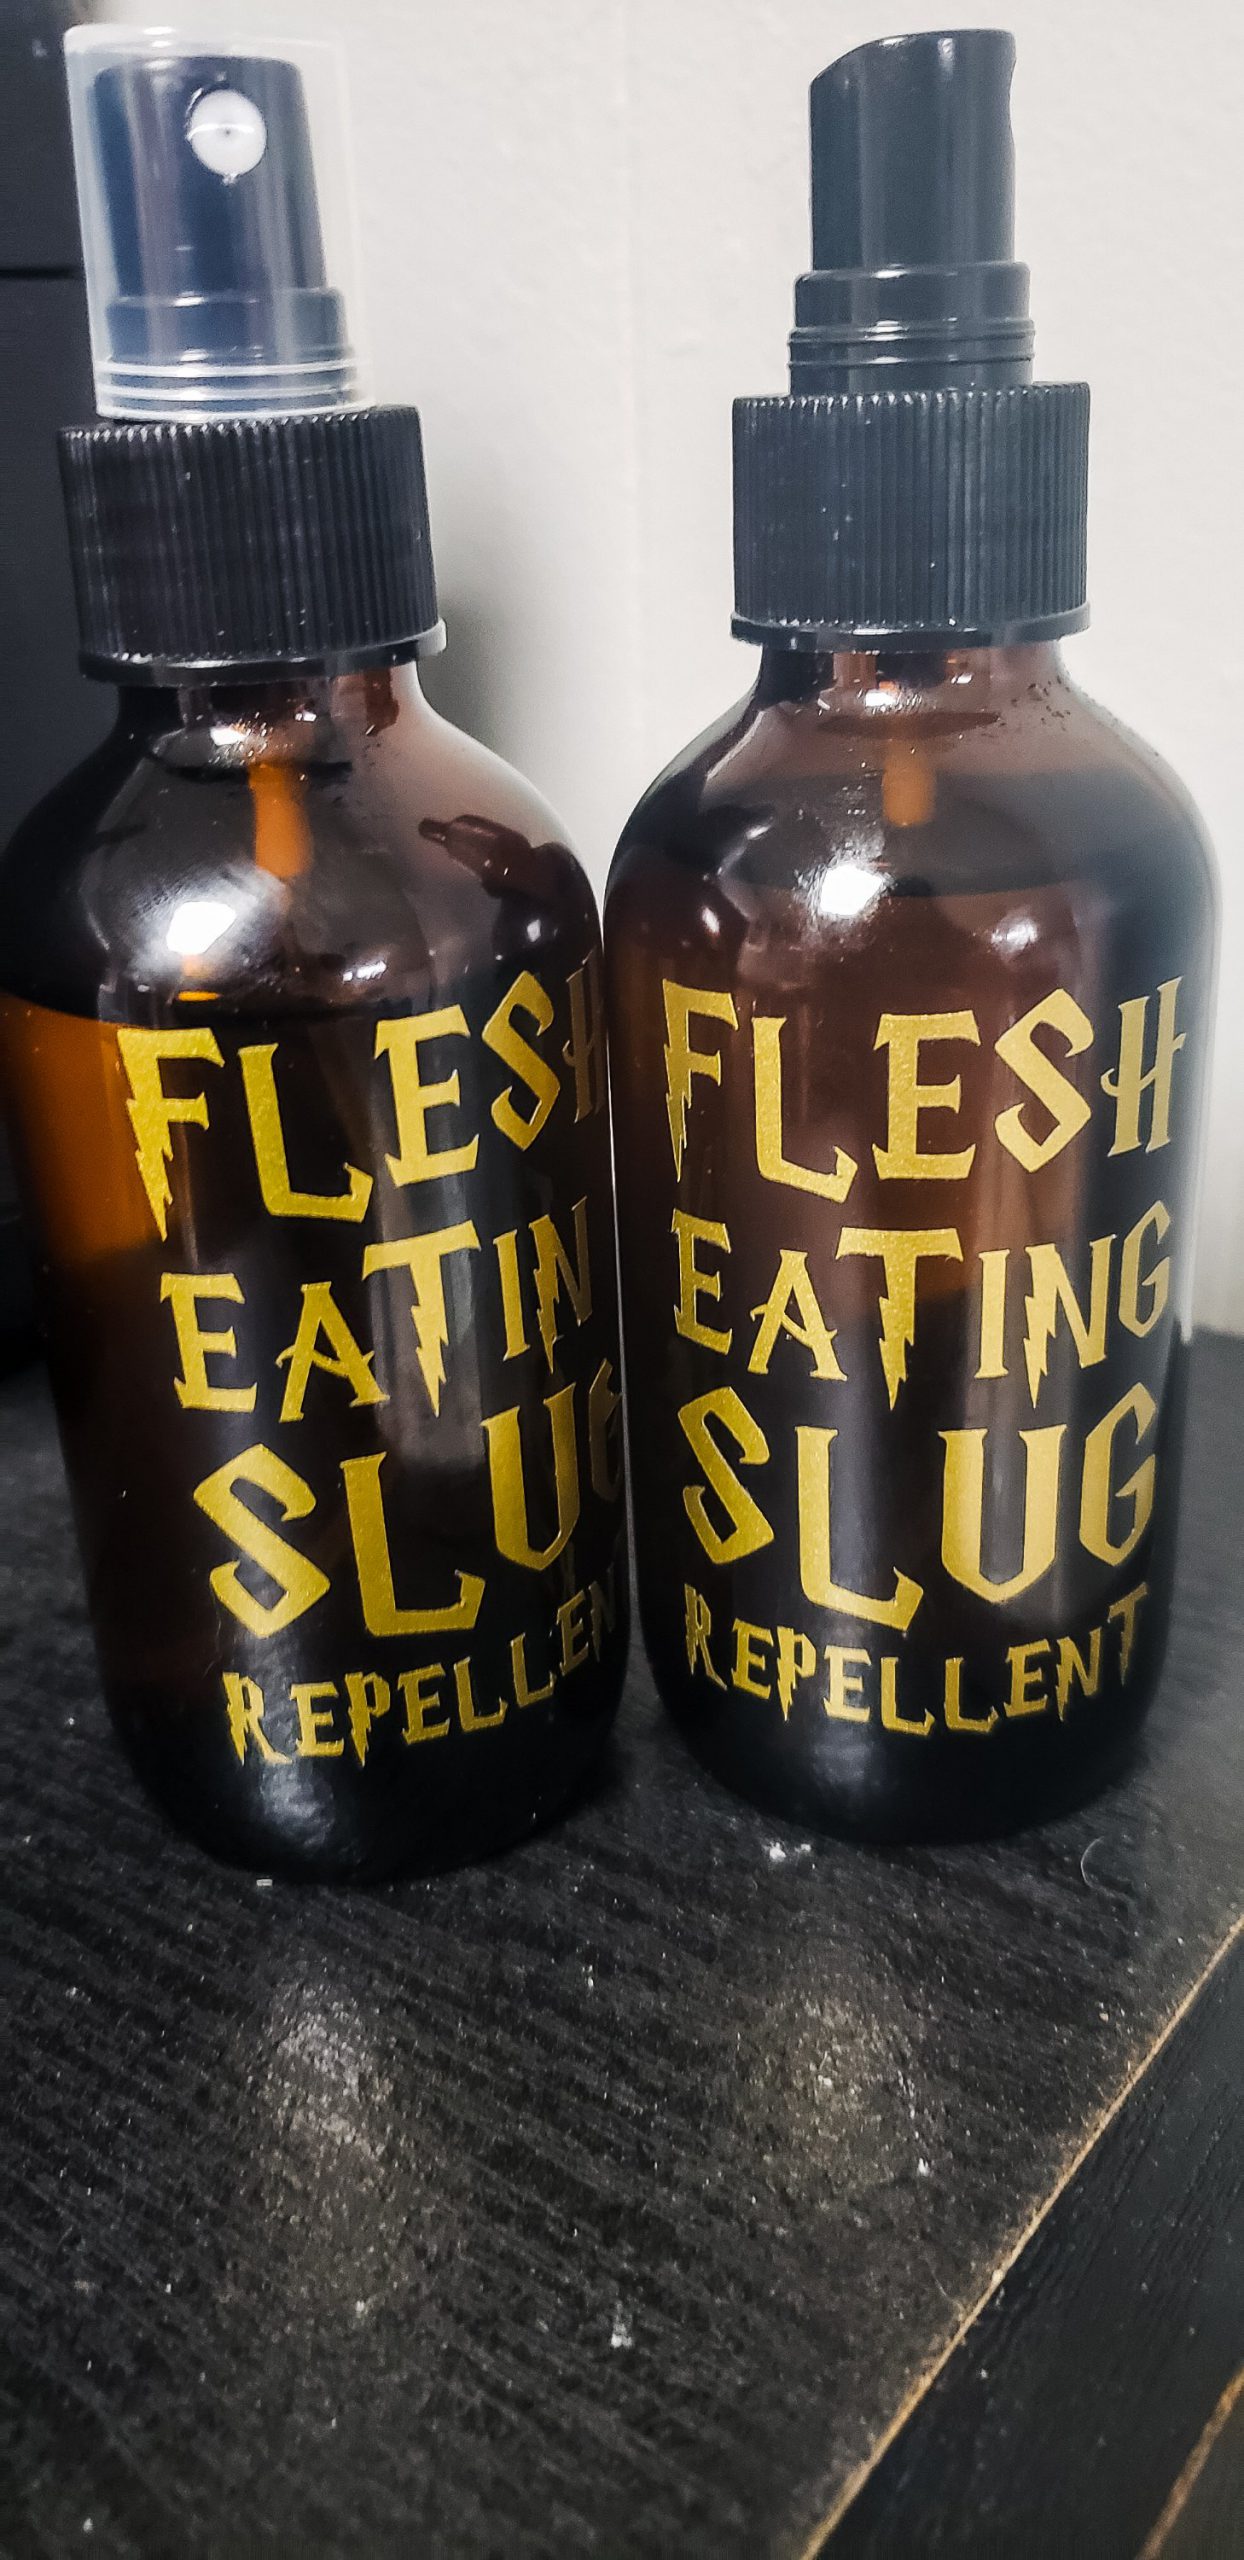
We had some really cute themed items for this party. In addition to the themed sanitizer & masks mentioned above, we also had HP glasses for guests to wear. We hung “flying keys” from the ceiling, and kept to the main colors from the 4 Hogwarts Houses. We also decorated the tables with cute confetti and mini cauldrons. I purchased some refillable spray bottles from Amazon, we placed “Flesh Eating Slug Repellent” labels on them and filled them with bug spray to minimize bug issues.

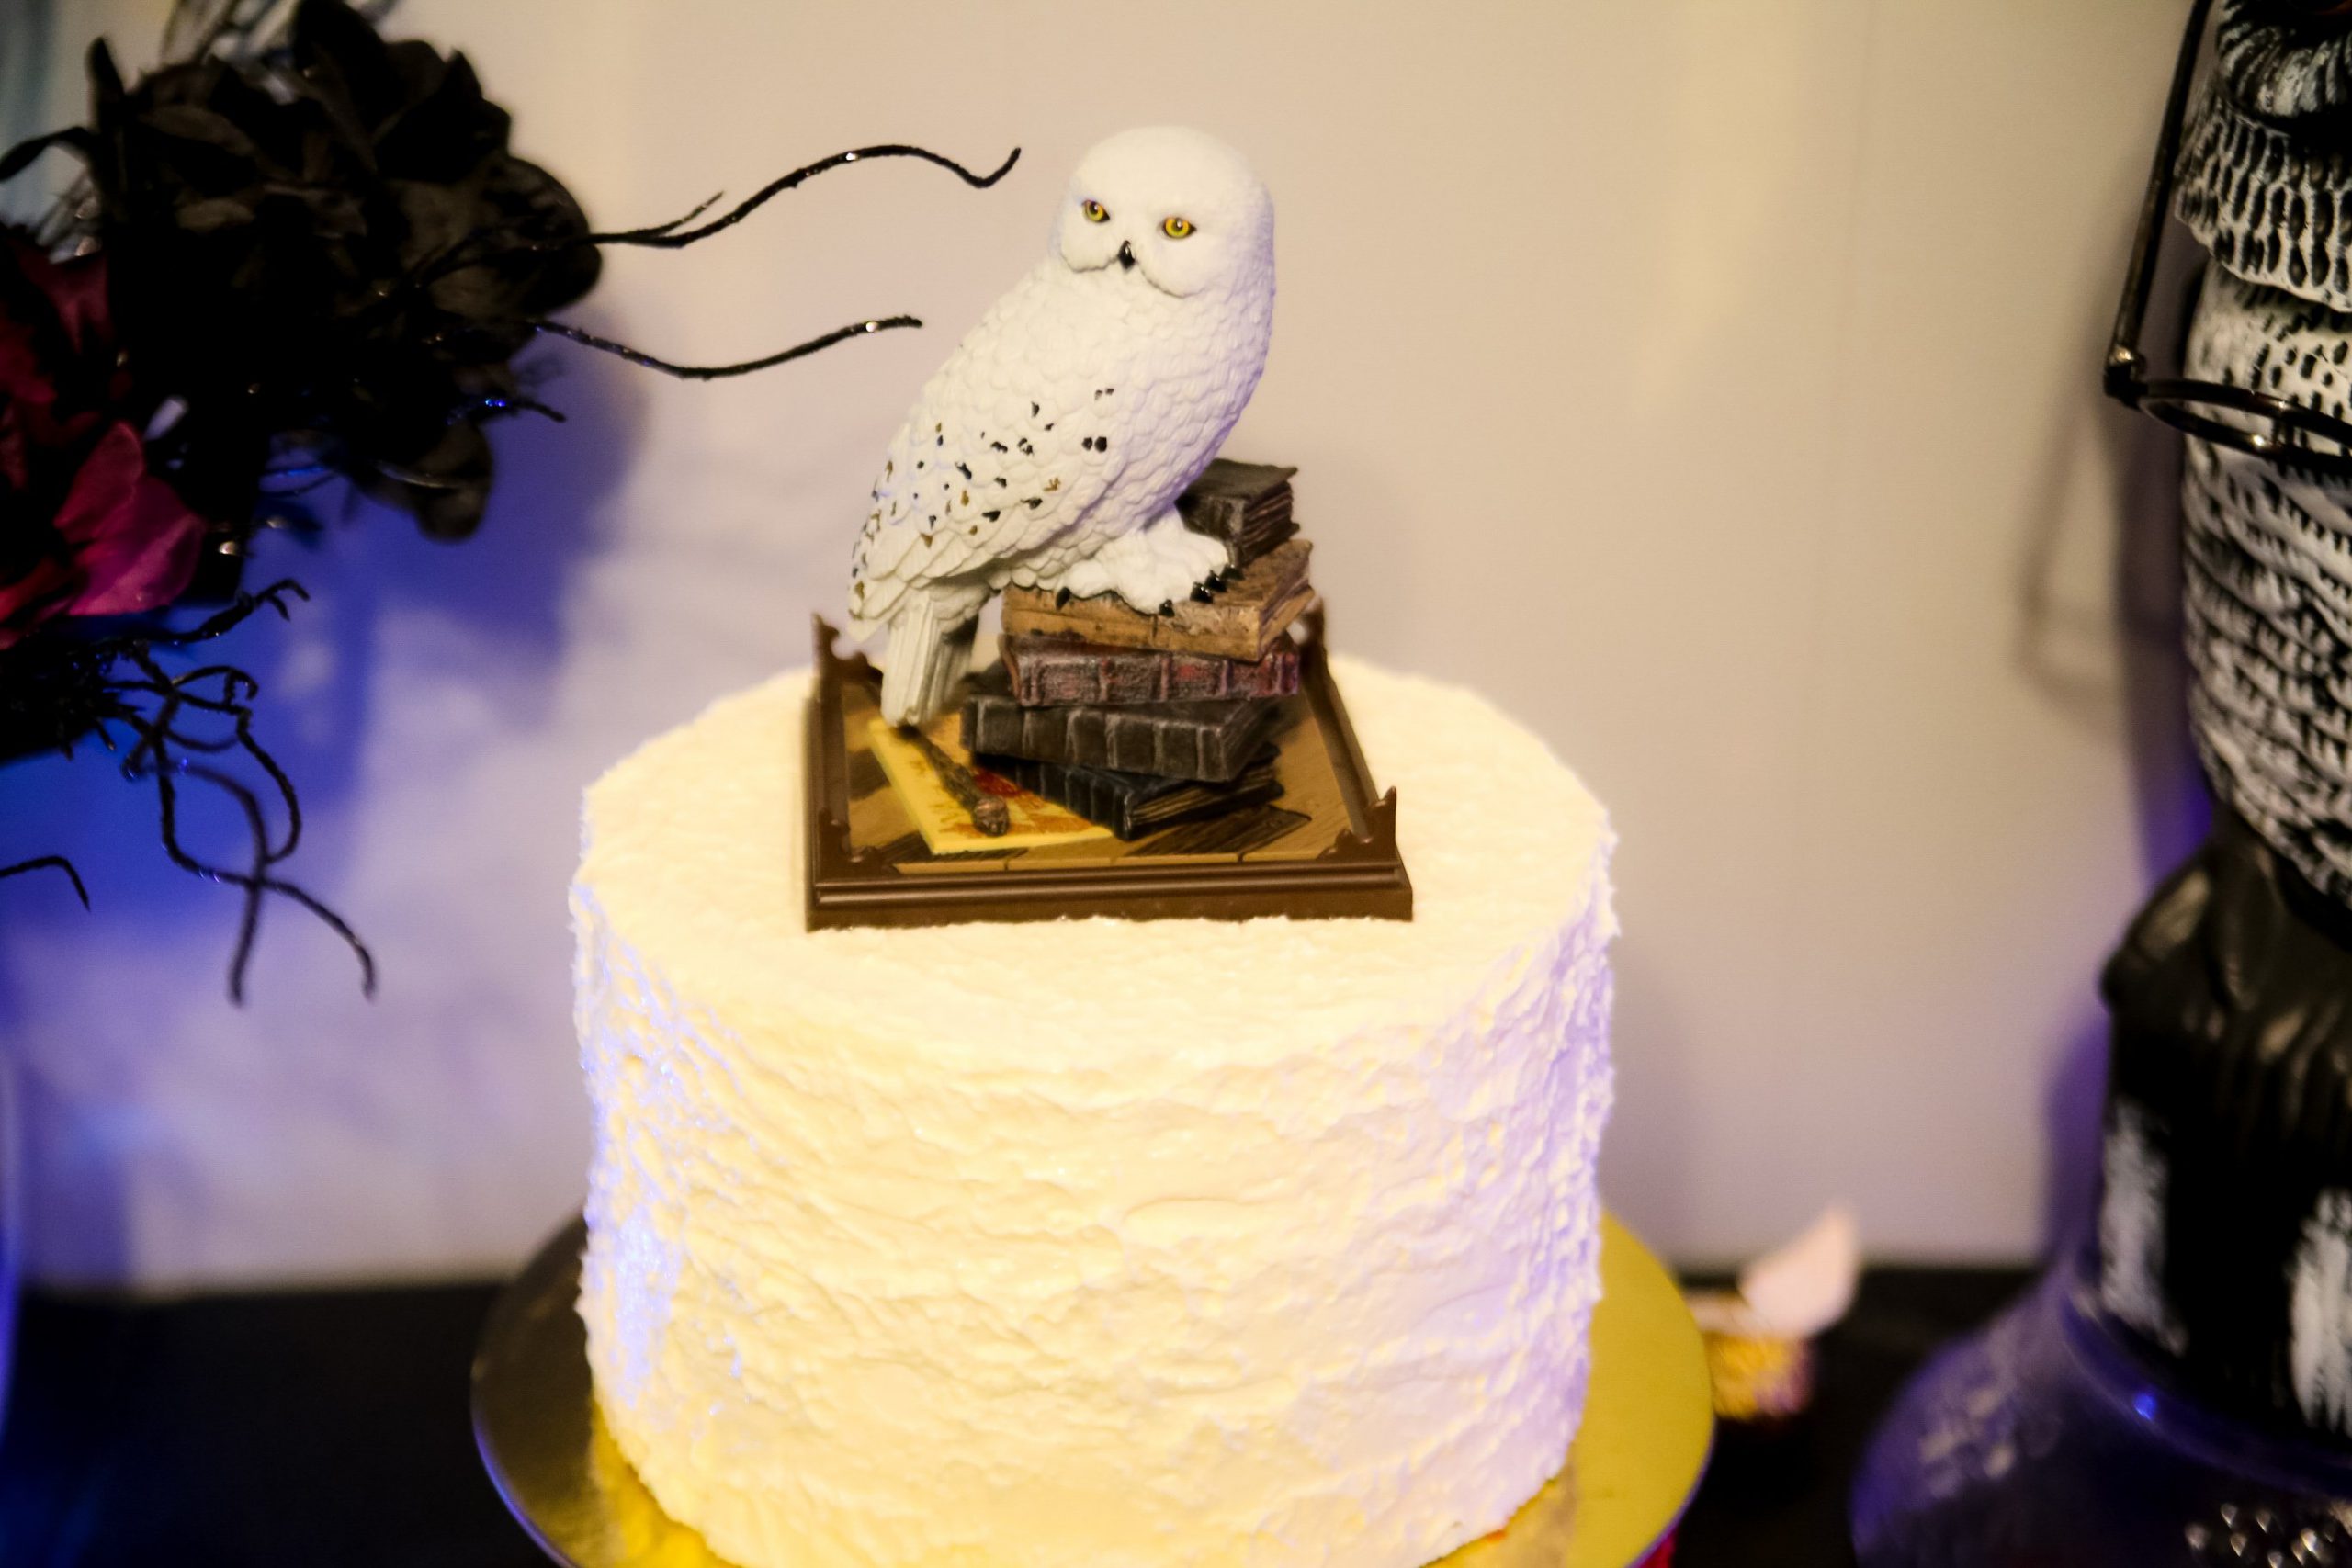
We had sorting house cupcakes & a super neat themed cake that when sliced into, it’s layers were all the Harry Potter colors.


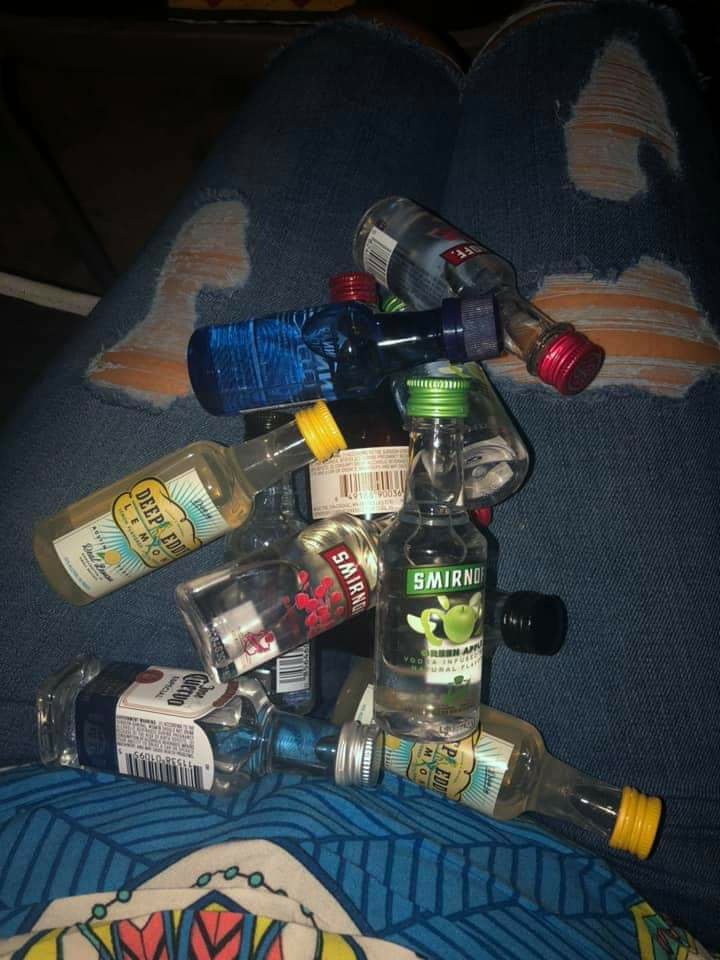
One thing we did, that I wouldn’t necessarily recommend for your party, was the alcohol mini filled piñata. Though none of the mini bottles broke, I was terrified of it happening the entire time! ?? It was kind of fun though!
Golden Snitch Chocolates
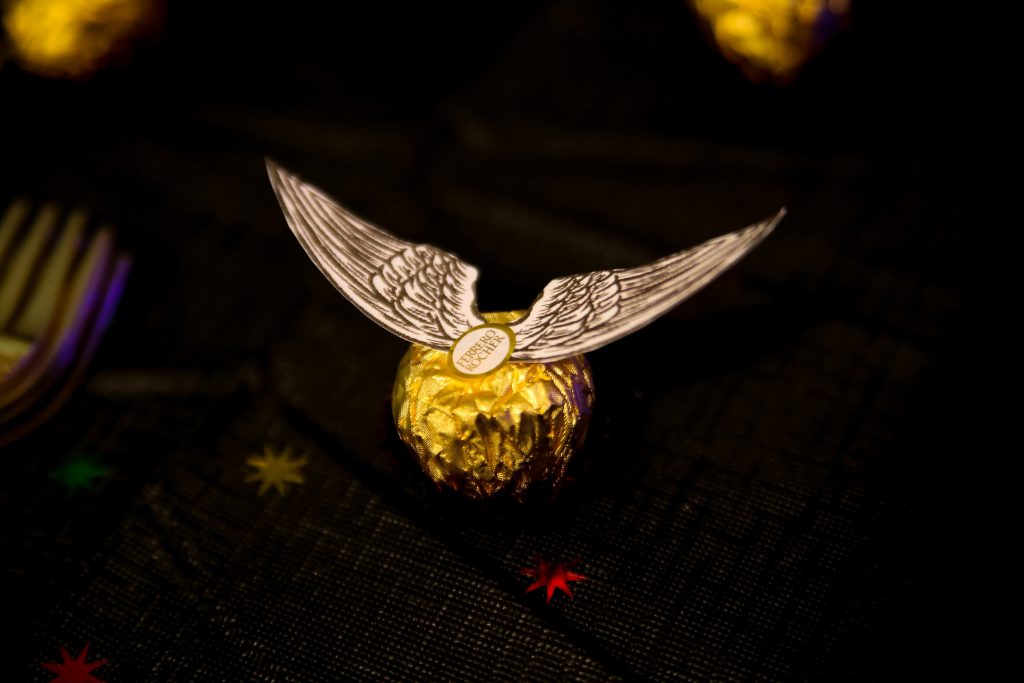
One of the simple, yet fun things we made were Ferrero Rocher Golden Snitches. You’ll need these Printable Snitch Wings, scissors, glue, & obviously some Ferrero Rochers.
Steps:
- After prepping your needed materials, one by one, take a Ferrero Rocher and remove the small sticker on the top. Don’t throw it out, you’ll need it again.
- Place a set of wings on top of the Ferrero Rocher and use the small sticker to stick it in place. If it’s lost its stickiness, use a small bit of glue to hold it in place.
- Make as many Ferrero Rocher golden snitches as you need and display them on a serving platter amongst the rest of your Harry Potter party food and decorations!
Simple, right? They looked super cute all over the table, and as an added bonus, they were delicious.
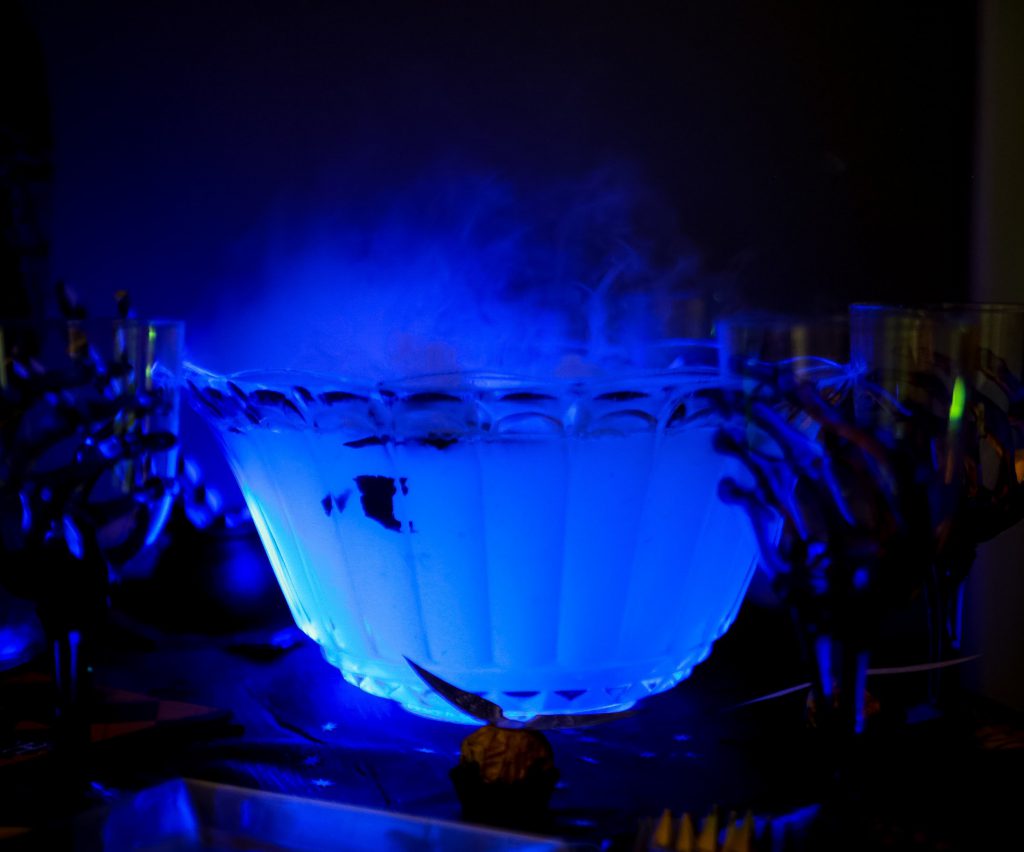
Patronus Punch
I made a delicious Harry Potter themed punch for the party called Patronus Punch. It’s super simple, looked super cool, and reminded me of drinking a mojito.
Purchase:
- 2 liter of sprite
- 1 can frozen limeade
- 1 liter of tonic water
- Fresh mint
- 2 cups vodka
- Black light/glow sticks/submersible lights
- Dry ice
Tips:
- Dry ice makes this drink even more magical, but the proper precautions must be used!
- Use a glass bowl- the dry ice will crack plastic.
- Only add dry ice if you’re prepared to keep an eye on it. The last thing you want is someone getting a severe burn from not knowing how to properly interact with/swallowing dry ice.
- Add as much or as little mint as you prefer.
- You can substitute white rum for vodka to mix things up.
- It also tastes yummy without the booze if you’re needing a non-alcoholic option.
Overall, the party was amazing. We had a few minor hiccups, but when booze is involved, when are there not hiccups? ?
Just remember, with Covid running rampant through the US, if you can’t offer proper saftey protocols, just wait and have the party once things cool down. In the long run, missing parties for one year isn’t the end of the world.
If you enjoyed this blog, leave a comment below!
The post Throwing The Ultimate Harry Potter Party Post-Covid appeared first on Not So SuperMom VS Society.
]]>The post Earth Day 2020 appeared first on Not So SuperMom VS Society.
]]>
Happy 50th Earth Day! This years theme is Climate Action, so we focused on Wind Power. We read the kids Keith Negley’s newest book, The Boy and The Wild Blue Girl and made aluminum foil sailboats that we powered with wind.
Why wind power? Simple. Wind power is one of the cleanest forms of energy and can drastically reduce greenhouse gases. It’s cost effective, sustainable, and is a great clean energy source. Even better, it’s locally sourced, meaning that for us Americans, it provides local jobs and helps minimize our reliance on foreign markets.
Book Review
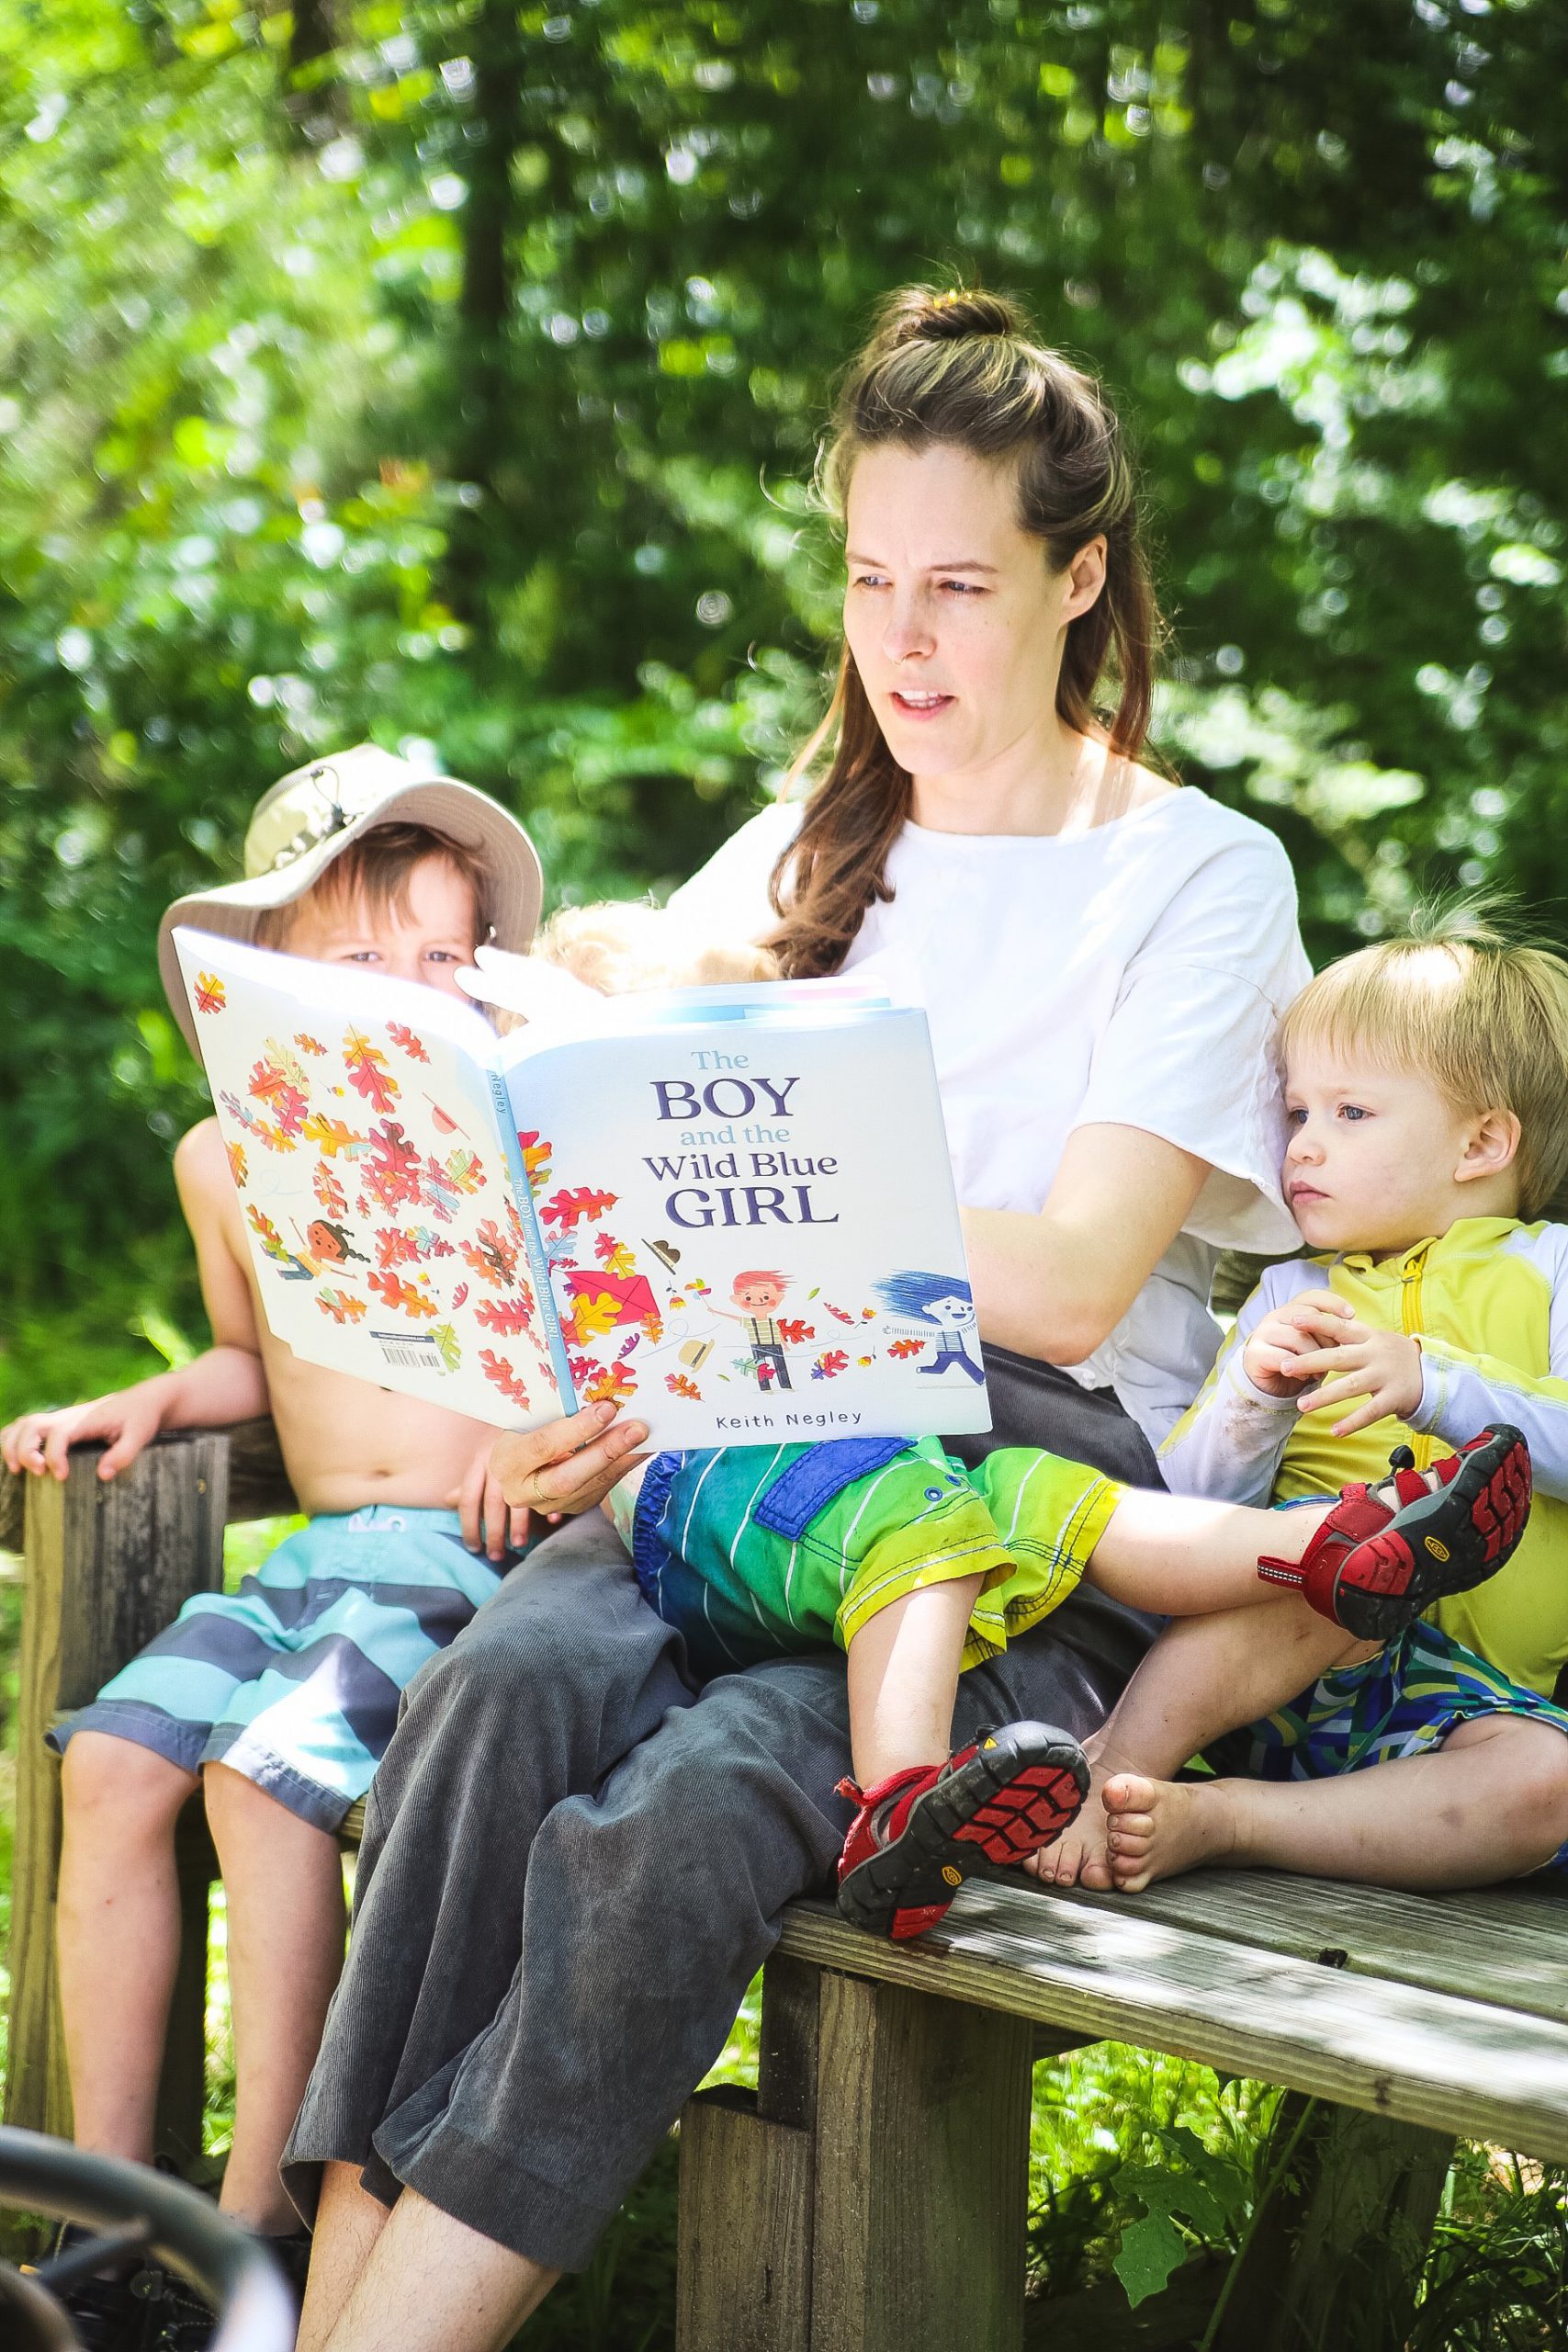
Our earth day read, The Boy and The Wild Blue Girl, is a story about the creation of wind turbines told in an adorable way. The wind in the story is portrayed by the Wild Blue Girl. She is seen by most as a nuisance that’s always messing things up. One boy, Poul thinks she’s amazing, and ends up creating wind turbines for her. His invention goes to show everyone just how amazing the wild blue girl is and how she can contribute to society.
The boys really enjoyed it and the illustrations are gorgeous. There is also a great bit of educational information at the end of the book about wind turbines and their inventor.
Instructions:
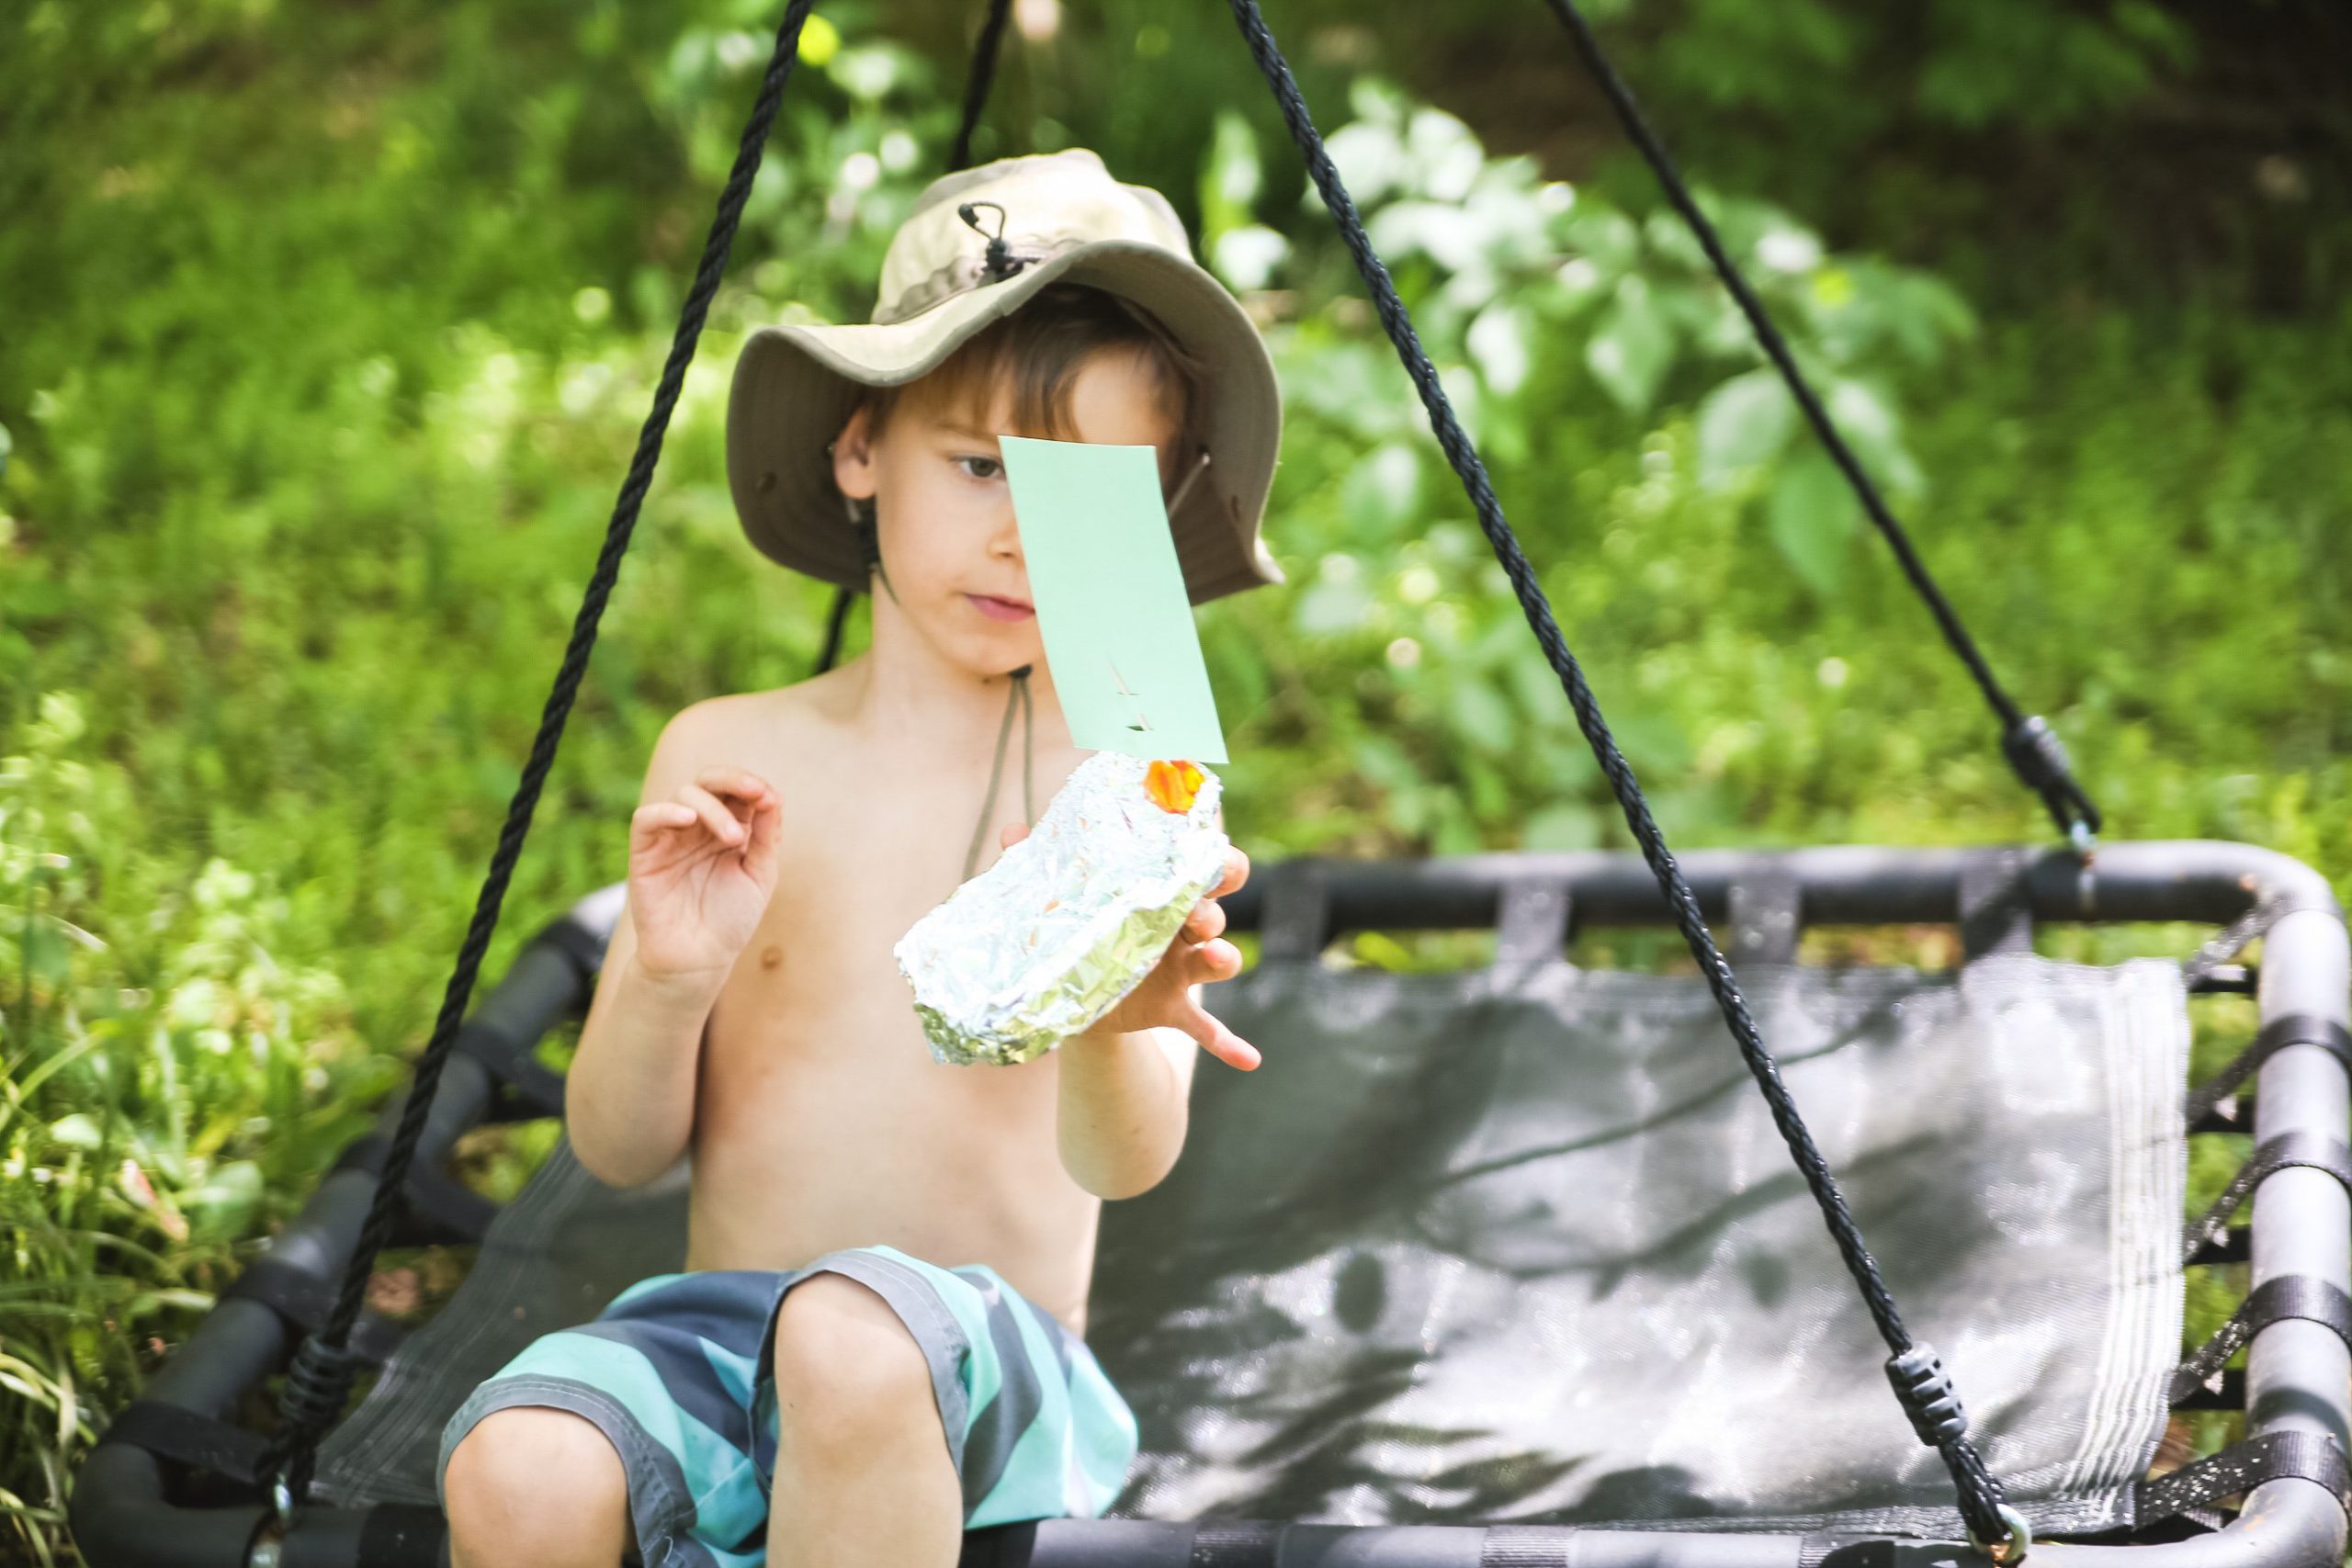
Our craft for today was a super simple way to show the benefits of wind. We even only used things I had laying around the house!
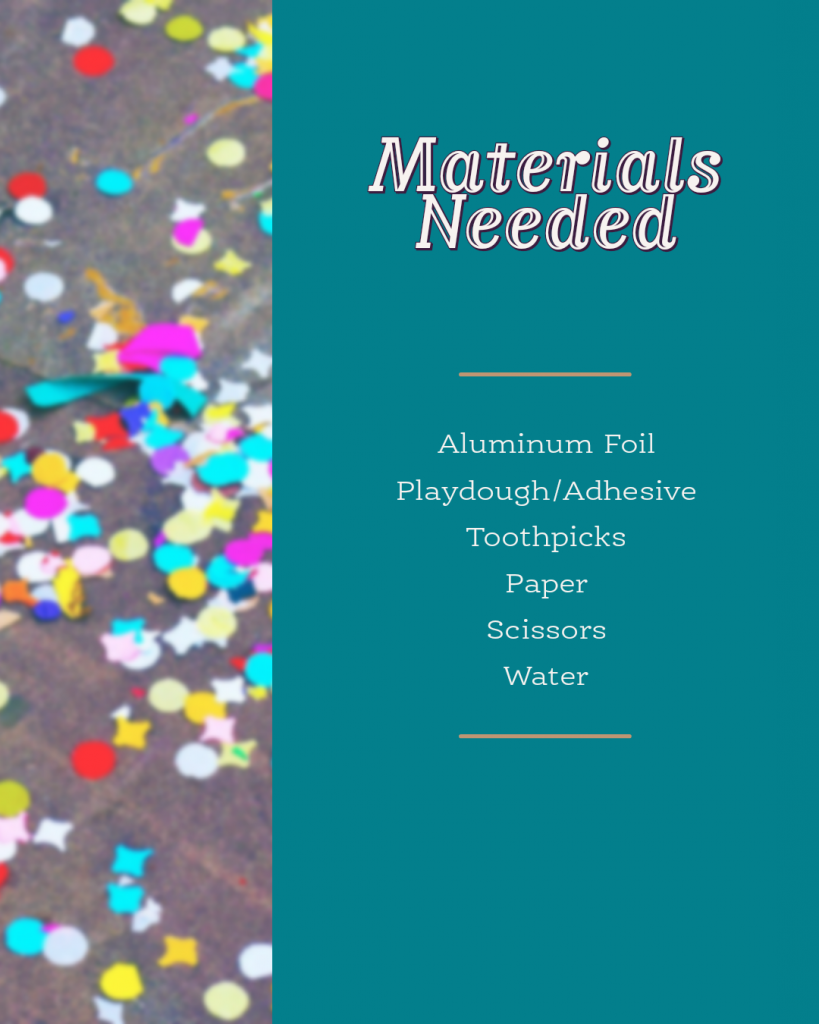
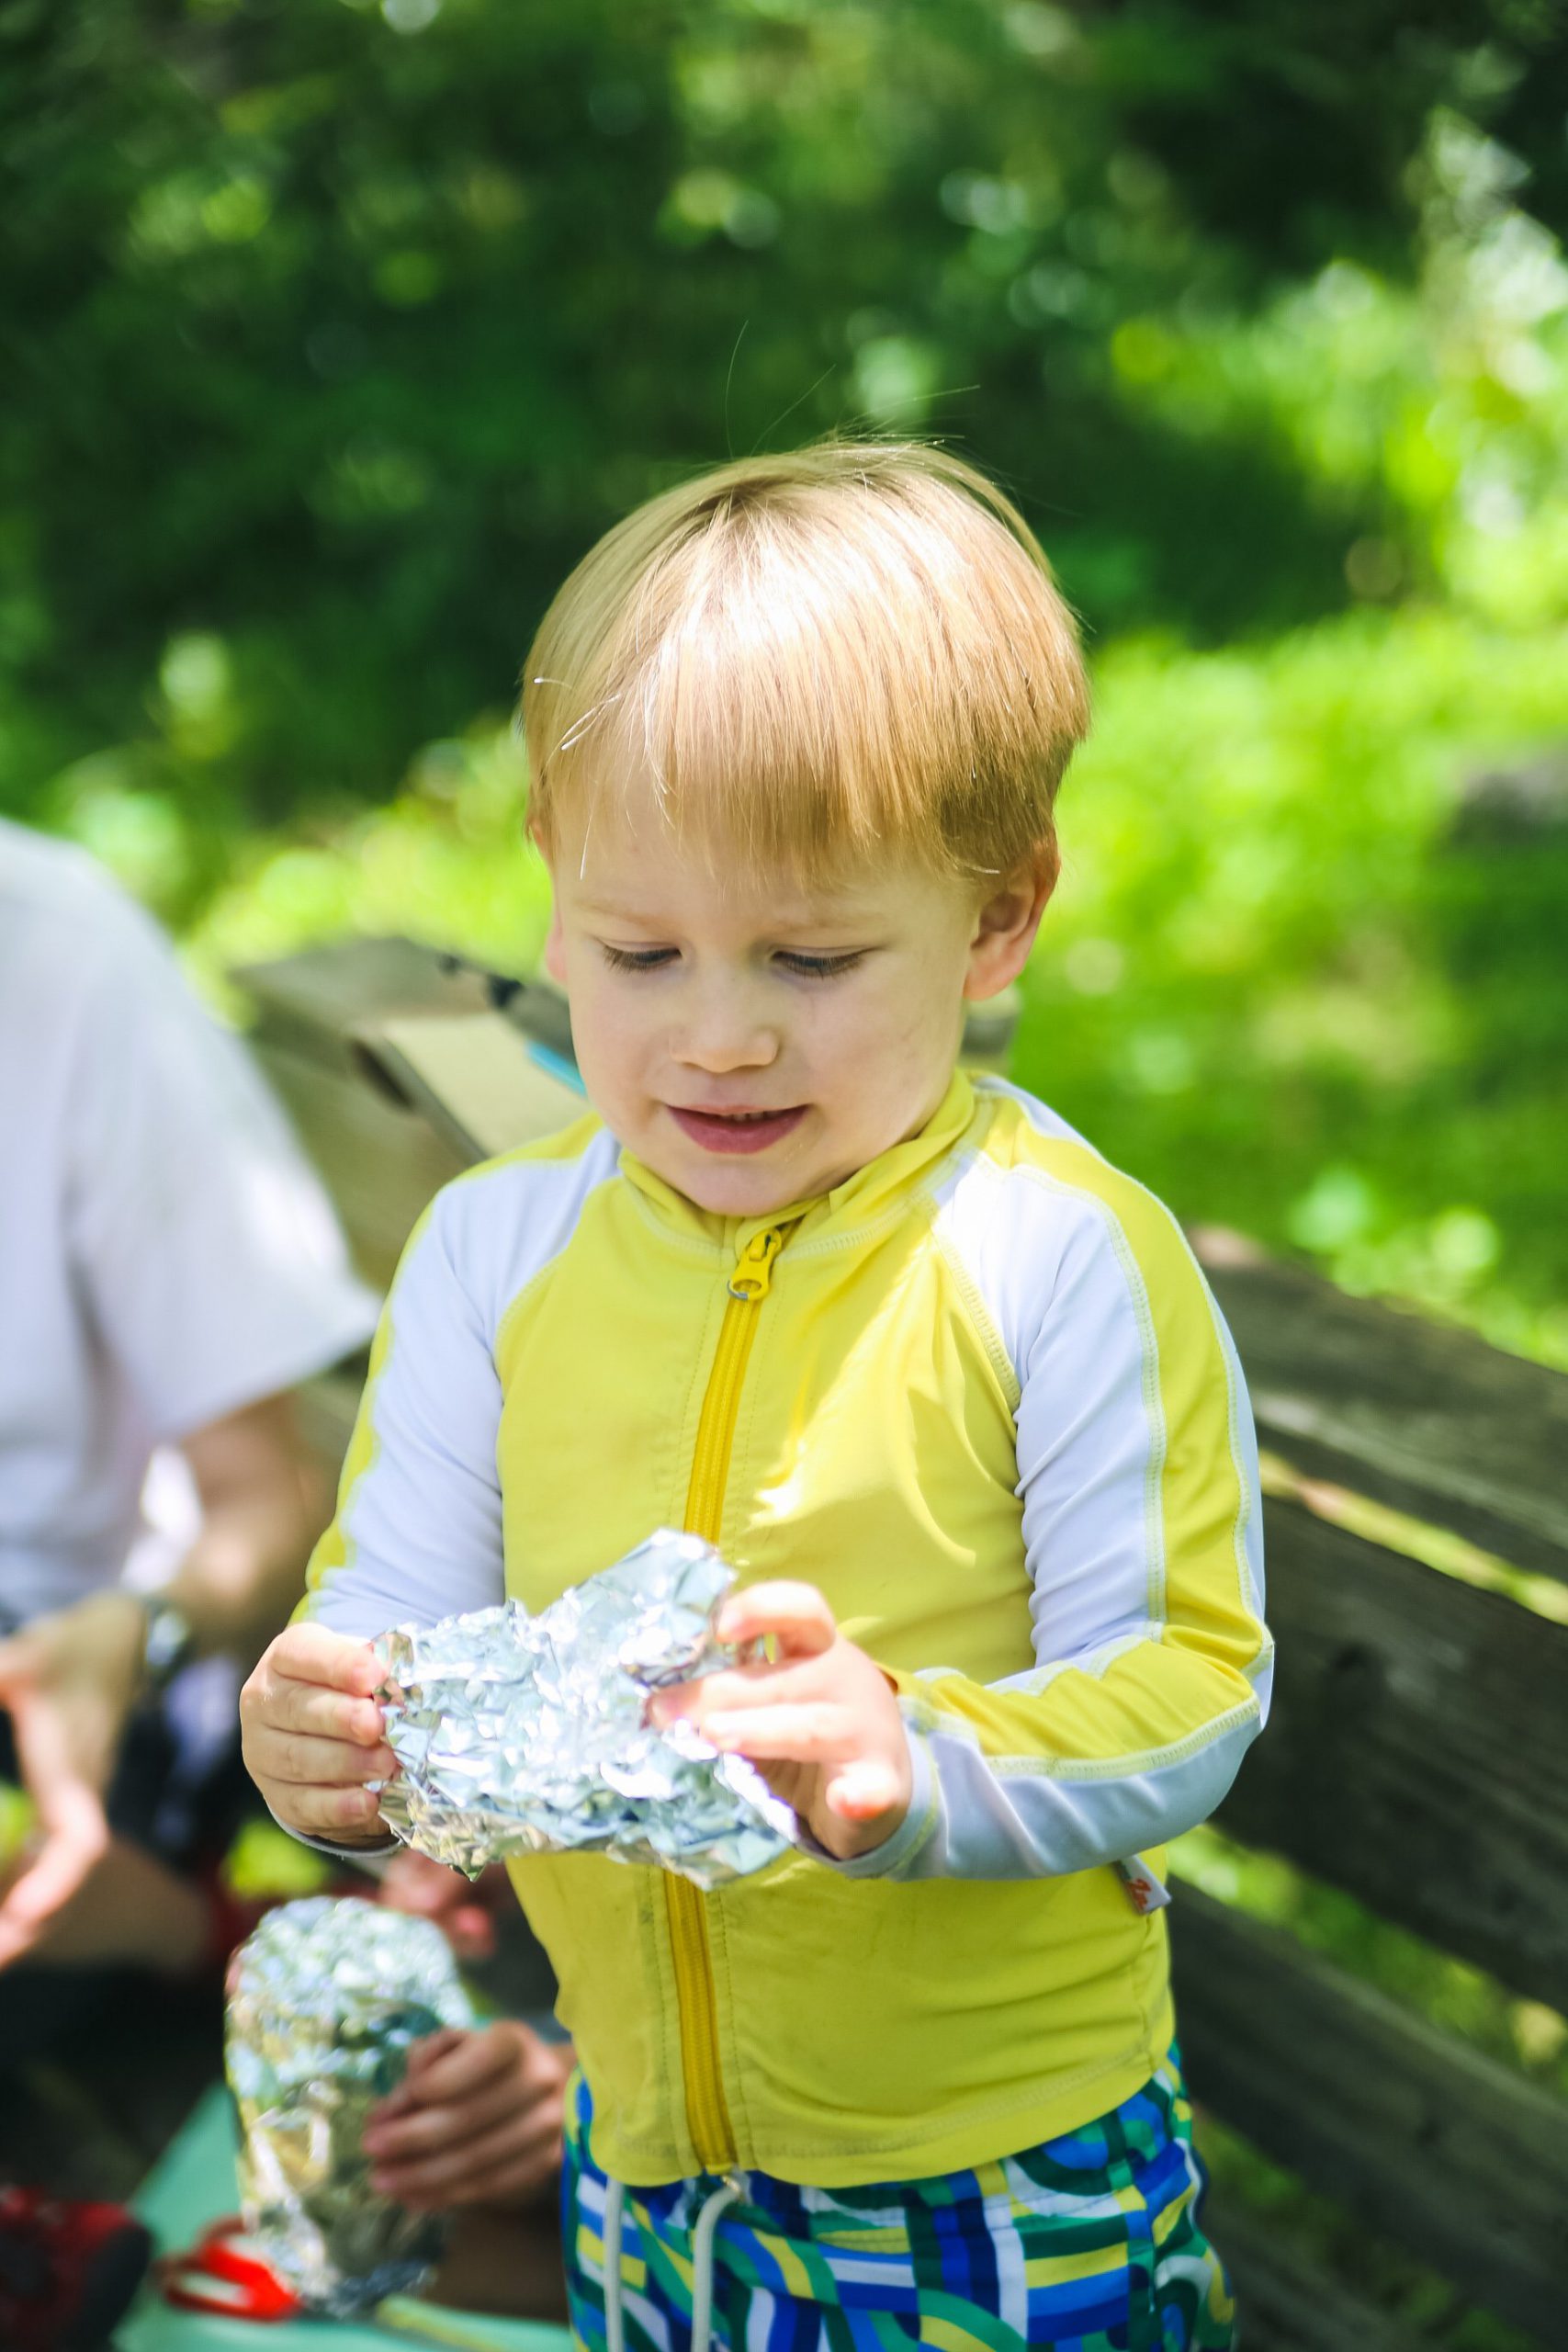
This craft is completely open ended. The fun part is using the tinfoil to create different sizes and styles of boats. The kids can literally create a anything their imagination can think of! For the sail, cut a sail shape out of the paper and stick it through with the toothpick. You can make little holes in the paper or just poke the toothpick through.
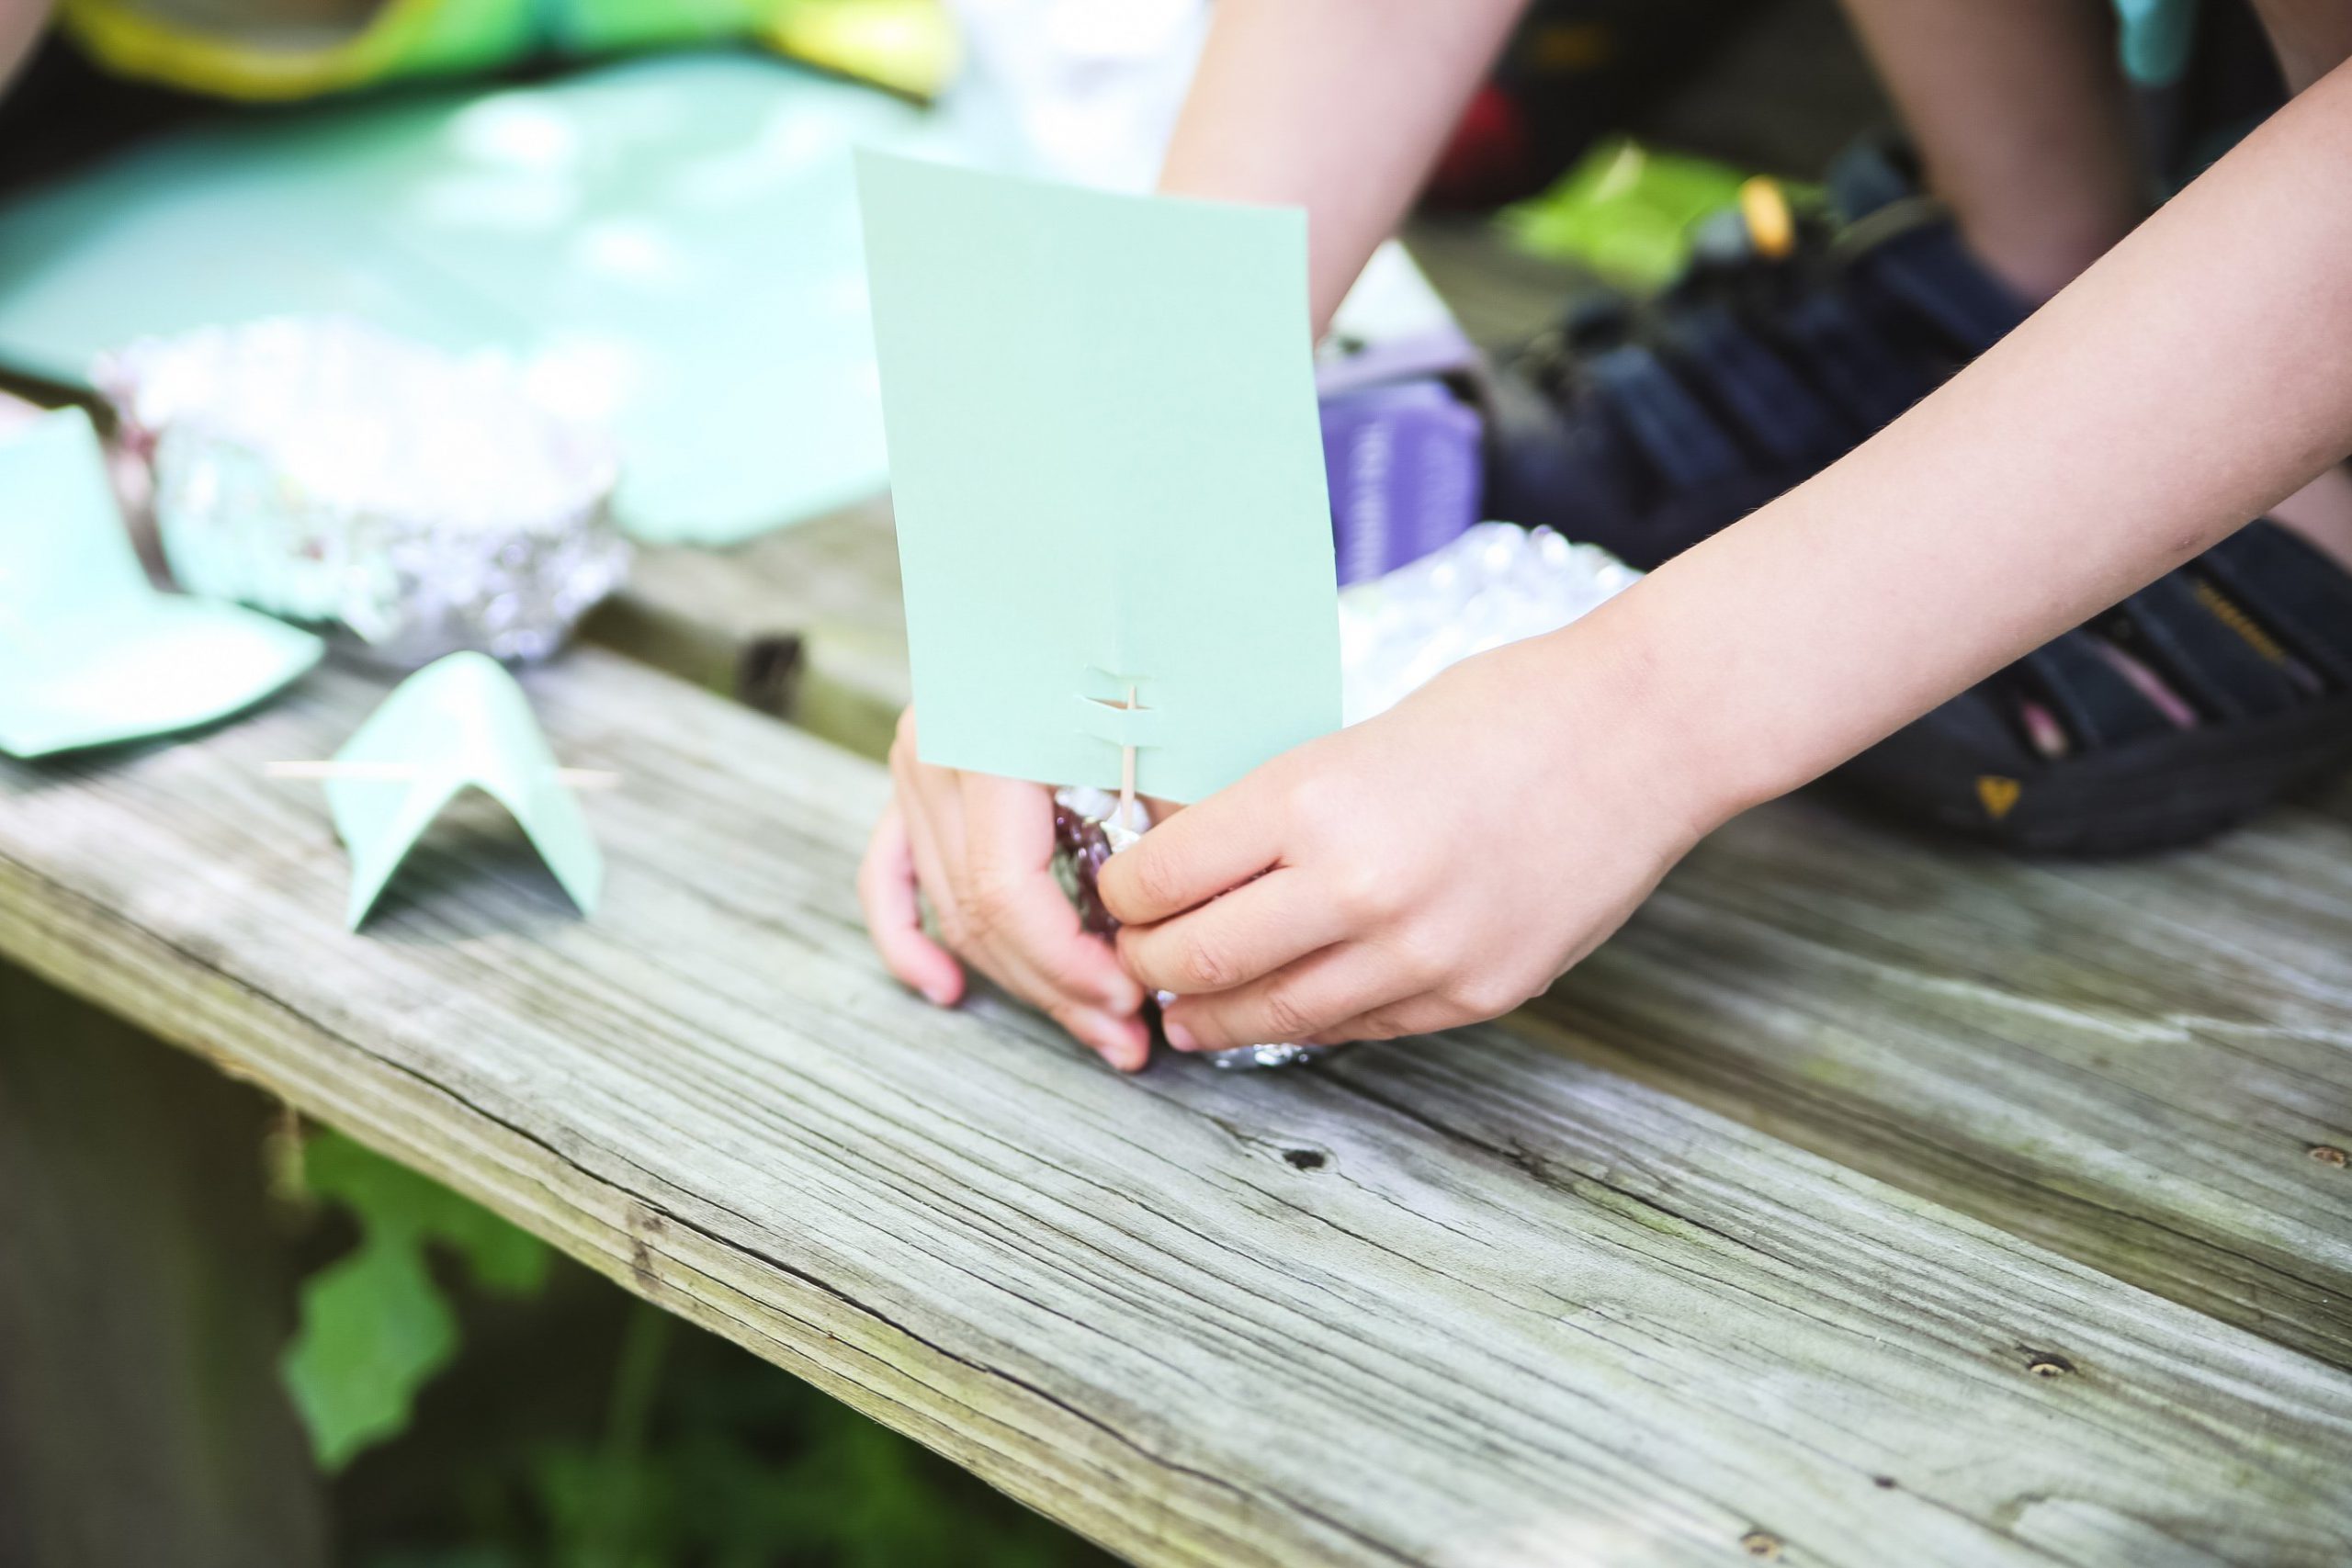
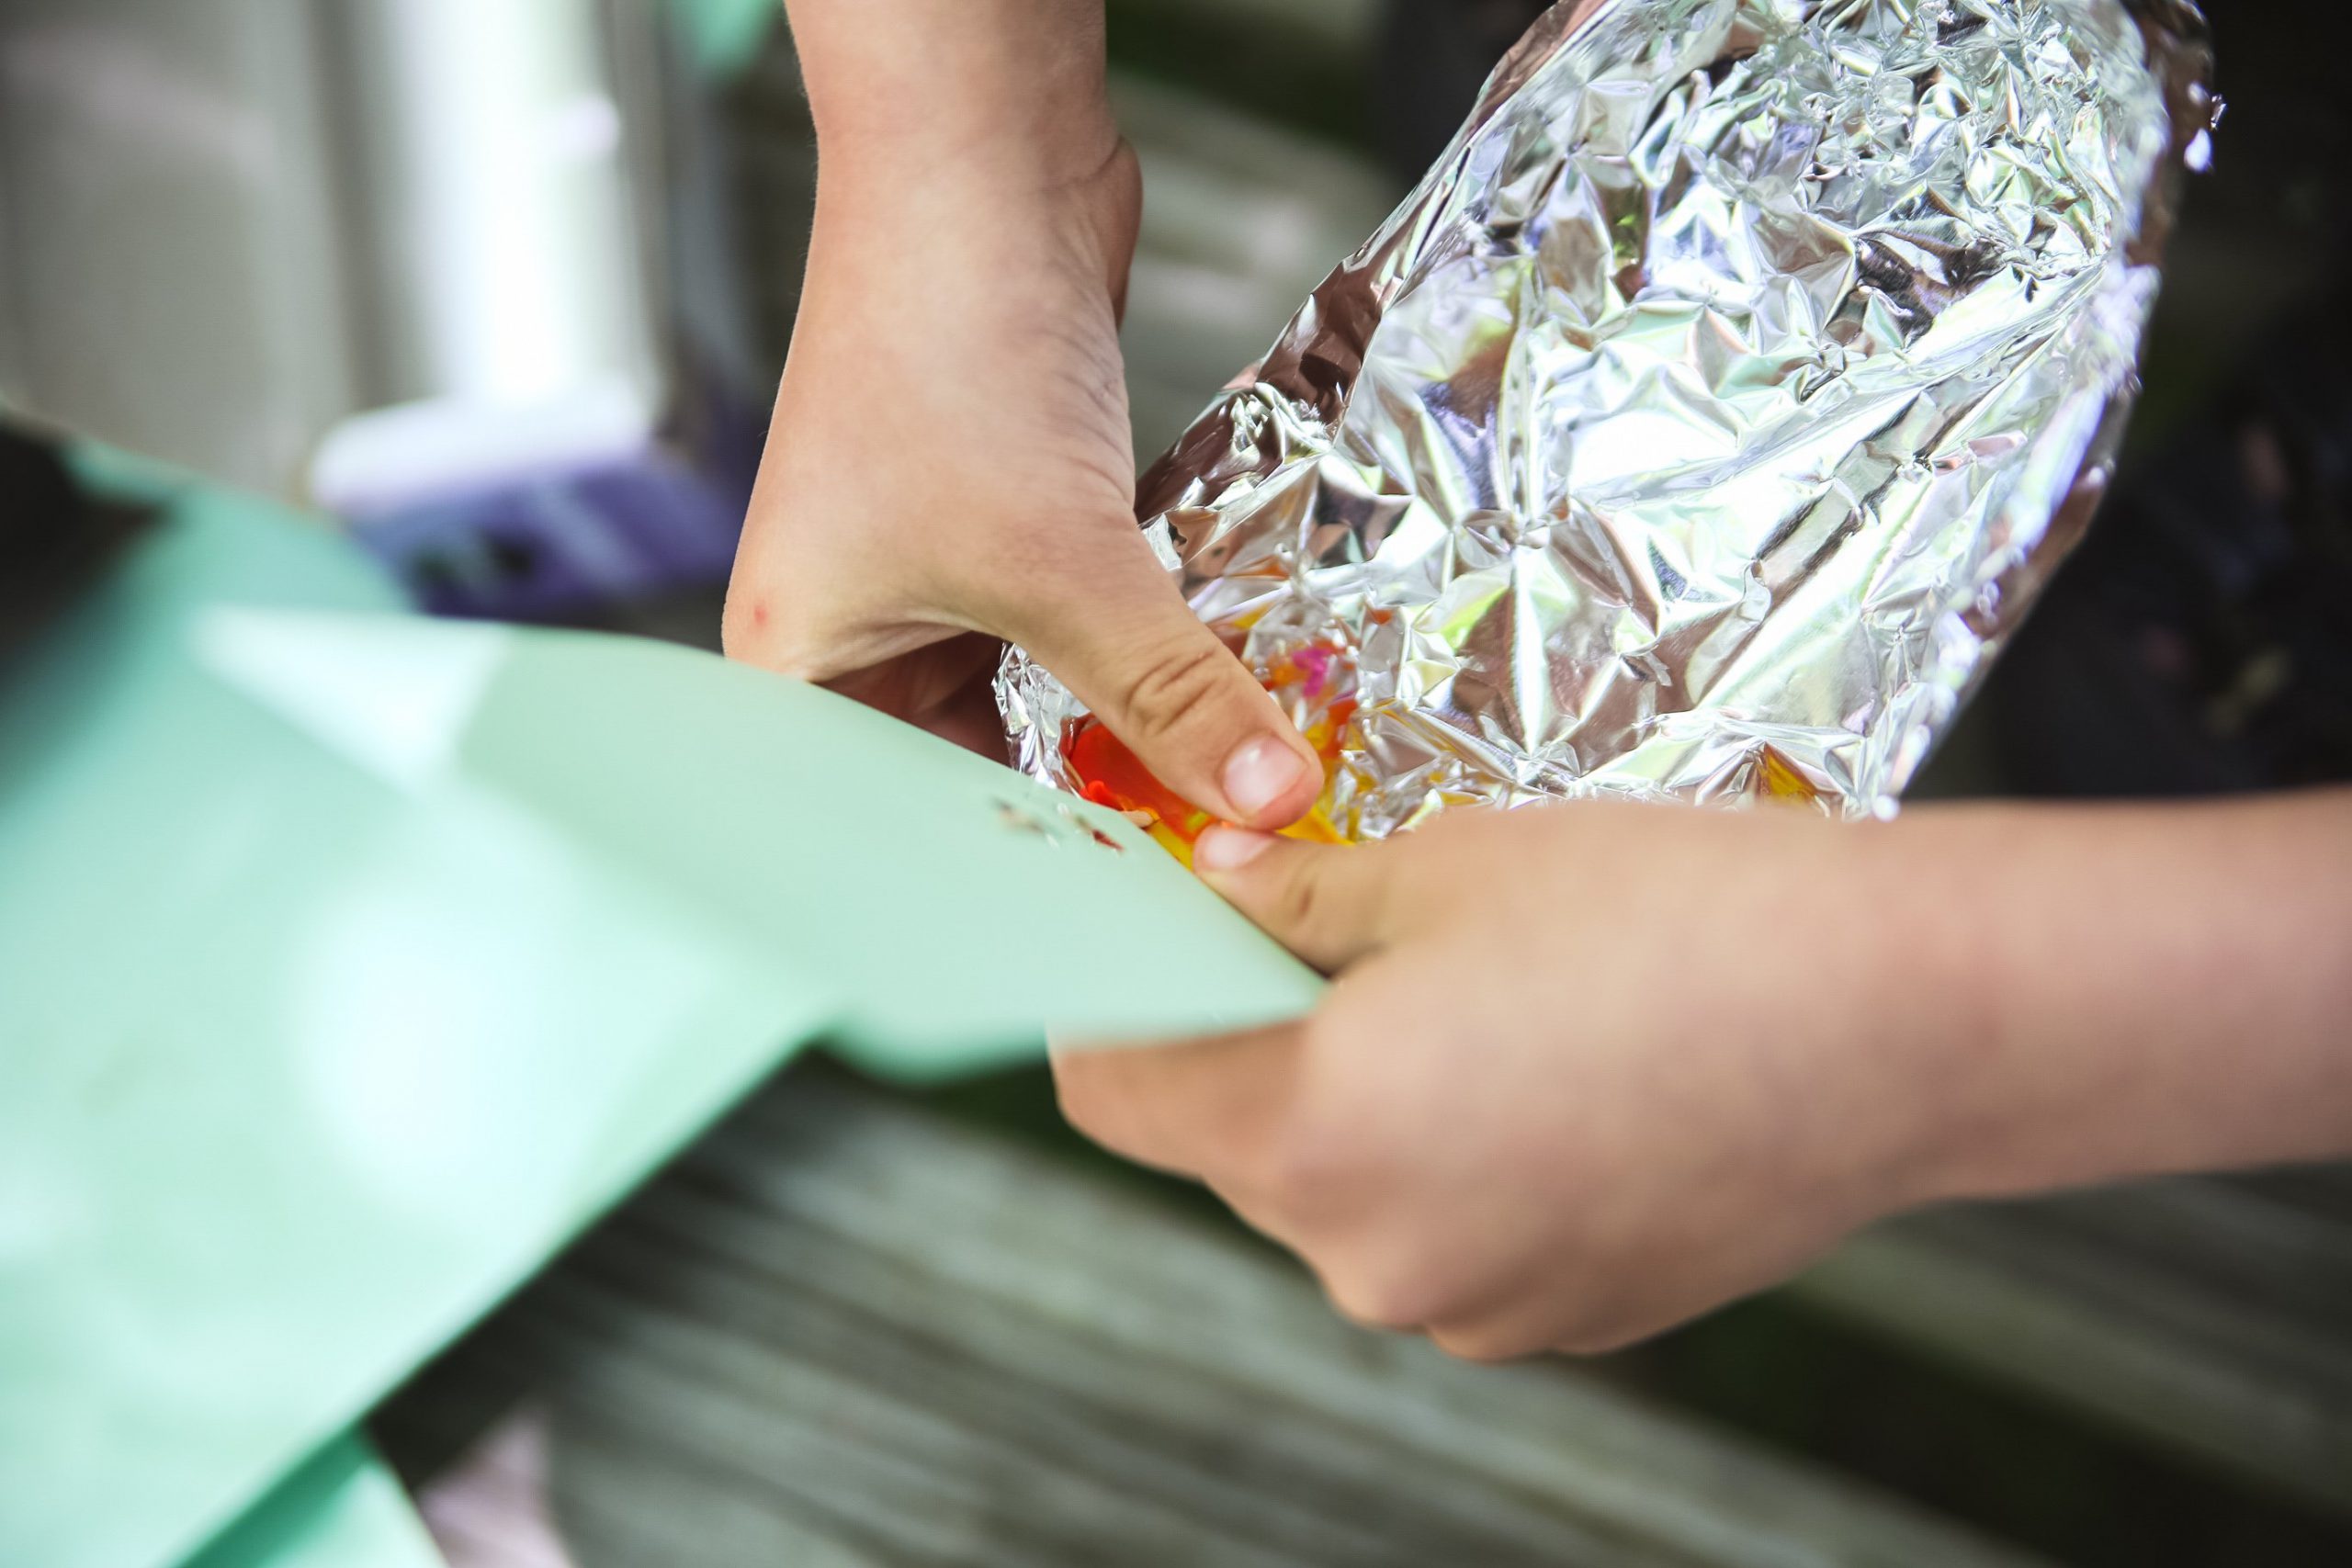
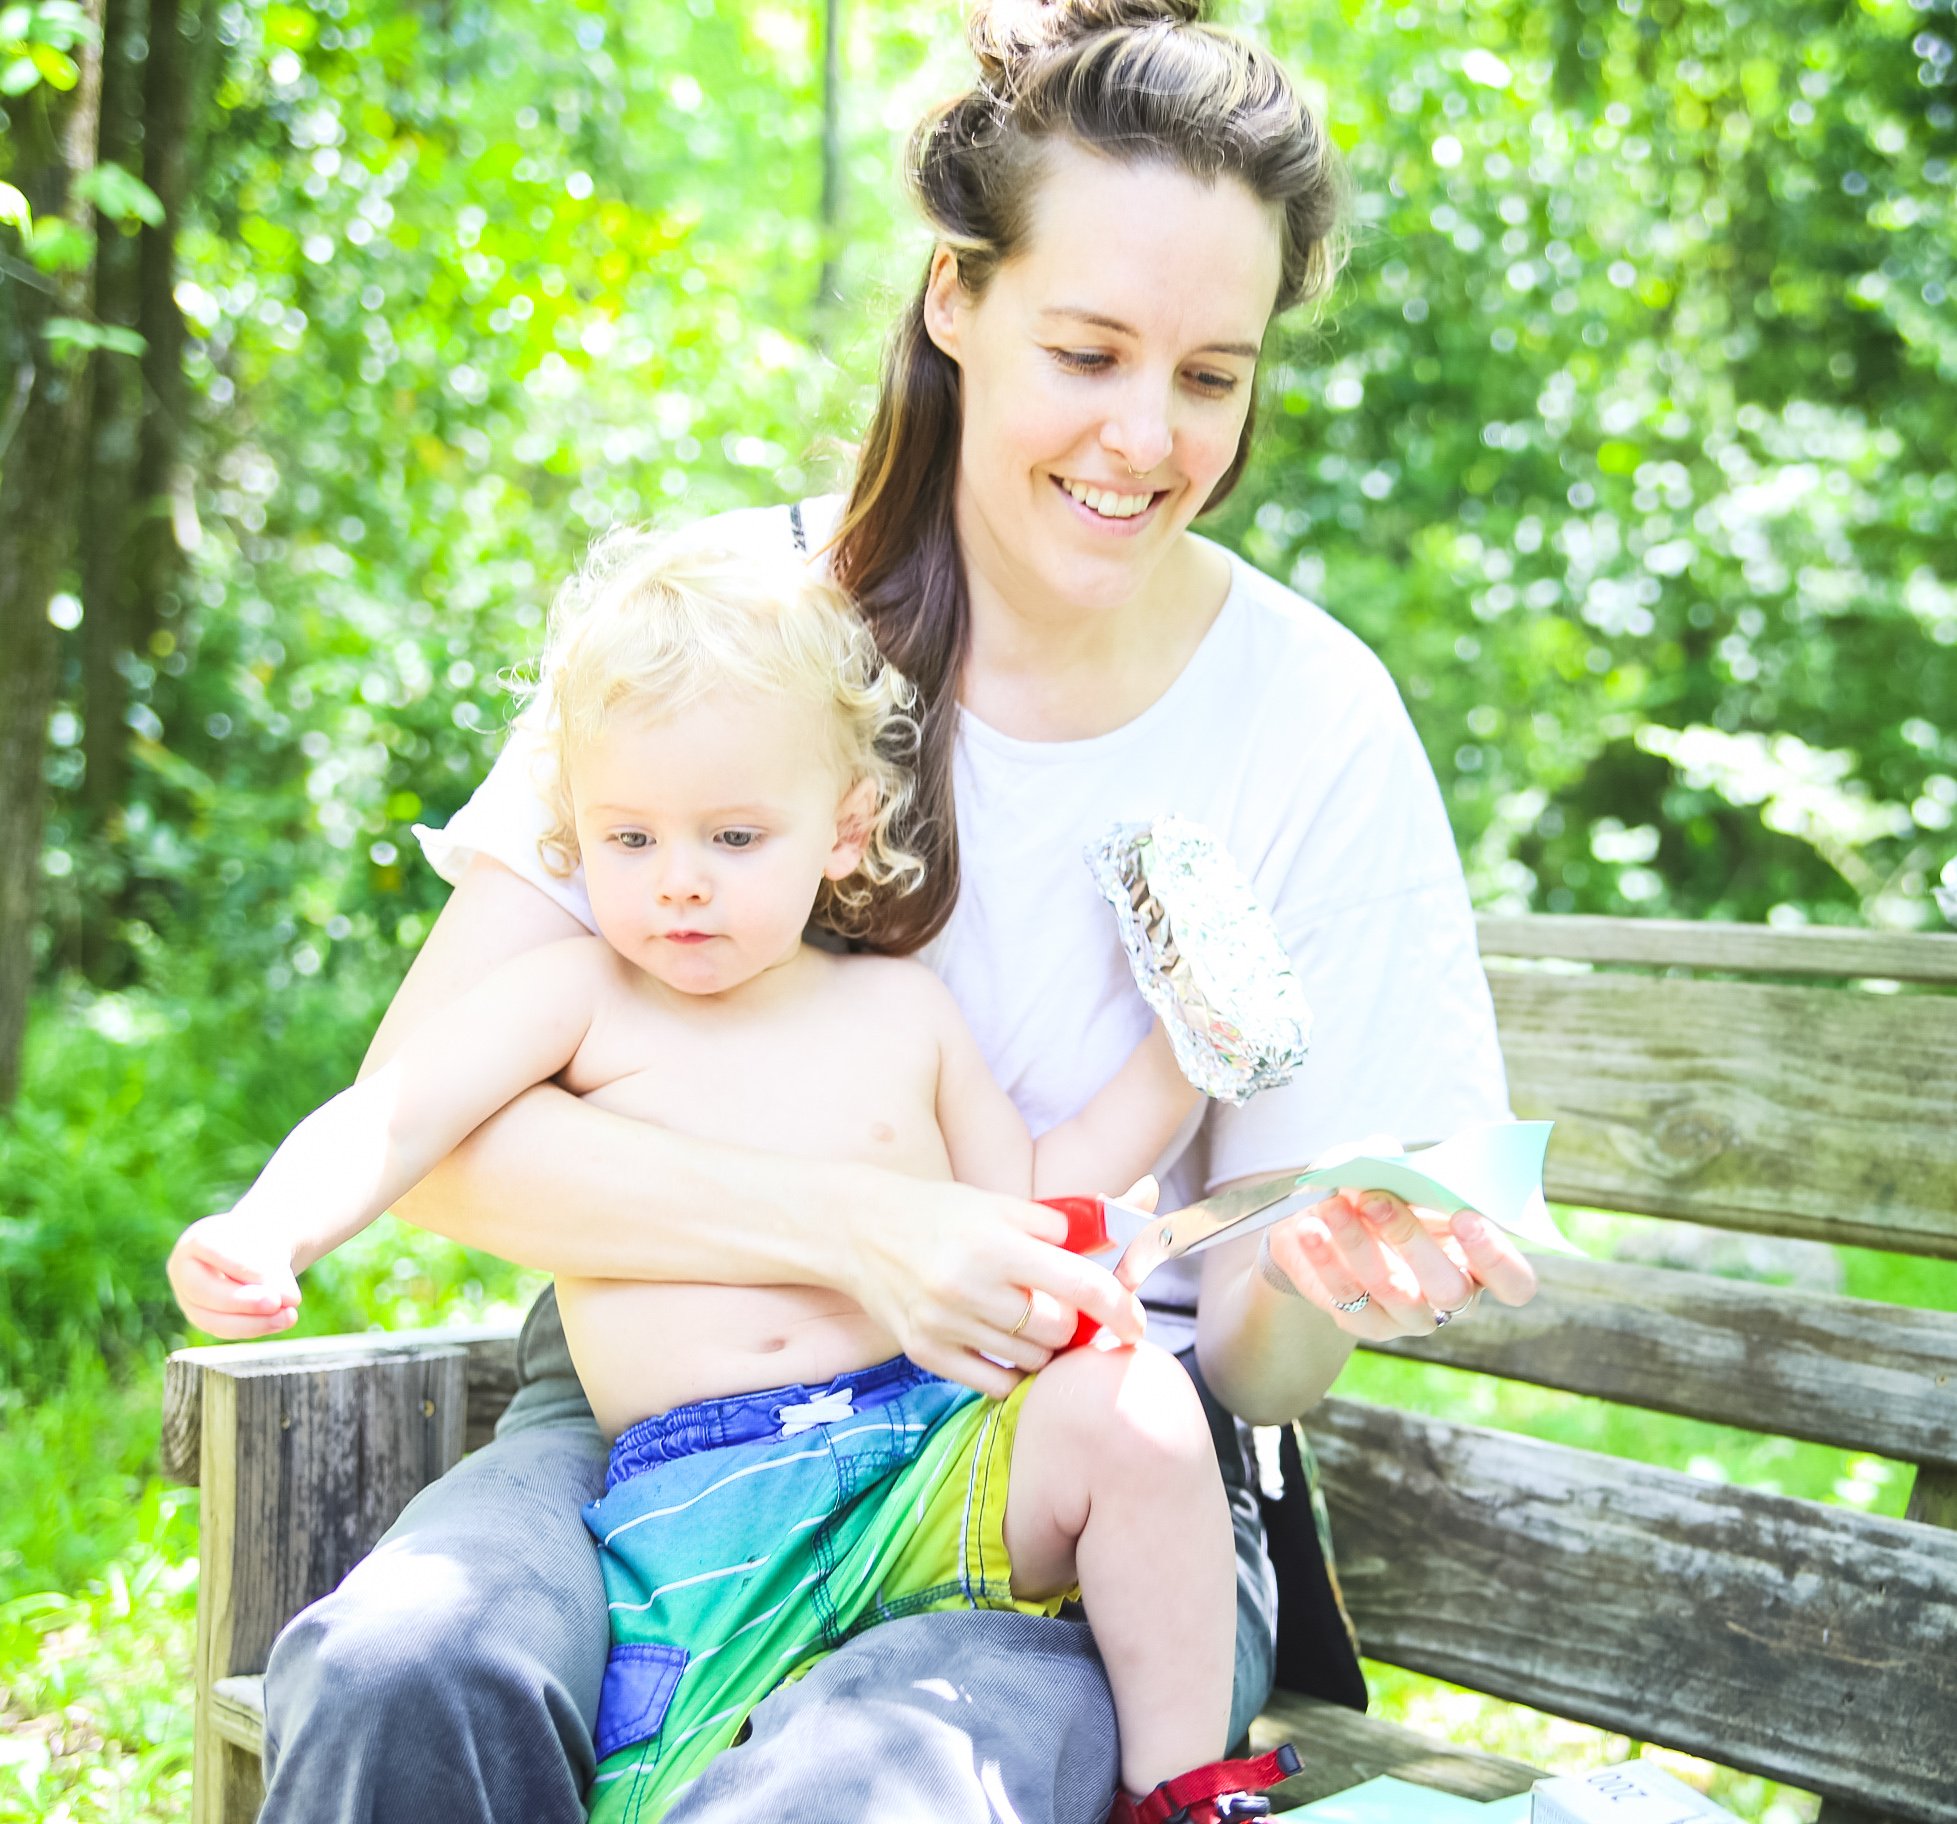
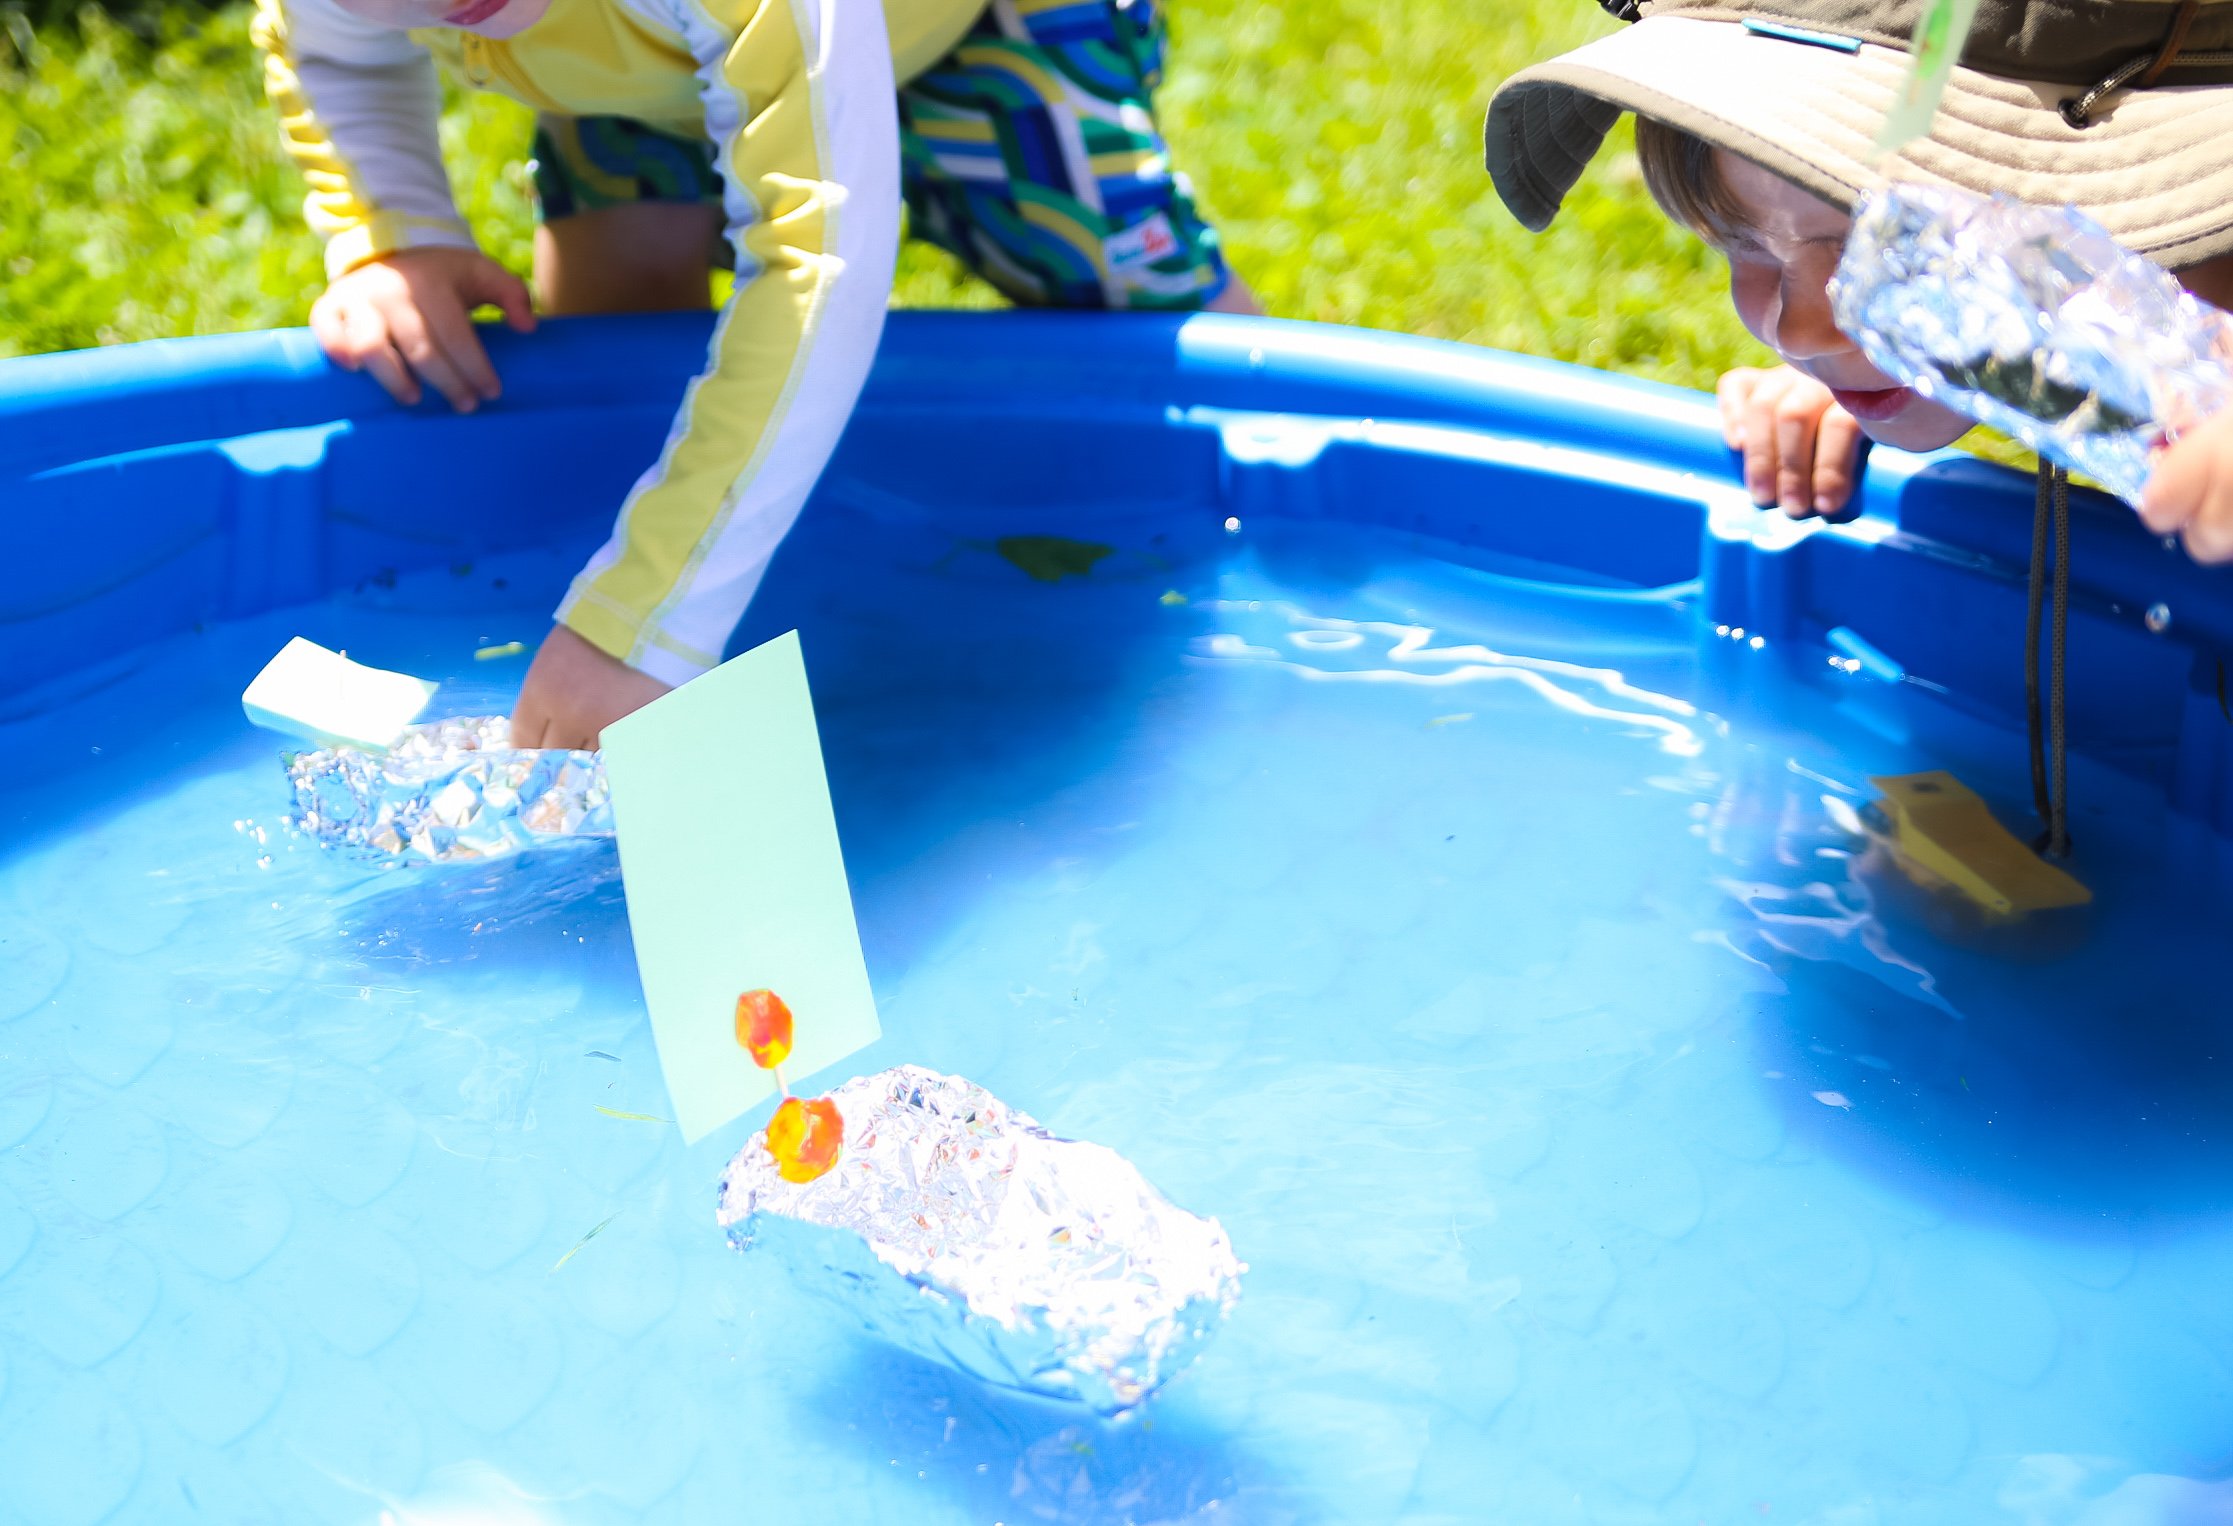
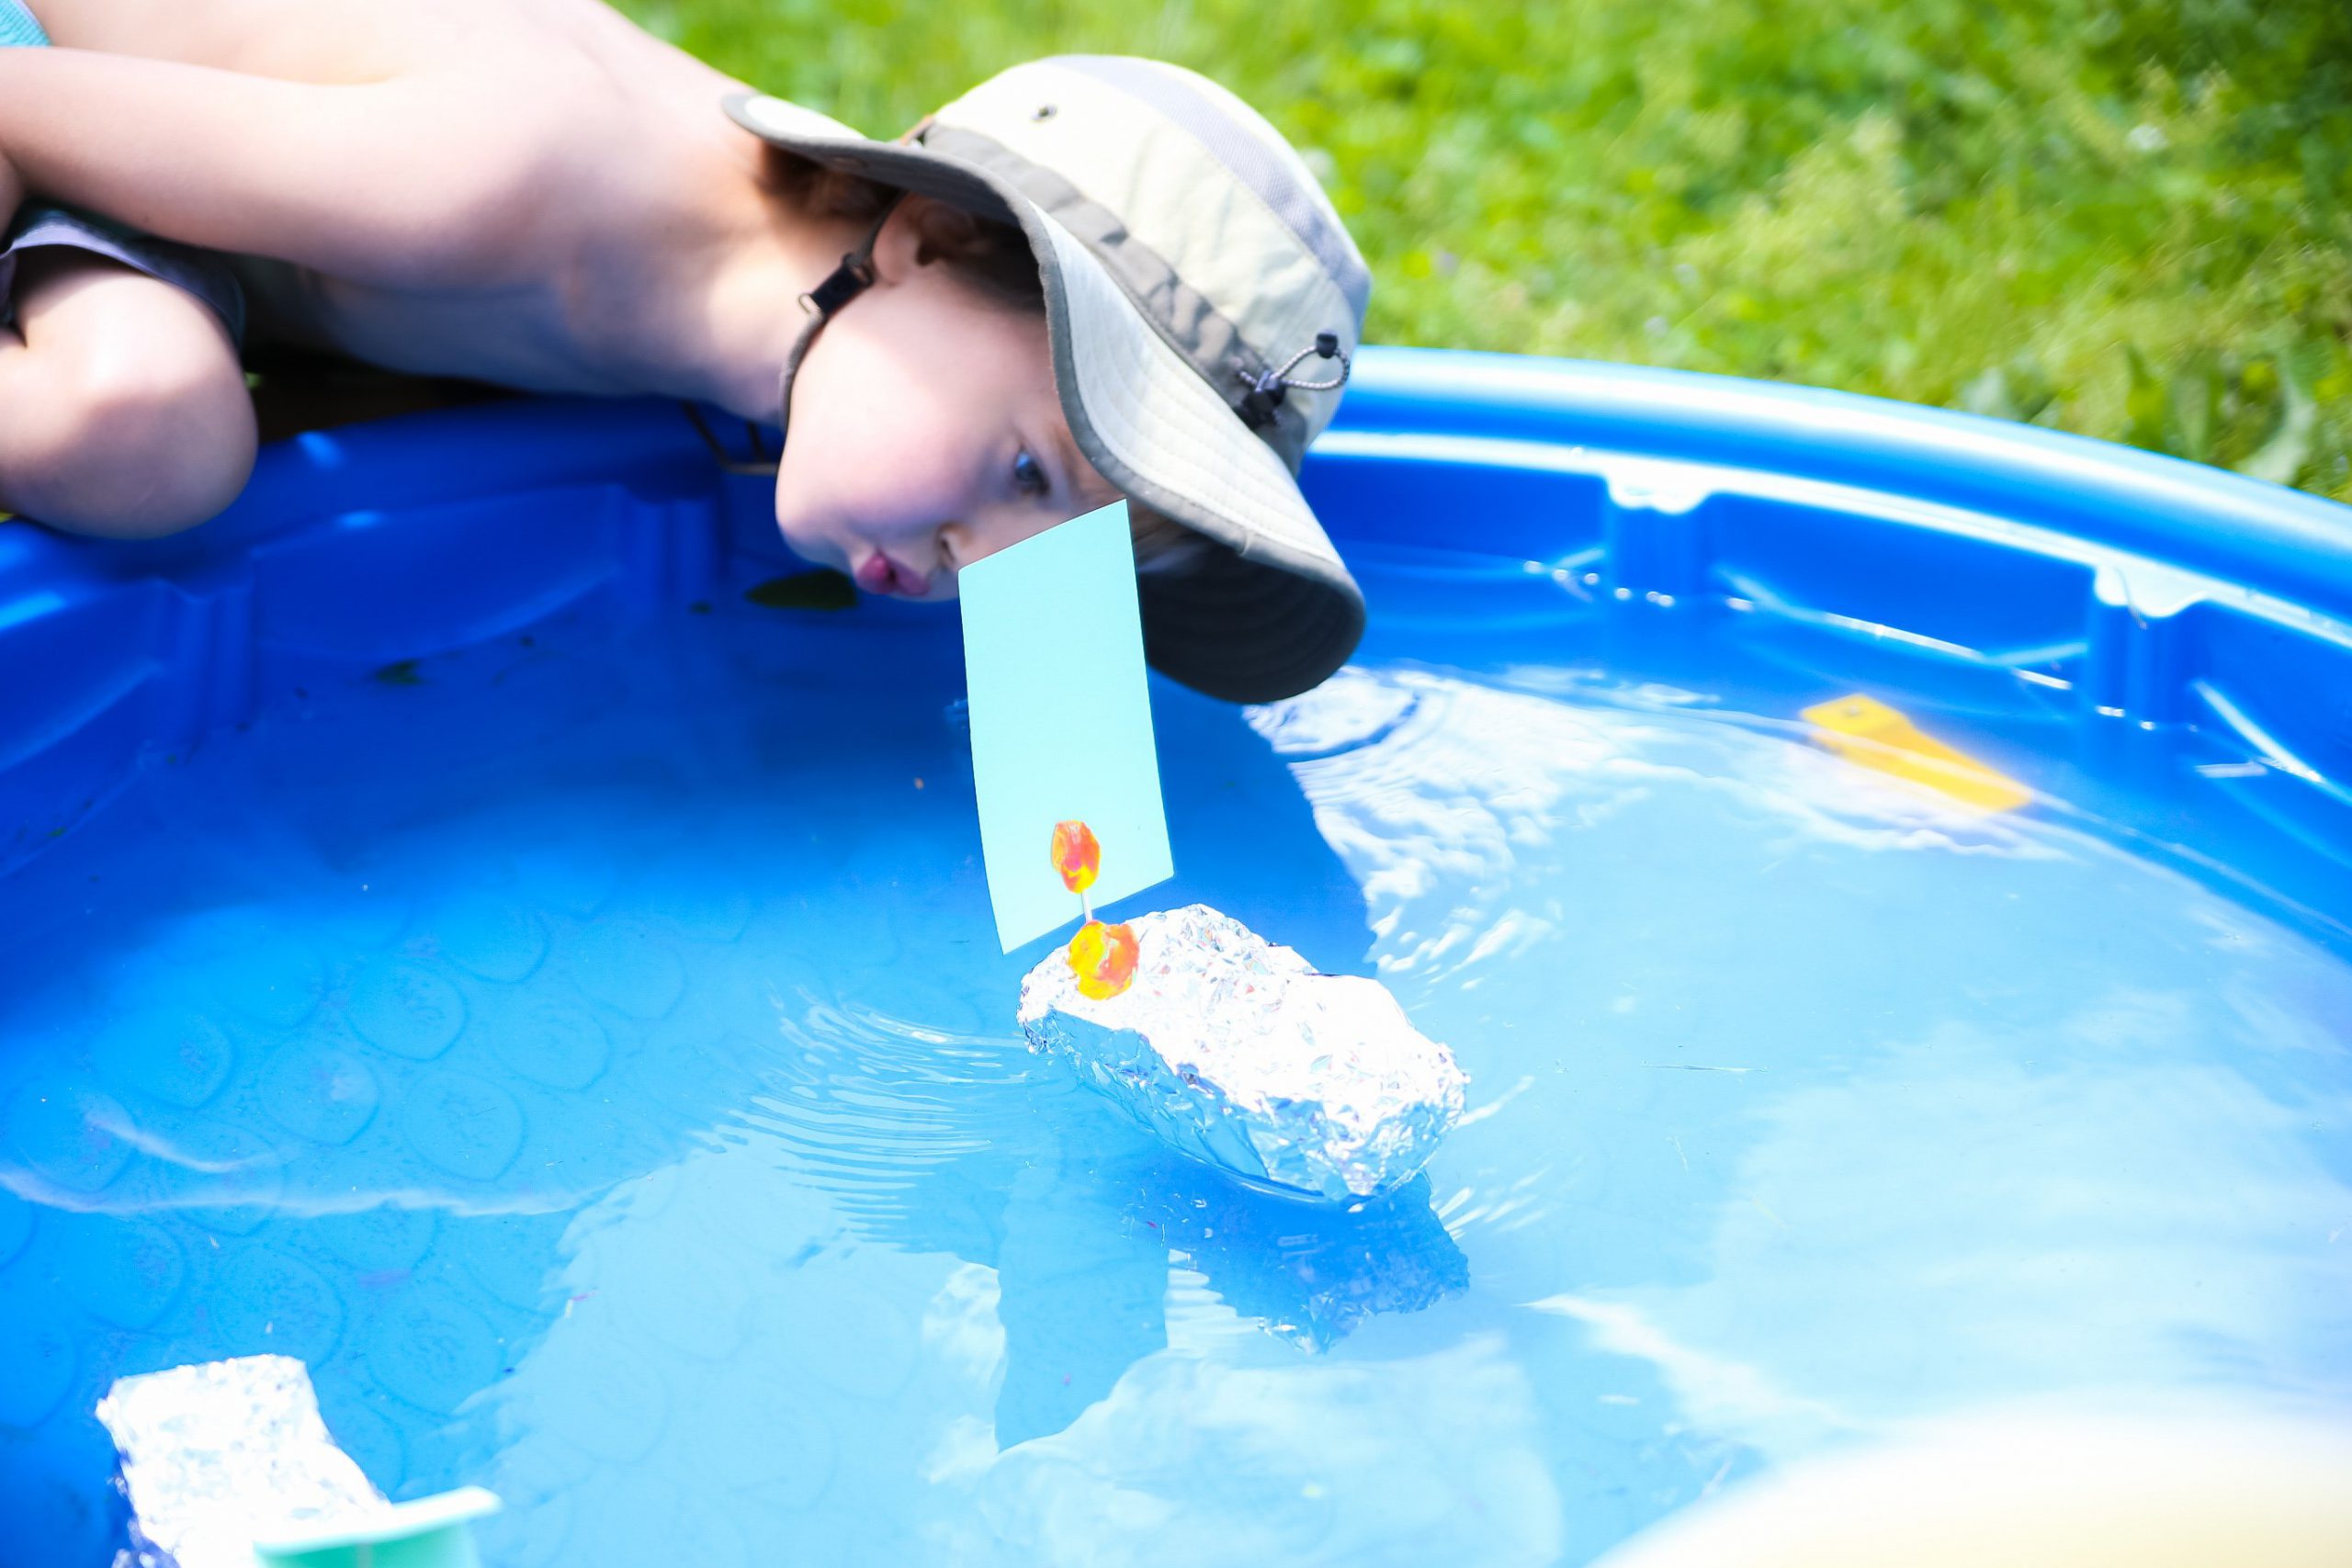
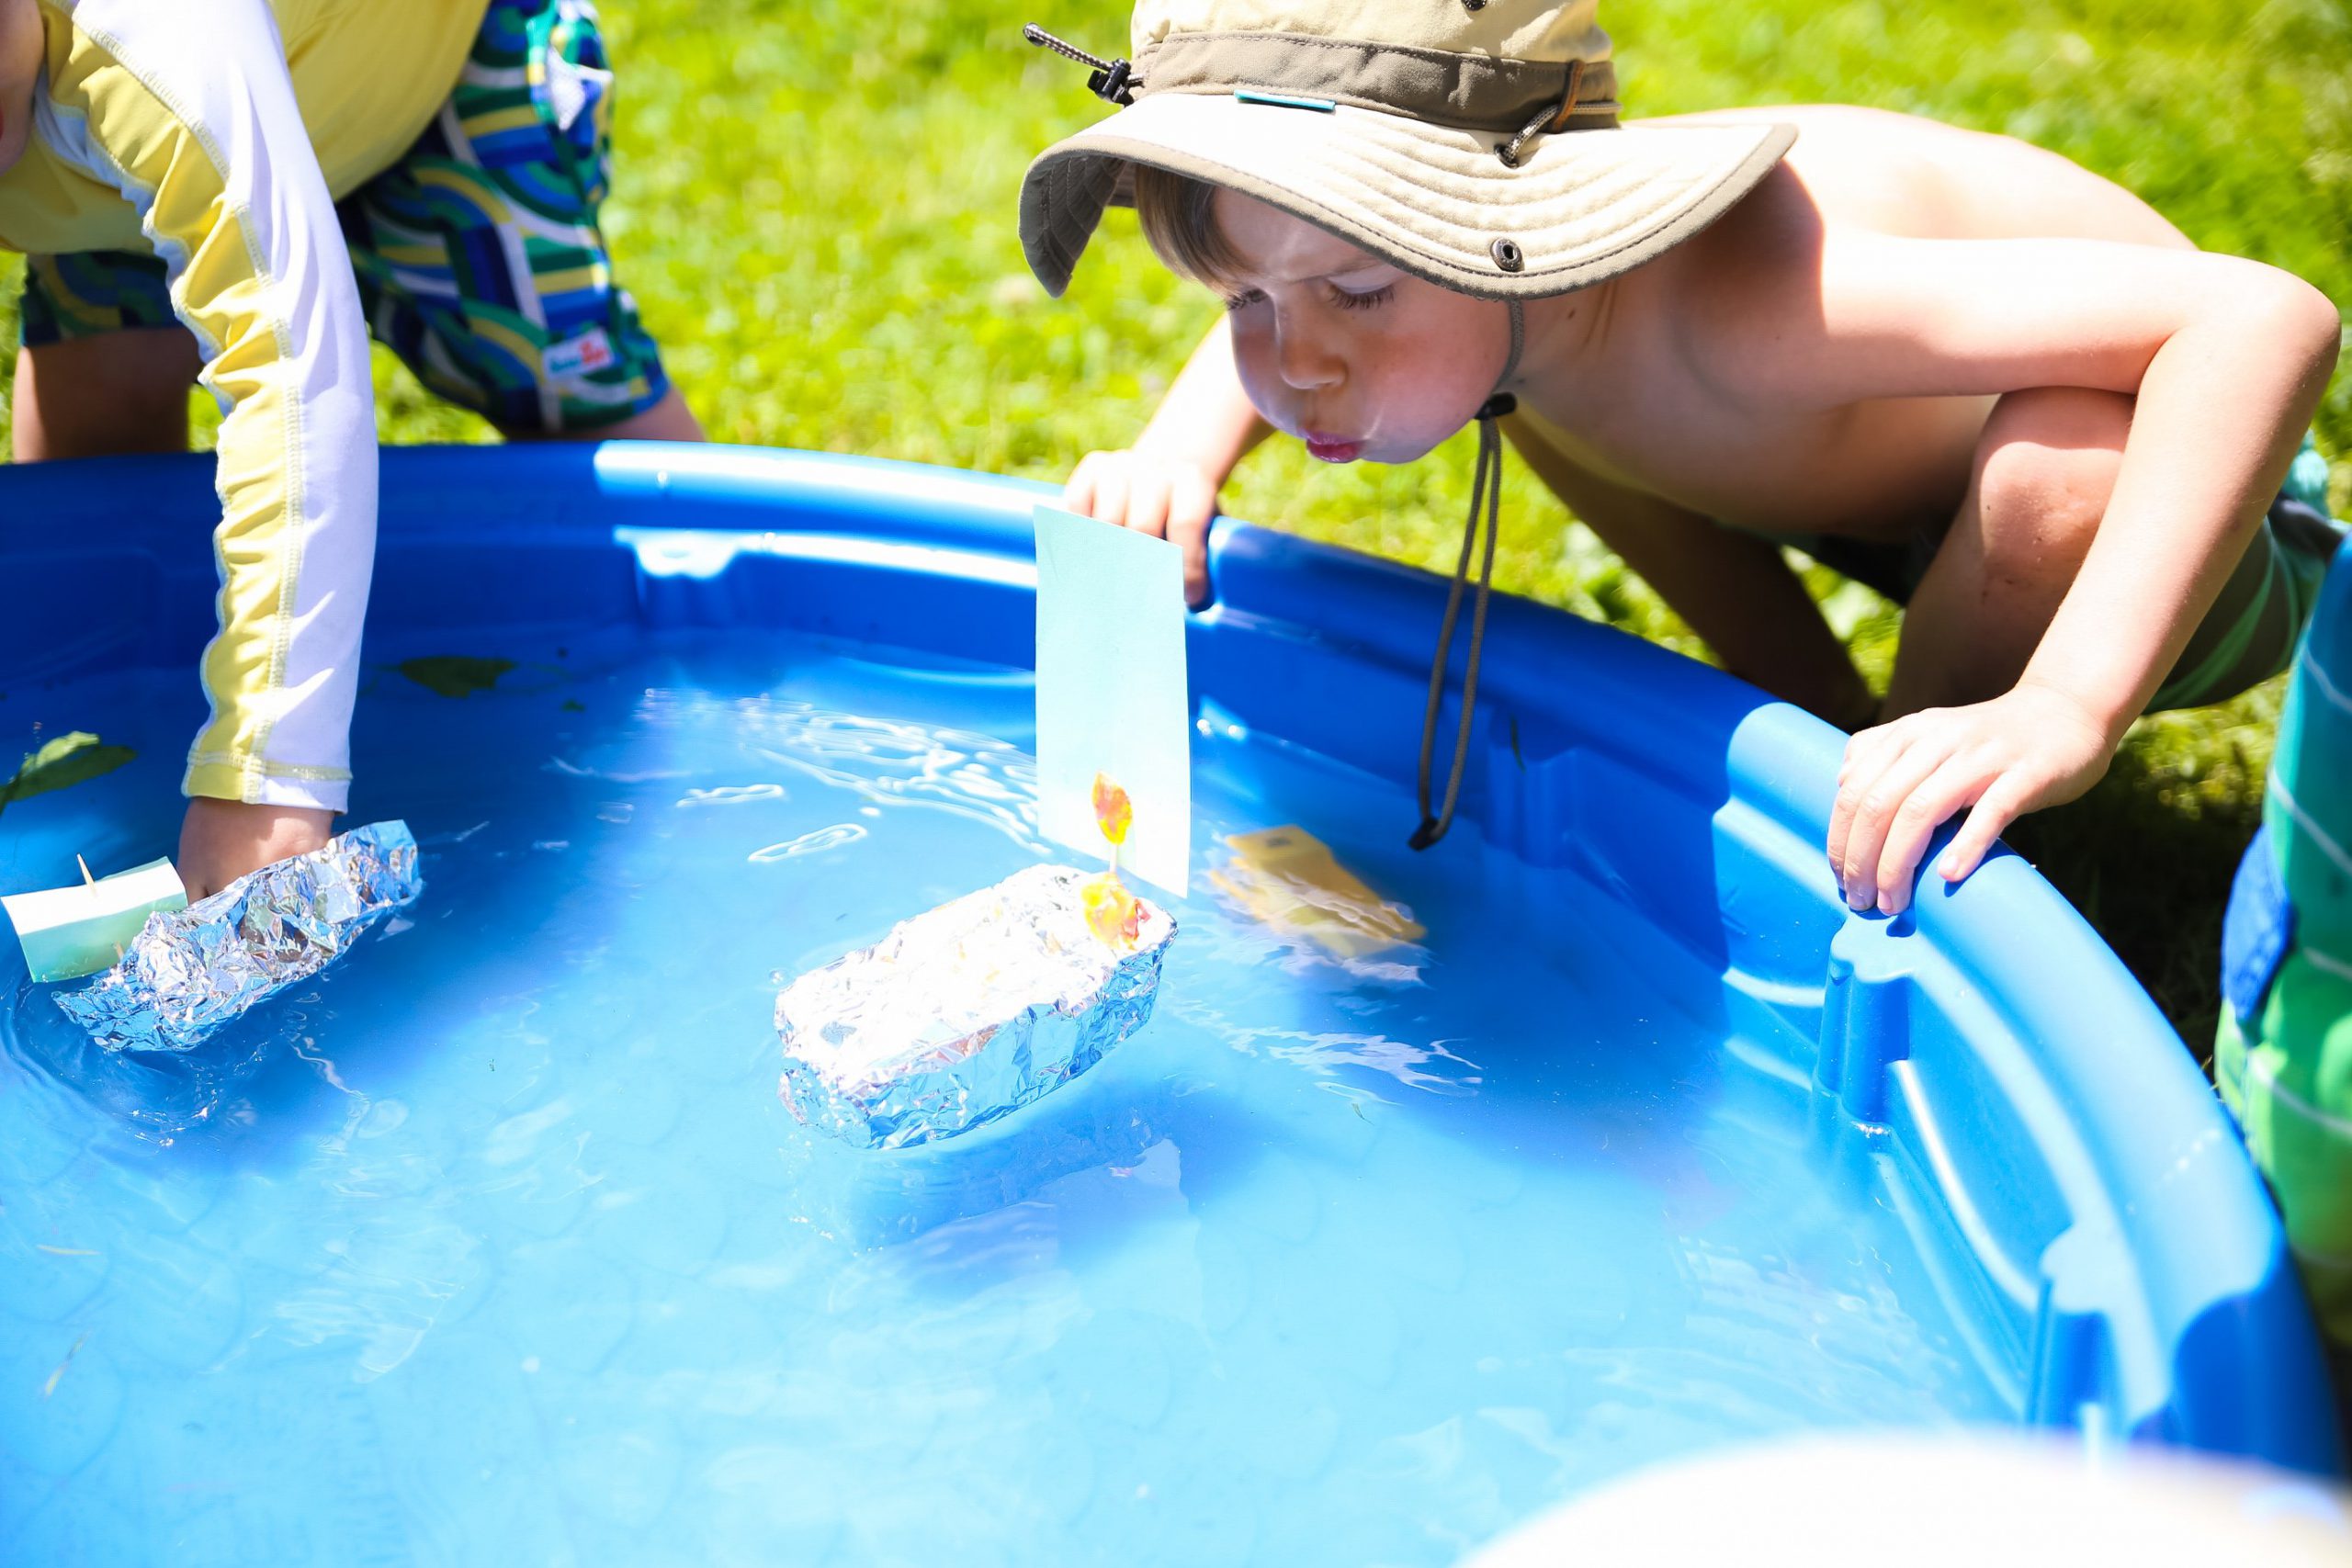
We used playdough to adhere the toothpick and paper sails to the boat. Then put it into the kiddie pool for a test ride! The boats all worked! Obviously the 2 year olds almost immediately capsized their boats, but the 6 year old was captivated by how it worked. He loved blowing it around the pool and watching his “wind” power the boat!

Did you try this craft? Tell us below!
The post Earth Day 2020 appeared first on Not So SuperMom VS Society.
]]>The post Rainbow Fun appeared first on Not So SuperMom VS Society.
]]>
On Monday we woke up to find that the crazy storms knocked over a huge tree in our front yard. Finn is having the time of his life exploring it and we were lucky that it didn’t do much damage. Our luck inspired me to make some fun rainbow crafts, because after all, after every storm, comes a rainbow!
Instructions
Steps:
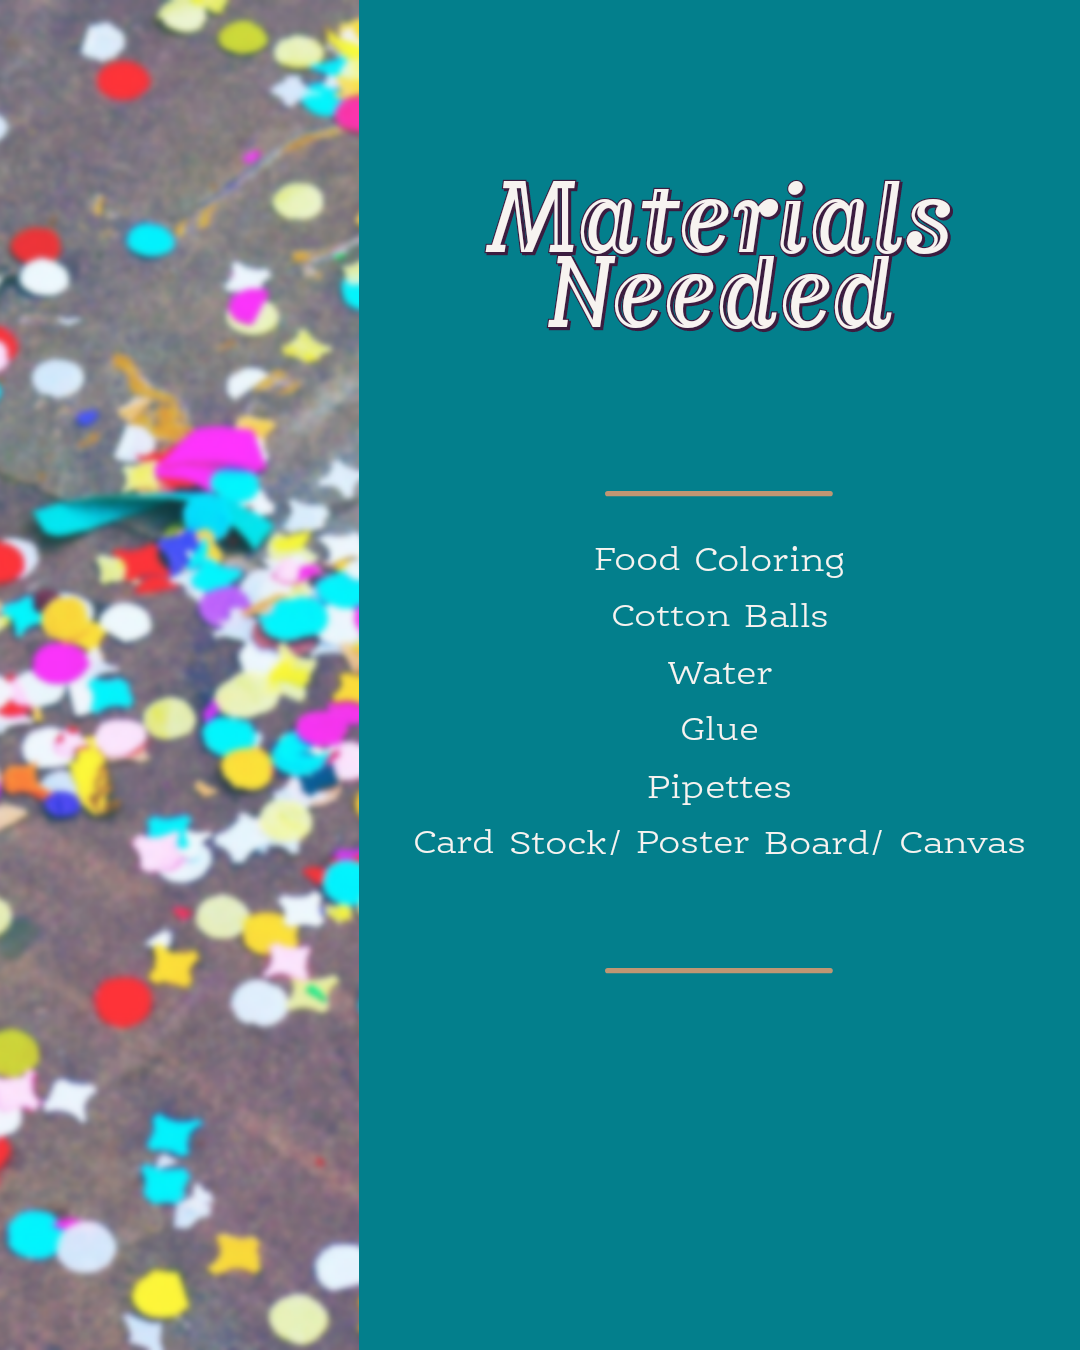
- Add adhesive to your chosen sturdy paper/canvas. I used Elmer’s adhesive spray, but you can use almost any glue.
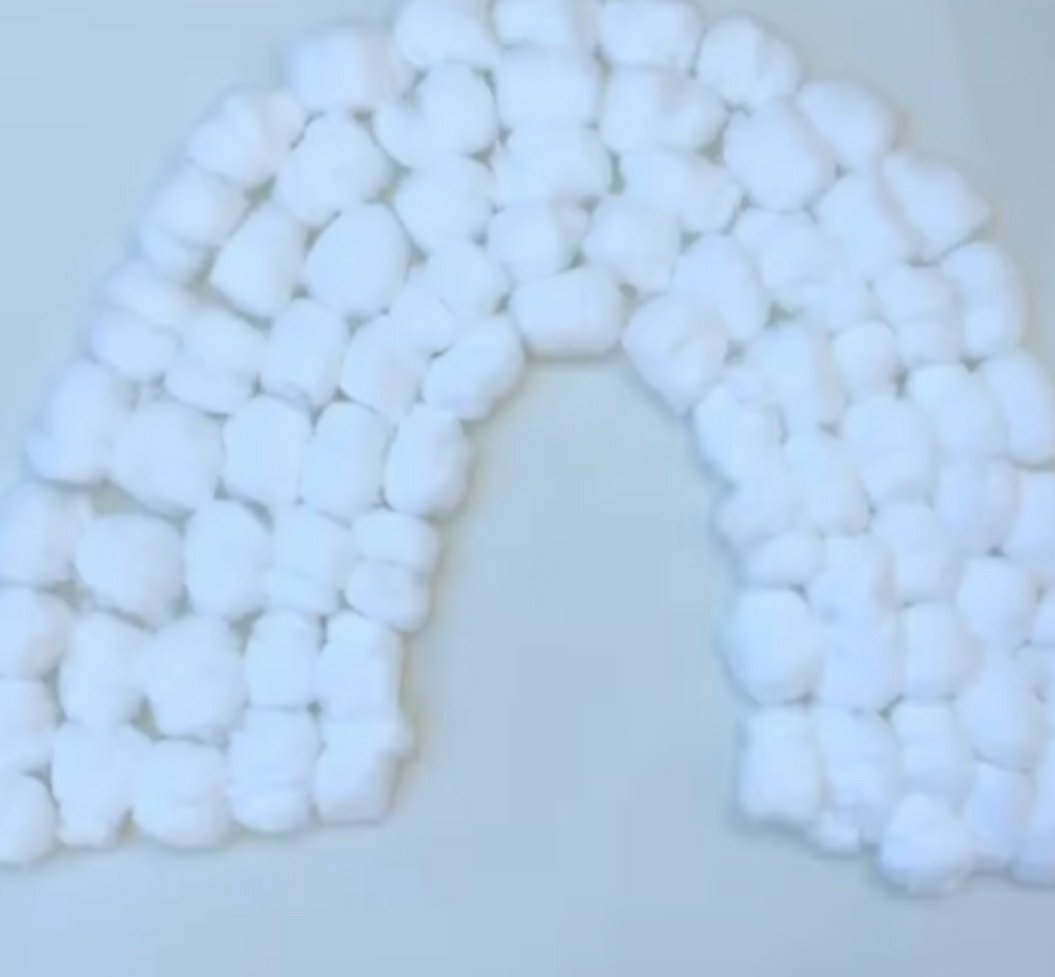
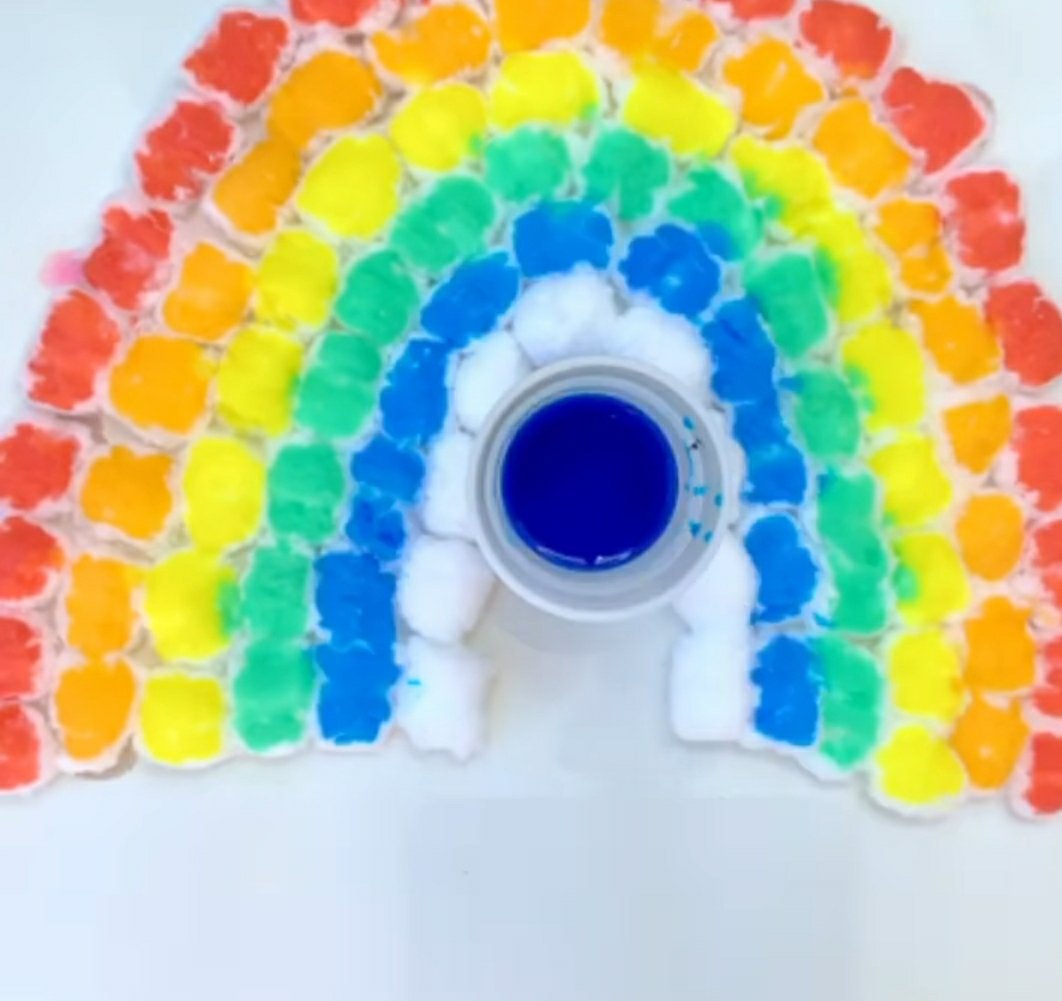
- Place cotton balls in rows that form the shape of a rainbow.
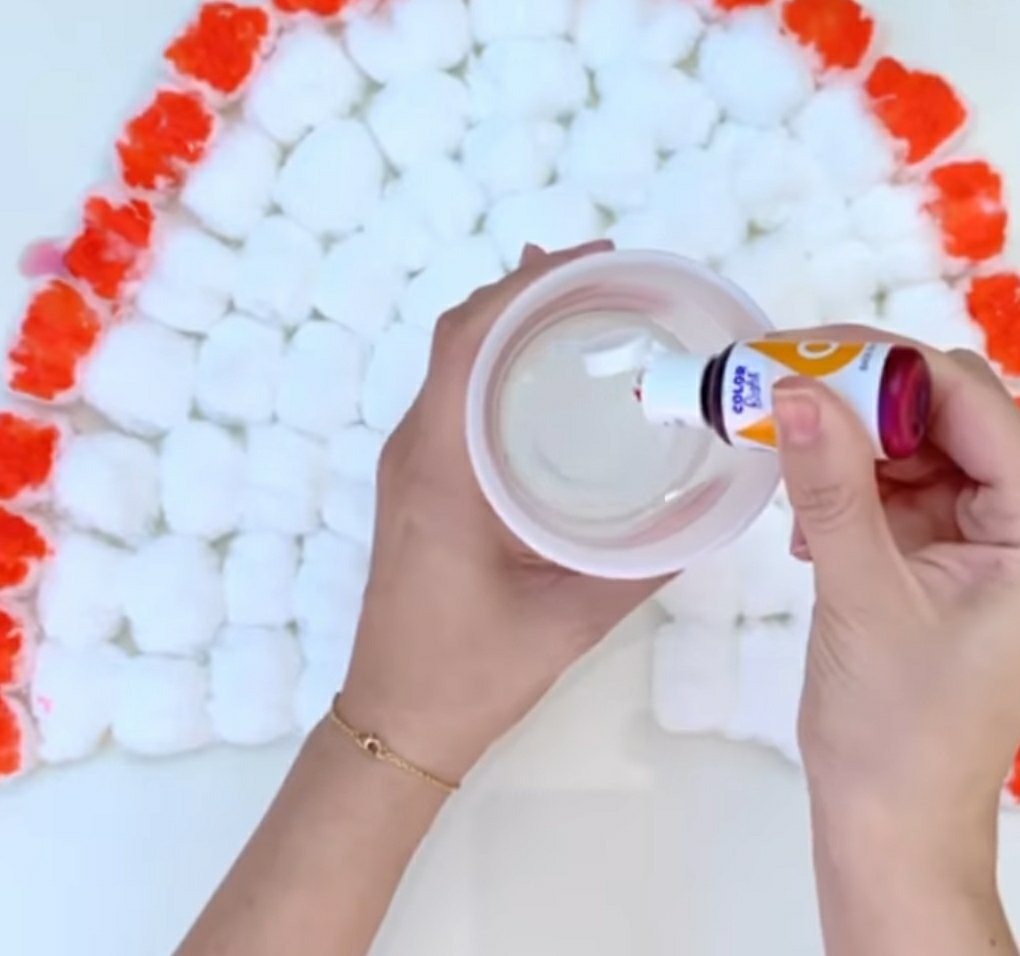
- Start with red food coloring and make a cup of red water.
- Use your pipette to add water to your outer layer.
- Work your way through the colors of the rainbow, working inward.
This is a super cool craft and the further into the rainbow you go, the cooler it gets! Talk to your kids about why it absorbs and how the colors start to blend in together. It’s also a cool way to talk about weather- the cotton balls are like clouds and the more water you add to it, the less it can absorb until it starts to “rain.” Also, I highly recommend using a thick poster board or a canvas for this. The more water you add, the heavier it gets, so thinner papers will tear under the strain and also be at risk for also absorbing the water.

Steps:
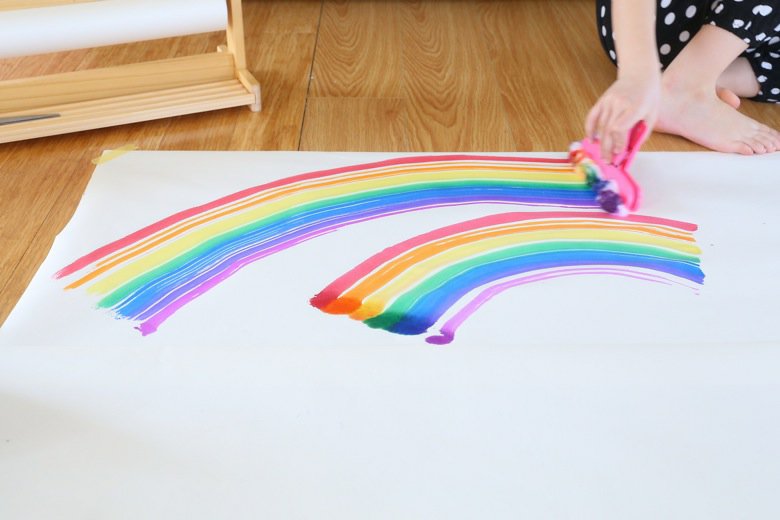
- Using cups or an ice cube tray, place a drop or 2 of food coloring in each spot, utilizing all colors of the rainbow.
- Fully immerse a cotton ball in each color.
- Take your soaked cotton ball and place it in the chip bag clip, forming a rainbow.
- Use chip clip on your canvas/paper, creating beautiful works of art.
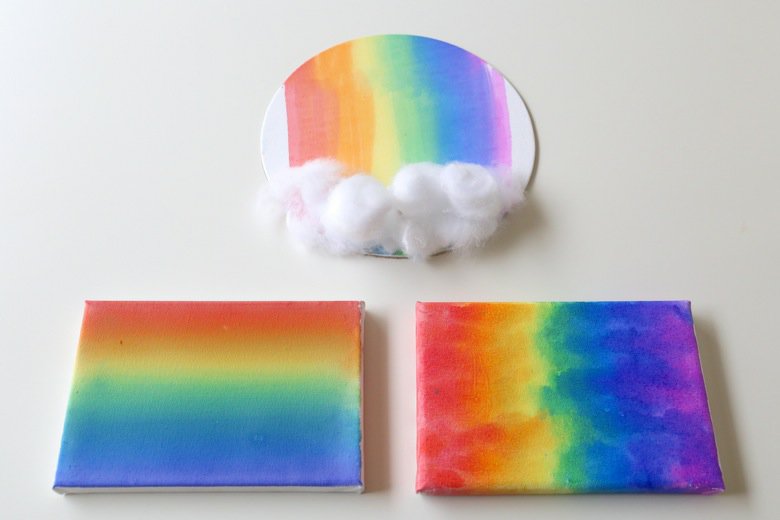
This is a visually beautiful craft. It also leaves very little mess behind. We tried it both with paint and food coloring. The paint works, but it mixes together slowly forming an ugly mud color the more you spread it, whilst the food coloring mixes together beautifully. You can get really creative with your color combinations and make cool paintings with it. For less rainbow-y or more detailed results, you can also use a clothespin instead of a chip clip.
Did you try one of these crafts? Tell us below!
The post Rainbow Fun appeared first on Not So SuperMom VS Society.
]]>Mess-Free Ziploc Bag Painting Read More »
The post Mess-Free Ziploc Bag Painting appeared first on Not So SuperMom VS Society.
]]>
Everett is spending the next week or two with his Gigi, so Finn and I get to spend some quality one-on-one time together. Today, I decided to commemorate our special time together with a mess-free painting project.
Items Needed
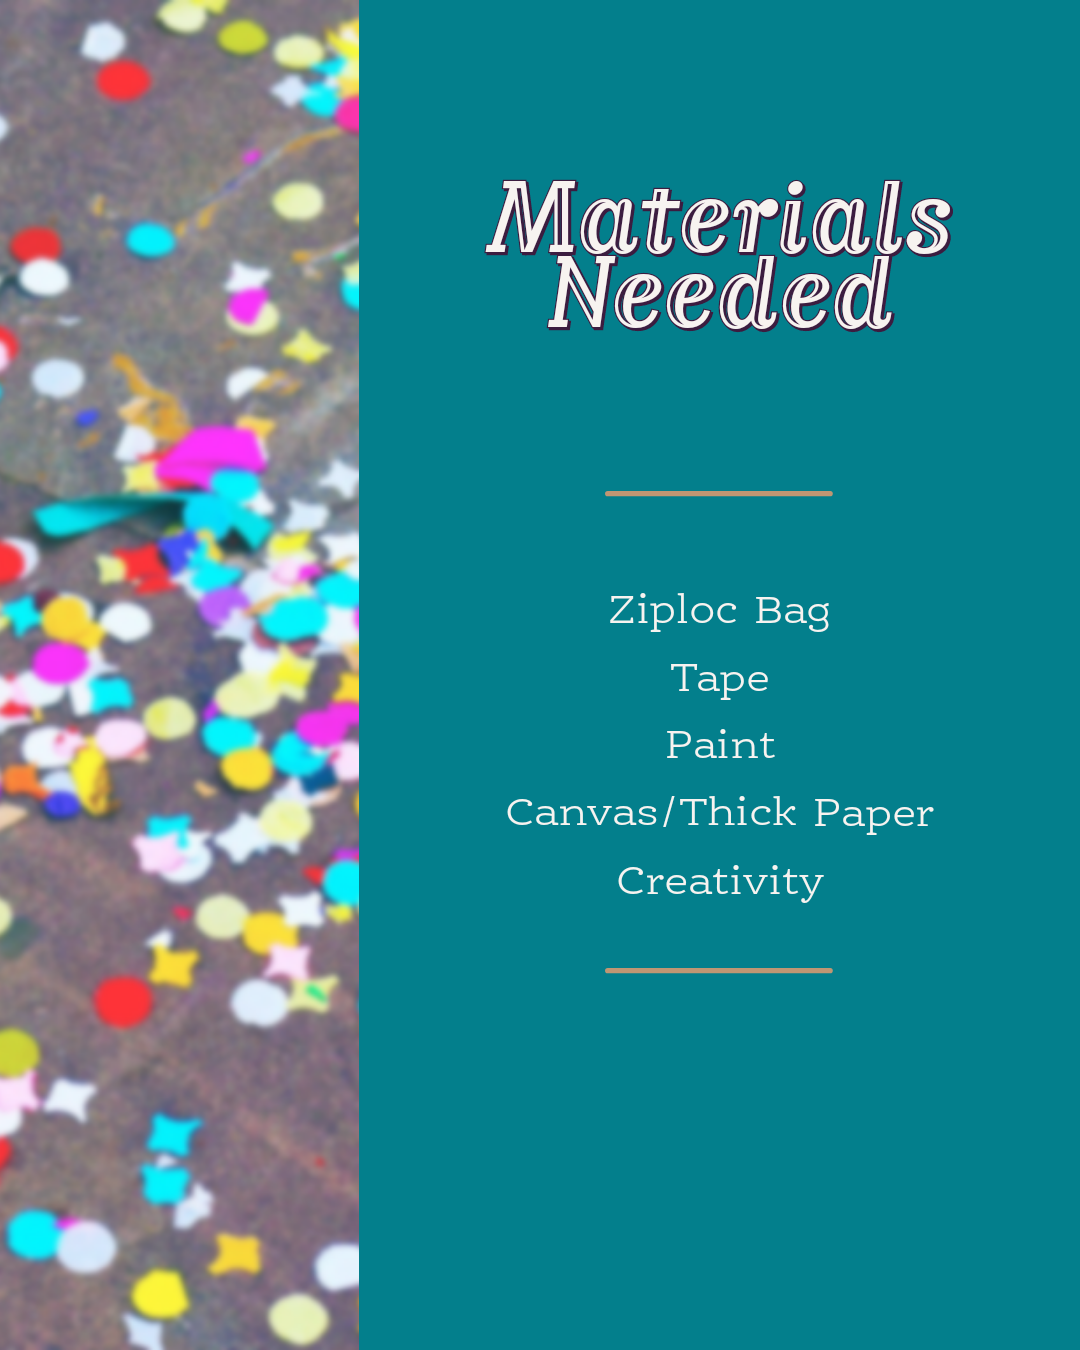
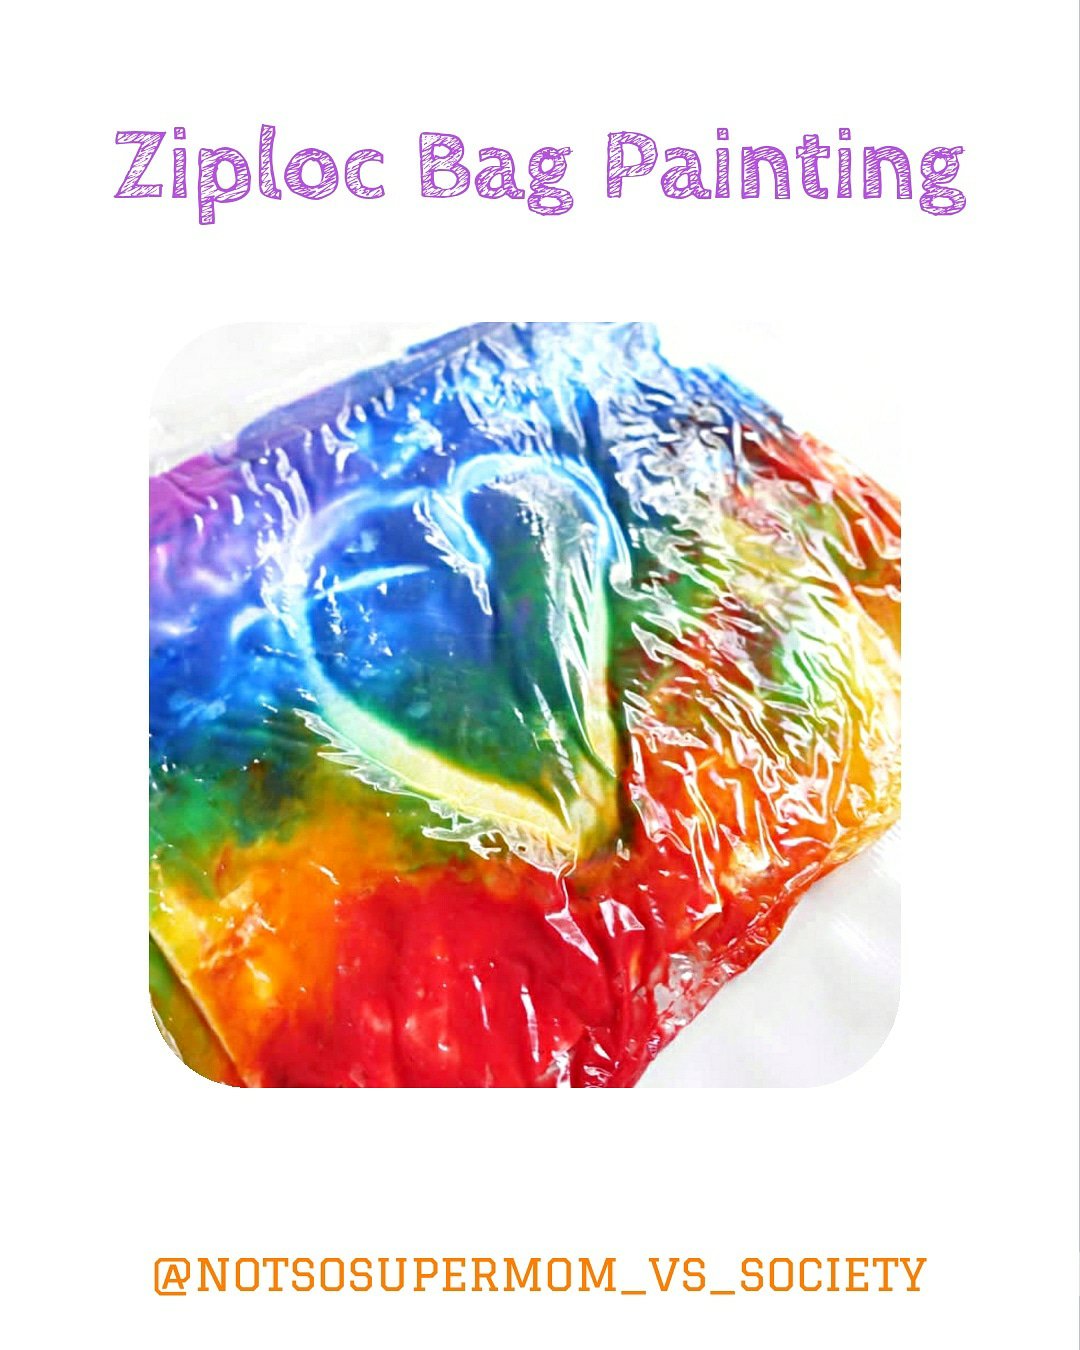
This is one activity that can go so many ways. It’s totally open ended. You can just let them mix and smoosh paint or make a beautiful work of art. It’s a great way to showcase color mixing and sensory play without making a huge mess. They can mix the paint with their hands, a rolling pin, q-tips, or even things like matchbox cars and monster trucks. You’re only limited by you and your toddlers imagination!
If you don’t want to make an artwork, simply add paint to the ziploc bag and tape it to your window or table with painter’s tape. As they mix up the paint, have them make letters or shapes.
If you do want to make a keepsake, tape off shapes/words/designs on your canvas or paper, place it in a ziploc bag, and carefully add paint. Let your kiddo mix the paint and fully cover the canvas. Once the canvas is covered, take the canvas out and put it somewhere safe to dry. Once it’s dry, take off the paint and enjoy your masterpiece!
The post Mess-Free Ziploc Bag Painting appeared first on Not So SuperMom VS Society.
]]>Educational Egg Activities Read More »
The post Educational Egg Activities appeared first on Not So SuperMom VS Society.
]]>
Every Easter I end up with a gazillion plastic eggs that the kids like to trail across the house like little egg landmines. I’m stuck with the conundrum: do I toss this plastic crap away and just buy new eggs next year or do I save them and reuse them next year?
I always end up saving them, but I forget where I put them so I inevitably end up buying more. This year though, I’m using the little devils to actually help me teach the kids something during #QuarantineHomeschool.
I told anyone that would listen this week that sight words may be the death of us. My mother’s suggestion was to make it into a game for Everett. Both his teacher and my mom suggested cutting out the letters/words and having him match them. He is already getting sight word flash cards for Easter so I didn’t reallllly want to make bunch of crappy cutouts that would get everywhere. That’s when I decided to use Easter eggs.
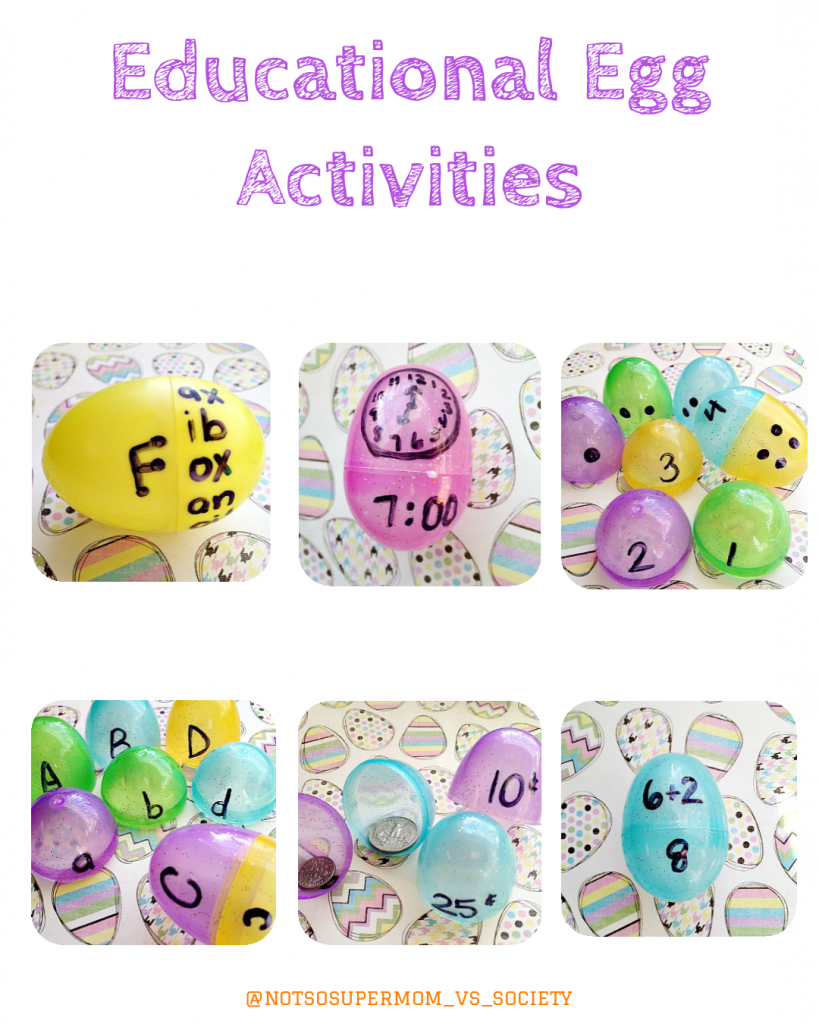
You can make these egg puzzles as easy or as hard as you need to. For Finn we did pompom color matching and egg sorting. For Everett we did sight words and basic math skills. If you have older kids, you can use it for things like contractions and more advanced math.
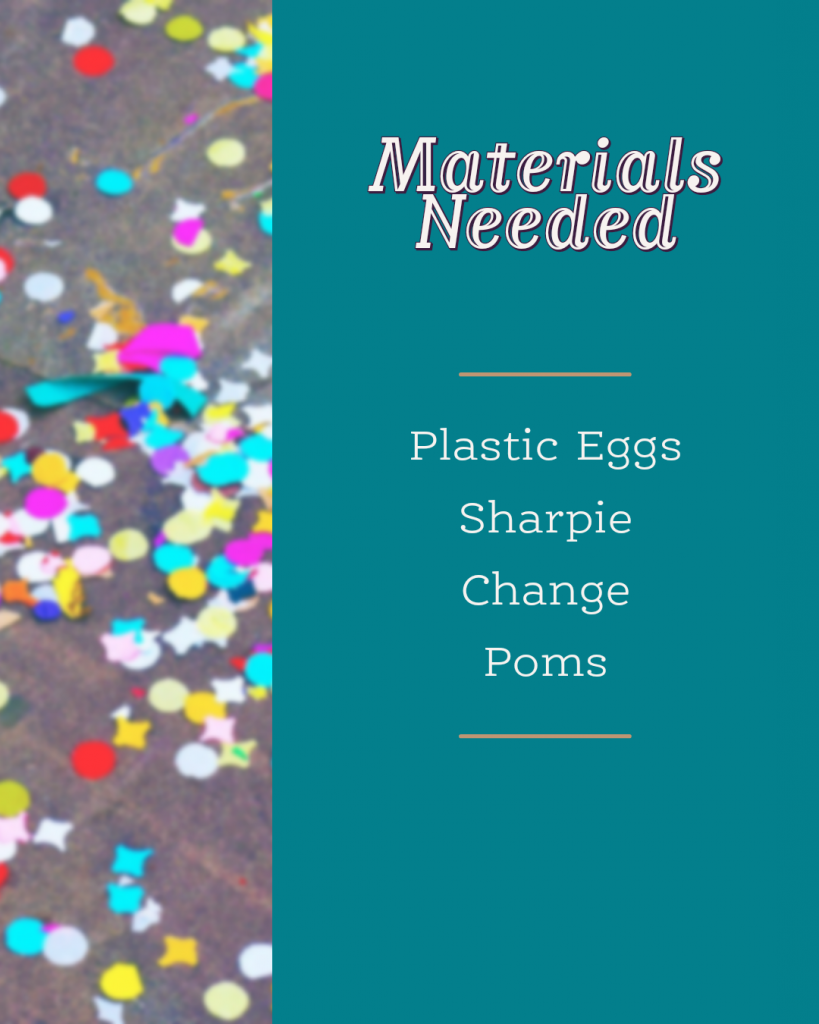
Instructions & Items Needed
Instructions:
Honestly, I know I normally lay out entire step by step guides, but these are pretty self explanatory. Instead, I’m going to make a list of ideas that you can use the eggs for:
- Matching Uppercase with Lowercase Alphabet Letters
- Sight Words
- Shape Matching. Draw a shape that covers both sides of the egg and have the kids match the right shapes.
- Synonym & Antonym matching
- Math (counting, addition, subtraction, multiplication, division, fractions, etc)
- Color Sorting & Matching
- Money Counting/Learning Currency (you can make this simple or hard)
- Science: Alka Seltzer Rockets (put water in half the shell, toss a quarter to half tab of alka seltzer in, quickly close egg, and place it down. Wait and watch the explosion!)
- Egg Art (make the eggs into bugs, chicks, etc)
- Guessing Games (hide snacks or small toys inside and have them guess)
- Egg Noise Makers (fill with different objects and observe the different types of sounds. I suggest taping the eggs so things like rice and sand don’t go everywhere)
- Fill eggs with slips of paper that list funny activities (hop on one foot for 15 seconds, do the chicken dance, etc.)
Honestly, the possibilities really are endless. You can get as creative as you need to to keep your little scholar entertained.
Did you try any egg activities? Tell us which ones below!
The post Educational Egg Activities appeared first on Not So SuperMom VS Society.
]]>Volcano Egg Dyeing Read More »
The post Volcano Egg Dyeing appeared first on Not So SuperMom VS Society.
]]>
Both boys loved doing Lemon Volcanoes and have been asking to do them every day. With Easter coming up, I decided to give them what they asked for while dyeing their eggs.
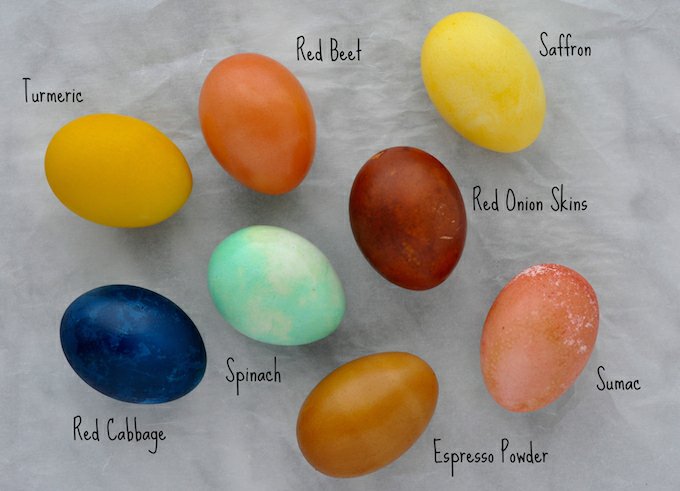
In years past, we’ve done traditional egg dyeing, whip cream egg dyeing, and natural egg dyeing. The whip cream dyeing was our favorite method until volcano dyeing!
Ingredients & Instructions

Instructions:
- Create baking soda paint using a tbsp (or so) of baking soda, couple tsps of water, and some food coloring. Mix it up and experiment until you have the consistency you want.
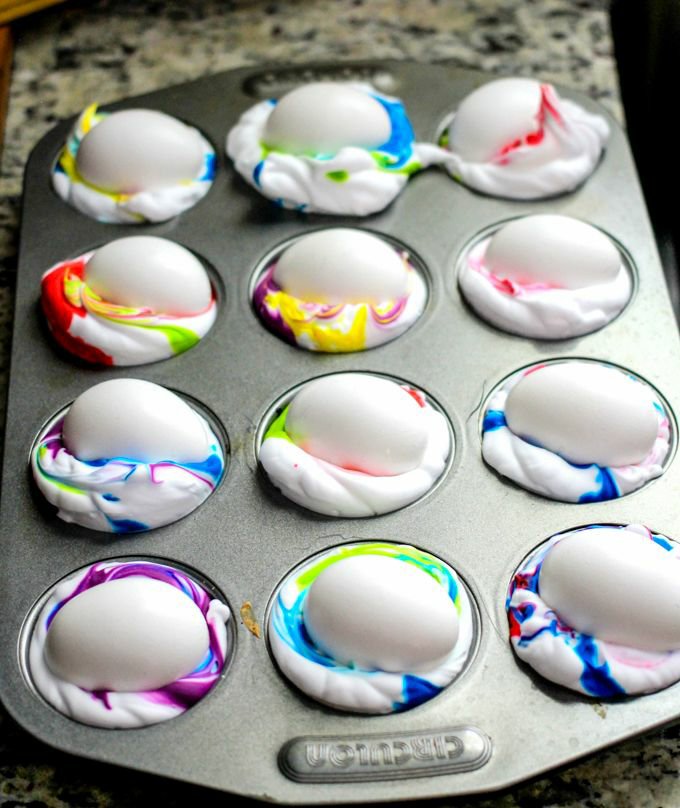
- Add food coloring to your baking soda paint or drip it directly on your eggs. I found placing your eggs in a muffin tin during this process made things easier.
- Using your paintbrush, carefully paint your eggs with your baking soda paint.
- Pour vinegar on top of the egg and watch the “volcanic eruption” all around your egg. You can also carefully drop your egg into a cup of vinegar, but my boys enjoyed using their pipettes to cause the “eruption.”
- Repeat steps 1-4 as often as you want! Each egg will be different based on your color combinations. You can even add things like rubber bands to the eggs to help make cool patterns!
- Carefully pat eggs dry or simply let them air dry.
For the science behind this activity, check out our Lemon Volcano post!
Did you use this method to dye your eggs? Share your photos on our Facebook Page!
The post Volcano Egg Dyeing appeared first on Not So SuperMom VS Society.
]]>Egg-Citing Egg-periments Read More »
The post Egg-Citing Egg-periments appeared first on Not So SuperMom VS Society.
]]>
Continuing with this weeks Easter theme, the boys and I did some fun egg-periments. We did 5 experiments in total, however, today we are only going to talk about 3 cool experiments using 1 egg. Look for the other experiments ove the next few days.
The experiments today all evolve around making a rubber egg. Yep, you read that we made a rubber egg! Full disclosure, this experiment isn’t a fast one. It will take place over several days. Though there isn’t an immediate result, the cool part is that it gives you plenty of time to talk through the actual scientific process of what’s going go-which is a lot to process, especially for younger children.
Ingredients & Instructions
Steps:
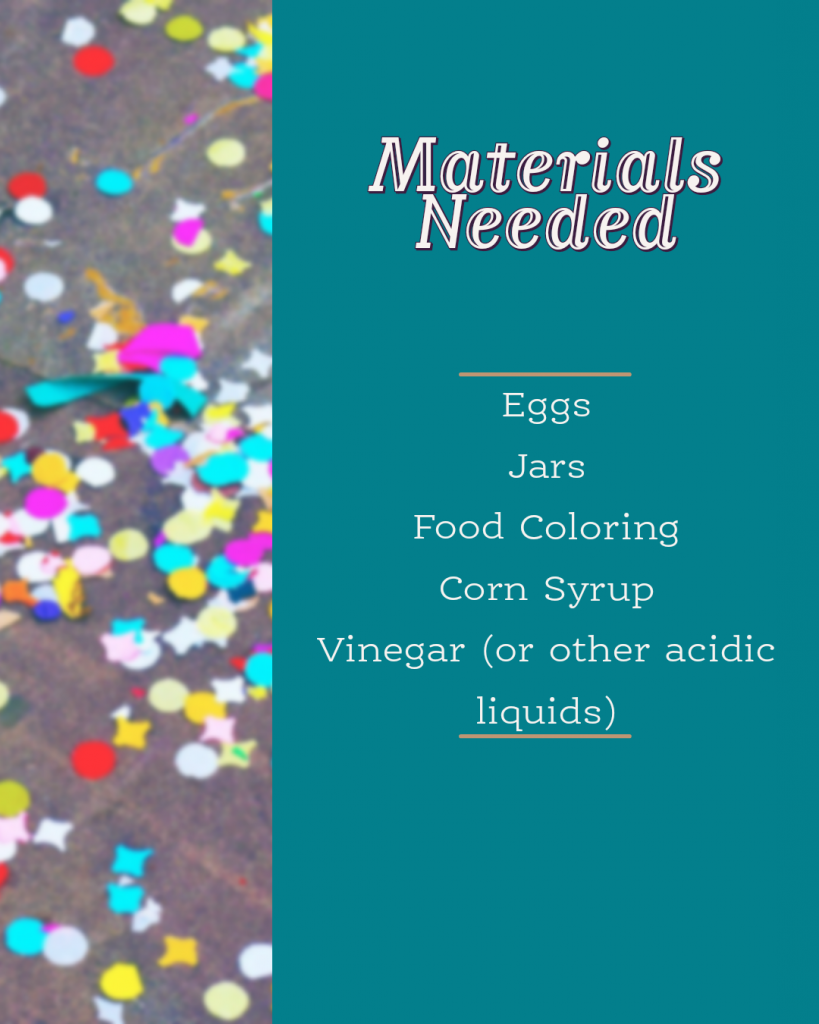
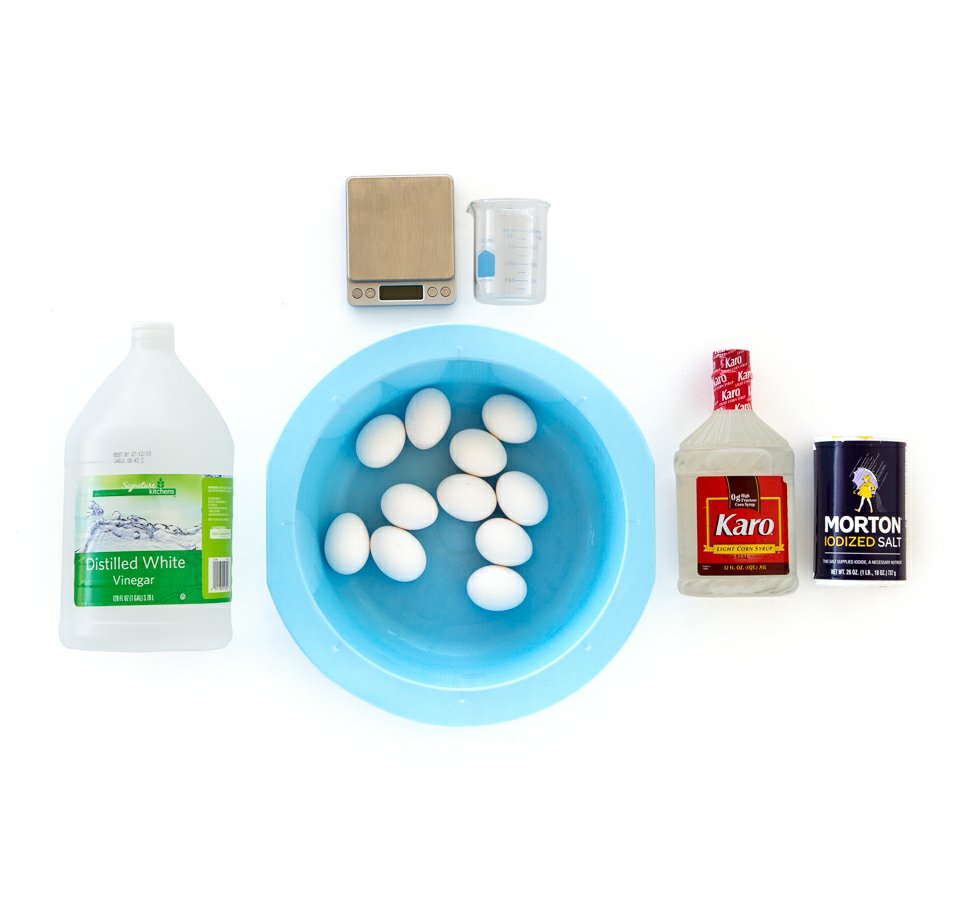
- Get a jar, cup, or bowl and place an egg in it. I recommend making several jars, just in case one breaks. Also, this is a great way to try different acidic liquids at once, such as soda, orange juice, or coffee.
- Place the egg in vinegar solution.
- Wait 24 hrs and check egg.
- I found that it takes a little longer than 24 hrs to fully dissolve the shell. You can add fresh vinegar to the solution at this time to make the process faster.
- After 36 hrs, the egg shell has dissolved. Take the egg and gently rinse off the shell residue.
- Have your children observe the egg changes. Let them gently prod it and bounce it. Compare it to an unaltered egg to show them how much it has grown. I recommend doing this over a cookie sheet in case the egg breaks.
- After experimenting with the rubber egg, gently place it into corn syrup.
- Leave in corn syrup for 24 hrs.
- After 24 hrs, have your child observe the changes. The egg will have significantly shrunk at this point. The egg yolk will also feel kind of hard.
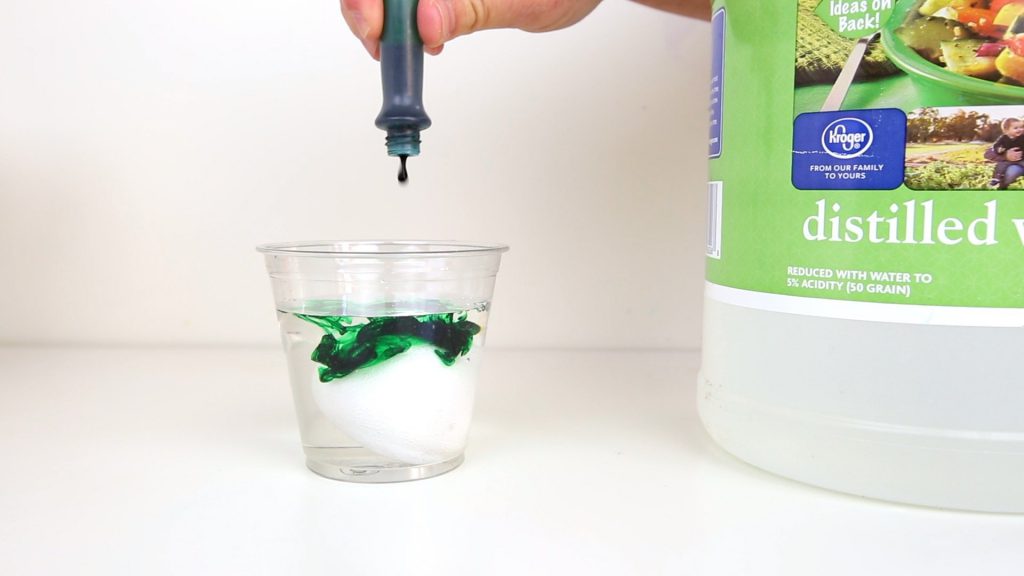
- After experimenting with the shrunken egg, gently place it into a glass of water. For added effects, add food coloring at this stage.
- After 24 hrs take it out and show it to your children. The egg has been rehydrated and the water has been reabsorbed into the membrane.
- At this point, have them experiment with the egg. Then either drop the egg from very high or pop the membrane. You can also place a pin or thumbtack into the outside of the membrane and show them how water squirts out.
- Once the egg is popped have them look at the yolk. Show them how the food color was absorbed through the membrane and changed the yolks color.
Egg Science
Eggshells contain calcium carbonate, which reacts with an acid in vinegar called acetic acid. The acetic acid breaks up the calcium and carbonate, dissolving the shell. While the calcium floats away, the carbonate reacts with the acetic acid to create carbon dioxide. This is why you see bubbles on and around the eggs.
To demonstrate this for smaller children, take their shirt sleeve and blow through it. Ask them if they felt the air through the shirt. Explain that their shirt sleeve is like the eggs membrane. Both has small holes that allow things to pass through them.
Osmosis, is the movement of a liquid, like water, across a membrane. Explain that membranes like to be balanced on both sides. The vinegar solution is mostly water with only a little vinegar in it, while inside the membrane is protein with a little water. So the water molecules travel from the vinegar into the egg to try to balance the concentrations, and the egg expands.
Continuing with the osmosis process, when they place the egg in corn syrup, it shrinks due to corn syrup being very sugary with only a little water dissolved in it. The egg will shrink because the membrane likes to stay balanced on both sides and will move water to do so.
Again with osmosis, when you place the shriveled egg in water, the water absorbs through the membrane to stay balanced. If you add food coloring, when you pop the egg, they will visually be able to see how the colored water was absorbed.
Further Investigation/For Older Children
Here are some steps for your more advanced scientists:
- Ask yourself questions What other acidic liquids would dissolve an eggshell? Would soda, tomato juice, or citrus juice work? Why does the color seep through the membrane but the albumen doesn’t leak out of the membrane? Are some eggshells harder to dissolve than others?
- Research Do research online and at the library to try and predict the answer to your question. Read about how the layers of an egg work and how liquids pass through the membrane. Research other liquids that calcium carbonate might react with. Research other substances that calcium carbonate is found in. Is it found in bones?
- Make a hypothesis A hypothesis is your prediction of the answer to your question based on your research. It may or may not be true.
- Experiment! Test your hypothesis by testing the variables and documenting them. Be sure to take notes of each experiment and what happens; this is called your data.
- Draw a conclusion Based on your experiments form a conclusion. Was your hypothesis correct?
- Share your findings Create a presentation with your findings. Include your research, hypothesis, the data you collected, and your conclusions. Be sure to include images and samples!
Did you do this experiment? Tell us your results below
The post Egg-Citing Egg-periments appeared first on Not So SuperMom VS Society.
]]>Easter Engineering Read More »
The post Easter Engineering appeared first on Not So SuperMom VS Society.
]]>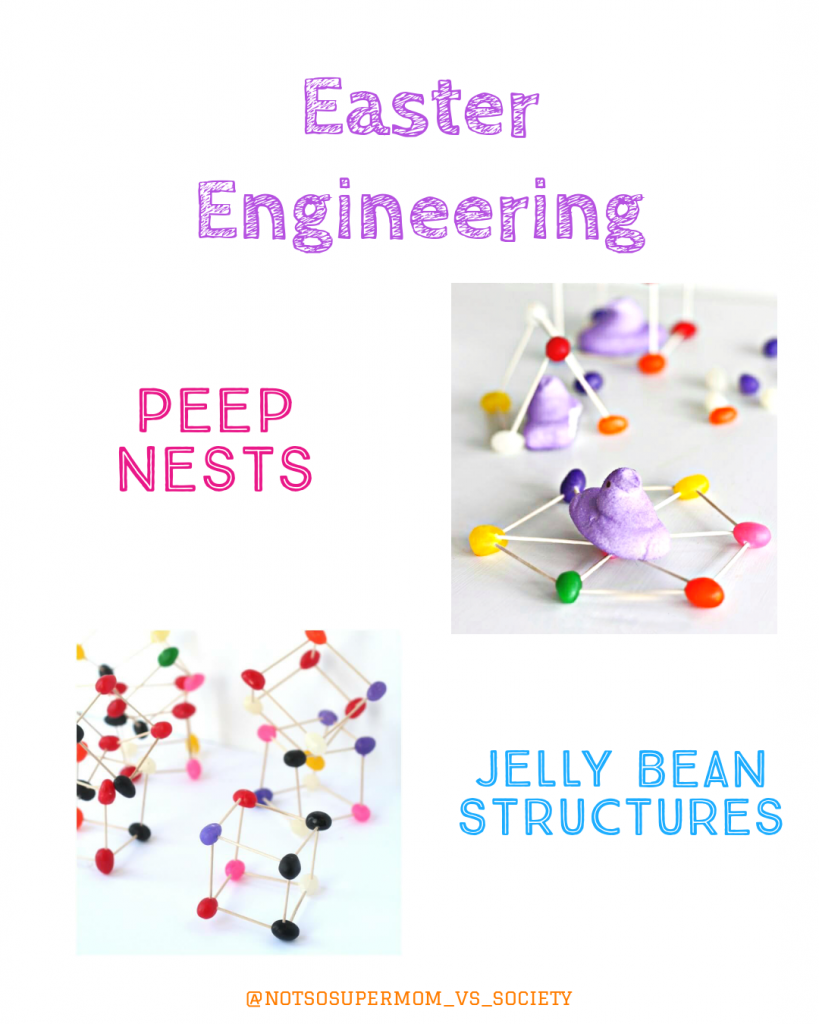
Todays Easter Activity is: Engineering!
If couldn’t already tell, we LOVE STEAM activities in this house. They are fun and educational on multiple levels. We still had some peeps leftover from yesterday, so we decided to get crafty and build some Easter candy structure challenges.
The cool thing about this activity is that you can easily modify it to engage toddlers through teens. Small simple structures and easy explanations for littles and complex structures with hypotheses and in depth engineering analyses for the older kids. Plus, once you build your structure, you can pretend you’re Godzilla, destroying your structures and eating them!
Ingredients & Instructions

These ingredients are super basic, but you can add additional supplies, such as popsicle sticks, glue, string, etc to make it more challenging and complex.
Instructions:
- Teach your child the basic concepts of structural engineering. For my littles, we watched several programs on structural engineering to help get their brains working and to help them easily understand the concepts of what we were doing.
- Talk with them about the materials you’ve selected and outline what they are building (peep nest or jelly bean structures).
- Get their hypothesis on what shapes they think will work best.
- Have them count out their materials and start building.
- Experiment with different shapes and styles. Try just building with peeps and toothpicks. Ask them questions. See if their structure stands up to a weight test (can it hold a peep? How much more could it hold?) Will it survive if you blow on it super hard?
Science Behind The Experiment
This engineering challenge covers multiple STEAM bases:
Science: Kids will explore the design and construction of a jelly bean construction through individual (or collaborative) use of skills in the scientific method: observing, communicating, comparing, organizing, and relating.
Technology: we are doing a digital building competition with For Mommys Dragons
Engineering: Kids will exhibit simple to complex attempts at design and construction.
Art: Kids will design and create beautiful engineering masterpieces.
Math: Kids will explore patterns, patterning, colors, lines, and angles.
What types of structures did your child build? Were they successful? Let us know below!
The post Easter Engineering appeared first on Not So SuperMom VS Society.
]]>Edible Peep Playdough Read More »
The post Edible Peep Playdough appeared first on Not So SuperMom VS Society.
]]>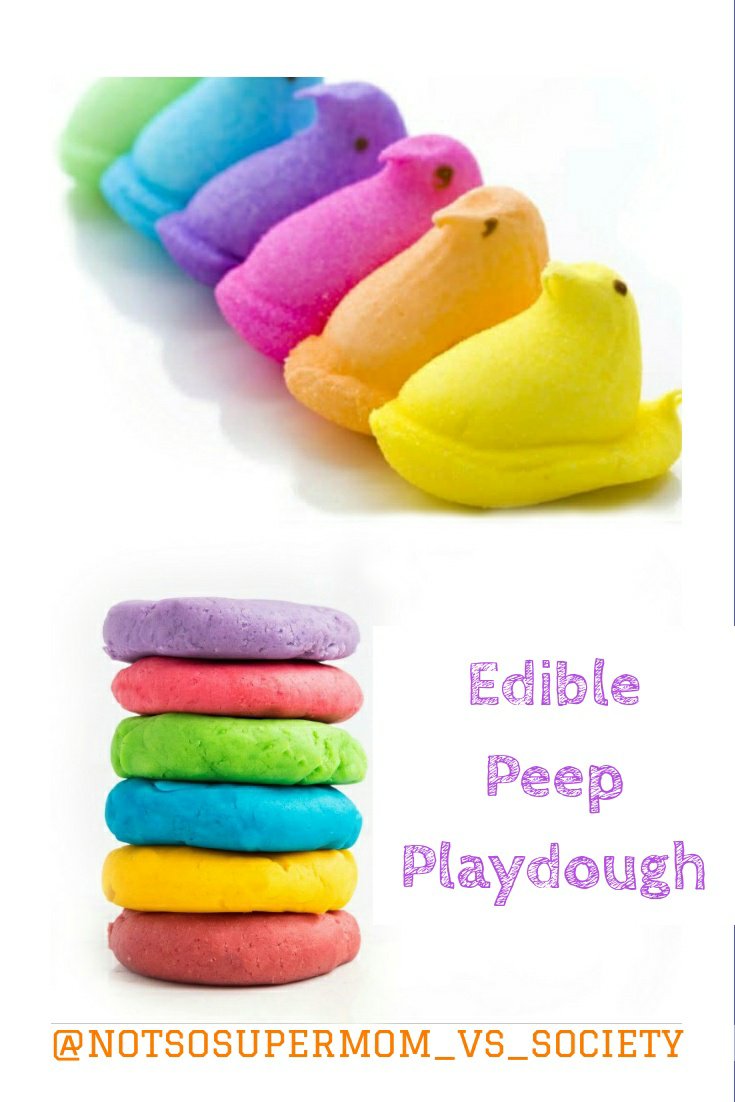
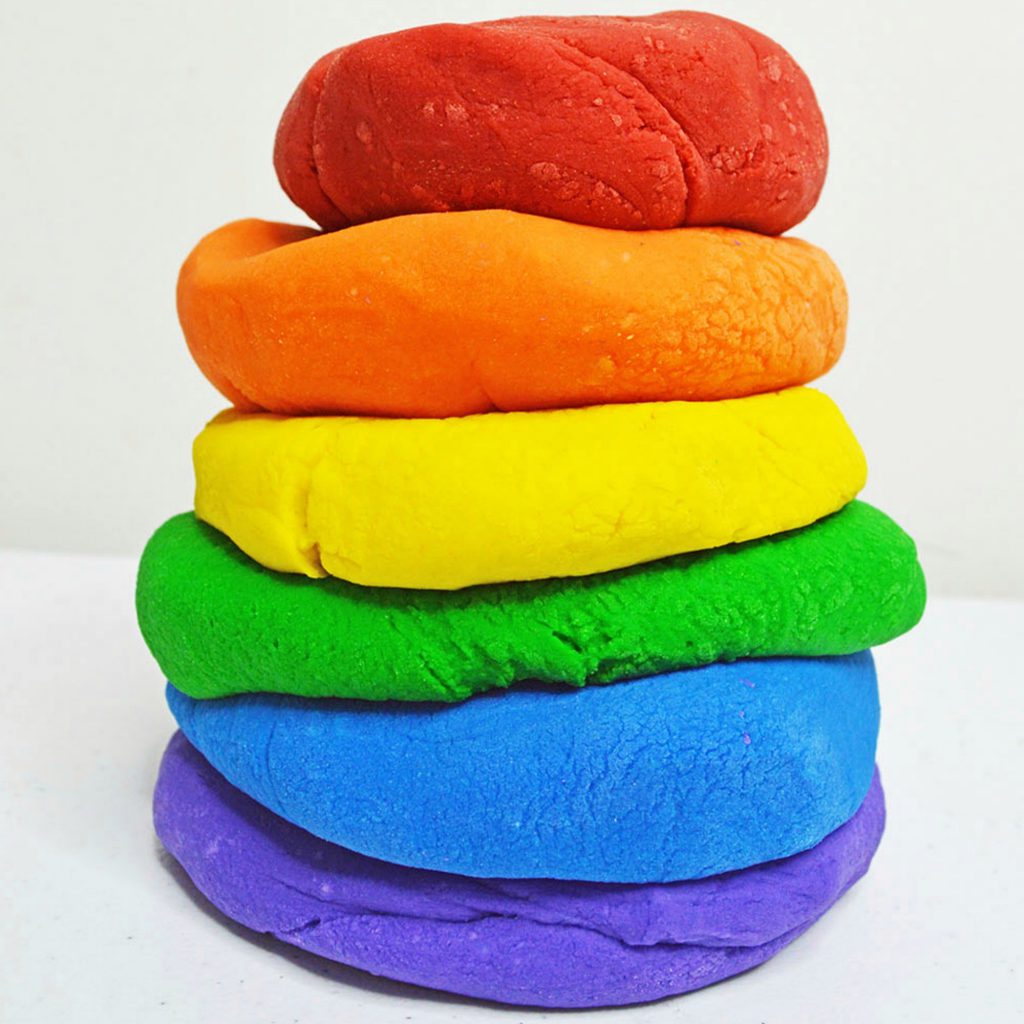
Easter is just around the corner, so this week I’m focusing on fun Easter activities. Today I’ll be focusing on edible peep playdough and slime.
The best thing about this activity, is that it covers all the bases: it’s fun, educational, delicious, easy to make, and pretty to look at!
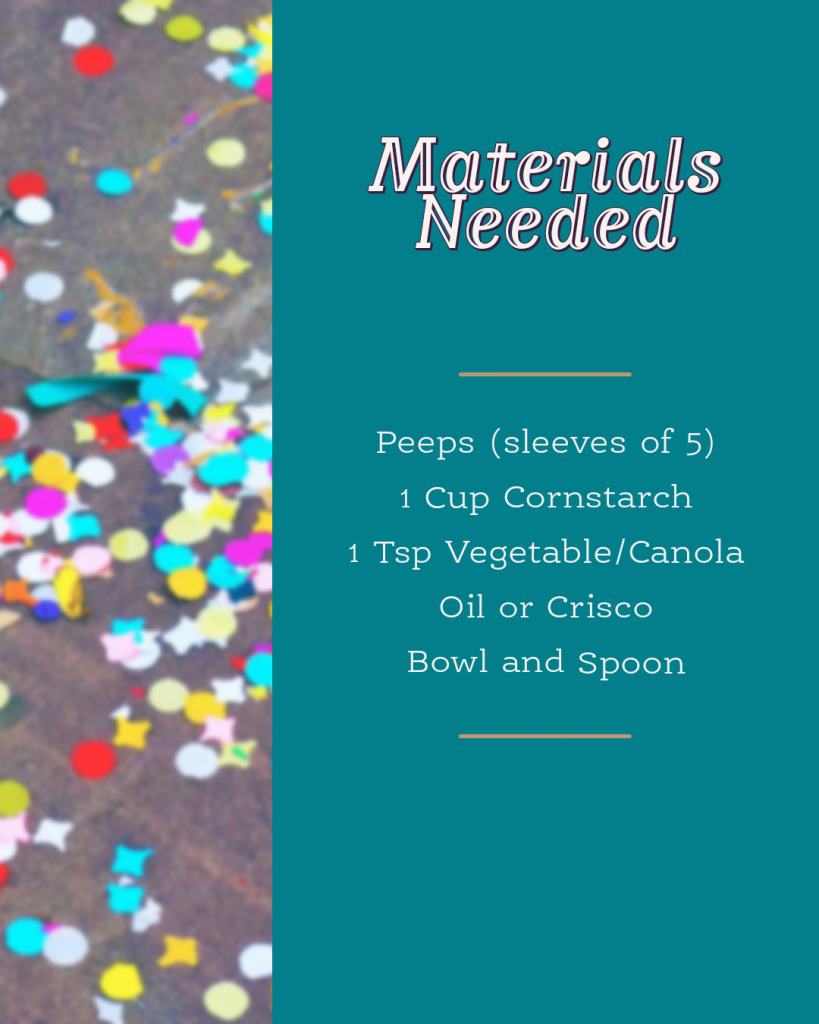
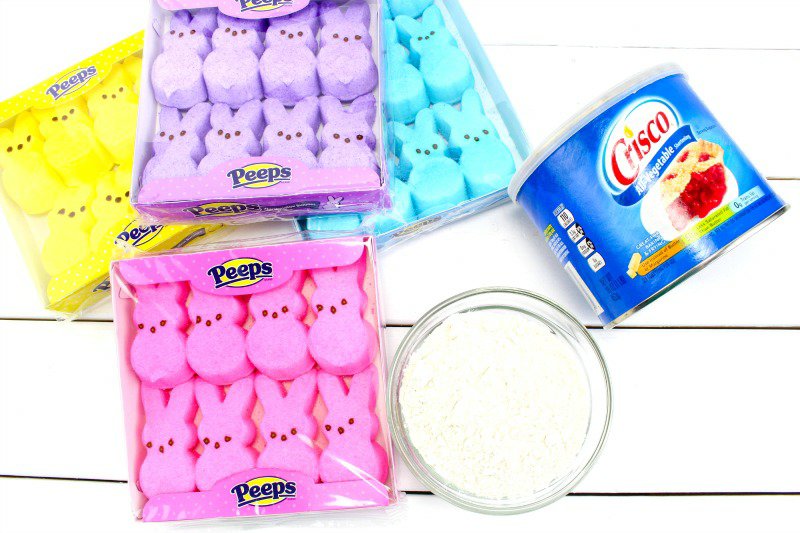
Ingredients & Instructions
Instructions:
- Place peeps into microwave safe bowl and cook for 30-45 seconds.
- Remove from microwave and add canola oil and 3/4 cups of corn starch.
- Stir until the melted marshmallows can be handled. It’s important to stir until the corn starch is completely mixed in.
- Next, dust hands with corn starch and knead until it’s not sticky and easily pliable.
- Get creative. Use cookie cutters to make shapes. Challenge your child to make cool structures, letters, or shapes.
Pro-Tips:
- Almost any oil will work. My two favorites for making this dough are crisco or coconut. Coconut tastes and smells better (in my opinion), but for those who don’t like coconut, crisco makes a great scent free alternative.
- You can also substitute powdered sugar for cornstarch or make one batch with each and have your children compare/contrast.
- If you’re child is more interested in making slime, decrease the corn starch. Around 3 tablespoons should give you a great consistency, however, I reccomend measuring out 1 tablespoon at a time until you reach the desired consistency. Make sure each tablespoon is thoroughly mixed in before adding the next.
- If it’s too sticky, add more cornstarch/powered sugar. If it’s too stiff add more oil.
- Only store this in a baggie or air tight bowl for around 3 days.
- Use fresh peeps. Stale peeps don’t provide the same consistency.
Science & Sensory Benefits
Research shows that sensory play builds nerve connections in the brain’s pathways, which lead to the child’s ability to complete more complex learning tasks. Sensory play supports language development, cognitive growth, fine and gross motor skills, problem solving skills, and social interaction.
Playing with playdough in particular helps little hands improve their fine motor skills, helping improve things like writing. It’s also an amazing tactile experience and gives kids a way to feel unique textures.
The STEAM benefits of this activity are also super awesome:
- Science: How does heating the Peeps change their properties?
- Peeps are marshmallows, and marshmallows are made of tiny air bubbles surrounded by gelatin and sugar syrup (sugar). When the peeps are microwaved, the water molecules in that syrup begin to vibrate and heat up. This process creates steam, and it fills all of the air pockets in the peeps. As the air pockets fill up the peeps expand!
- Technology: What tools do you use to change Peeps into play dough?
- Engineering: What recipe is required to transform Peeps into play dough?
- Art: Which colors are the peeps? What colors can you make mixing them? What shapes can you make?
- Math: How much corn starch is needed to turn Peeps into playdough? How long do the marshmallows have to be heated? What happens if you cook them too long or too little?
Did you try this activity? Let us know your thoughts below!
The post Edible Peep Playdough appeared first on Not So SuperMom VS Society.
]]>