Ultimate Chocolate Chip Cookie Recipe Read More »
The post Ultimate Chocolate Chip Cookie Recipe appeared first on Not So SuperMom VS Society.
]]>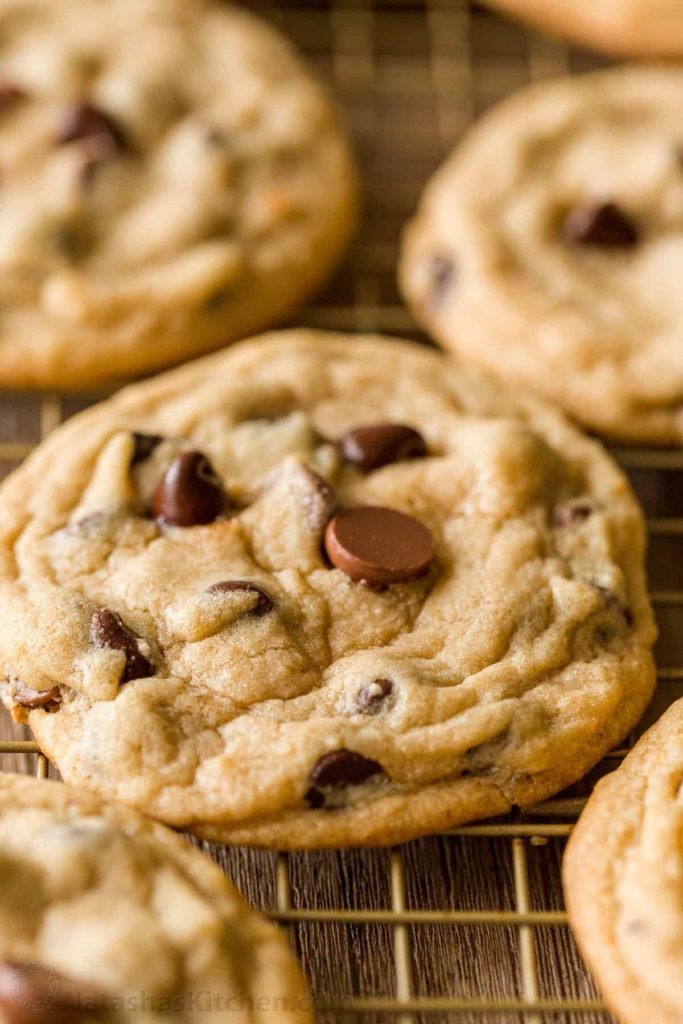
Today is National Chocolate Chip Cookie Day, so I decided to share my favorite recipe for baking them! There are millions of recipes out there, all with slight variations, however, this one always consistently comes out delicious and it’s easy to make.
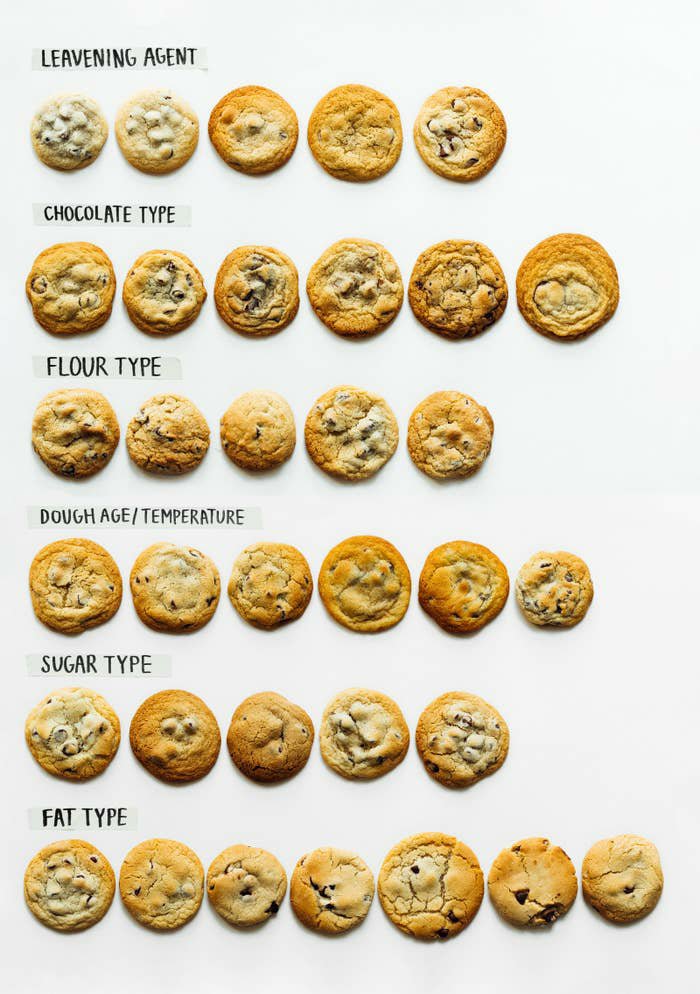
I discovered this recipe a few years ago after trying out a lot of combinations and having quite a few fails- like the time I accidentally used corn starch instead of flour! Whoops! Since then I’ve tweaked it a little based on how many I want to bake and what types of flavors I want to add, like mint or cbd. Today I’ll be giving you my basic recipe and you can modify it how you see fit!
Ingredients
- 2 1/4 cups all-purpose flour
- 1 teaspoon baking soda
- 1 teaspoon salt
- 1 cup (2 sticks) butter, softened
- 3/4 cup granulated sugar
- 3/4 cup packed brown sugar
- 1 teaspoon vanilla extract
- 2 large eggs
- 2 cups semi-sweet chocolate chips
- 1 cup chopped nuts (Optional. If omitting, add 1 to 2 Tbsp. of all-purpose flour.) I usually omit nuts, though sometimes I use almonds.
In addition to the ingredients above, you’ll also need a cookie sheet (I use 3), a mixing bowl, measuring cups, measuring spoons & cups, a mixing spoon, and a spatula. I also use a cooling rack.
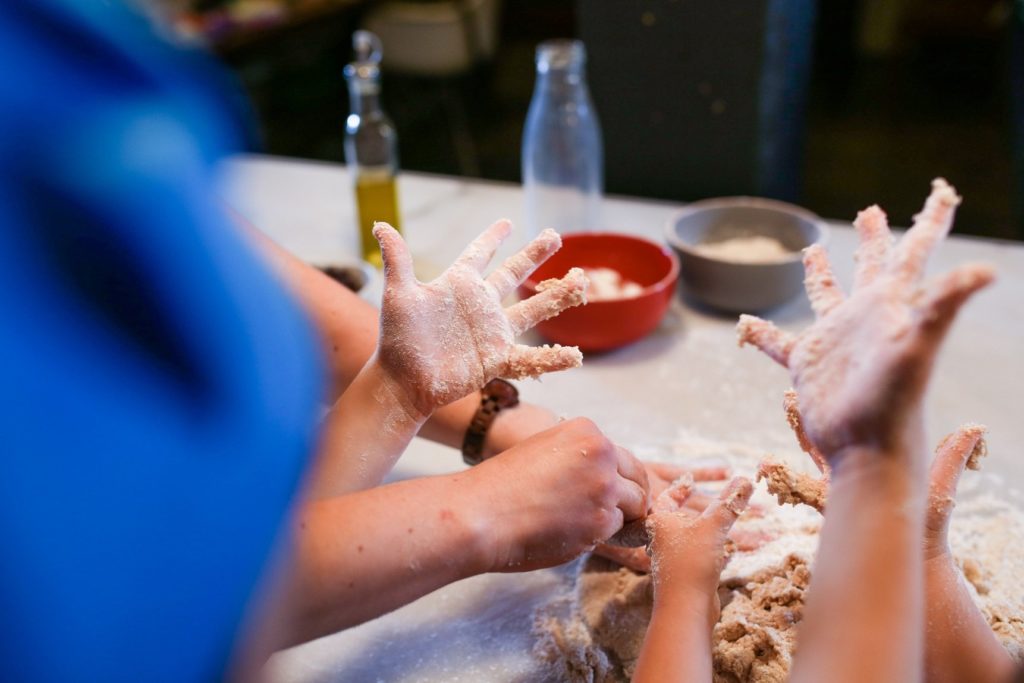
Steps
- Combine flour, baking soda and salt in small bowl.
- Beat butter, granulated sugar, brown sugar and vanilla extract in large mixing bowl until creamy.
- Add eggs, one at a time, beating well after each addition.
- Gradually beat in flour mixture. Stir in morsels and nuts/additional flour. Drop by rounded tablespoon onto ungreased baking sheets.
- Chill the dough 10-15 minutes while oven preheats to 375° F.
- The longer you chill the dough, the more the flavors will develop and the chewier your cookies will be!
- Bake for 9 to 11 minutes or until golden brown.
- Tip: the best way to make soft chocolate chip cookies is to slightly under-bake the cookies. In order to slightly under-bake the cookies, the edges should look set (but not brown). The center of the cookies should look soft and even a little puffy still. This trick will help to keep your cookies nice and soft.
- You can bake 10 minutes for a softer cookie or up to 14 minutes for a crispier cookie.
- Cool on baking sheets for 2 minutes; remove to wire racks to cool completely
- Enjoy!

Keeping Your Cookies Soft
We don’t often have a lot of extra cookies lying around, but when we make the full recipe we definitely have an excess amount. Here are a few tips for keeping your cookies fresh, especially handy for those of us who like to prep cookies for giving away during the holiday season!
- Be sure to seal your cookie container well, whether you’re storing them in the freezer, refrigerator or a zip-top bag. You want your cookies to be in an airtight container for maximum freshness.
- If you are storing your cookies at room temperature or in the refrigerator, add a small piece of bread to the container with the cookies. This will help to keep the cookies soft.
- My favorite way to keep homemade cookies fresh is to freeze them. Freeze your extra cookies as soon as they cool completely after baking. I know many people freeze extra raw balls of cookie dough before baking so that they can have fresh baked cookies whenever they want. If this is the method you love, then go for it. For me, it’s too much effort to preheat the oven and wait whenever I want a cookie. I bake all of my cookies at once and then freeze the extras right after they are cool. Then I can just defrost (on the counter for a few minutes) and enjoy!
I hope you love these cookies as much as we do! Let me know in the comments below if you try it!
The post Ultimate Chocolate Chip Cookie Recipe appeared first on Not So SuperMom VS Society.
]]>Free McAlister’s For Year? Sign me up! Read More »
The post Free McAlister’s For Year? Sign me up! appeared first on Not So SuperMom VS Society.
]]>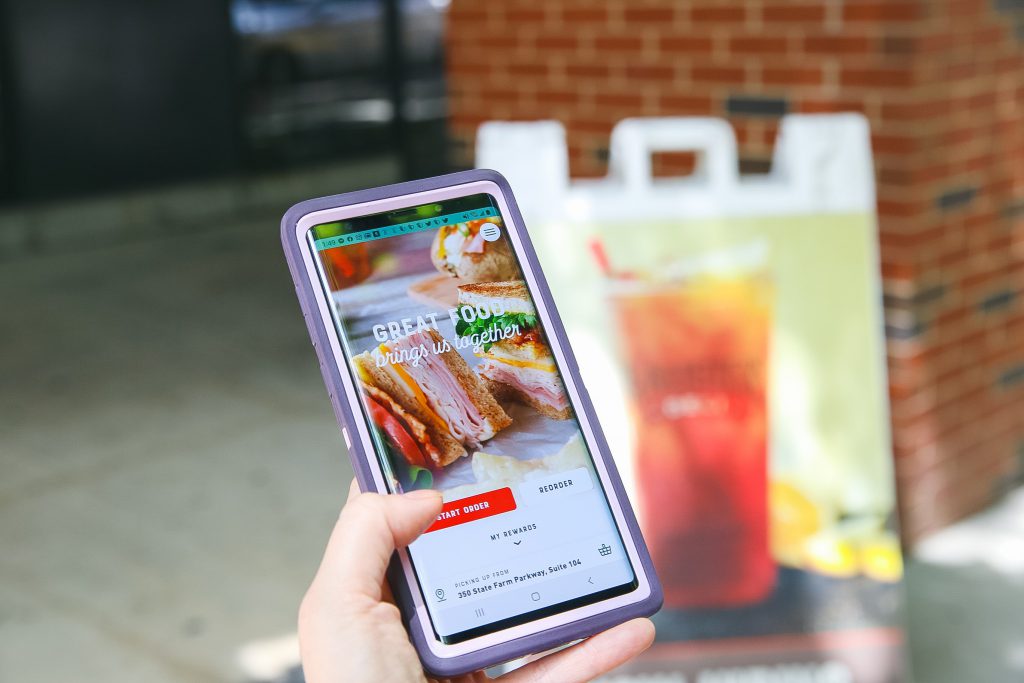
As a busy mom, I’m always looking for great meal options that make my entire family happy and McAlister’s Deli is always a great option! This month, in celebration and thanks for its fans, McAlister’s Deli is launching the “McAlister’s Deli Free for You & Me Sweepstakes” where 10 lucky McAlister’s Deli app and rewards program members will win FREE McAlister’s for a year AND they can gift the same prize to a friend or loved one! I don’t know about you, but I’m 100% down for winning free, delicious McAlister’s food for a year, especially if that means I can share it with a loved one – good food always tastes better with good company!
“McAlister’s Deli Free for You & Me Sweepstakes,” is open now until August 31. To enter for the chance to win: Simply download the McAlister’s Deli app on iOS or Android and sign up for the McAlister’s rewards program! You’ll automatically be entered into the sweepstakes and just for downloading the app, you will receive a FREE giant 32 oz. glass of McAlister’s Famous Tea !
!
Contest rules can be found HERE.
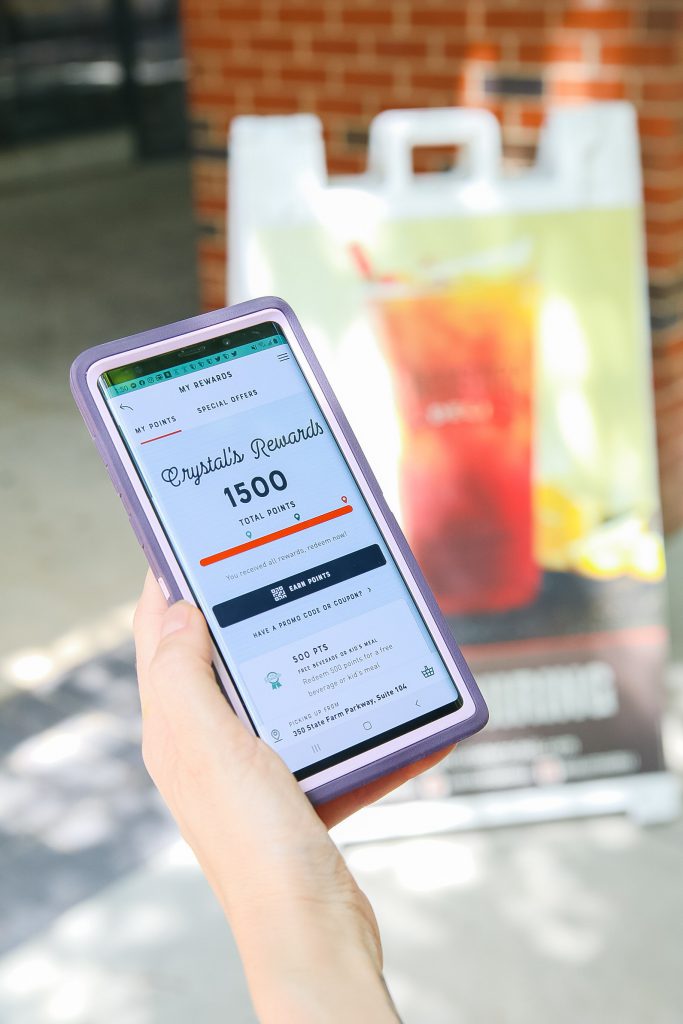
I used the McAlister’s Deli app for the first time recently, and quite frankly I really like it! I love being able use the contact free pick up and delivery options and gain rewards at the same time. It was really easy to use and I was able to also use the reward feature in store. I love that the app will keep track of my rewards points and that I get free goodies throughout the year- like a FREE cookie on my birthday! You can rack up rewards fast as you will earn 10 points for every $1 spent and you can redeem them for delicious menu items and benefits.
Also, for us parents, one of the best reasons to use the app is the time-saving benefits. I can order and customize my family’s meals before leaving my home ensuring that everyone gets what they want every time. Trust me when I say this is a lifesaver when toting around 2 kids who like to try and act like they’ve never been in public before. ?
Another perk for parents? This month, McAlister’s really has our backs! Check out these great rewards you won’t want to miss!
- From August 5-12, all new sign-ups will receive a FREE Kid’s Meal plus a FREE tea
- From August 17-23, as a Back- to- School special, rewards members will receive double points on all Kid’s Meals
- From August 24-30, first-time McAlister’s delivery orders through the app will receive 1,000 bonus points.

If you haven’t eaten at a McAlister’s or are unsure what they offer, you’re totally missing out. McAlister’s is known for its genuine hospitality, sandwiches, spuds, soups, salads, desserts and McAlister’s Famous Sweet Tea . I love having a healthier & affordable option for my family when we are out and about and their friendliness is something we can all use right now.
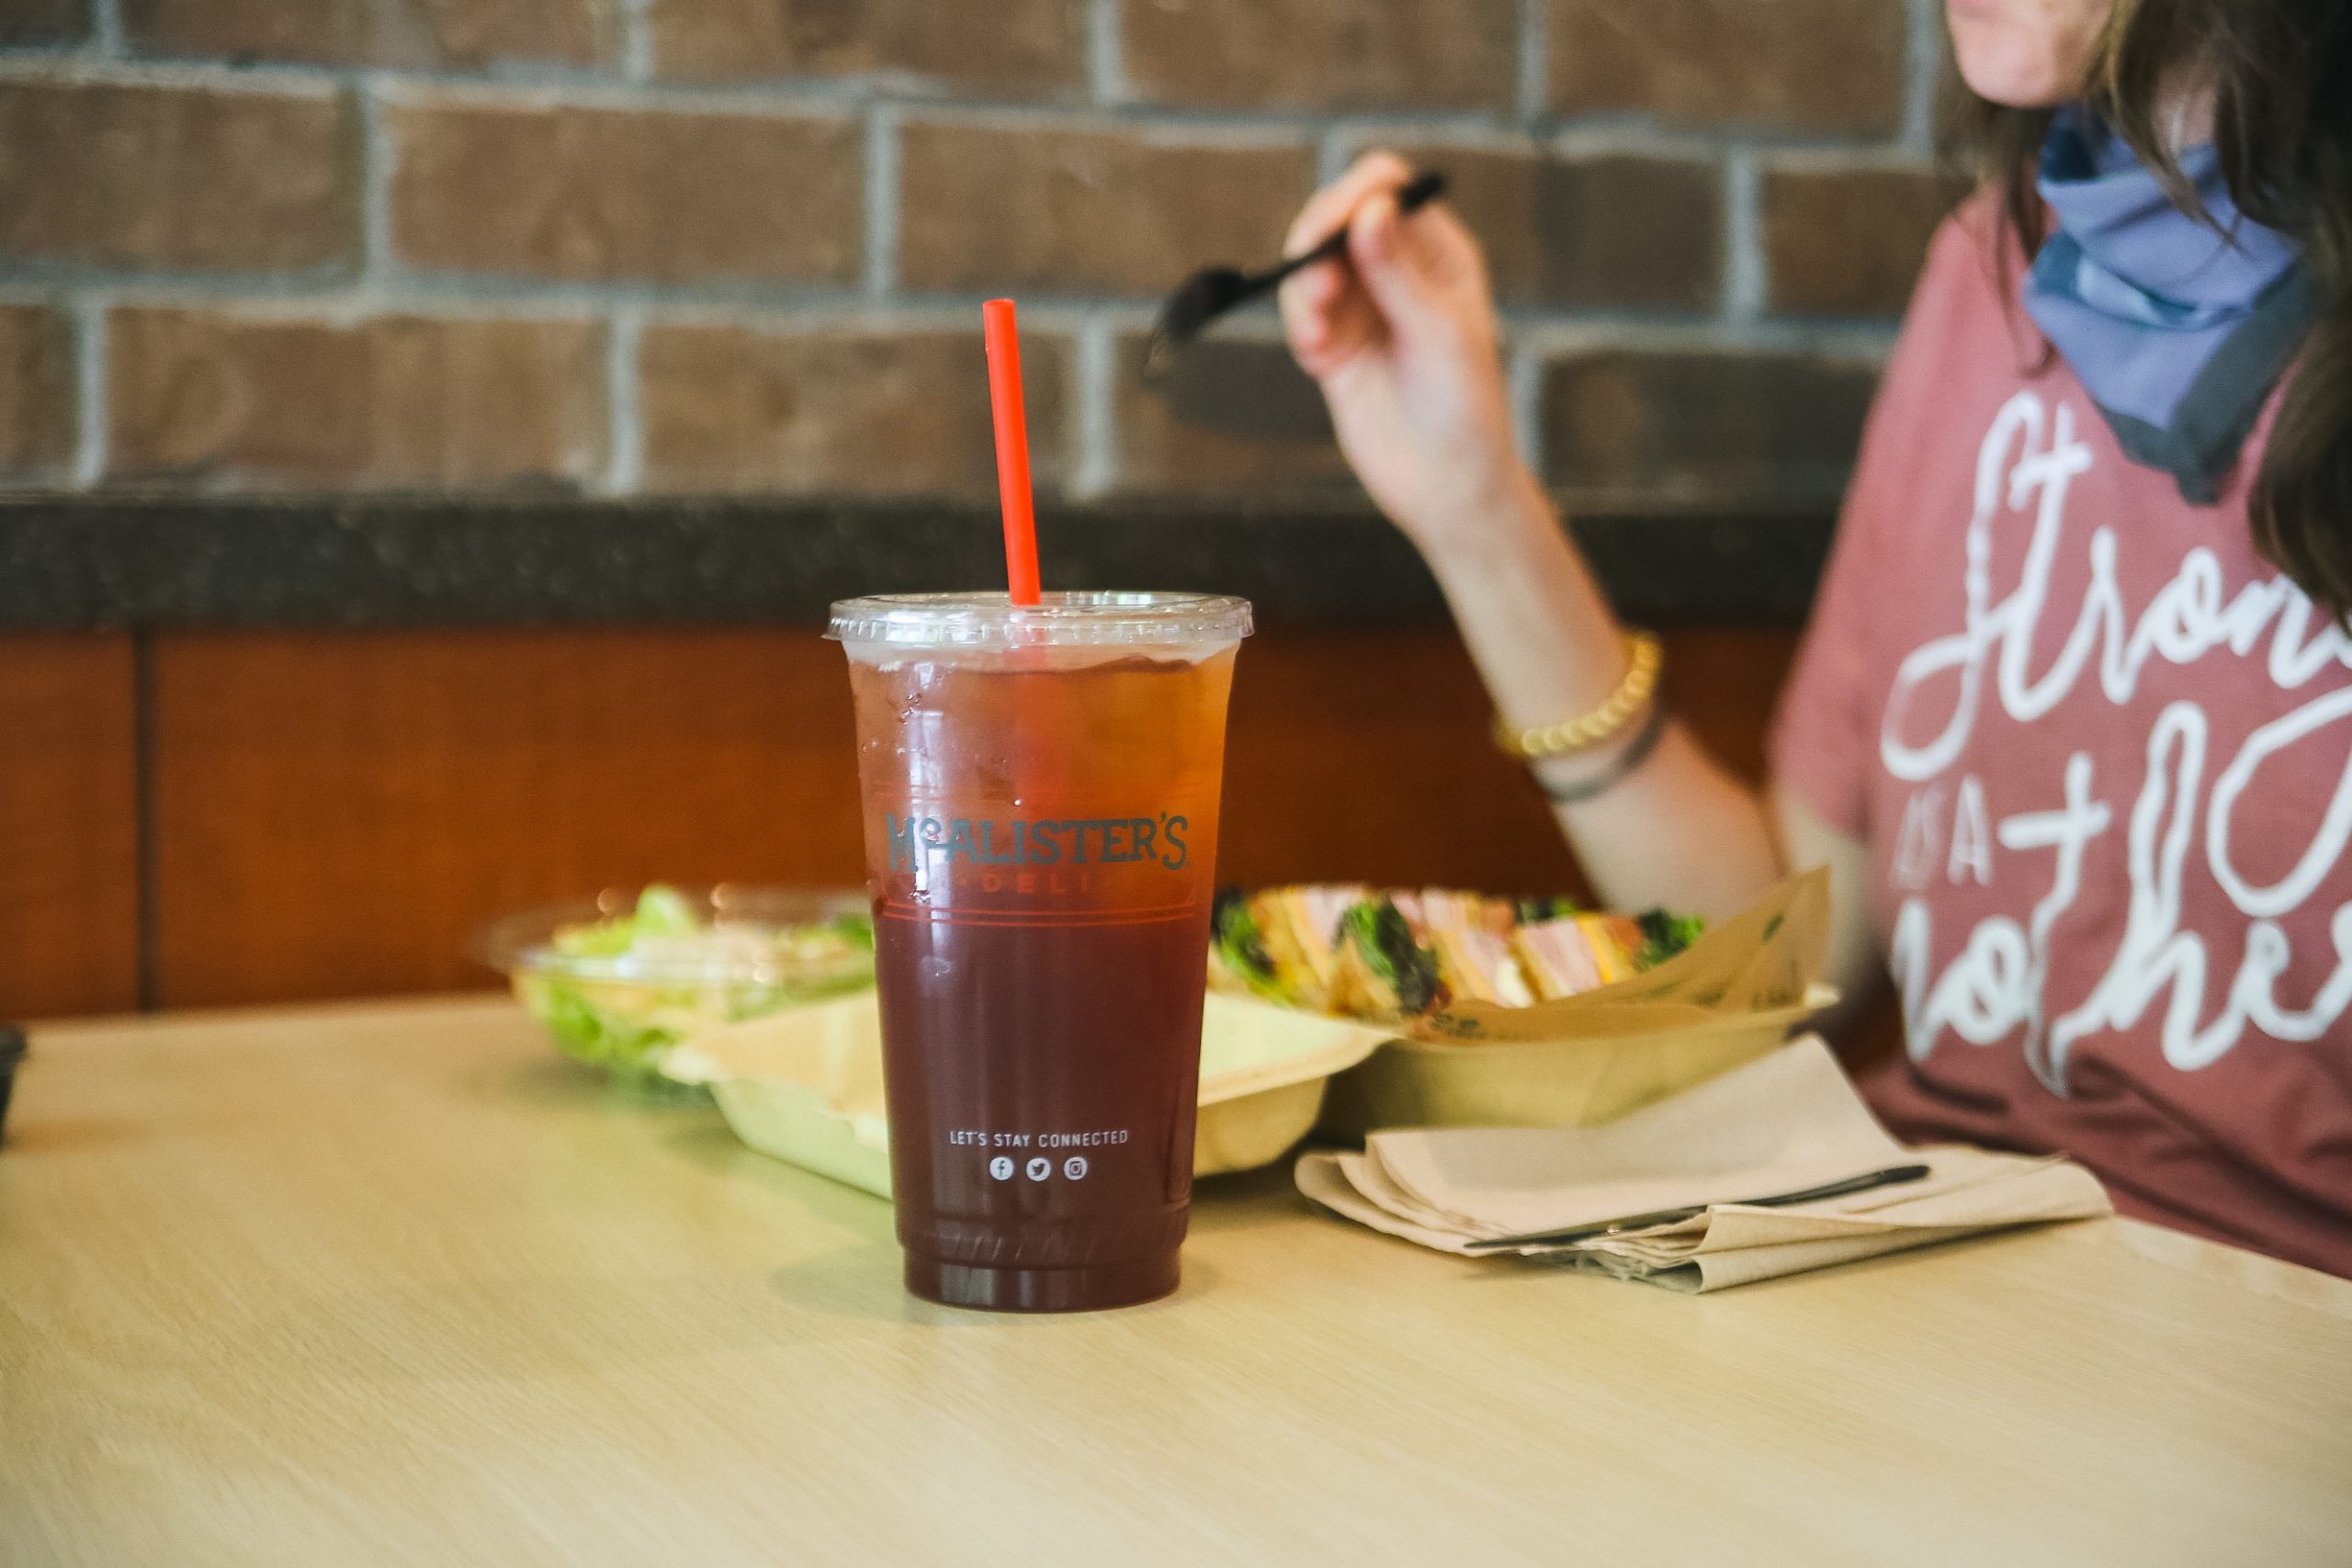
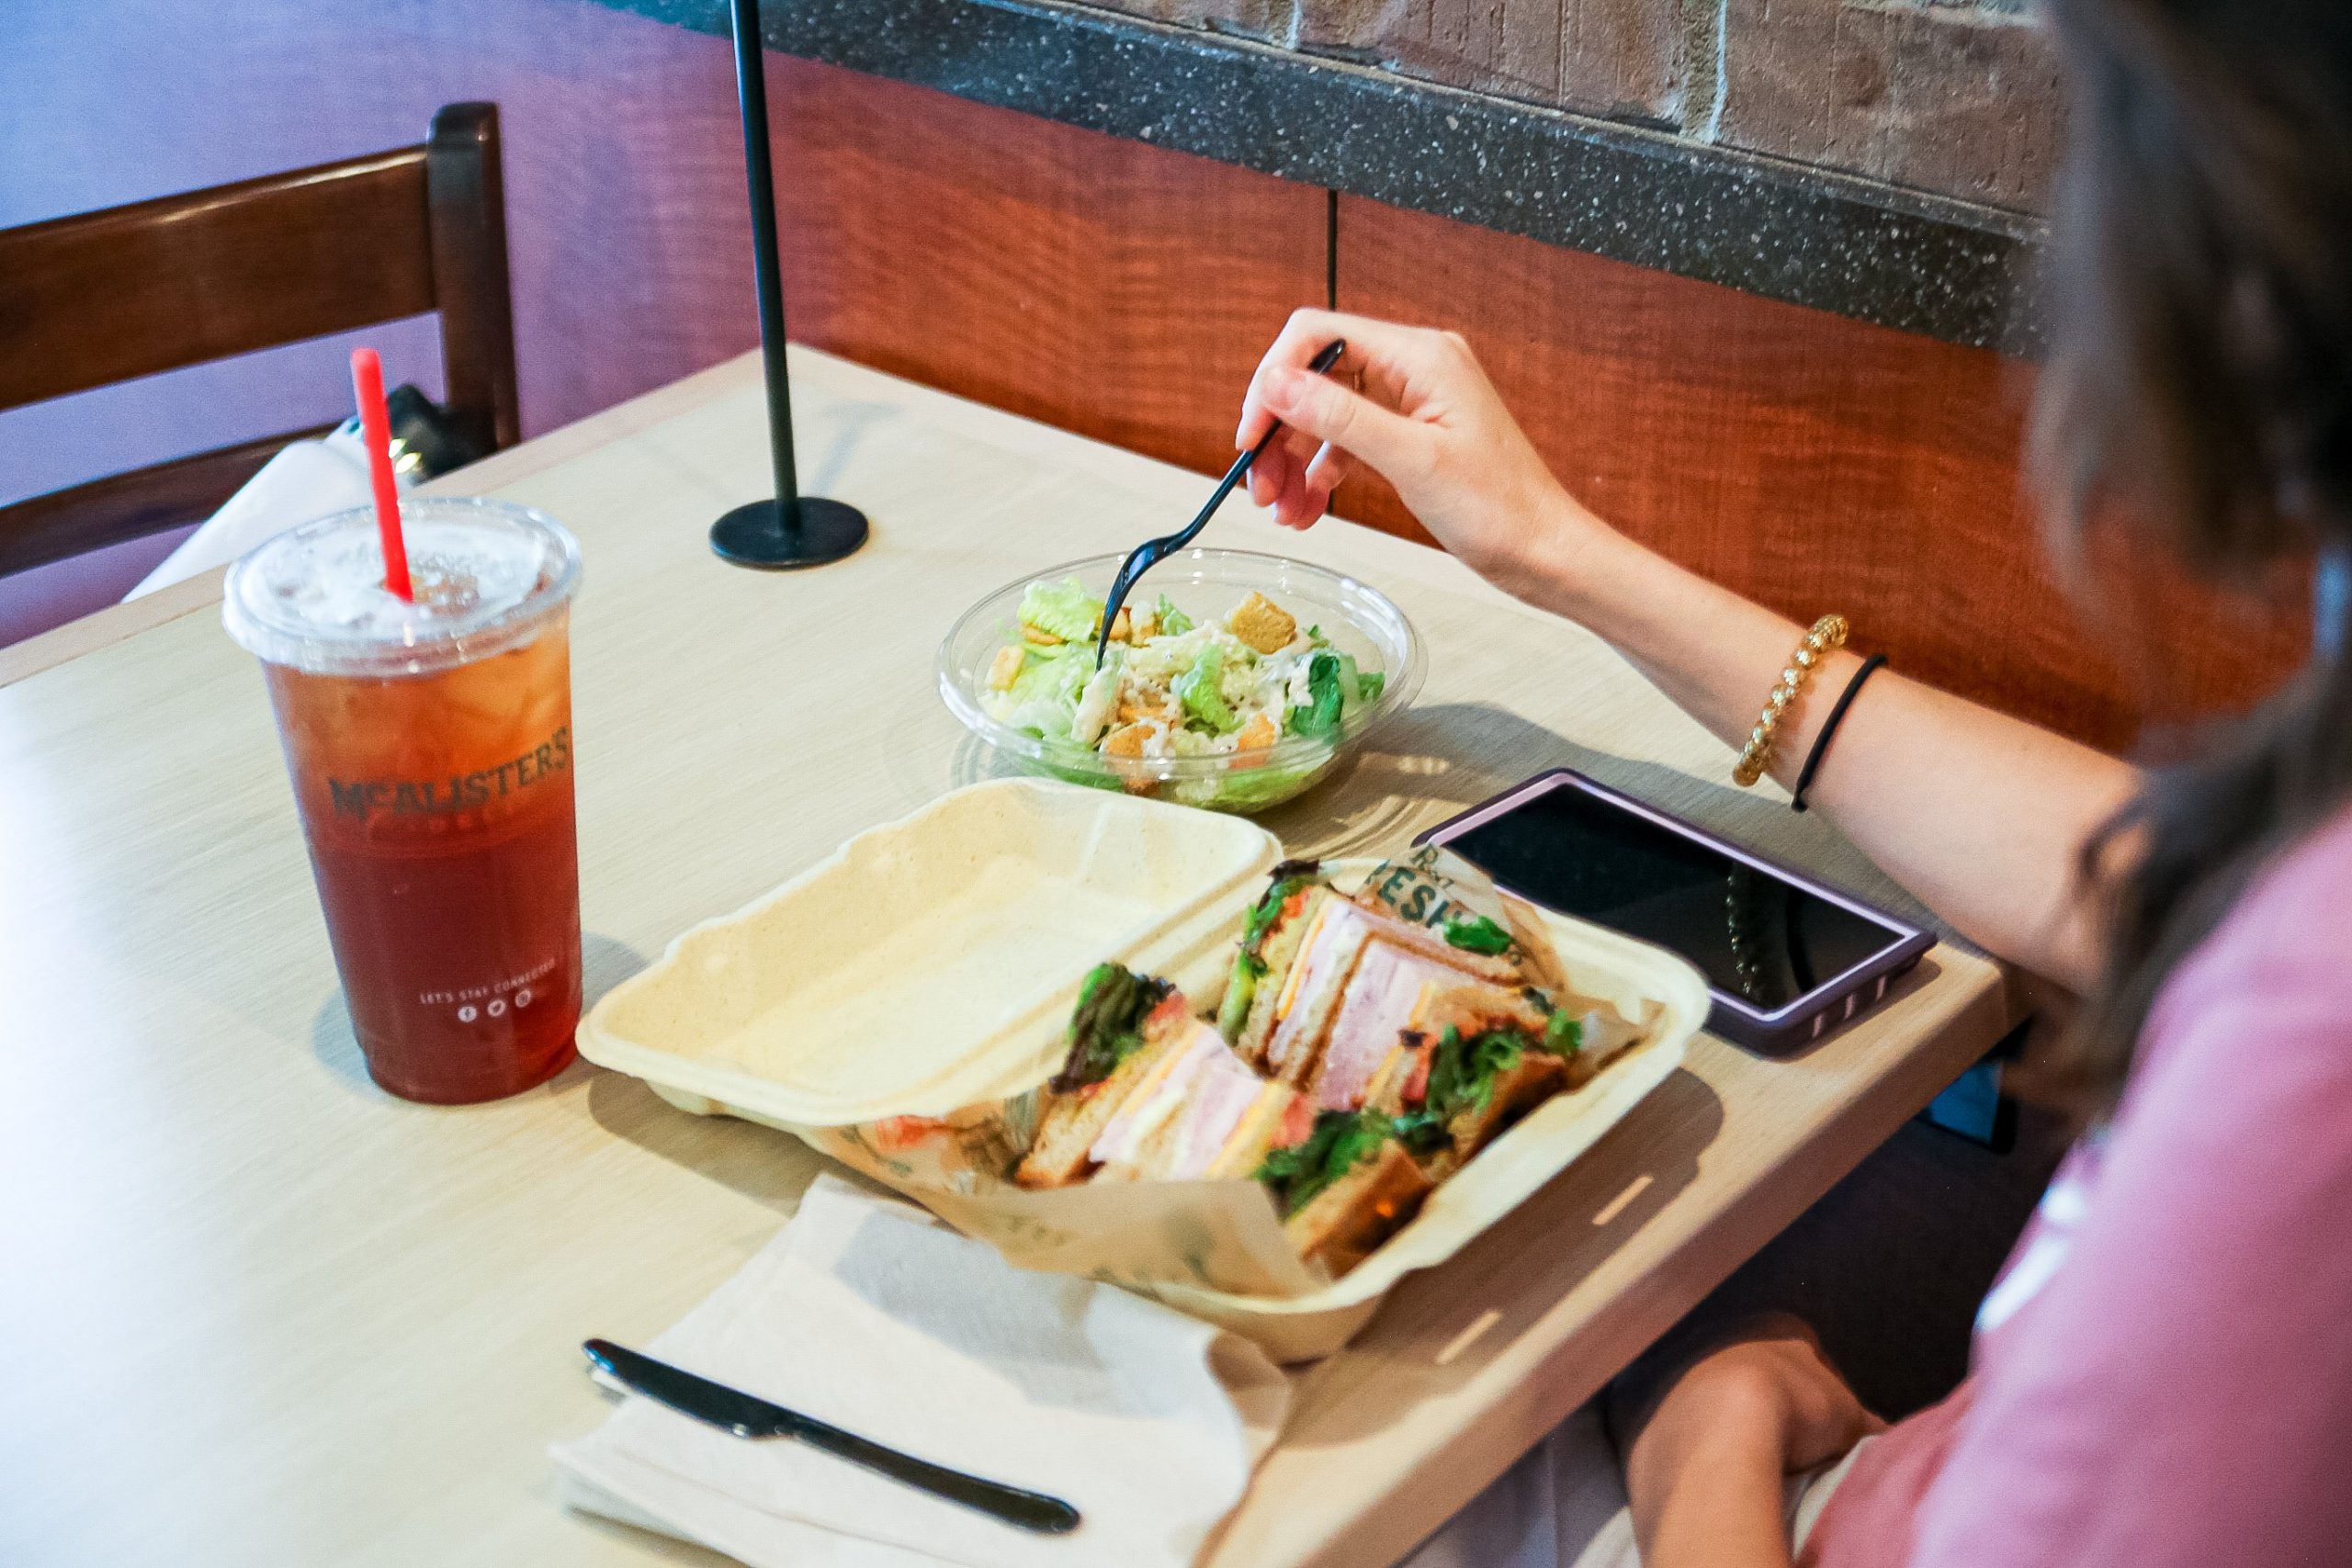
If you win the Free for You & Me Sweepstakes, who would you choose to share it with? Tell us in the comments below!
The post Free McAlister’s For Year? Sign me up! appeared first on Not So SuperMom VS Society.
]]>Easy Strawberry Tart Read More »
The post Easy Strawberry Tart appeared first on Not So SuperMom VS Society.
]]>
Strawberry Season
Every year we have a tradition- fruit picking. Sometimes it’s apples, sometimes it’s blueberries & blackberries, but our favorite so far has definitely been strawberries!
Honestly fruit picking is pretty rad. I mean you can stop and have a fresh snack break whenever you want, it’s a great bonding and memory making experience, and it’s fairly economical.
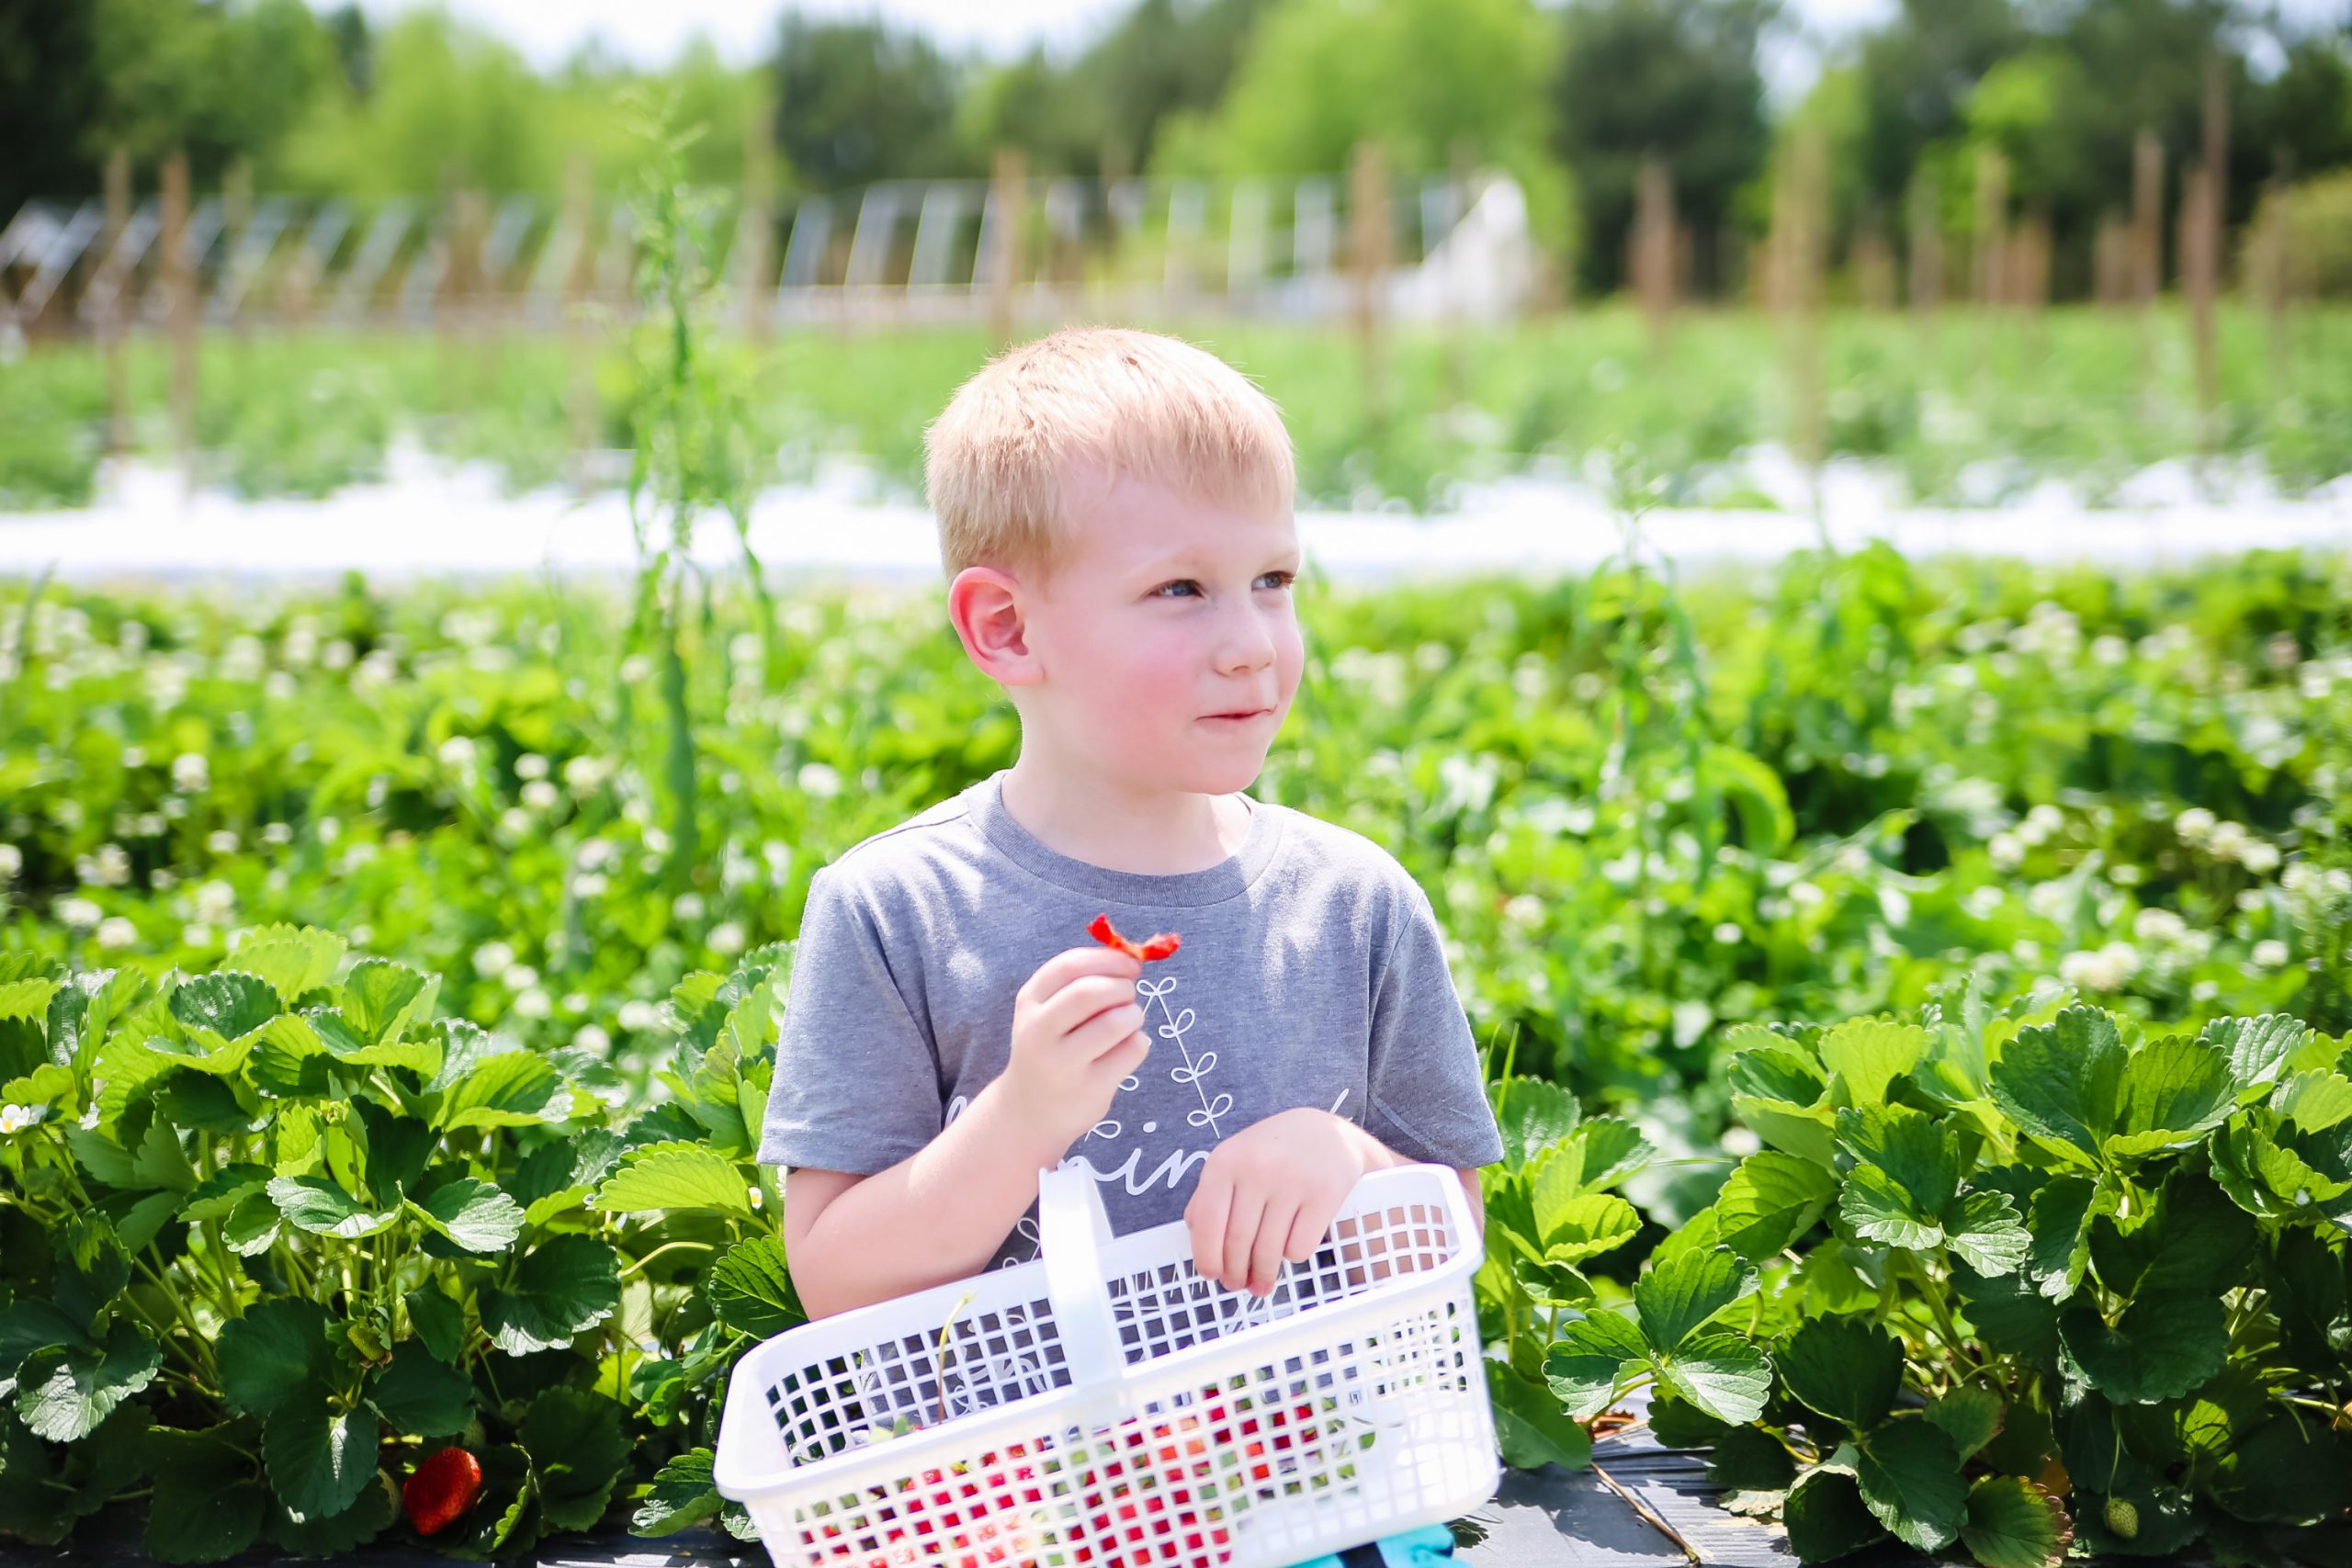
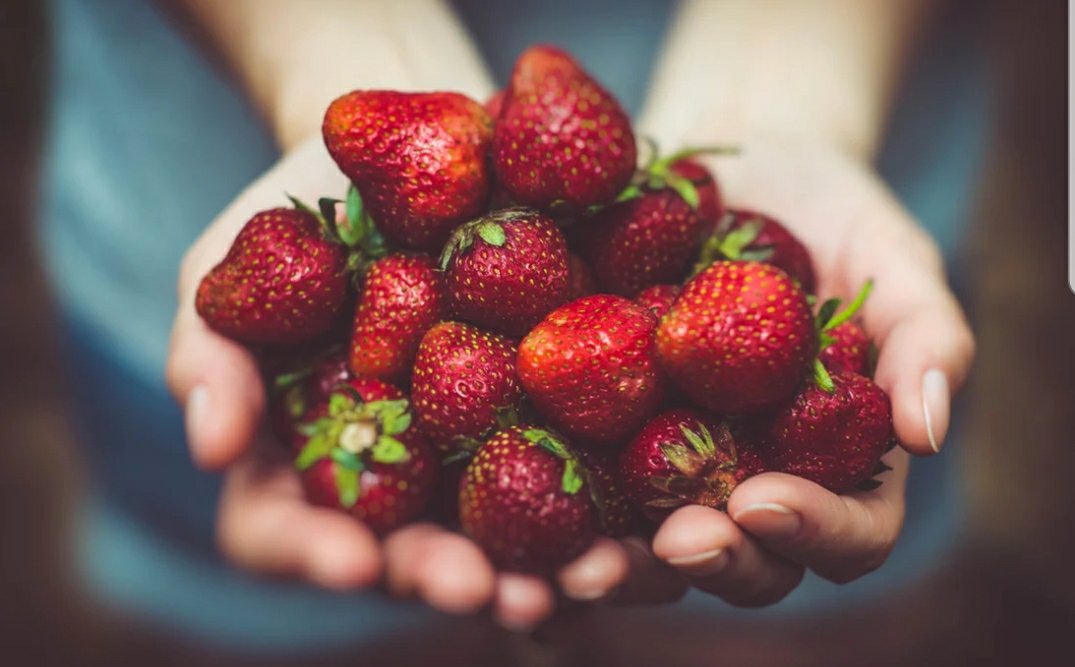
With Spring being here and Strawberry Season starting, I wanted to share my favorite Spring recipe, Strawberry Tarts. This recipe checks all the important boxes:
- Easy & Quick Prep
- Simple
- Delicious Results
Ingredients & Instructions
INGREDIENTS:
- 1 sheet frozen puff pastry, thawed
- 1 egg
- 2 teaspoons water
- sparkling sugar (optional)
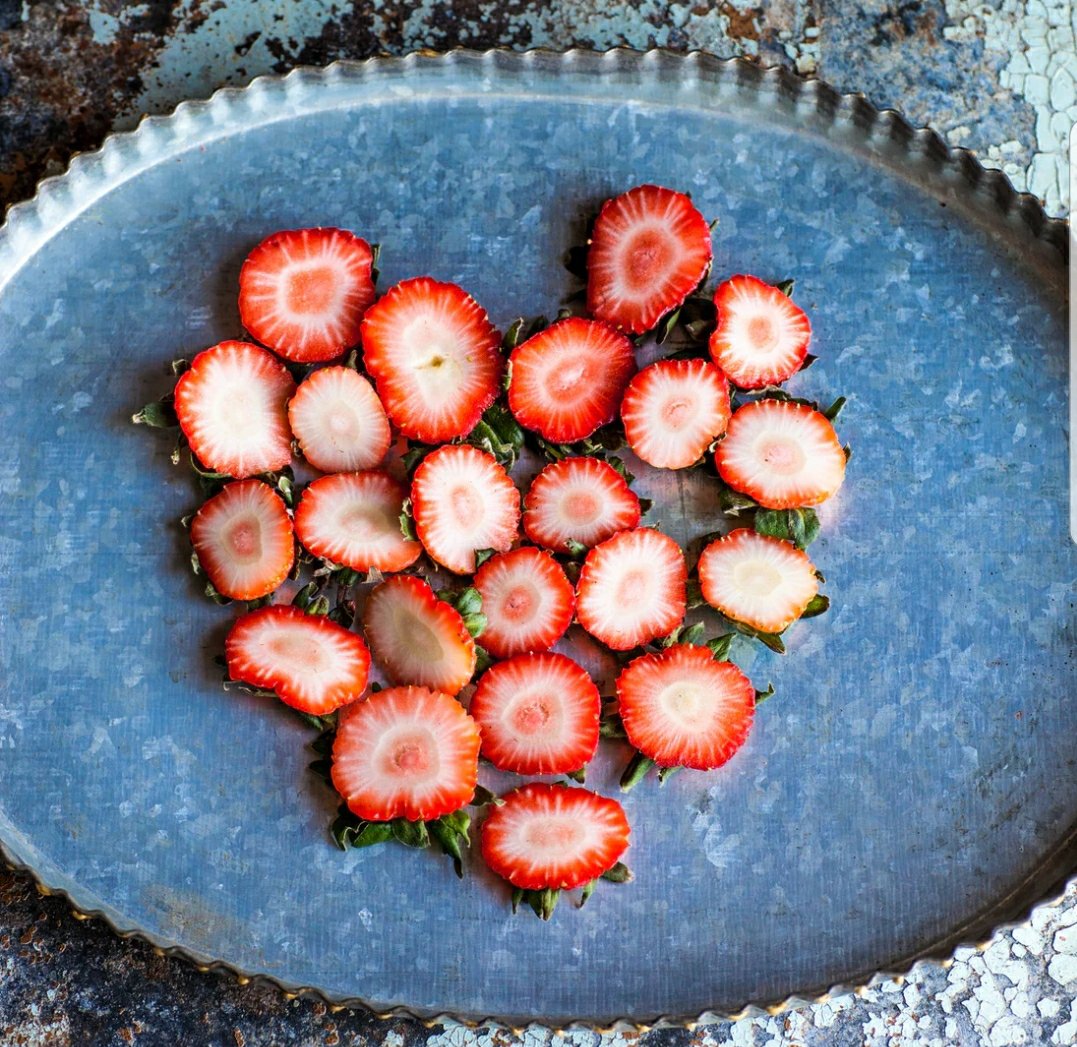
- 1 pint strawberries, washed/hulled, and sliced into 3-4 slices each
- 1/4 cup strawberry jam
- 3/4 cup white sugar, divided
- 4 ounces mascarpone cheese
- 4 ounces whipped cream (fresh whipped cream or cool whip)
- ice cream for garnish (optional)
INSTRUCTIONS:
- Preheat oven to 400F
- On a parchment lined baking sheet, roll out the puff pastry dough to a large rectangle.
- In a small bowl, whisk together the egg and the water.
- Use a knife to score a border 3/4 of an inch inside from the edge of the puff pastry. Use a fork to pierce the inside of the tart several times.
- Brush the pastry with the egg wash along the border. Sprinkle with sparkling sugar if desired.
- Bake for 20 minutes until golden brown and cooked. Set aside to cool.
- While the puff pastry is cooking, prepare the topping. In a large bowl, stir together the whipped cream, 1/2 cup white sugar, and mascarpone cheese.
- In a separate bowl, mix together the strawberry slices, 1/4 cup white sugar, and strawberry jam.
- Once puff pastry is cool, top with the cream and then the strawberries. Keep refrigerated until ready to slice and serve.
- Top with vanilla ice cream. Enjoy!
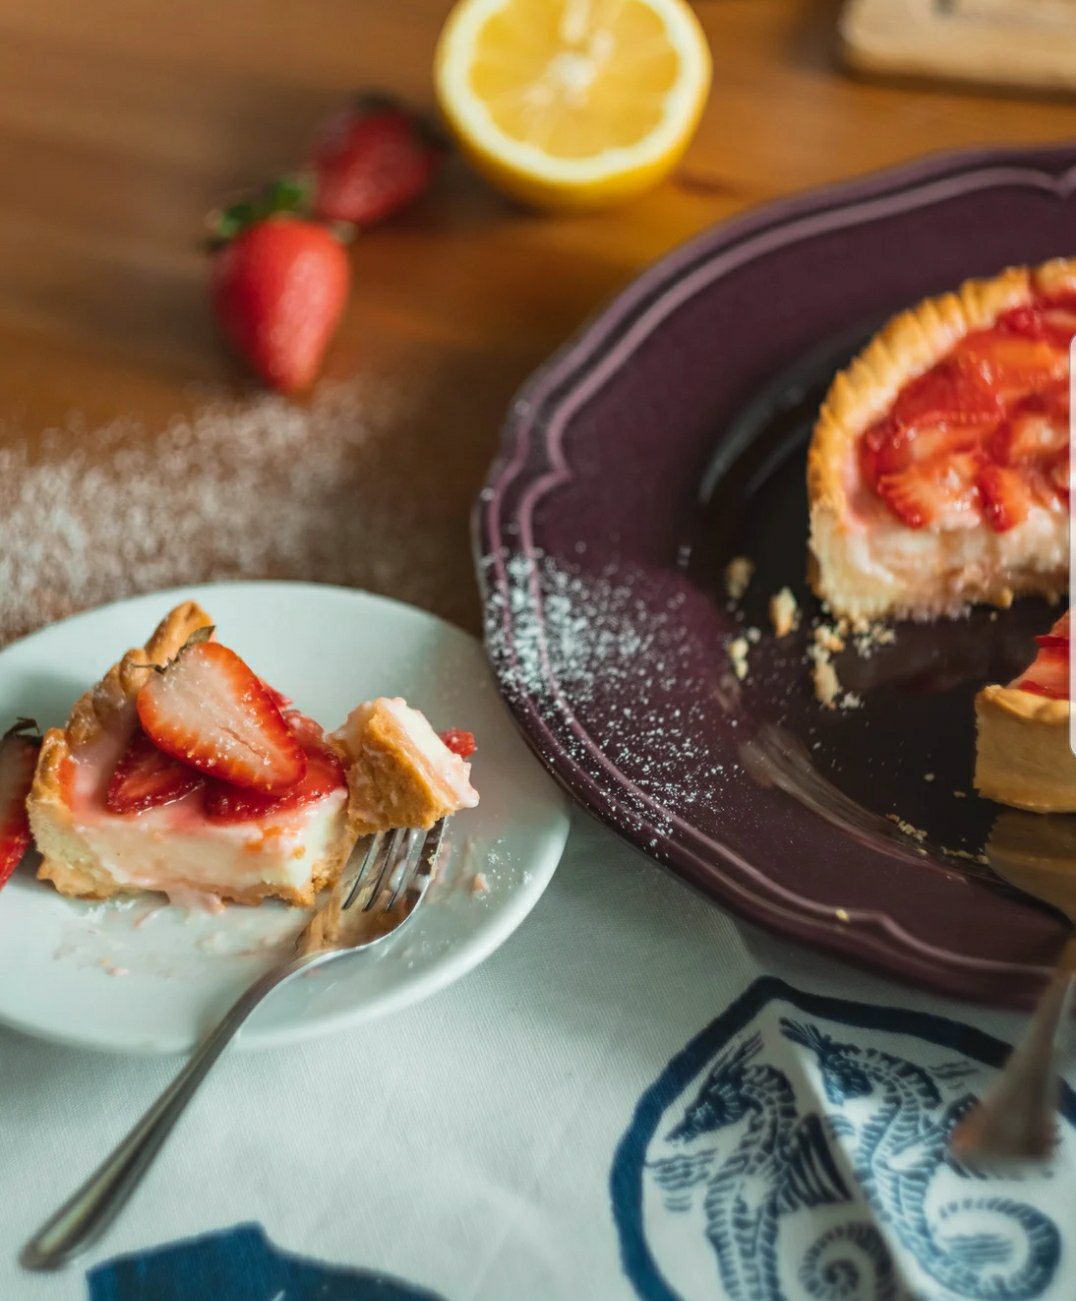
Everett comes back from his Gigi’s house in a week, and I absolutely cannot wait until we can go strawberry picking and make all of our strawberry treats!
Did you try this recipe? Tell us below!
The post Easy Strawberry Tart appeared first on Not So SuperMom VS Society.
]]>Easter Painting Projects Read More »
The post Easter Painting Projects appeared first on Not So SuperMom VS Society.
]]>
Today we brought out more fun painting projects! I wanted to have today’s painting projects be a little less messy than our rock painting day, so I found some easy to make and clean up painting projects.
I think now that we are schooling at home, I really need to invest in a drop cloth! The kids reallllly love painting and Finn definitely takes a “all hands on deck” approach.
These 2 are paints are fun to make. The jelly bean one is taste safe, so it makes a great choice for littles who like to stick everything in their mouths. It’s also pretty neat for older kids, due to the fact that process to make it is pretty cool!
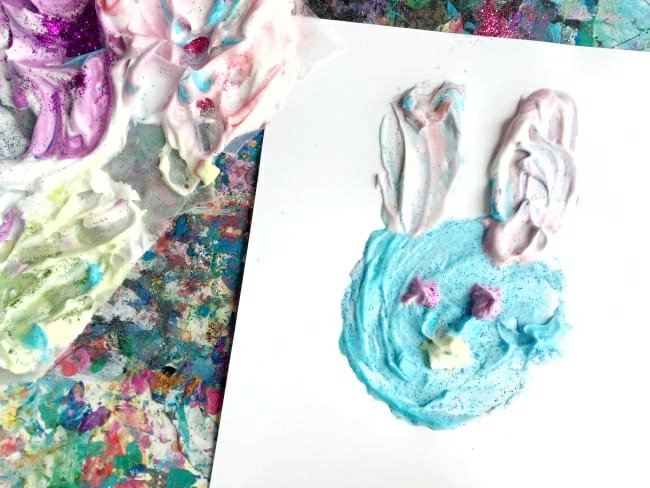
The shaving cream one is pretty neat because you can add a lot of fun elements to it and you are supposed to use your fingers to paint it. It makes a great sensory experience for the kids, plus we turned the leftover shaving cream into a sensory bin (check tomorrow’s blog for that activity!).
Paint Ingredients & Instructions
Shaving Cream Paint

Steps:
- Squeeze out a few dollops of plain shaving cream, making separate piles. I used a paper plate as a palette. This is a fun way for your child to practice their fine motor skills and self-control. If they start getting a little crazy with the cream, encourage them to take control of their own actions.
- Mix the paint. Drip a drop or two of food coloring into each pile. If you only have a few colors, blend a drop of each to make new ones. The primary colors (red, yellow and blue) combine to make purple, orange and green. Keep in mind, food coloring is extremely messy. It will stain clothes and may temporarily stain your child’s hands. The more it mixes in with the shaving cream, the lighter it will become. If you’re concerned about staining, using a plastic spoon or a craft stick to mix the food coloring until it lightens up enough for your child to touch it.
- Add some glitter. This really makes the paint fun, however, as I’m sure you’re aware, glitter gets EVERYWHERE.
- For smaller children, use a marker to draw a Easter egg/ bunny on their paper. Have them paint it. For older kids, have them create their own!
- Ask them questions while they paint. Have them talk about their observations. What happens as the paint dries? What colors mix? Etc.
Jelly Bean Paint

Steps:
This painting craft starts with a fun candy science experiment. This experiment is super simple and relies purely on observation skills. The boys already had a pretty good idea of what was going to happen after we did our skittles candy rainbow a couple weeks ago.
Experiment Steps:
- Ask your children “What do you think will happen to these jelly beans when they soak in water?”
- Make as many cups/bowls as you have jelly bean colors and fill them with around 1 cup of water. I found warm water worked the fastest. (For further experimentation, you can use other liquids, such as vinegar, Sprite, etc, we used water so we could transform ours into paint)
- Pro-tip: if you plan on making paint, use a muffin tin and you’ll automatically have an easy to use paint pallet!
- Place 8-10 jelly beans in each cup.
- Check the jelly beans every hour until there isn’t any more color left on the beans. Have them note the changes each hour. This process takes around 30min-1 hour.
- Once the jelly bean color has dissolved into the water, remove the beans from the water and save the water for later. (Note the jelly beans will still have a light color to them)
- Have them feel the jelly beans and observe their new texture. Have them smell it. Have them taste the jelly bean and see if it still tastes the same. Ask them questions about why and how this experiment turned out.
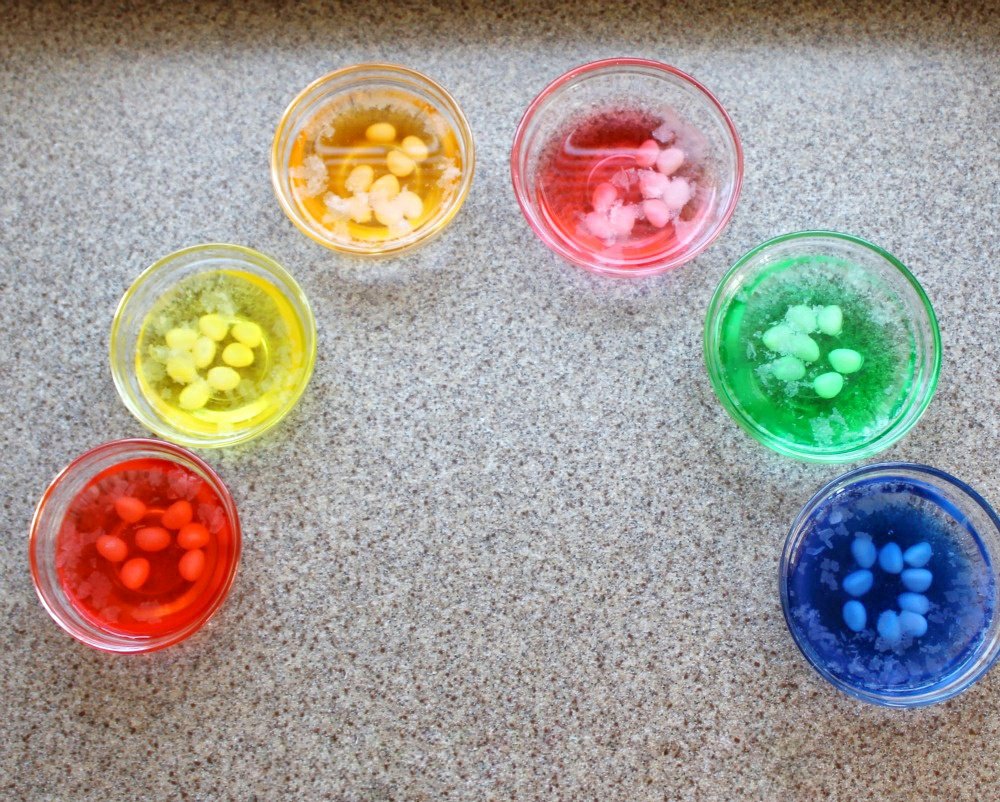
Once your experiment is over use the colored water that you saved to make fun taste-safe paint!
Paint & Brush Steps:
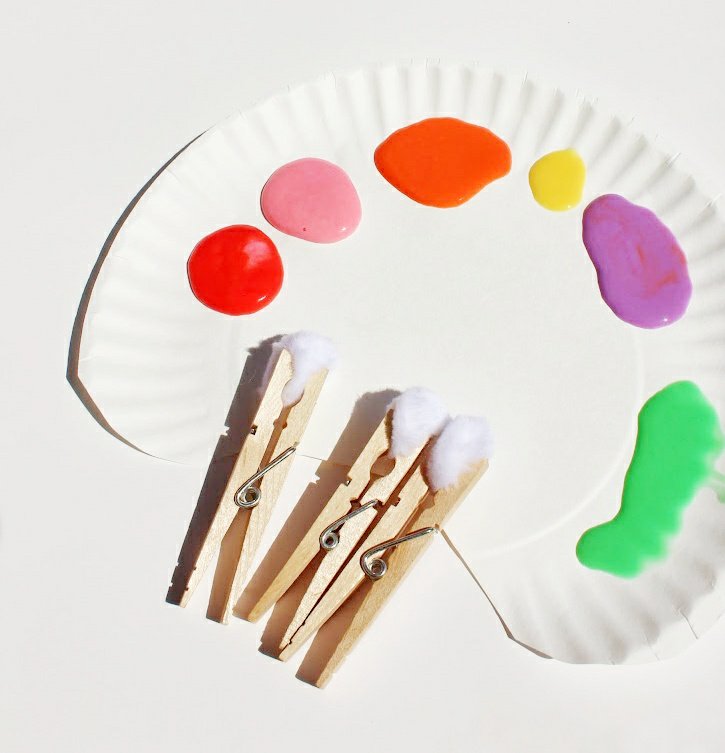
- Take your jelly bean water and add around 1/3 cups worth of flour to the liquid. Add as much flour to the mixture as you need to make a nice semi-thick paste. You want it to be smooth enough to easily paint, but not too runny. If it’s too runny the paint won’t stick well.
- For more vibrant color, add a couple drops of food coloring to your mixture and stir it up.
- Make your “cottontail” paintbrushes by taking a cotton ball and grabbing it with your clothespins. Full disclosure- while this brush is super cute for Easter crafts, it does absorb a lot of the paint and gets warped pretty quickly.
- Have fun! Paint Easter designs or something of your own design. The paint will be a little gritty from the residual sugar in the water and it gives the paint a cool texture!
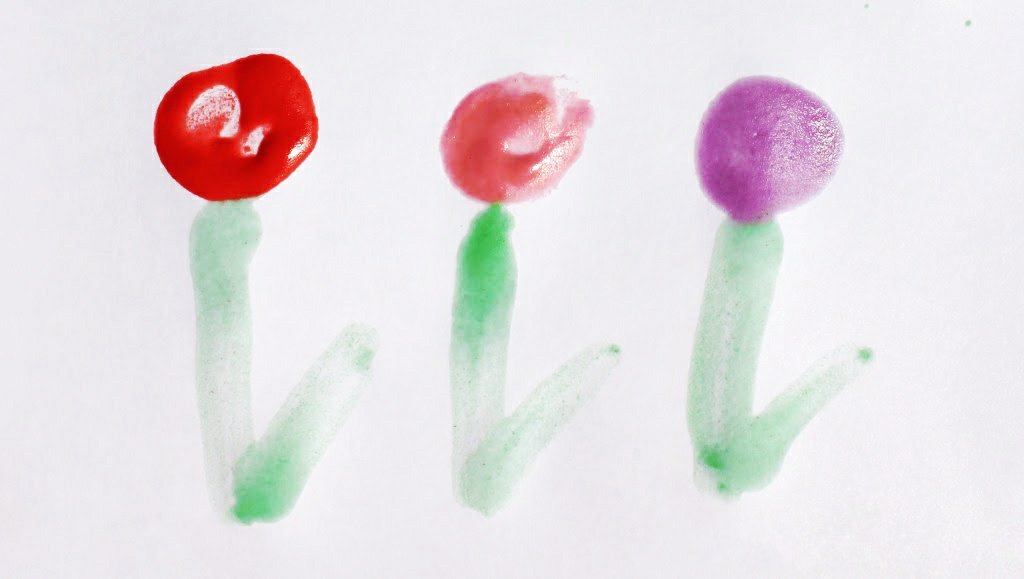
Did you try one of our crafts? Tell us below!
The post Easter Painting Projects appeared first on Not So SuperMom VS Society.
]]>Edible Peep Playdough Read More »
The post Edible Peep Playdough appeared first on Not So SuperMom VS Society.
]]>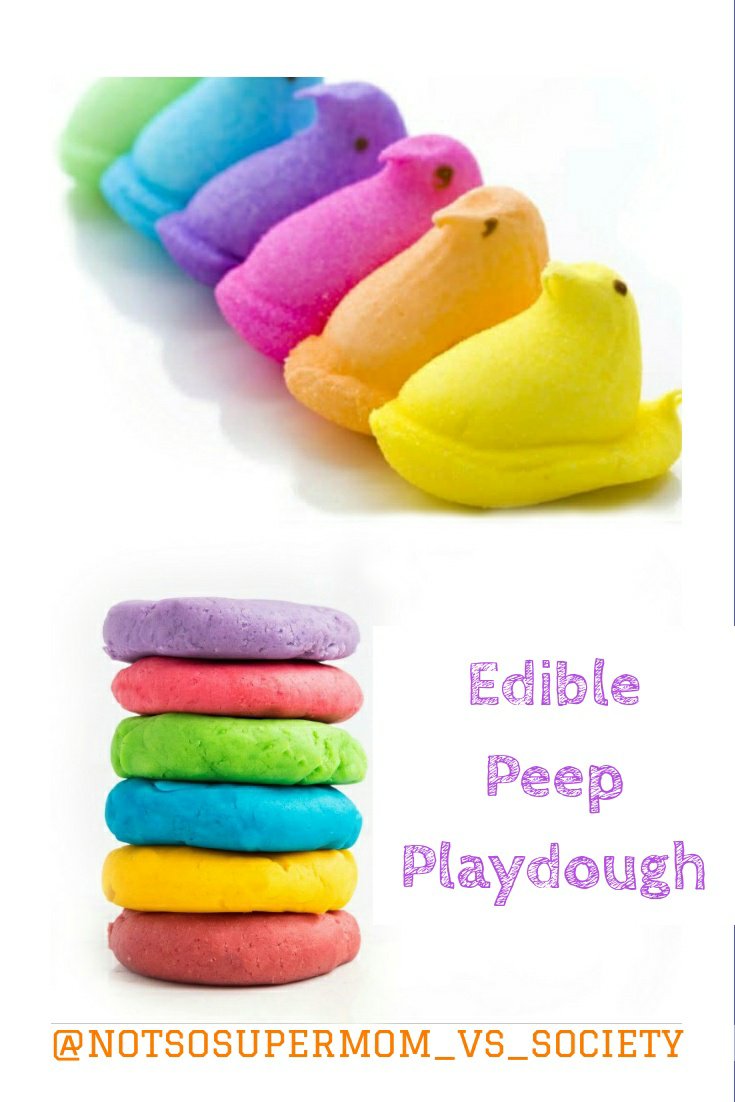
Easter is just around the corner, so this week I’m focusing on fun Easter activities. Today I’ll be focusing on edible peep playdough and slime.
The best thing about this activity, is that it covers all the bases: it’s fun, educational, delicious, easy to make, and pretty to look at!
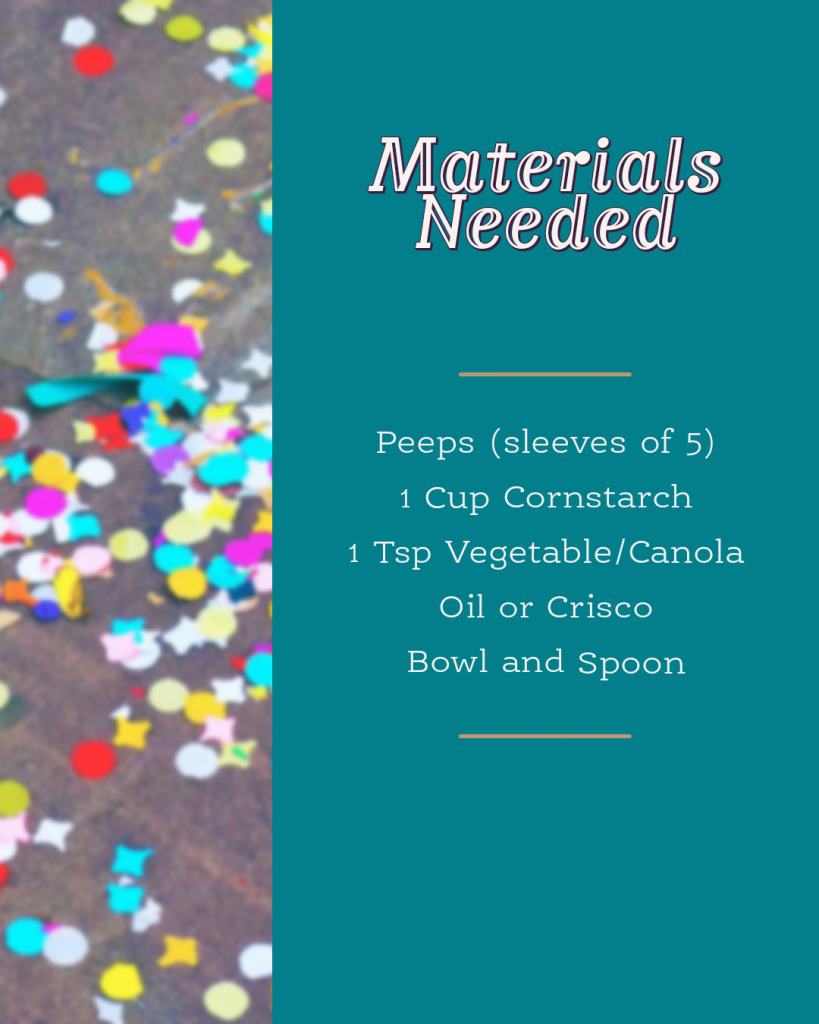
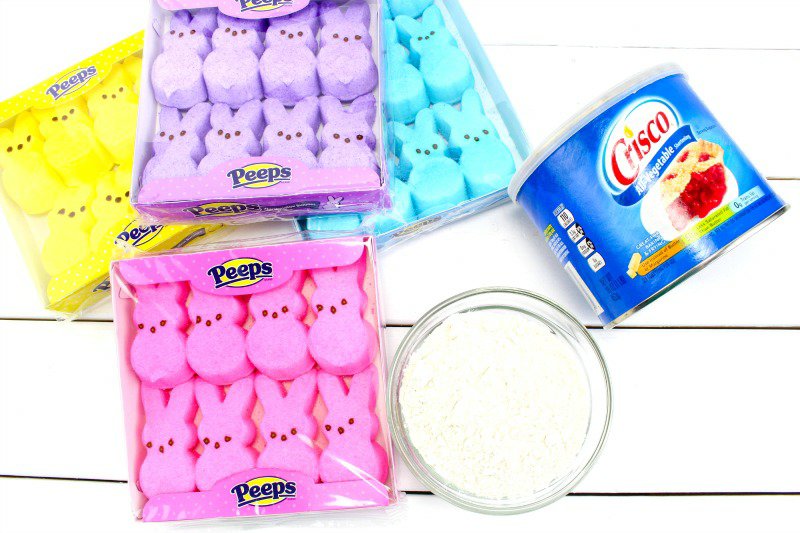
Ingredients & Instructions
Instructions:
- Place peeps into microwave safe bowl and cook for 30-45 seconds.
- Remove from microwave and add canola oil and 3/4 cups of corn starch.
- Stir until the melted marshmallows can be handled. It’s important to stir until the corn starch is completely mixed in.
- Next, dust hands with corn starch and knead until it’s not sticky and easily pliable.
- Get creative. Use cookie cutters to make shapes. Challenge your child to make cool structures, letters, or shapes.
Pro-Tips:
- Almost any oil will work. My two favorites for making this dough are crisco or coconut. Coconut tastes and smells better (in my opinion), but for those who don’t like coconut, crisco makes a great scent free alternative.
- You can also substitute powdered sugar for cornstarch or make one batch with each and have your children compare/contrast.
- If you’re child is more interested in making slime, decrease the corn starch. Around 3 tablespoons should give you a great consistency, however, I reccomend measuring out 1 tablespoon at a time until you reach the desired consistency. Make sure each tablespoon is thoroughly mixed in before adding the next.
- If it’s too sticky, add more cornstarch/powered sugar. If it’s too stiff add more oil.
- Only store this in a baggie or air tight bowl for around 3 days.
- Use fresh peeps. Stale peeps don’t provide the same consistency.
Science & Sensory Benefits
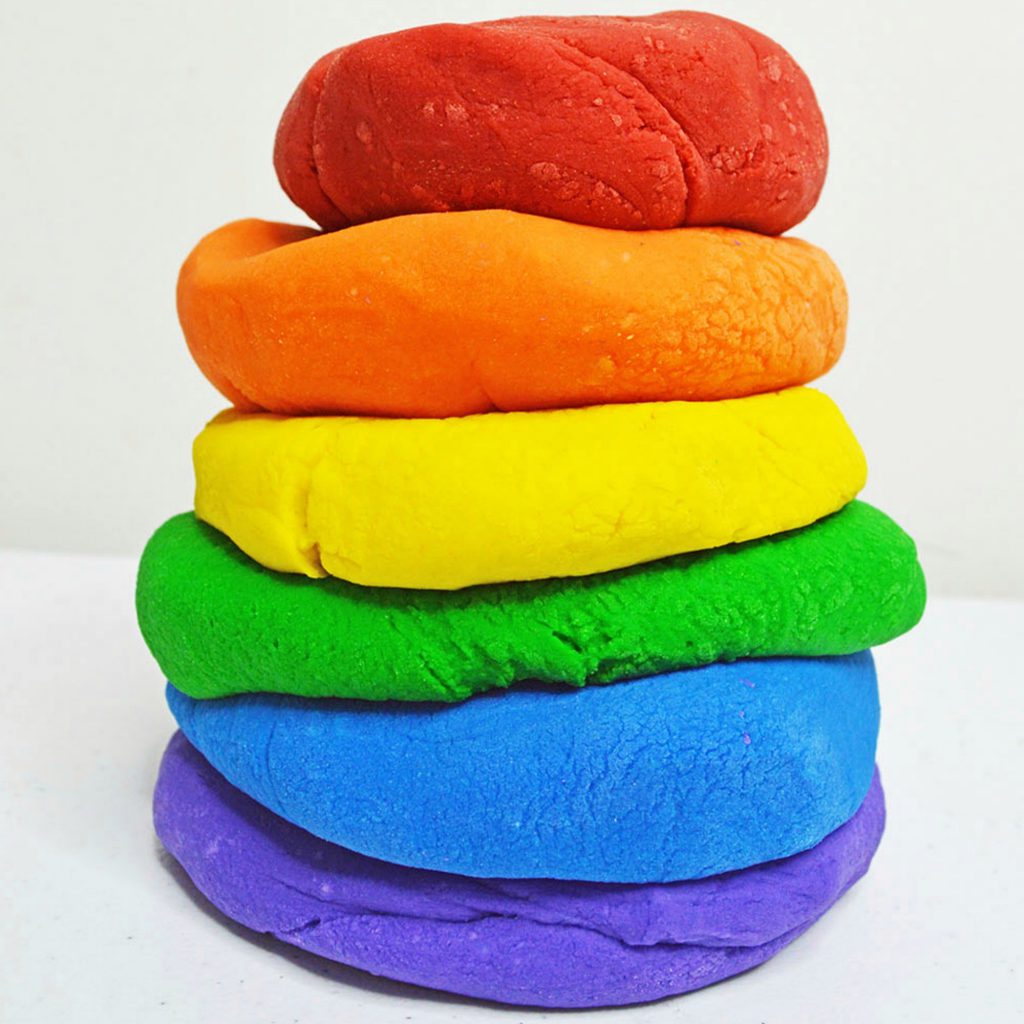
Research shows that sensory play builds nerve connections in the brain’s pathways, which lead to the child’s ability to complete more complex learning tasks. Sensory play supports language development, cognitive growth, fine and gross motor skills, problem solving skills, and social interaction.
Playing with playdough in particular helps little hands improve their fine motor skills, helping improve things like writing. It’s also an amazing tactile experience and gives kids a way to feel unique textures.
The STEAM benefits of this activity are also super awesome:
- Science: How does heating the Peeps change their properties?
- Peeps are marshmallows, and marshmallows are made of tiny air bubbles surrounded by gelatin and sugar syrup (sugar). When the peeps are microwaved, the water molecules in that syrup begin to vibrate and heat up. This process creates steam, and it fills all of the air pockets in the peeps. As the air pockets fill up the peeps expand!
- Technology: What tools do you use to change Peeps into play dough?
- Engineering: What recipe is required to transform Peeps into play dough?
- Art: Which colors are the peeps? What colors can you make mixing them? What shapes can you make?
- Math: How much corn starch is needed to turn Peeps into playdough? How long do the marshmallows have to be heated? What happens if you cook them too long or too little?
Did you try this activity? Let us know your thoughts below!
The post Edible Peep Playdough appeared first on Not So SuperMom VS Society.
]]>Super Simple Sensory Foam Read More »
The post Super Simple Sensory Foam appeared first on Not So SuperMom VS Society.
]]>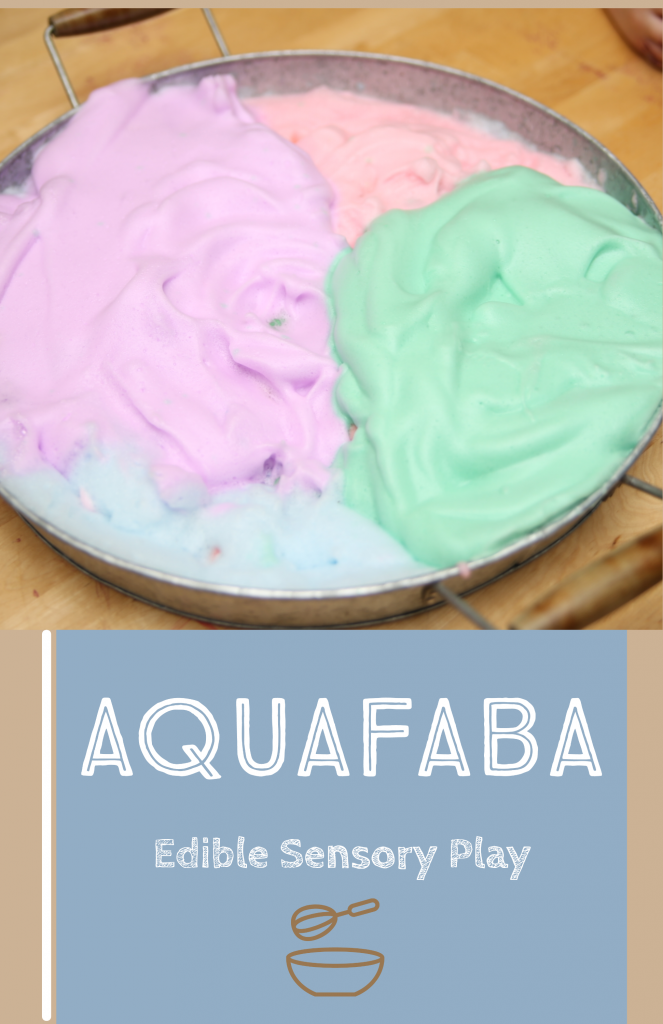
If you’ve followed us for awhile, you know I’m always looking for fun ways to incorporate sensory play into our daily activities. A few months ago, I discovered Aquafaba. It’s been around for years; I certainly haven’t created anything new here, but it’s been an incredible eye opener!
Aquafaba is made from the strained legume juices, such as chickpeas. You’ll usually find it used in vegan cooking and baking. This super cool substance mimics the functional properties of egg whites in cooking, and can be used as a direct replacement, including meringues and marshmallows.
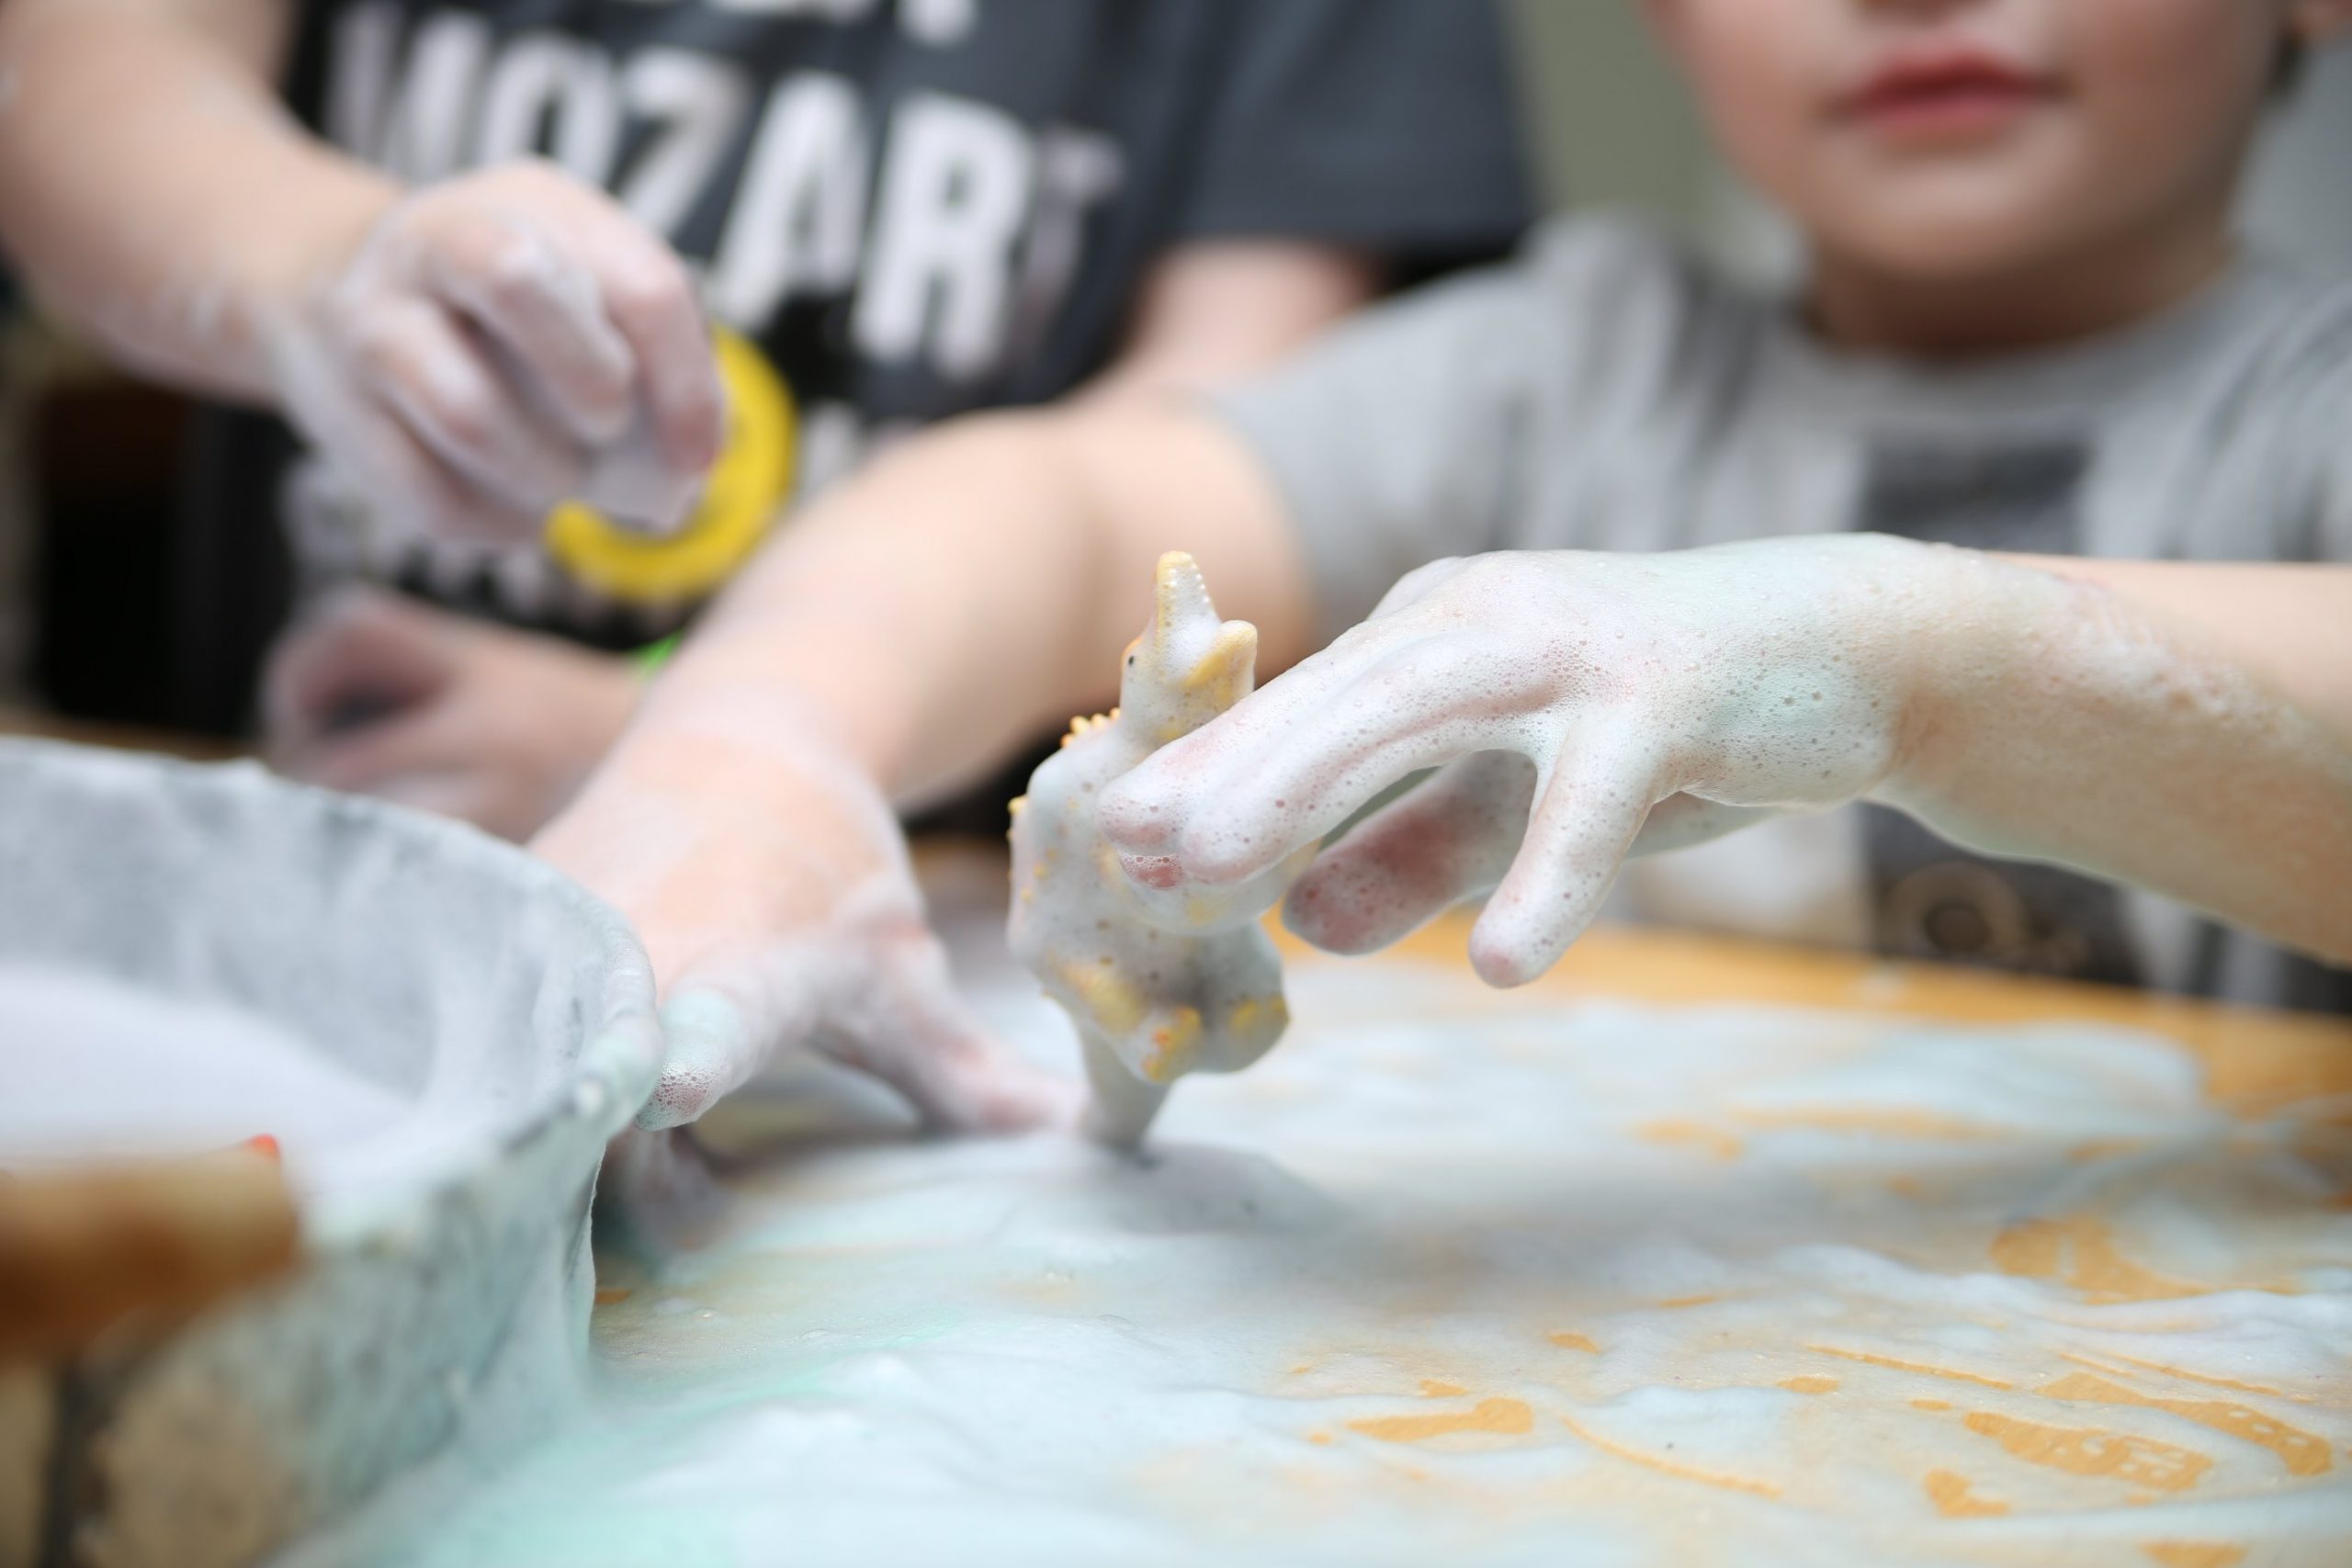
What does this mean for sensory play? It makes an awesome safe and edible sensory foam! It’s super easy to make, and safe for even the littlest explorers.
The Importantance of Sensory Play
From birth, children are exploring their senses and processing new information. They begin to make sense of the world around them as they grow through the exploration of new textures, materials and resources. Sensory play is a valuable way of engaging children in activities that will heighten their senses and enrich their learning.
Sensory play encourages discovery and independent thinking, as well as inspiring imagination and creativity. Research shows that there are many different ways in which sensory play can benefit a child’s development and learning.
Here are some of the key benefits of sensory play:

Making Aquafaba
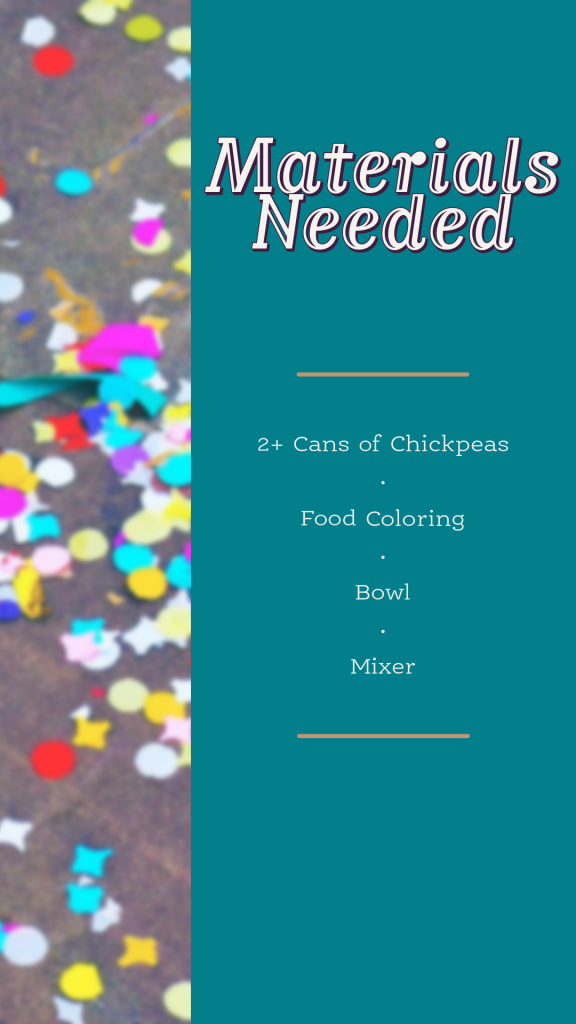
Making Aquafaba is easy and fun. I usually let the boys help me add and mix the ingredients. It gets a little messy, but messy play tends to be the most fun!
I usually use around 4 cans of chickpeas, simply because we like a lot of foam and the boys always want multiple colors. Also, in addition to the ingredients listed above, you can also add cream of tartar if you want stiffer peaks in your foam.
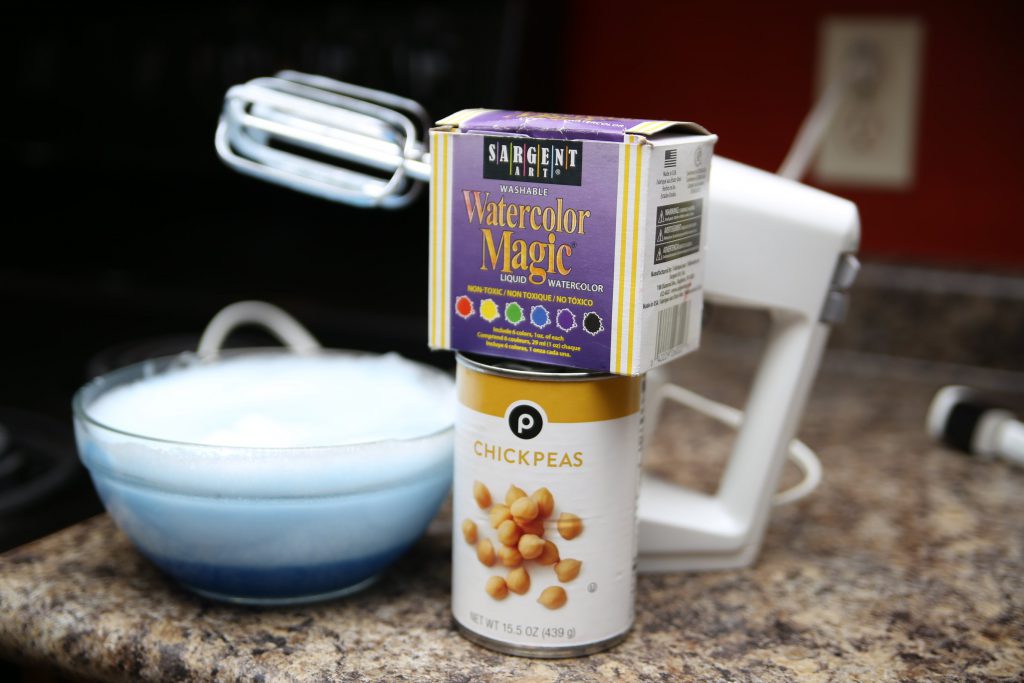
After I strain my chickpeas, I put the leftover chickpeas on a cookie sheet, sprinkle the with some salt and make baked chickpea snacks. Waste not, want not!
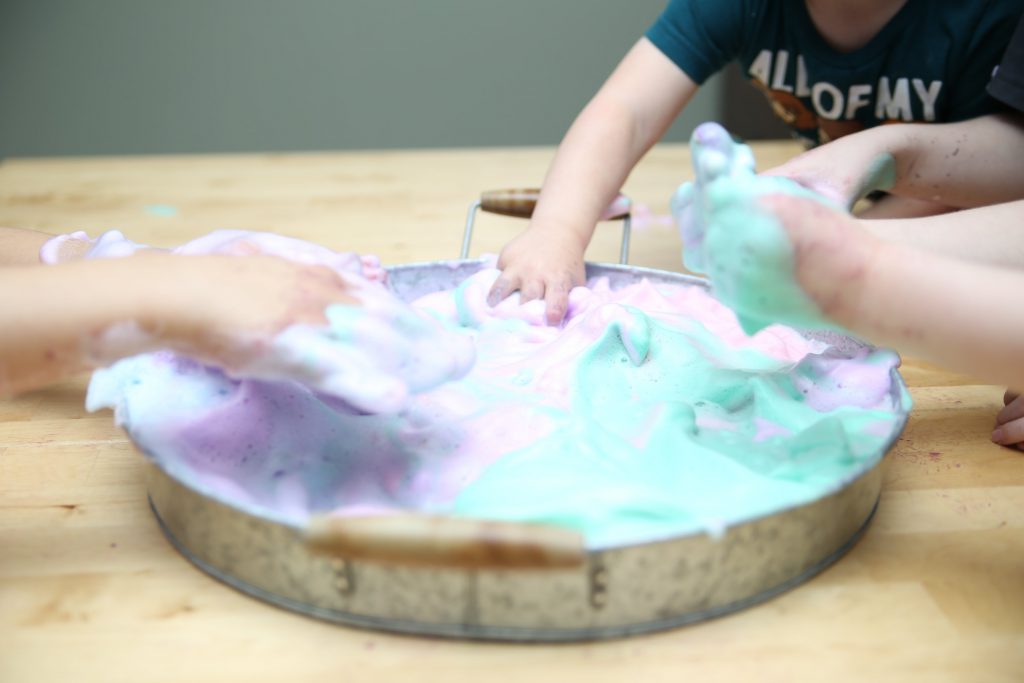
Once the chickpea liquid is in the bowl, add color and beat the mixture for 1-2 minutes with an electric mixer. Beat until the peaks are stiff. I usually make 4 different colors, 1 per can, and toss them in my play tray.
Tip: always mix longer than you think you’ll need to. The foam will last longer the better it’s whipped!
After making the foam, I hide fun little toys in it. Seek and find games have limitless possibilities in our house! We use them for counting, color recognition, motor planning, and so on. On top of all that, it’s FUN!

Ways To Engage During Play
Asking questions while your child plays not only leads them to new areas of discovery but allows them to build a better understanding of their present environment and experiences. Here are some questions that you can ask to help build comprehension with your aquafaba foam:
- How does the foam feel?
- What do you think would happen if you lifted one side on the tray?
- What does the foam smell like?
- Have you felt anything like this before?
- Without tasting it, what do you think the foam would taste like?
- How long do you think it will take before all the bubbles pop?
- Who do you think would enjoy playing with this foam?
- If you could name this foam, what would you name it?
- What other activities do you think we could use the foam in?

Aquafaba is one of the easiest and safest forms of sensory play. It foams up better than shaving cream and keeps its form for longer. The boys played with our batch for a long time, coming up with all sorts of open ended play ideas, from making potions and soups for us to sample to pretending they were foam monsters. Kids adore sensory play and the texture of this foam will keep them busy for hours!
Do you know of any other easy & edible sensory crafts that we should try? Did you try this? Comment below and share!
The post Super Simple Sensory Foam appeared first on Not So SuperMom VS Society.
]]>The post Delightfully Delicious Date Balls appeared first on Not So SuperMom VS Society.
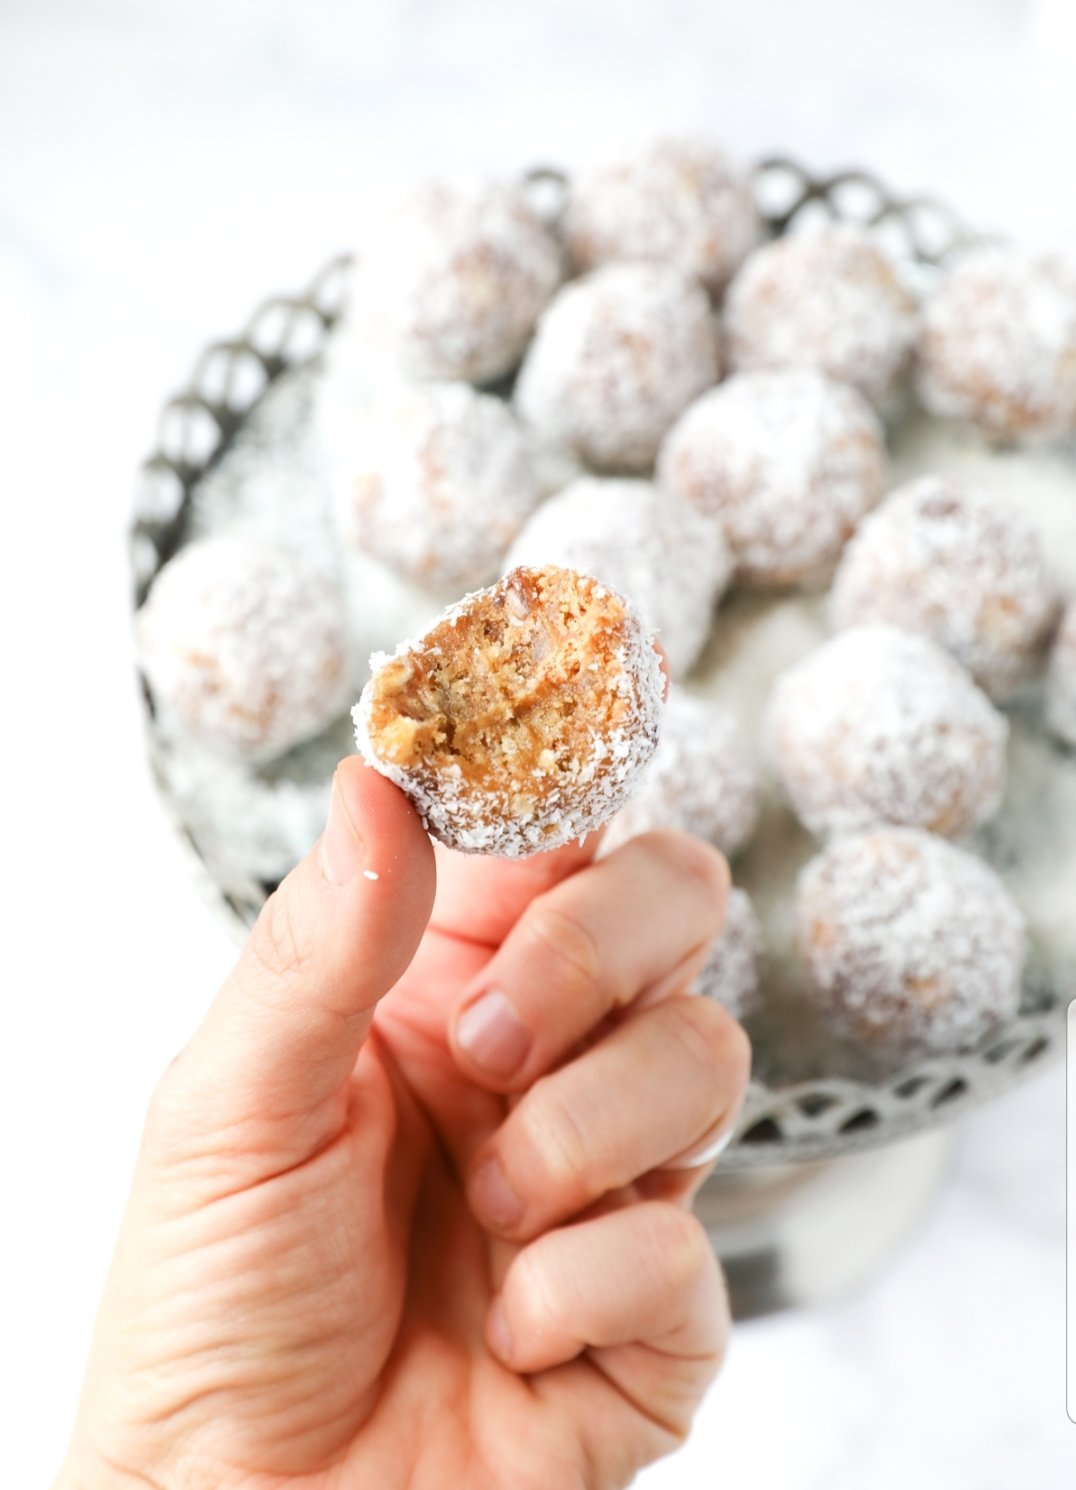
]]>A few years ago, my best friend Ellie jokingly told me I needed to eat her balls. I thought she was just being a bit silly and offhandedly making a dirty joke. Instead, it turned out she had a dirty little secret- she had a recipe for the most delicious, melt in your mouth, and heavenly date balls.

After a bit of cajoling, she gave me her recipe for this amazing treat. The great thing about this recipe, is that you can add your own little twists to it (ie coconut flakes), and it still tastes great.
These date balls also have the added benefit of giving you a boost energy. Dates are high in natural simple sugars and carbohydrates, which are converted into glucose for the cells to use as energy. They also have a low glycemic index, meaning that our bodies will digest them slowly, providing energy throughout the day.
Ingredients:
- about 10 oz of dates, chopped
- 1 cup sugar
- 1 stick butter
- 1/2 cup nuts of choice (pecans, almonds, walnuts. Ellie prefers walnuts, I’m an almond fan though.)
- 1 cup rice krispies
Optional:
- 1 cup powdered sugar or coconut flakes for rolling the balls in
- Coconut oil
Instructions:
- Melt butter and sugar together on medium heat until sugar is completely melted into the butter. The second the sugar dissolves, remove from heat.
- Stir in chopped dates. Continue stirring for several minutes until dates have become a nice gooey delicious mass.
- Quickly stir in the chopped nuts and then the rice krispies.
- Roll into wee balls and roll in confectioners sugar.
- ***BALLS ARE VERY HOT! Use coconut oil or butter on your hands to help minimize ouchies***
- Devour.
Tips:
- I prefer using fresh dates, though any will do.
- I recommend using a food processor on the dates. They are super sticky and take forever to chop by hand
- Hide your balls from small children & partners. Trust me you won’t want to share!
Now to the rest of the recipes to complete your holiday baking list!
Check out these delicious recipes by some of my favorite mommy blogger friends:
Yummy sugar cookies, because it wouldn’t be holiday baking without them.
Chocolate peppermint cookies, these have two of the classic Christmas flavors.
Snickerdoodle Cookies , these are my husband’s favorites and you will love them!
The post Delightfully Delicious Date Balls appeared first on Not So SuperMom VS Society.
]]>The post Ultimate Taco Soup appeared first on Not So SuperMom VS Society.
]]>The post Ultimate Taco Soup appeared first on Not So SuperMom VS Society.
]]>