Easter Painting Projects Read More »
The post Easter Painting Projects appeared first on Not So SuperMom VS Society.
]]>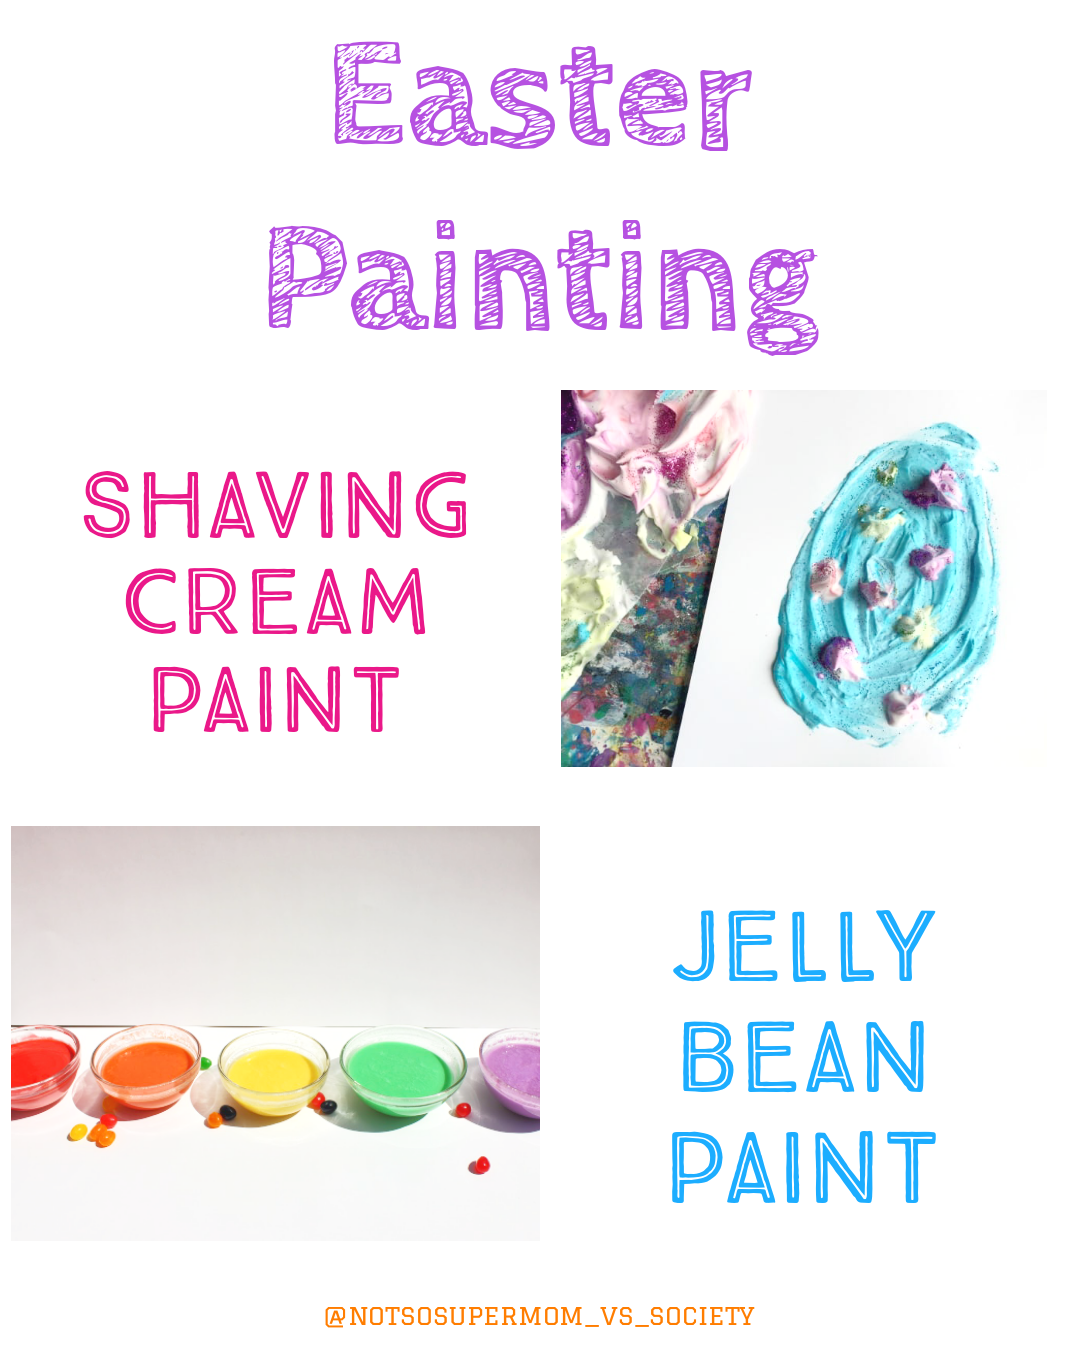
Today we brought out more fun painting projects! I wanted to have today’s painting projects be a little less messy than our rock painting day, so I found some easy to make and clean up painting projects.
I think now that we are schooling at home, I really need to invest in a drop cloth! The kids reallllly love painting and Finn definitely takes a “all hands on deck” approach.
These 2 are paints are fun to make. The jelly bean one is taste safe, so it makes a great choice for littles who like to stick everything in their mouths. It’s also pretty neat for older kids, due to the fact that process to make it is pretty cool!
The shaving cream one is pretty neat because you can add a lot of fun elements to it and you are supposed to use your fingers to paint it. It makes a great sensory experience for the kids, plus we turned the leftover shaving cream into a sensory bin (check tomorrow’s blog for that activity!).
Paint Ingredients & Instructions
Shaving Cream Paint
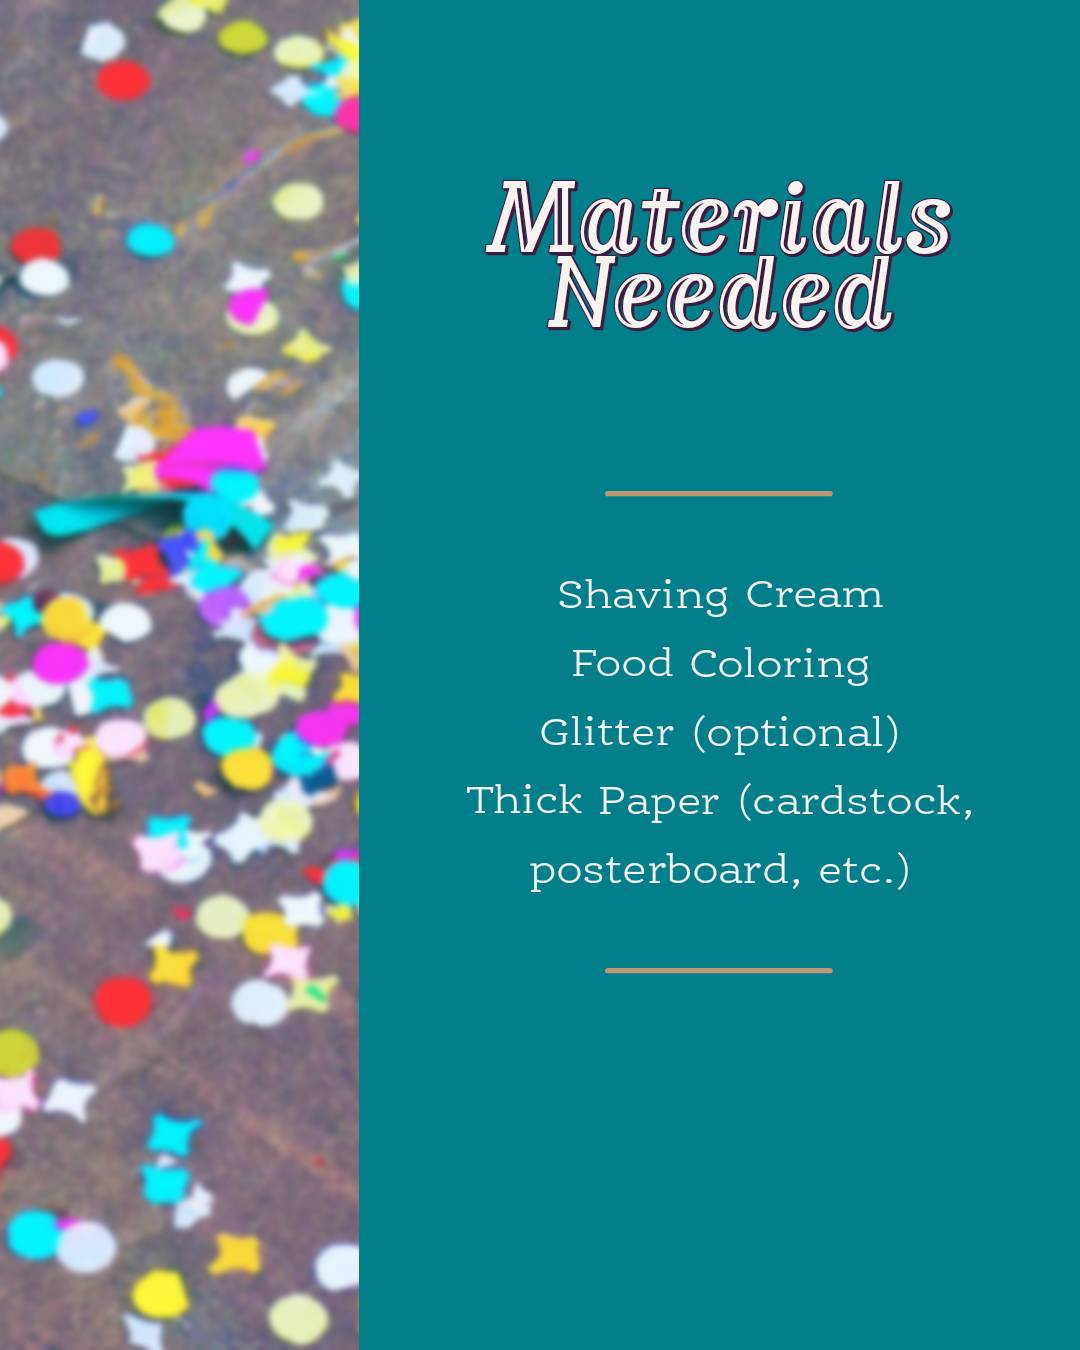
Steps:
- Squeeze out a few dollops of plain shaving cream, making separate piles. I used a paper plate as a palette. This is a fun way for your child to practice their fine motor skills and self-control. If they start getting a little crazy with the cream, encourage them to take control of their own actions.
- Mix the paint. Drip a drop or two of food coloring into each pile. If you only have a few colors, blend a drop of each to make new ones. The primary colors (red, yellow and blue) combine to make purple, orange and green. Keep in mind, food coloring is extremely messy. It will stain clothes and may temporarily stain your child’s hands. The more it mixes in with the shaving cream, the lighter it will become. If you’re concerned about staining, using a plastic spoon or a craft stick to mix the food coloring until it lightens up enough for your child to touch it.
- Add some glitter. This really makes the paint fun, however, as I’m sure you’re aware, glitter gets EVERYWHERE.
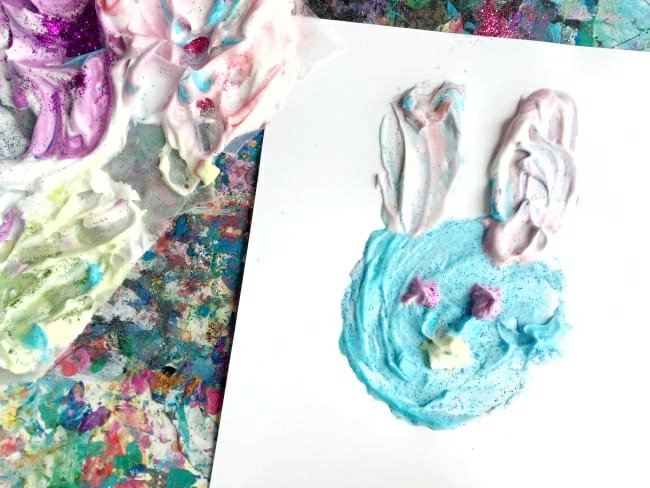
- For smaller children, use a marker to draw a Easter egg/ bunny on their paper. Have them paint it. For older kids, have them create their own!
- Ask them questions while they paint. Have them talk about their observations. What happens as the paint dries? What colors mix? Etc.
Jelly Bean Paint
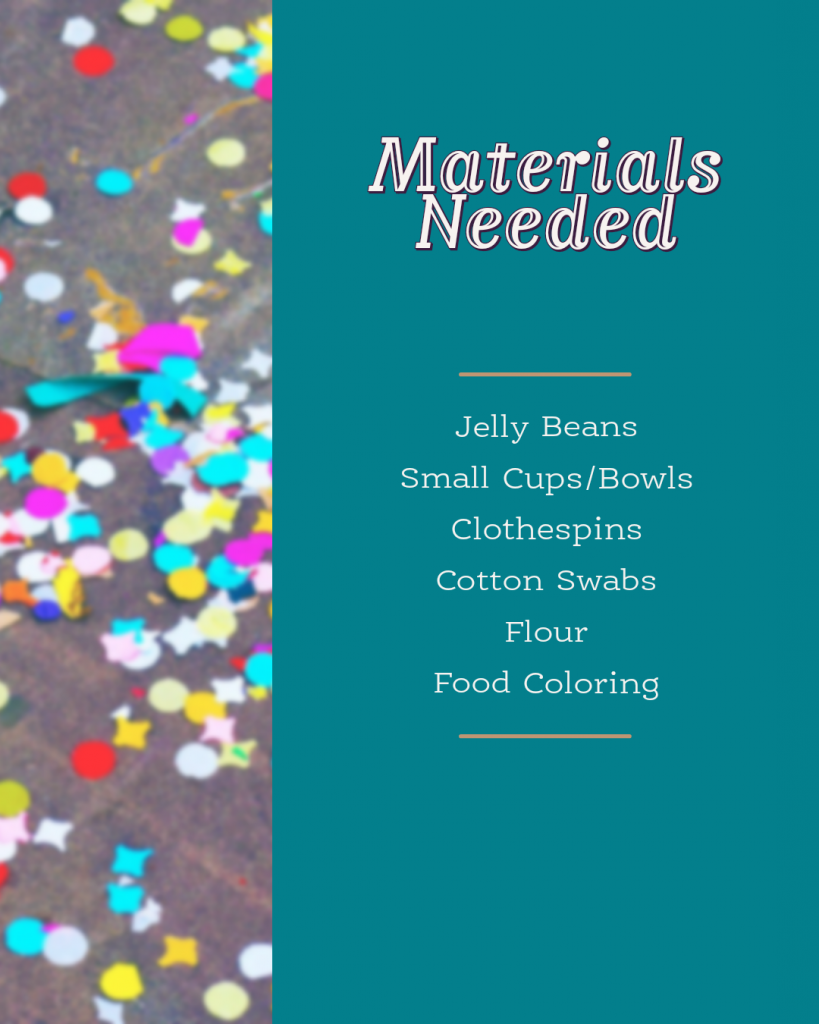
Steps:
This painting craft starts with a fun candy science experiment. This experiment is super simple and relies purely on observation skills. The boys already had a pretty good idea of what was going to happen after we did our skittles candy rainbow a couple weeks ago.
Experiment Steps:
- Ask your children “What do you think will happen to these jelly beans when they soak in water?”
- Make as many cups/bowls as you have jelly bean colors and fill them with around 1 cup of water. I found warm water worked the fastest. (For further experimentation, you can use other liquids, such as vinegar, Sprite, etc, we used water so we could transform ours into paint)
- Pro-tip: if you plan on making paint, use a muffin tin and you’ll automatically have an easy to use paint pallet!
- Place 8-10 jelly beans in each cup.
- Check the jelly beans every hour until there isn’t any more color left on the beans. Have them note the changes each hour. This process takes around 30min-1 hour.
- Once the jelly bean color has dissolved into the water, remove the beans from the water and save the water for later. (Note the jelly beans will still have a light color to them)
- Have them feel the jelly beans and observe their new texture. Have them smell it. Have them taste the jelly bean and see if it still tastes the same. Ask them questions about why and how this experiment turned out.
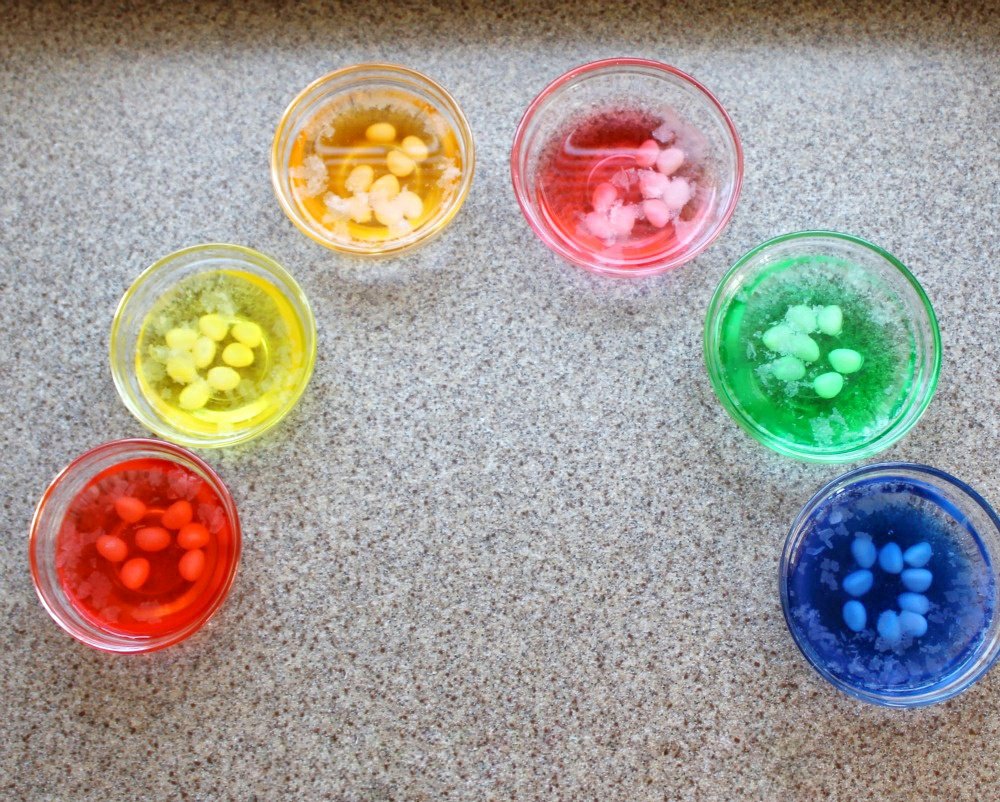
Once your experiment is over use the colored water that you saved to make fun taste-safe paint!
Paint & Brush Steps:
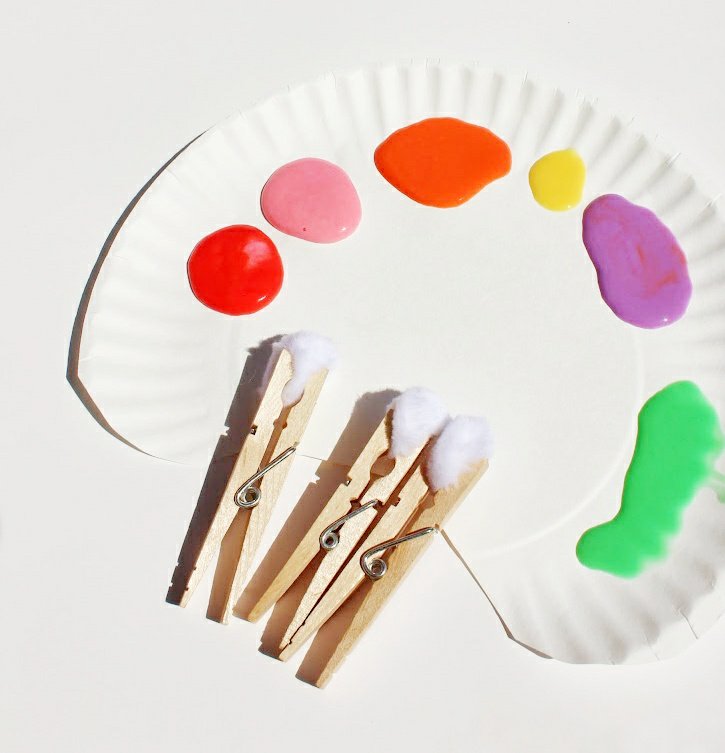
- Take your jelly bean water and add around 1/3 cups worth of flour to the liquid. Add as much flour to the mixture as you need to make a nice semi-thick paste. You want it to be smooth enough to easily paint, but not too runny. If it’s too runny the paint won’t stick well.
- For more vibrant color, add a couple drops of food coloring to your mixture and stir it up.
- Make your “cottontail” paintbrushes by taking a cotton ball and grabbing it with your clothespins. Full disclosure- while this brush is super cute for Easter crafts, it does absorb a lot of the paint and gets warped pretty quickly.
- Have fun! Paint Easter designs or something of your own design. The paint will be a little gritty from the residual sugar in the water and it gives the paint a cool texture!
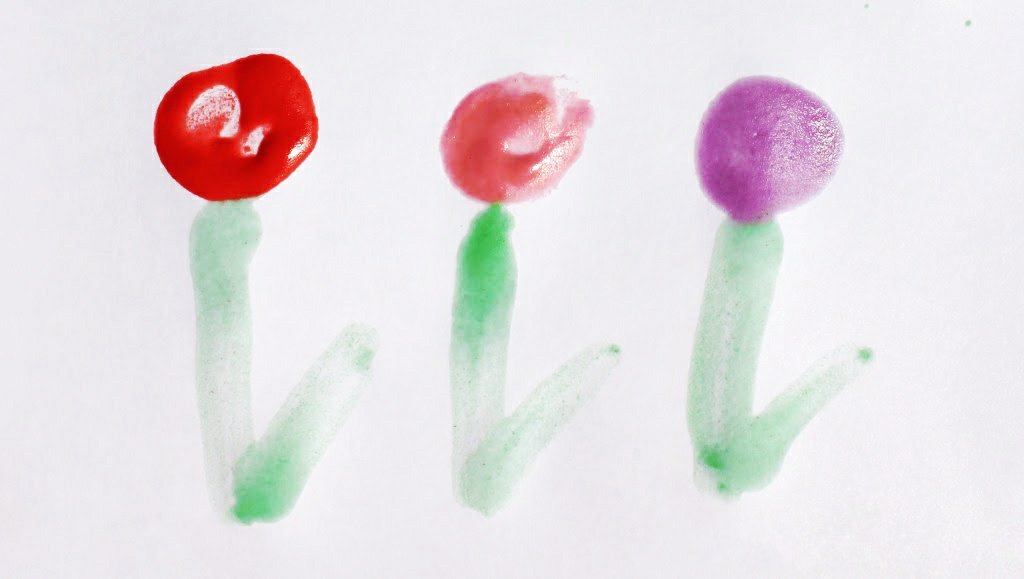
Did you try one of our crafts? Tell us below!
The post Easter Painting Projects appeared first on Not So SuperMom VS Society.
]]>Easter Engineering Read More »
The post Easter Engineering appeared first on Not So SuperMom VS Society.
]]>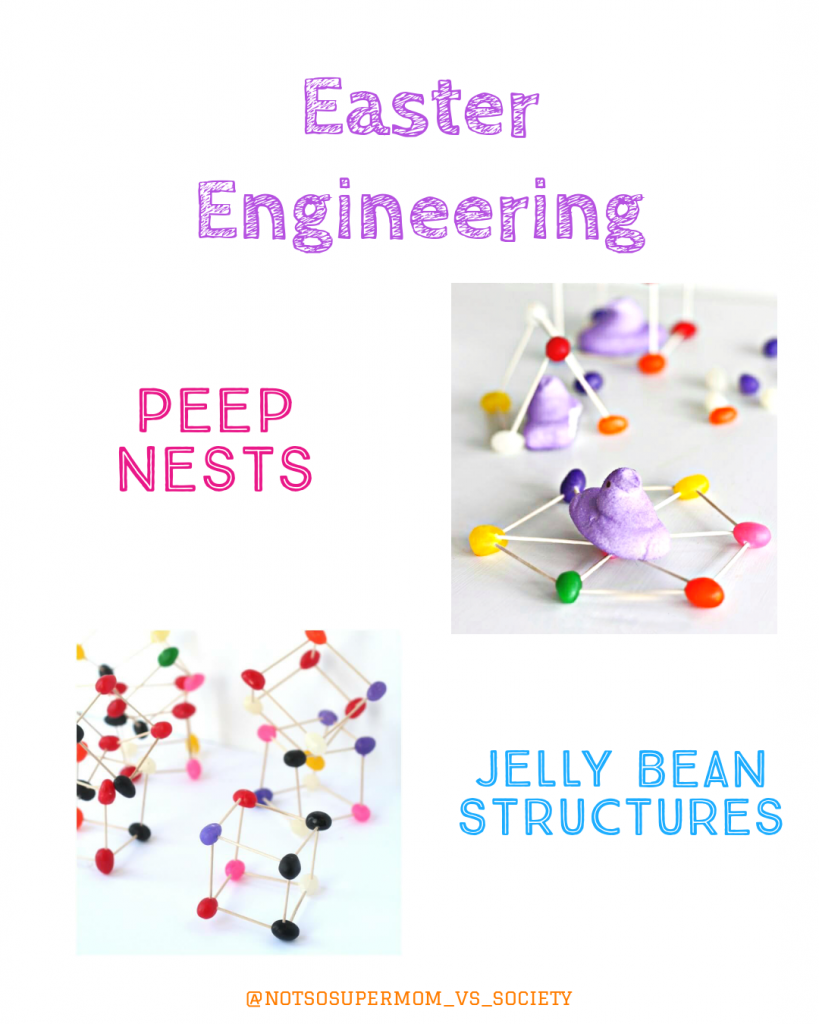
Todays Easter Activity is: Engineering!
If couldn’t already tell, we LOVE STEAM activities in this house. They are fun and educational on multiple levels. We still had some peeps leftover from yesterday, so we decided to get crafty and build some Easter candy structure challenges.
The cool thing about this activity is that you can easily modify it to engage toddlers through teens. Small simple structures and easy explanations for littles and complex structures with hypotheses and in depth engineering analyses for the older kids. Plus, once you build your structure, you can pretend you’re Godzilla, destroying your structures and eating them!
Ingredients & Instructions
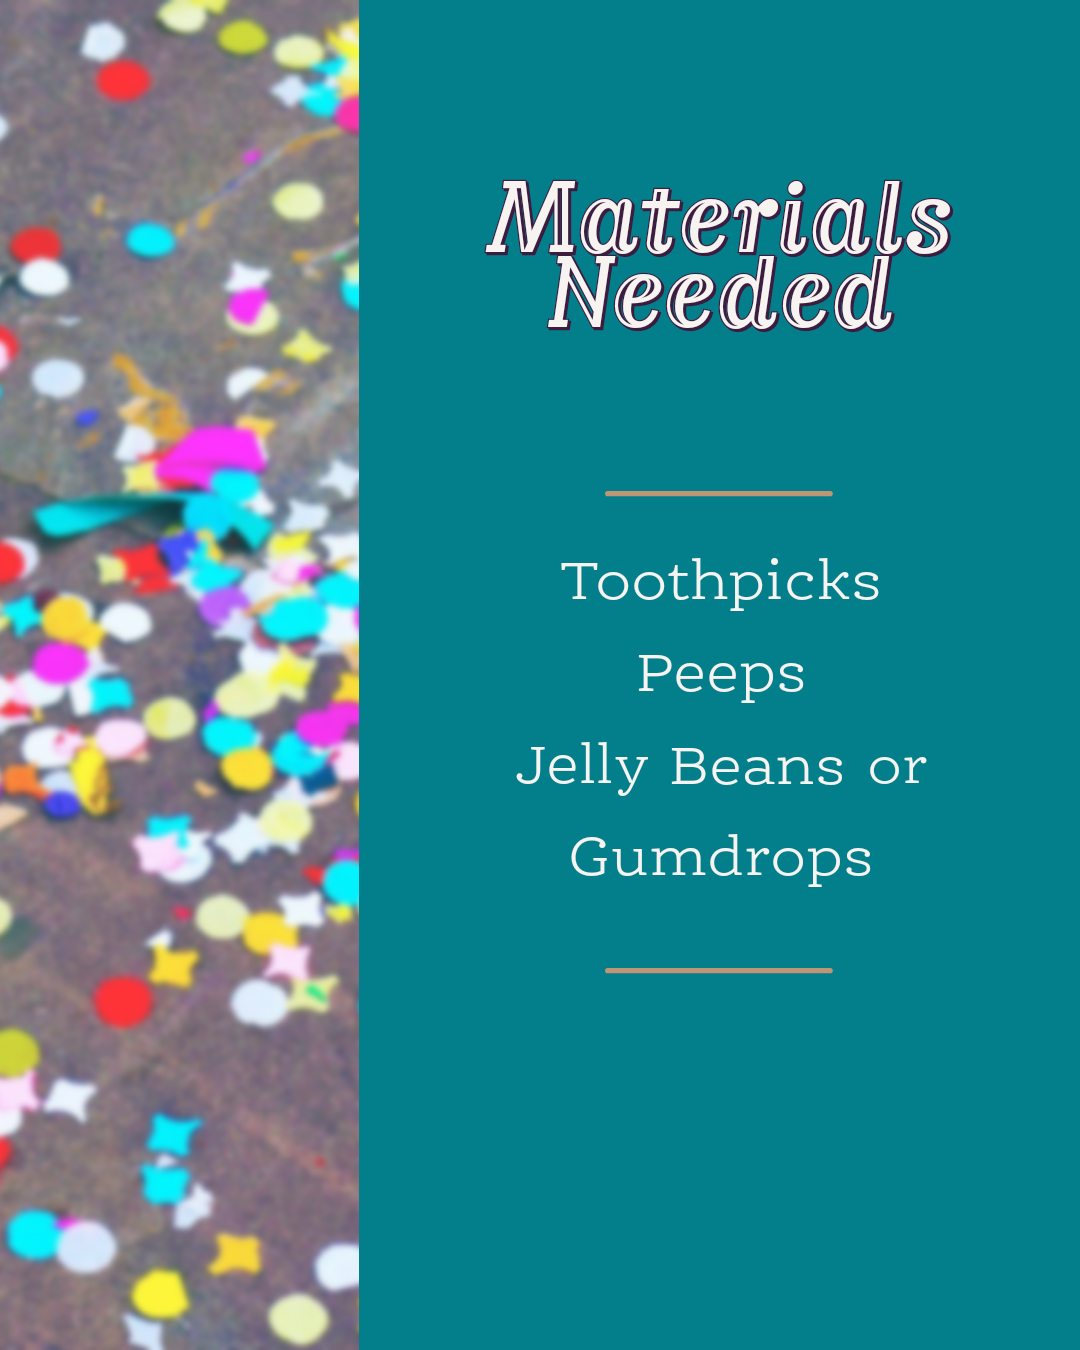
These ingredients are super basic, but you can add additional supplies, such as popsicle sticks, glue, string, etc to make it more challenging and complex.
Instructions:
- Teach your child the basic concepts of structural engineering. For my littles, we watched several programs on structural engineering to help get their brains working and to help them easily understand the concepts of what we were doing.
- Talk with them about the materials you’ve selected and outline what they are building (peep nest or jelly bean structures).
- Get their hypothesis on what shapes they think will work best.
- Have them count out their materials and start building.
- Experiment with different shapes and styles. Try just building with peeps and toothpicks. Ask them questions. See if their structure stands up to a weight test (can it hold a peep? How much more could it hold?) Will it survive if you blow on it super hard?
Science Behind The Experiment
This engineering challenge covers multiple STEAM bases:
Science: Kids will explore the design and construction of a jelly bean construction through individual (or collaborative) use of skills in the scientific method: observing, communicating, comparing, organizing, and relating.
Technology: we are doing a digital building competition with For Mommys Dragons
Engineering: Kids will exhibit simple to complex attempts at design and construction.
Art: Kids will design and create beautiful engineering masterpieces.
Math: Kids will explore patterns, patterning, colors, lines, and angles.
What types of structures did your child build? Were they successful? Let us know below!
The post Easter Engineering appeared first on Not So SuperMom VS Society.
]]>Covid-Quarantine Day 1 Read More »
The post Covid-Quarantine Day 1 appeared first on Not So SuperMom VS Society.
]]>
Today’s the first official day that Everett can’t attend school, and tomorrow is Finn’s. This weekend I decided to dig into my ginormous stash of activities and start prepping some cool things to keep the kids engaged. Don’t get me wrong, we will definitely be using way more screen time than we normally do, and we will be keeping things pretty low key in general, but the kids definitely need more than just PJ Masks & Blippi to keep them company!
Our general schedule is going to look somewhat like this.
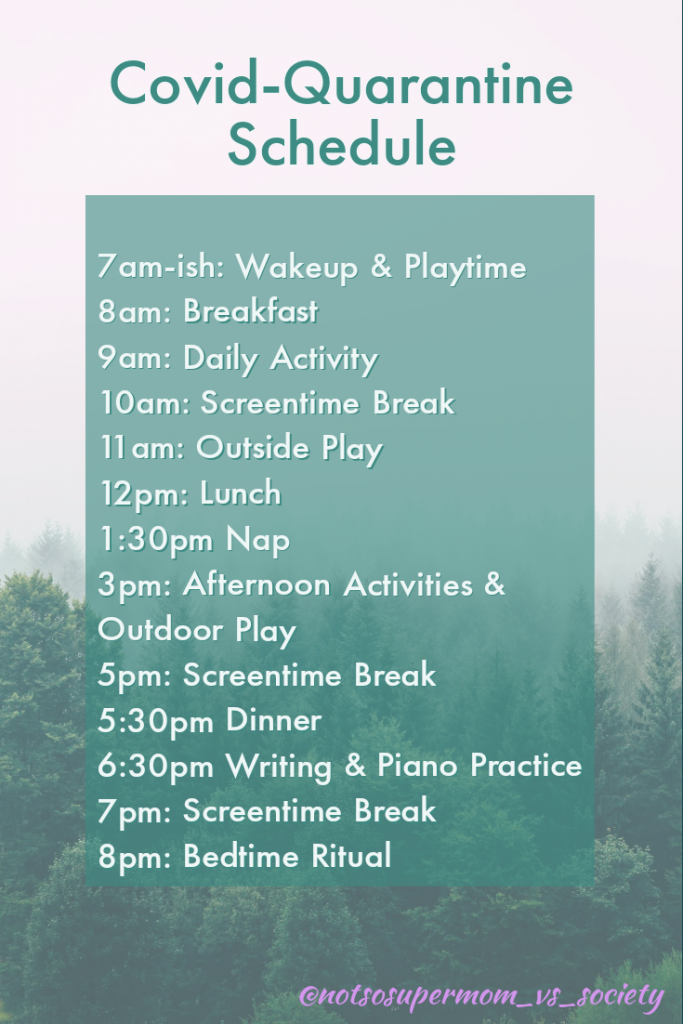
I’m not great about sticking to a schedule, so this is very generalized and flexible. I will let the kids interest levels dictate how long we work on each activity and adjust as needed.
Day 1 Activities
Today’s activites focused on teaching the kids a bit about why they couldn’t go to school, the importance of hand washing, and some fun color mixing.
Germs Lesson:
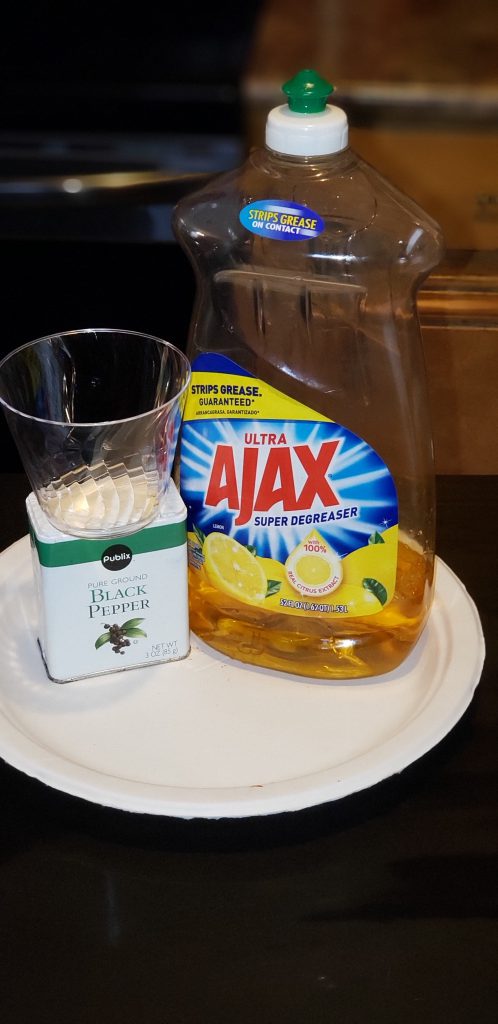
For our first activity, we talked about why they couldn’t go to school and how germs spread. This lesson also showed the importance of handwashing.
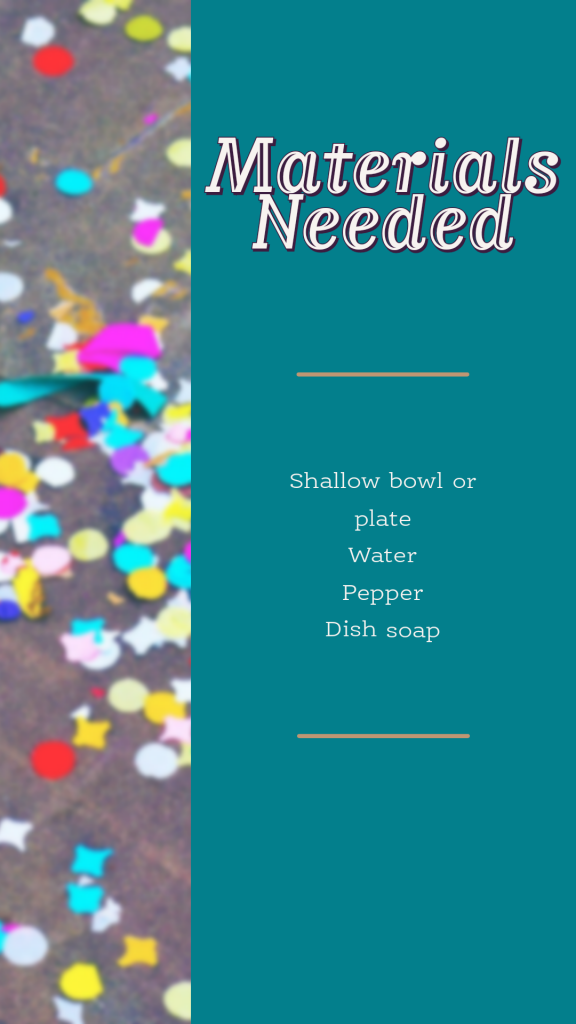
Steps:
- Fill the bowl or plate with about an inch of water.
- Sprinkle pepper evenly across the surface. Try not to sneeze! The pepper flakes should float, not sink, upon the surface of the water.
- Squeeze a little bit of dish soap onto the counter or in a little cup
- Have the child dip their hand in the pepper water.
- Show them the “germs” on their finger.
- Now have them dip their finger in the soap. Stick the soapy finger into the water, right in the center of the plate.
As we did these steps, we talked about germs, handwashing, how germs spread and we came up with a hypothesis for what would happen to the pepper water when they dipped their soap finger in.
Results:
Most of the pepper flakes should have darted to the sides of the pan, and some of the flakes should have fallen to the bottom of the pan. It may have looked like the soap was chasing the pepper flakes away.
Why?
The first question to ask is why the pepper flakes float. Why don’t they sink or dissolve in the water? Well, pepper is hydrophobic, meaning that water is not attracted to it. Because of that, the pepper can’t dissolve in the water. But why do the flakes float on top of the water? Water molecules like to stick together. They line up in a certain way that gives the top of the water surface tension. Because pepper flakes are so light, and hydrophobic, the surface tension keeps them floating on top.
The next question to think about is why the pepper shoots to the sides when soap touches the water. Soap is able to break down the surface tension of water—that’s part of what makes soap a good cleaner. As the soap moves into the water, and the surface tension changes, the pepper no longer floats on top. But the water molecules still want to keep the surface tension going, so they pull back away from the soap, and carry the pepper along with them.
Color Activities
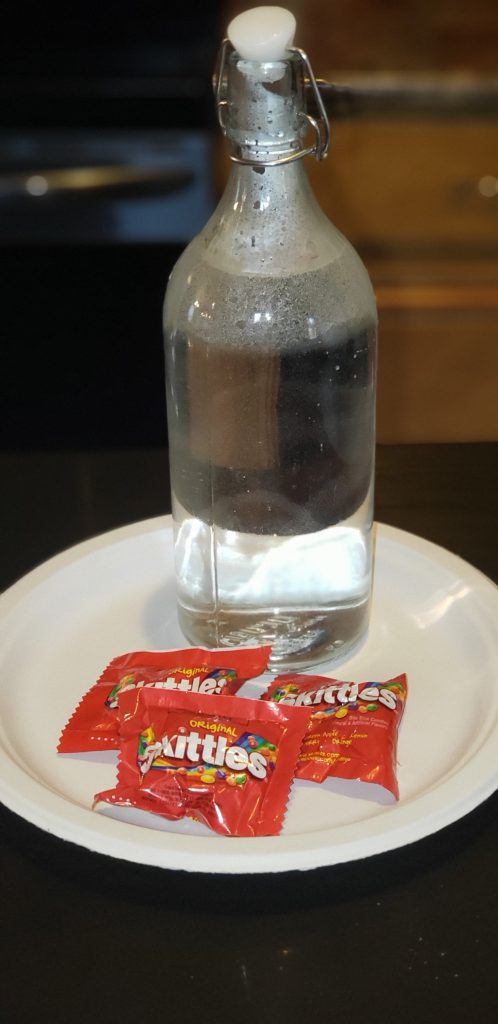
The first color activity we did was making a candy rainbow. This is seriously such a simple and fun experiment! I recently found the stash of leftover Halloween candy that we hid from the kids, so I decided to utilize the skittles I found and I dug around for old paper plates.
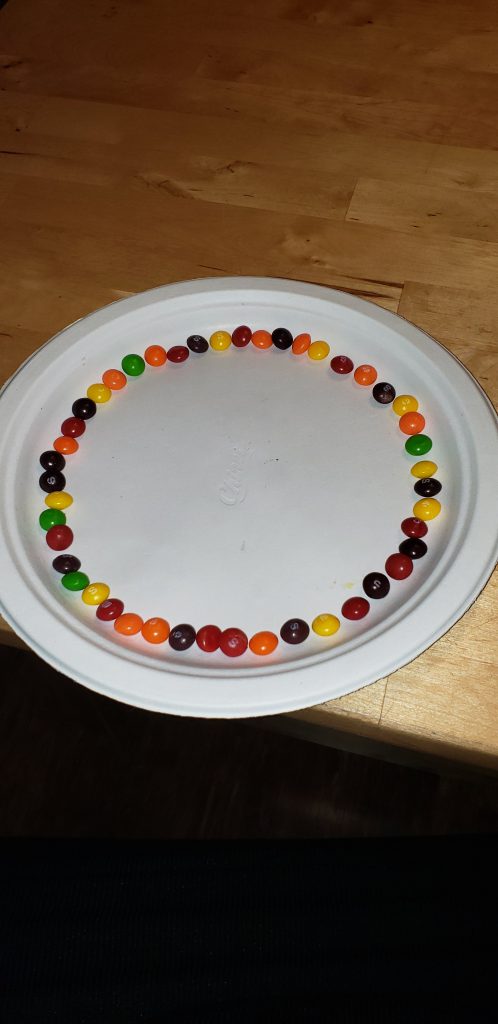
- STEP 1 : You want to empty out your skittles and check out the colors.
- STEP 2: Next, lay out your plates in an are where they won’t be disturbed.
- STEP 3: Now’s the fun part, make patterns! It’s up to you on how you want to place your colors. Make a rainbow or any sort of pattern that interests you. You can experiment with placing different colors next to each other.
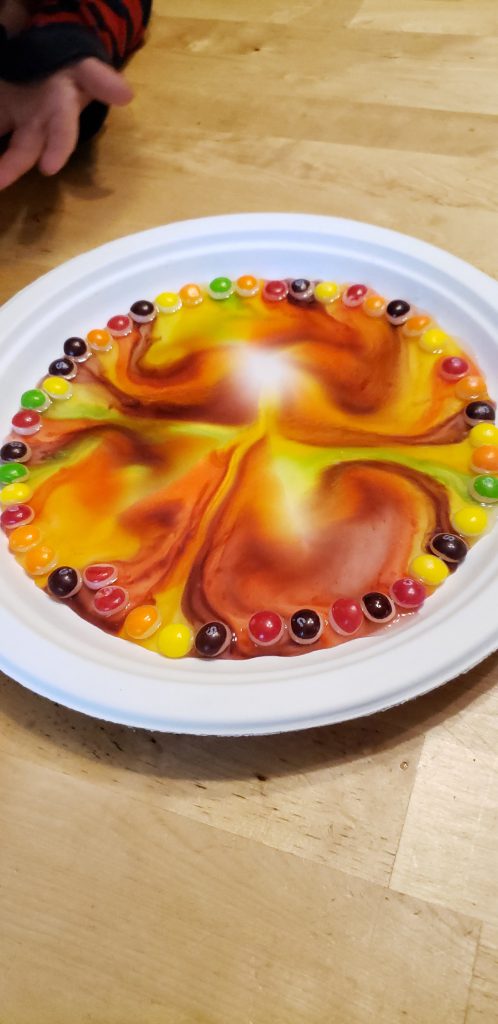
- STEP 4: Once you have your patterns placed, gently begin pouring water in the middle of the plate until it reaches all the candies and just barely covers them.
THE SCIENCE BEHIND THE SKITTLES EXPERIMENT
FACTS ABOUT SKITTLES
Skittles are made of ingredients that can dissolve in water. They also do it quickly, so you have neat science right away. Dissolving candy is fun to test out with a variety of liquids and candies. Find out how different candies dissolve at different rates. Dissolving gumdrops also makes a colorful science experiment.
WHY DON’T THE SKITTLES COLORS MIX?
While digging around for information, I learned about a term called stratification. The immediate definition of stratification is the arrangement of something into different groups which is a lot like we see with the skittle colors, but why?
Water stratification is all about how water has different masses with different properties and this may create the barriers that you see among the colors from the skittles.
Still, other sources talk about how each skittle has the same amount of food coloring being dissolved and as the concentration of this color spreads out similarly they don’t mix when they meet up with each other. You can read about this concentration gradient here.
Further Learning:
- Use different liquids
- Use different temperatures
- Try other candies
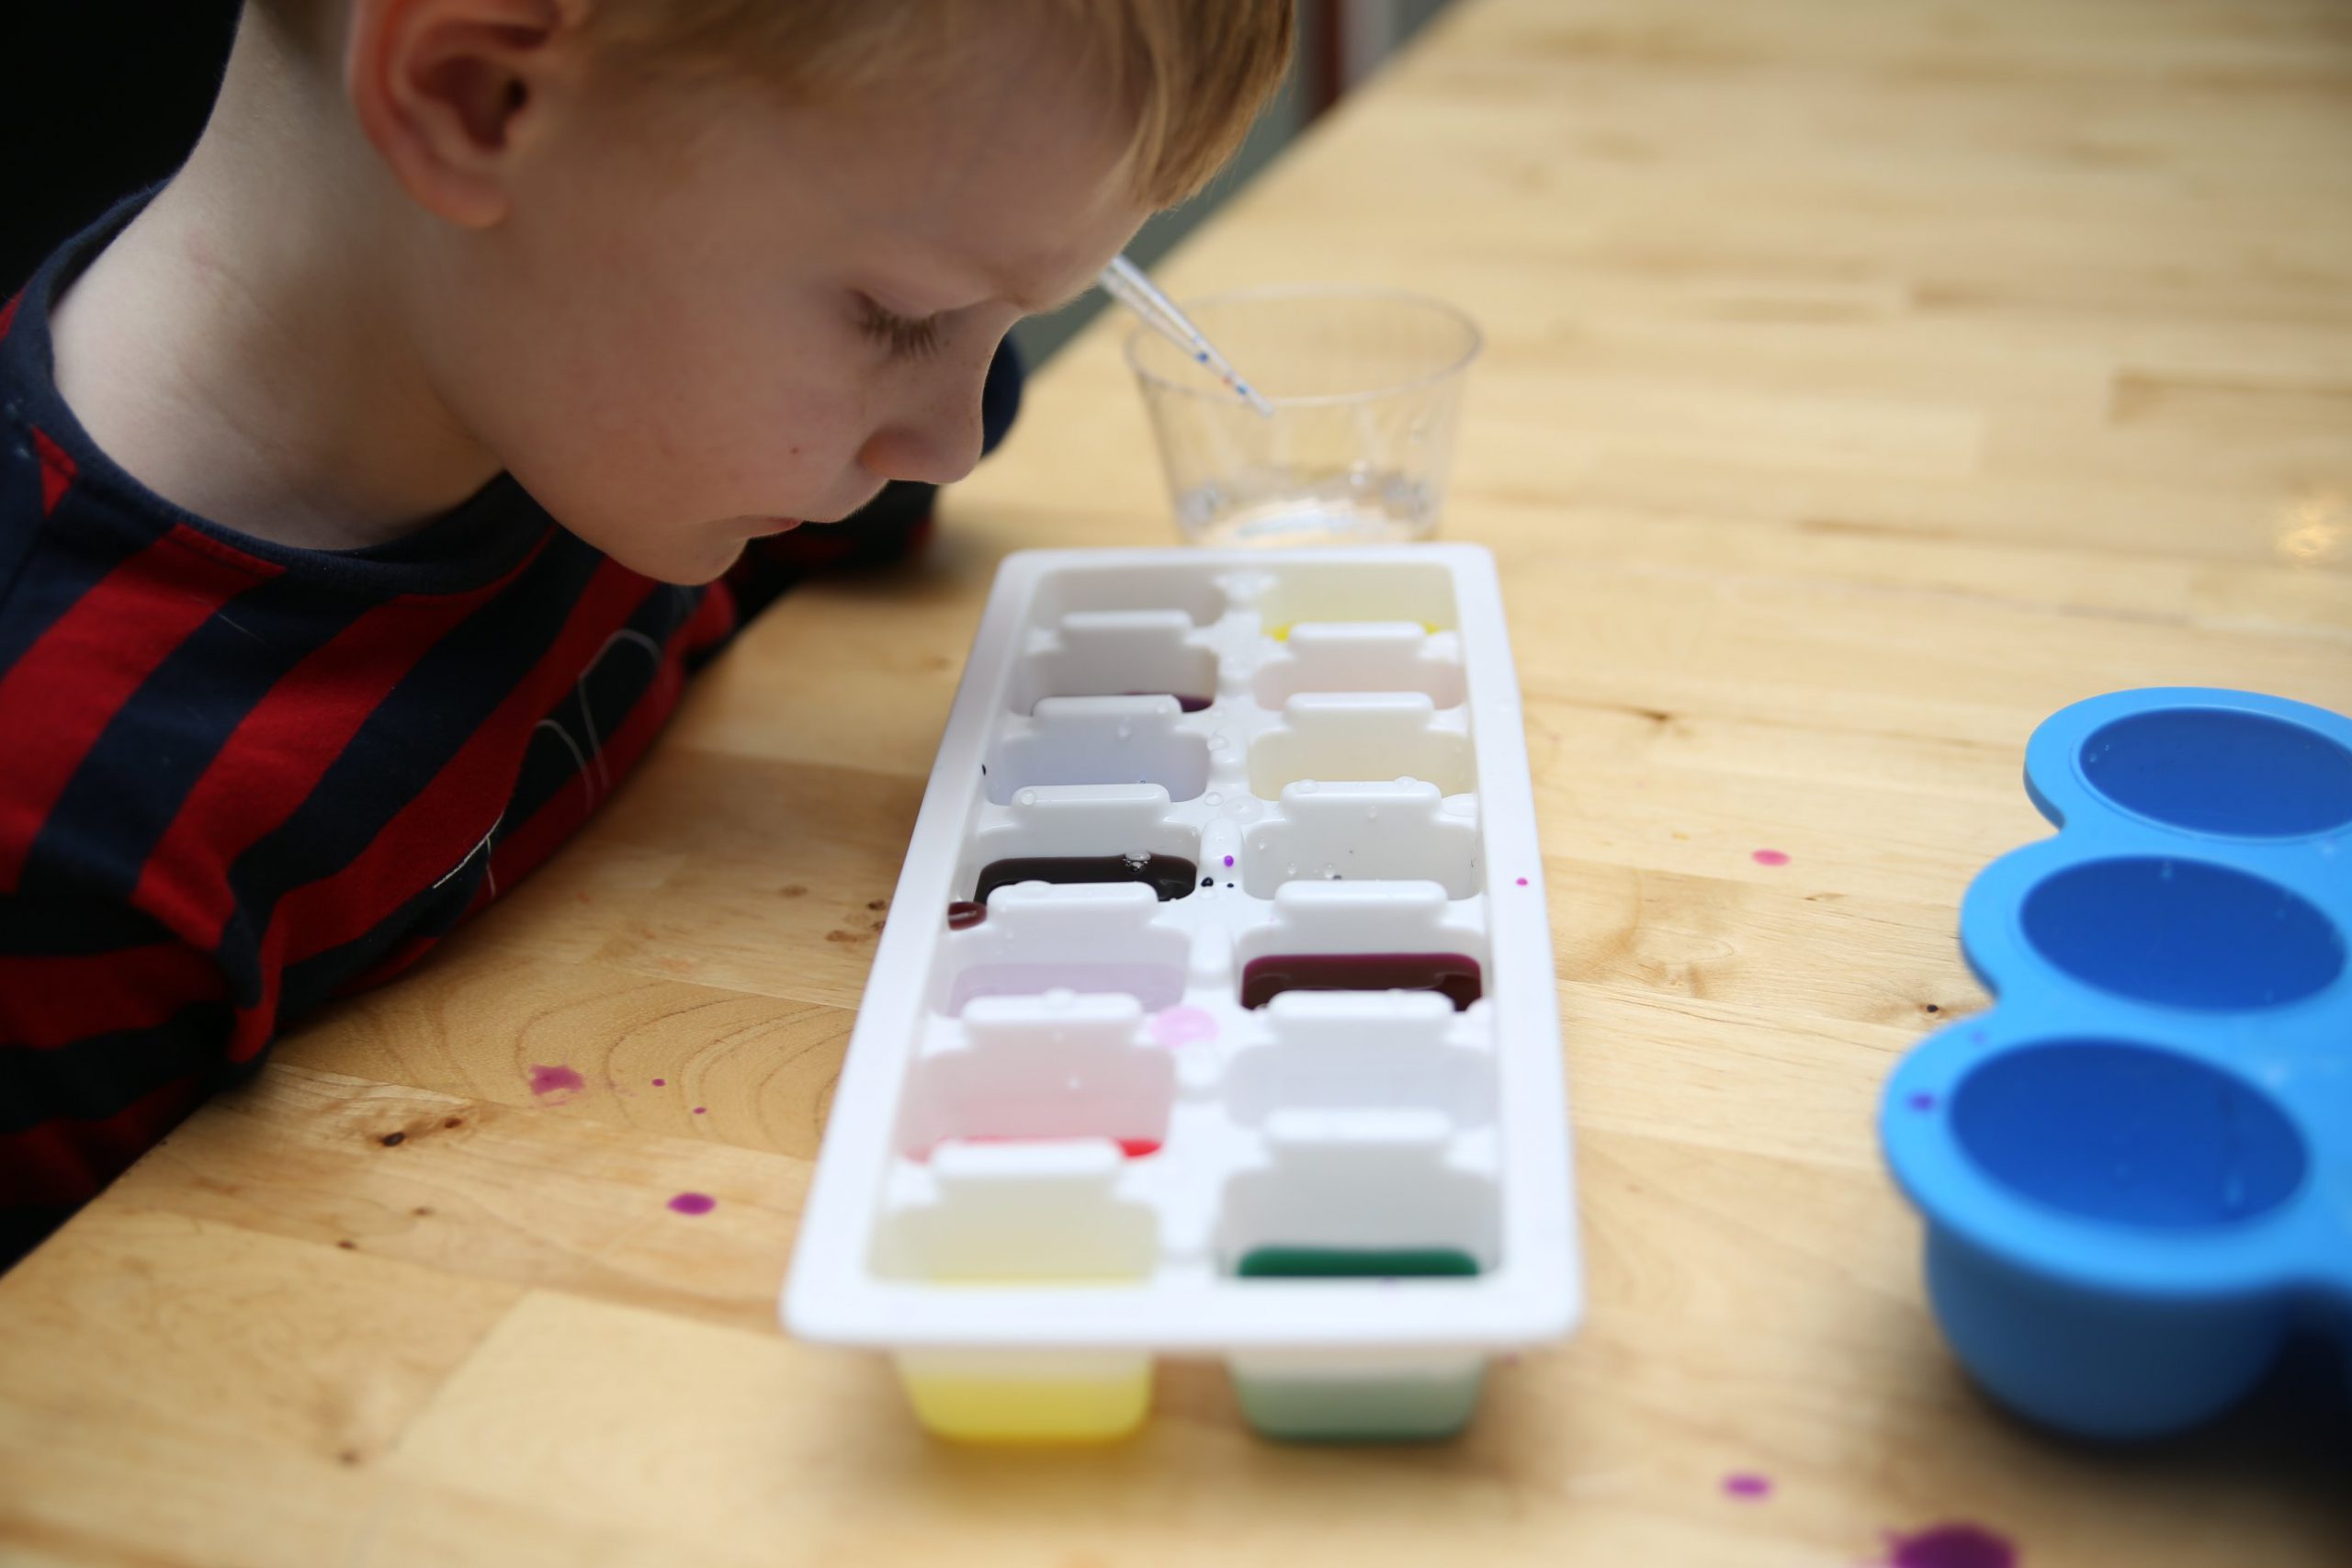
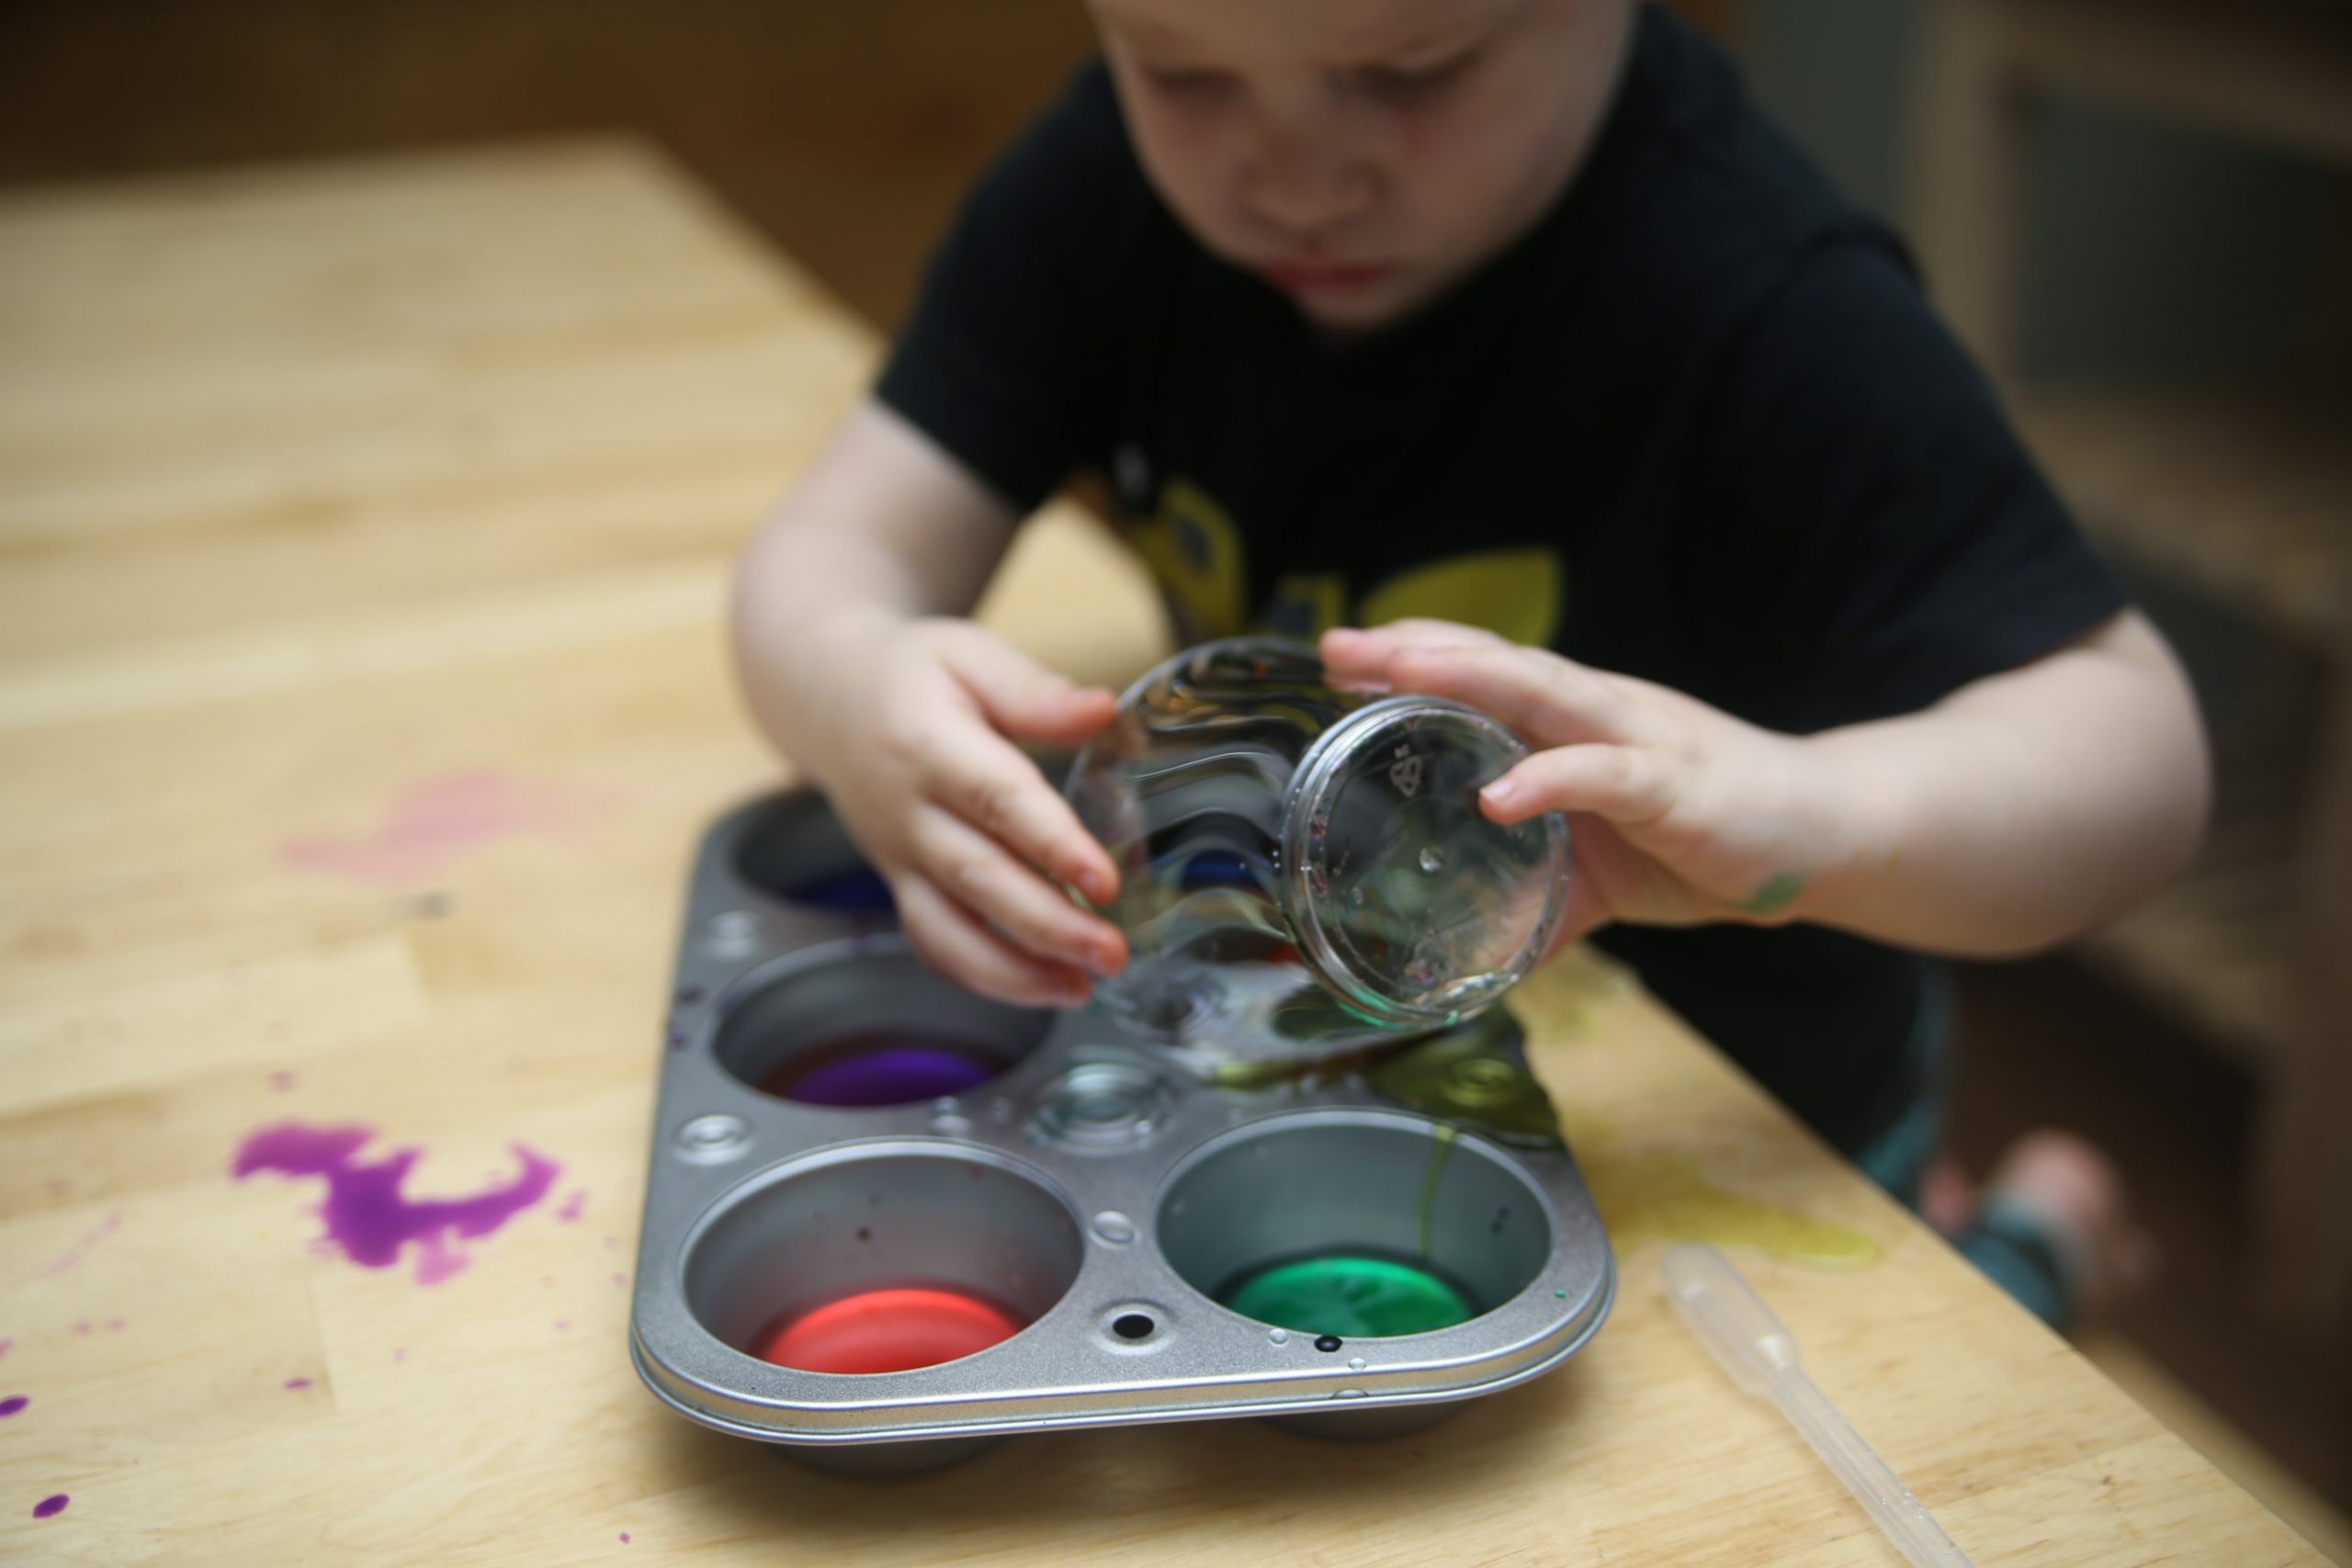
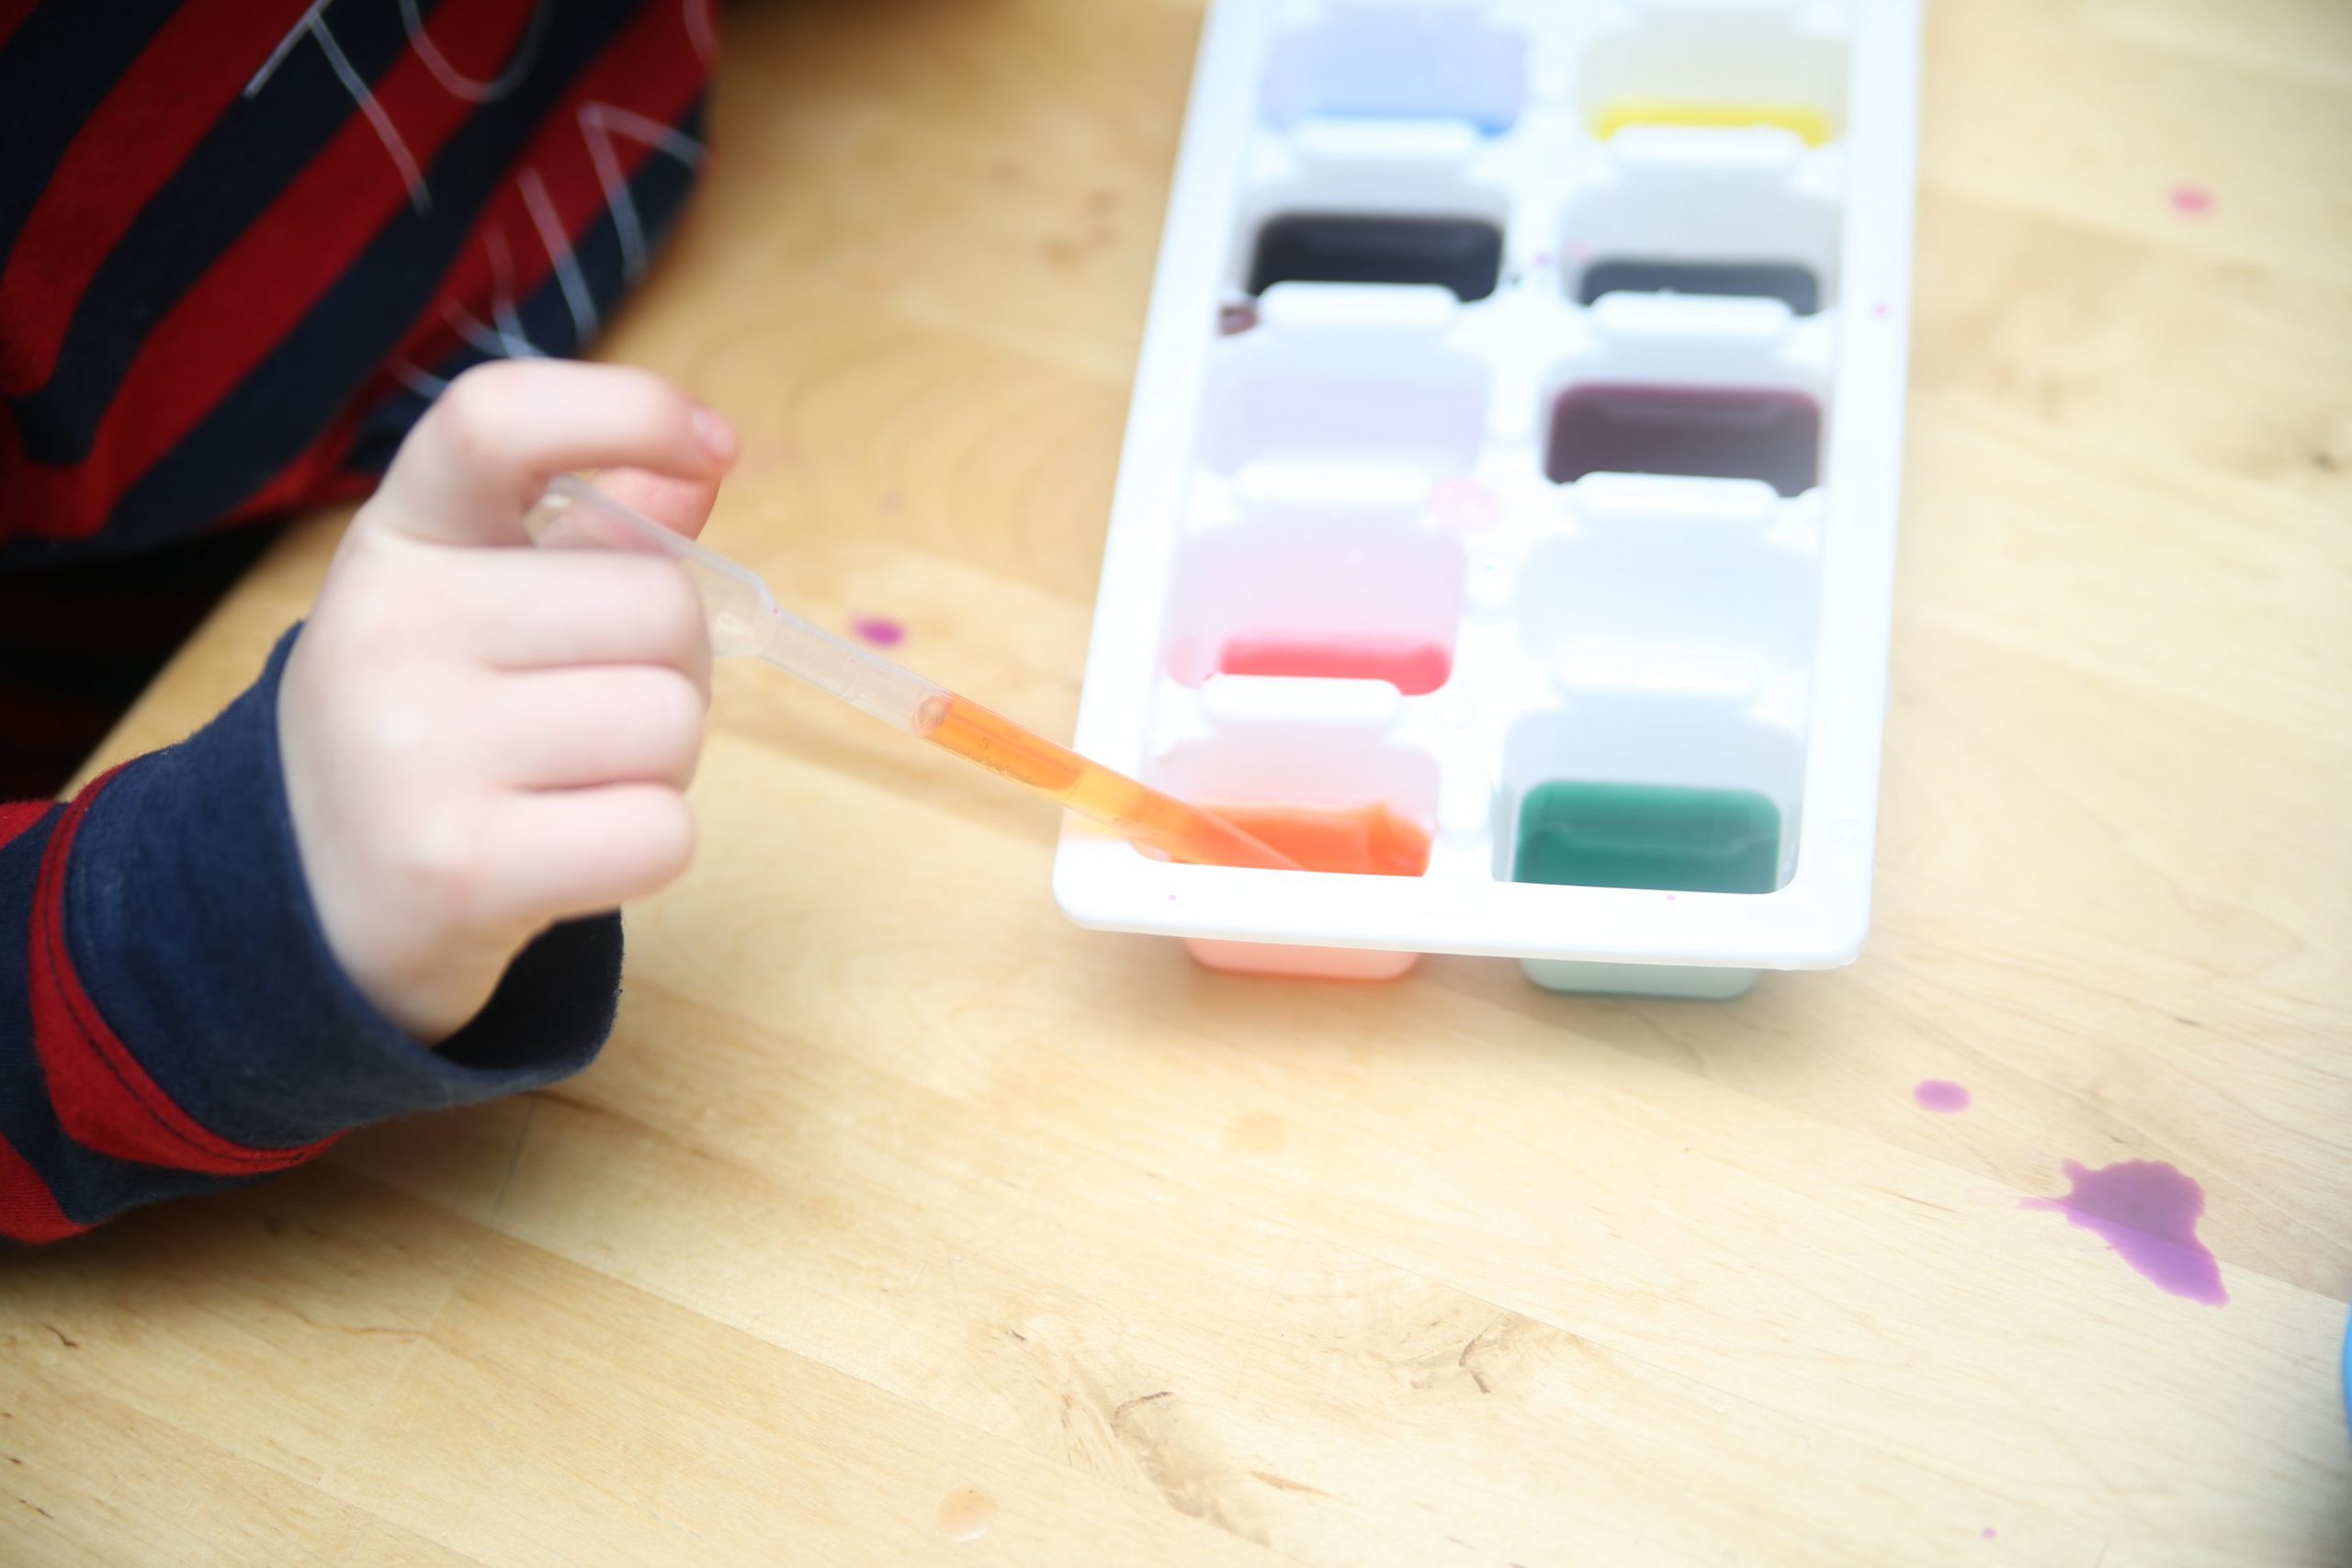
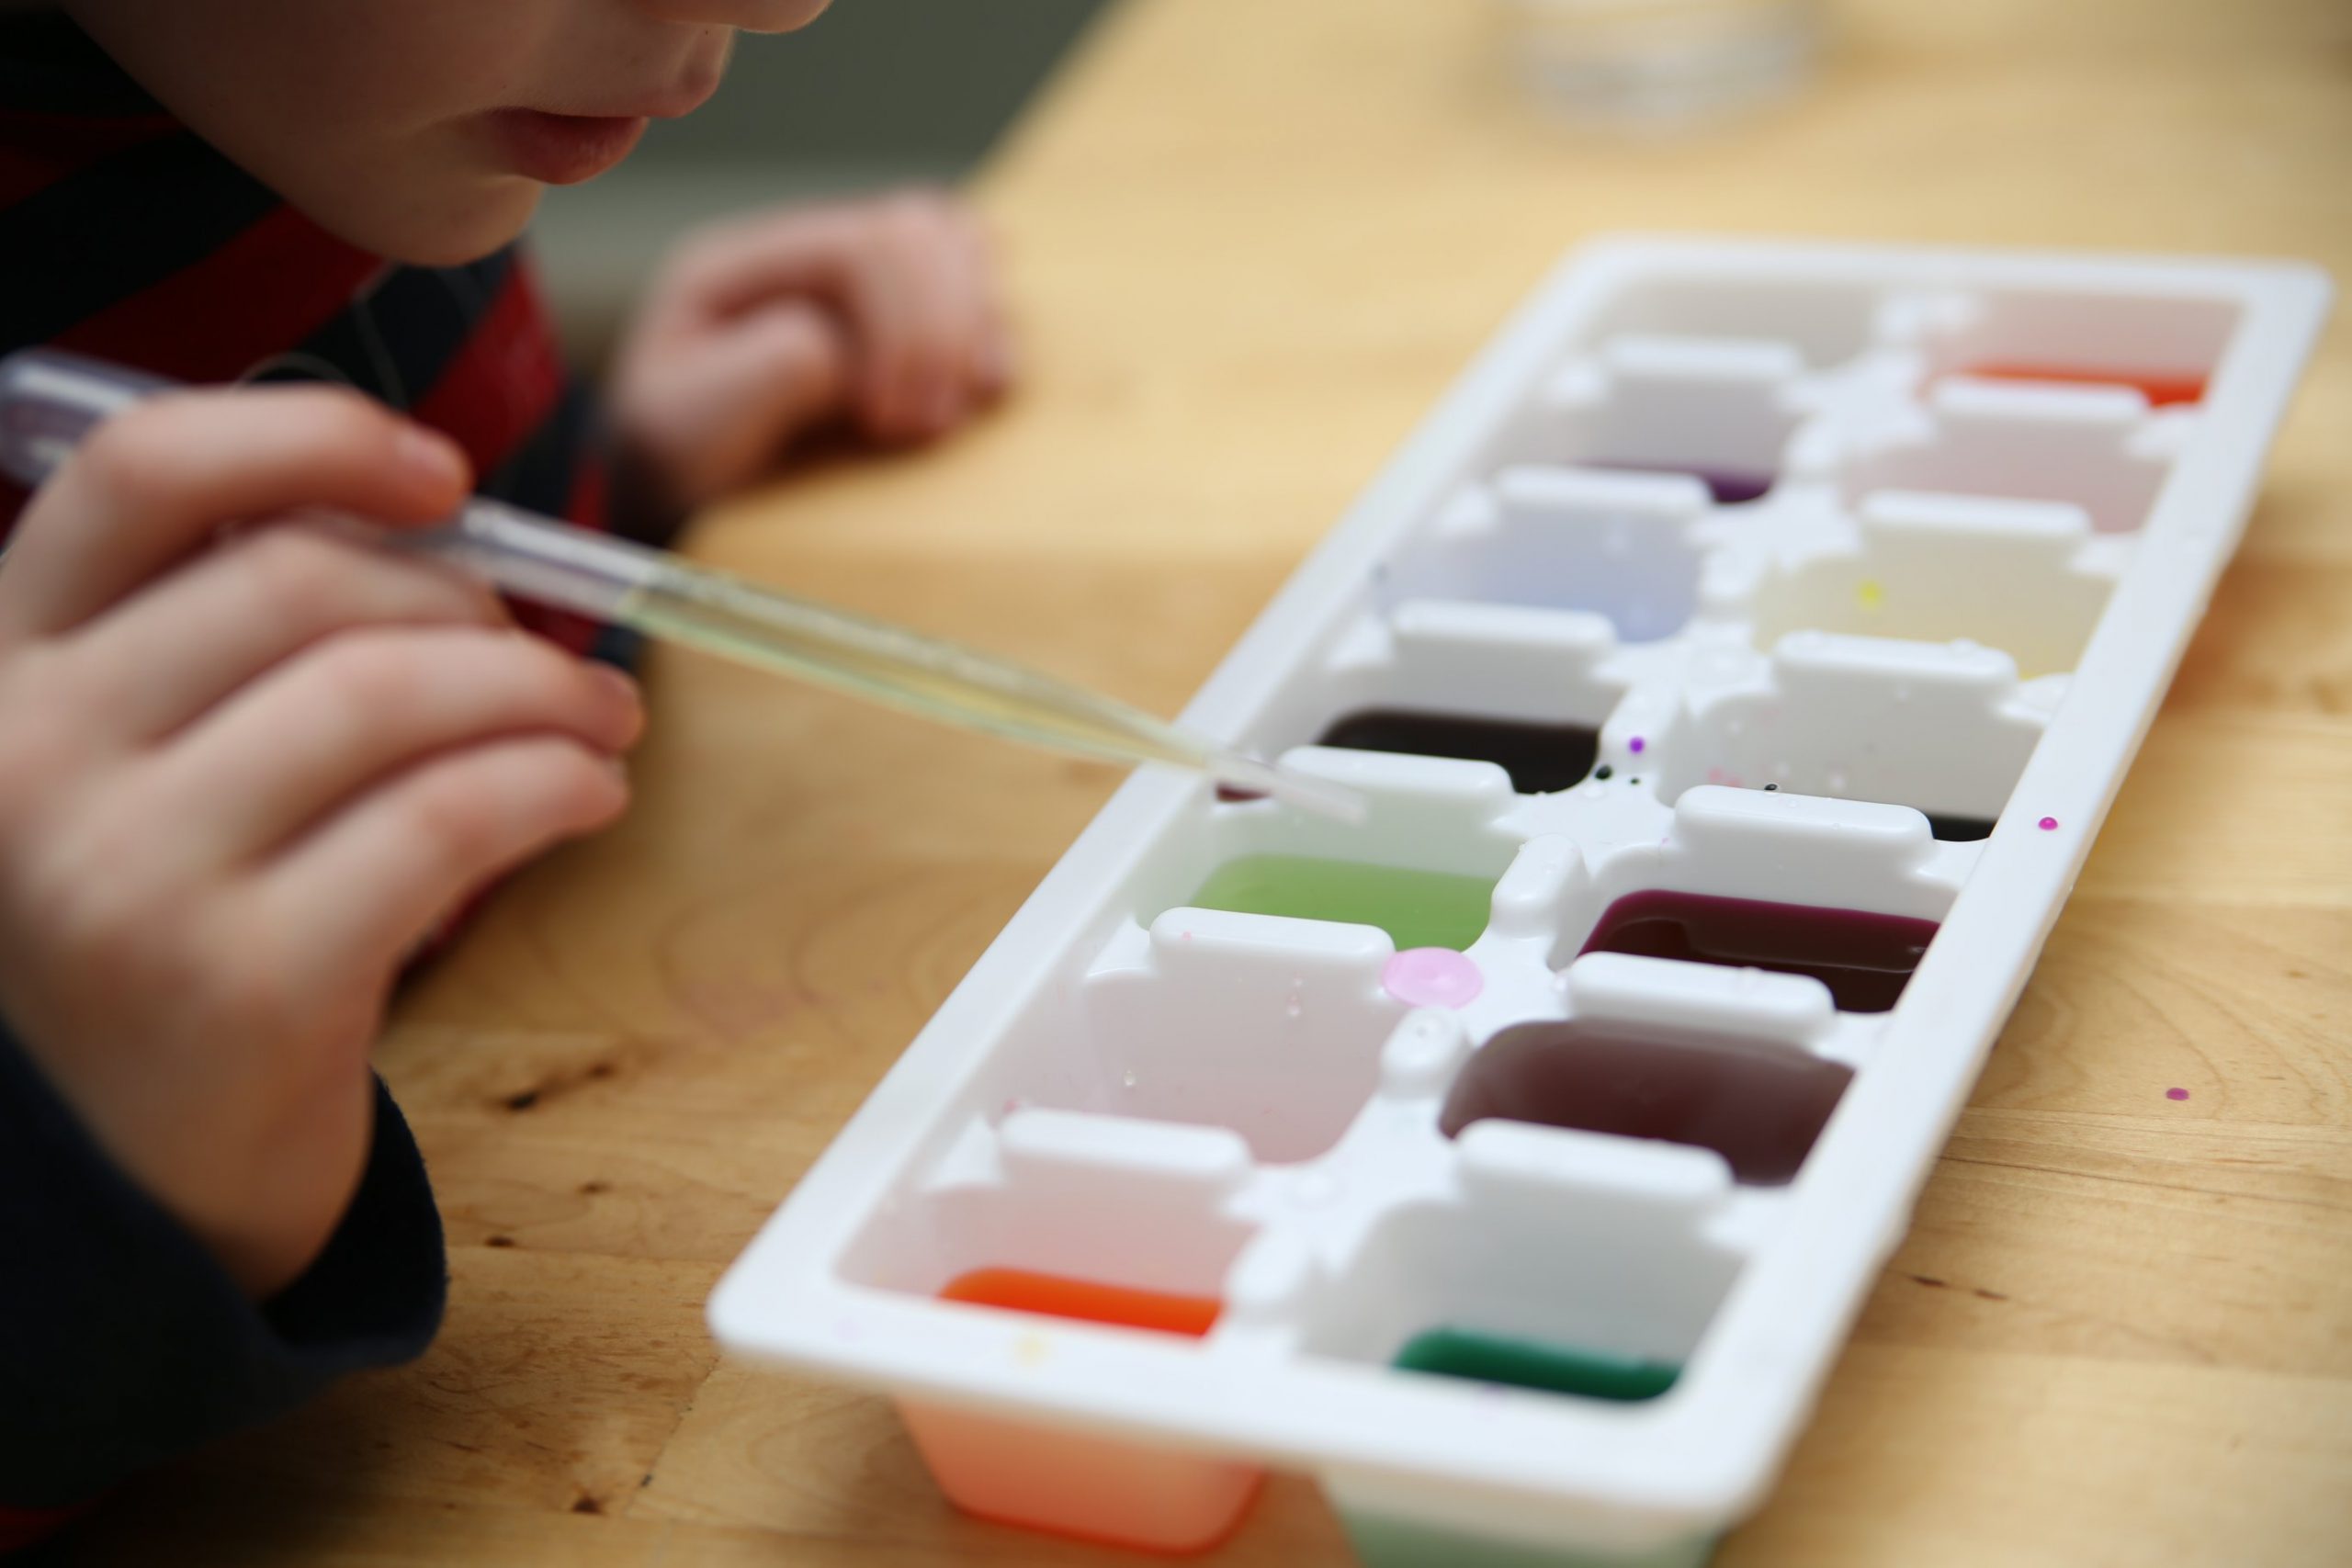
Color Tray Mixing
Color mixing is an easy way to help kids learn primary and secondary colors and work on fine motor skills, and you probably already have all the ingredients you need.
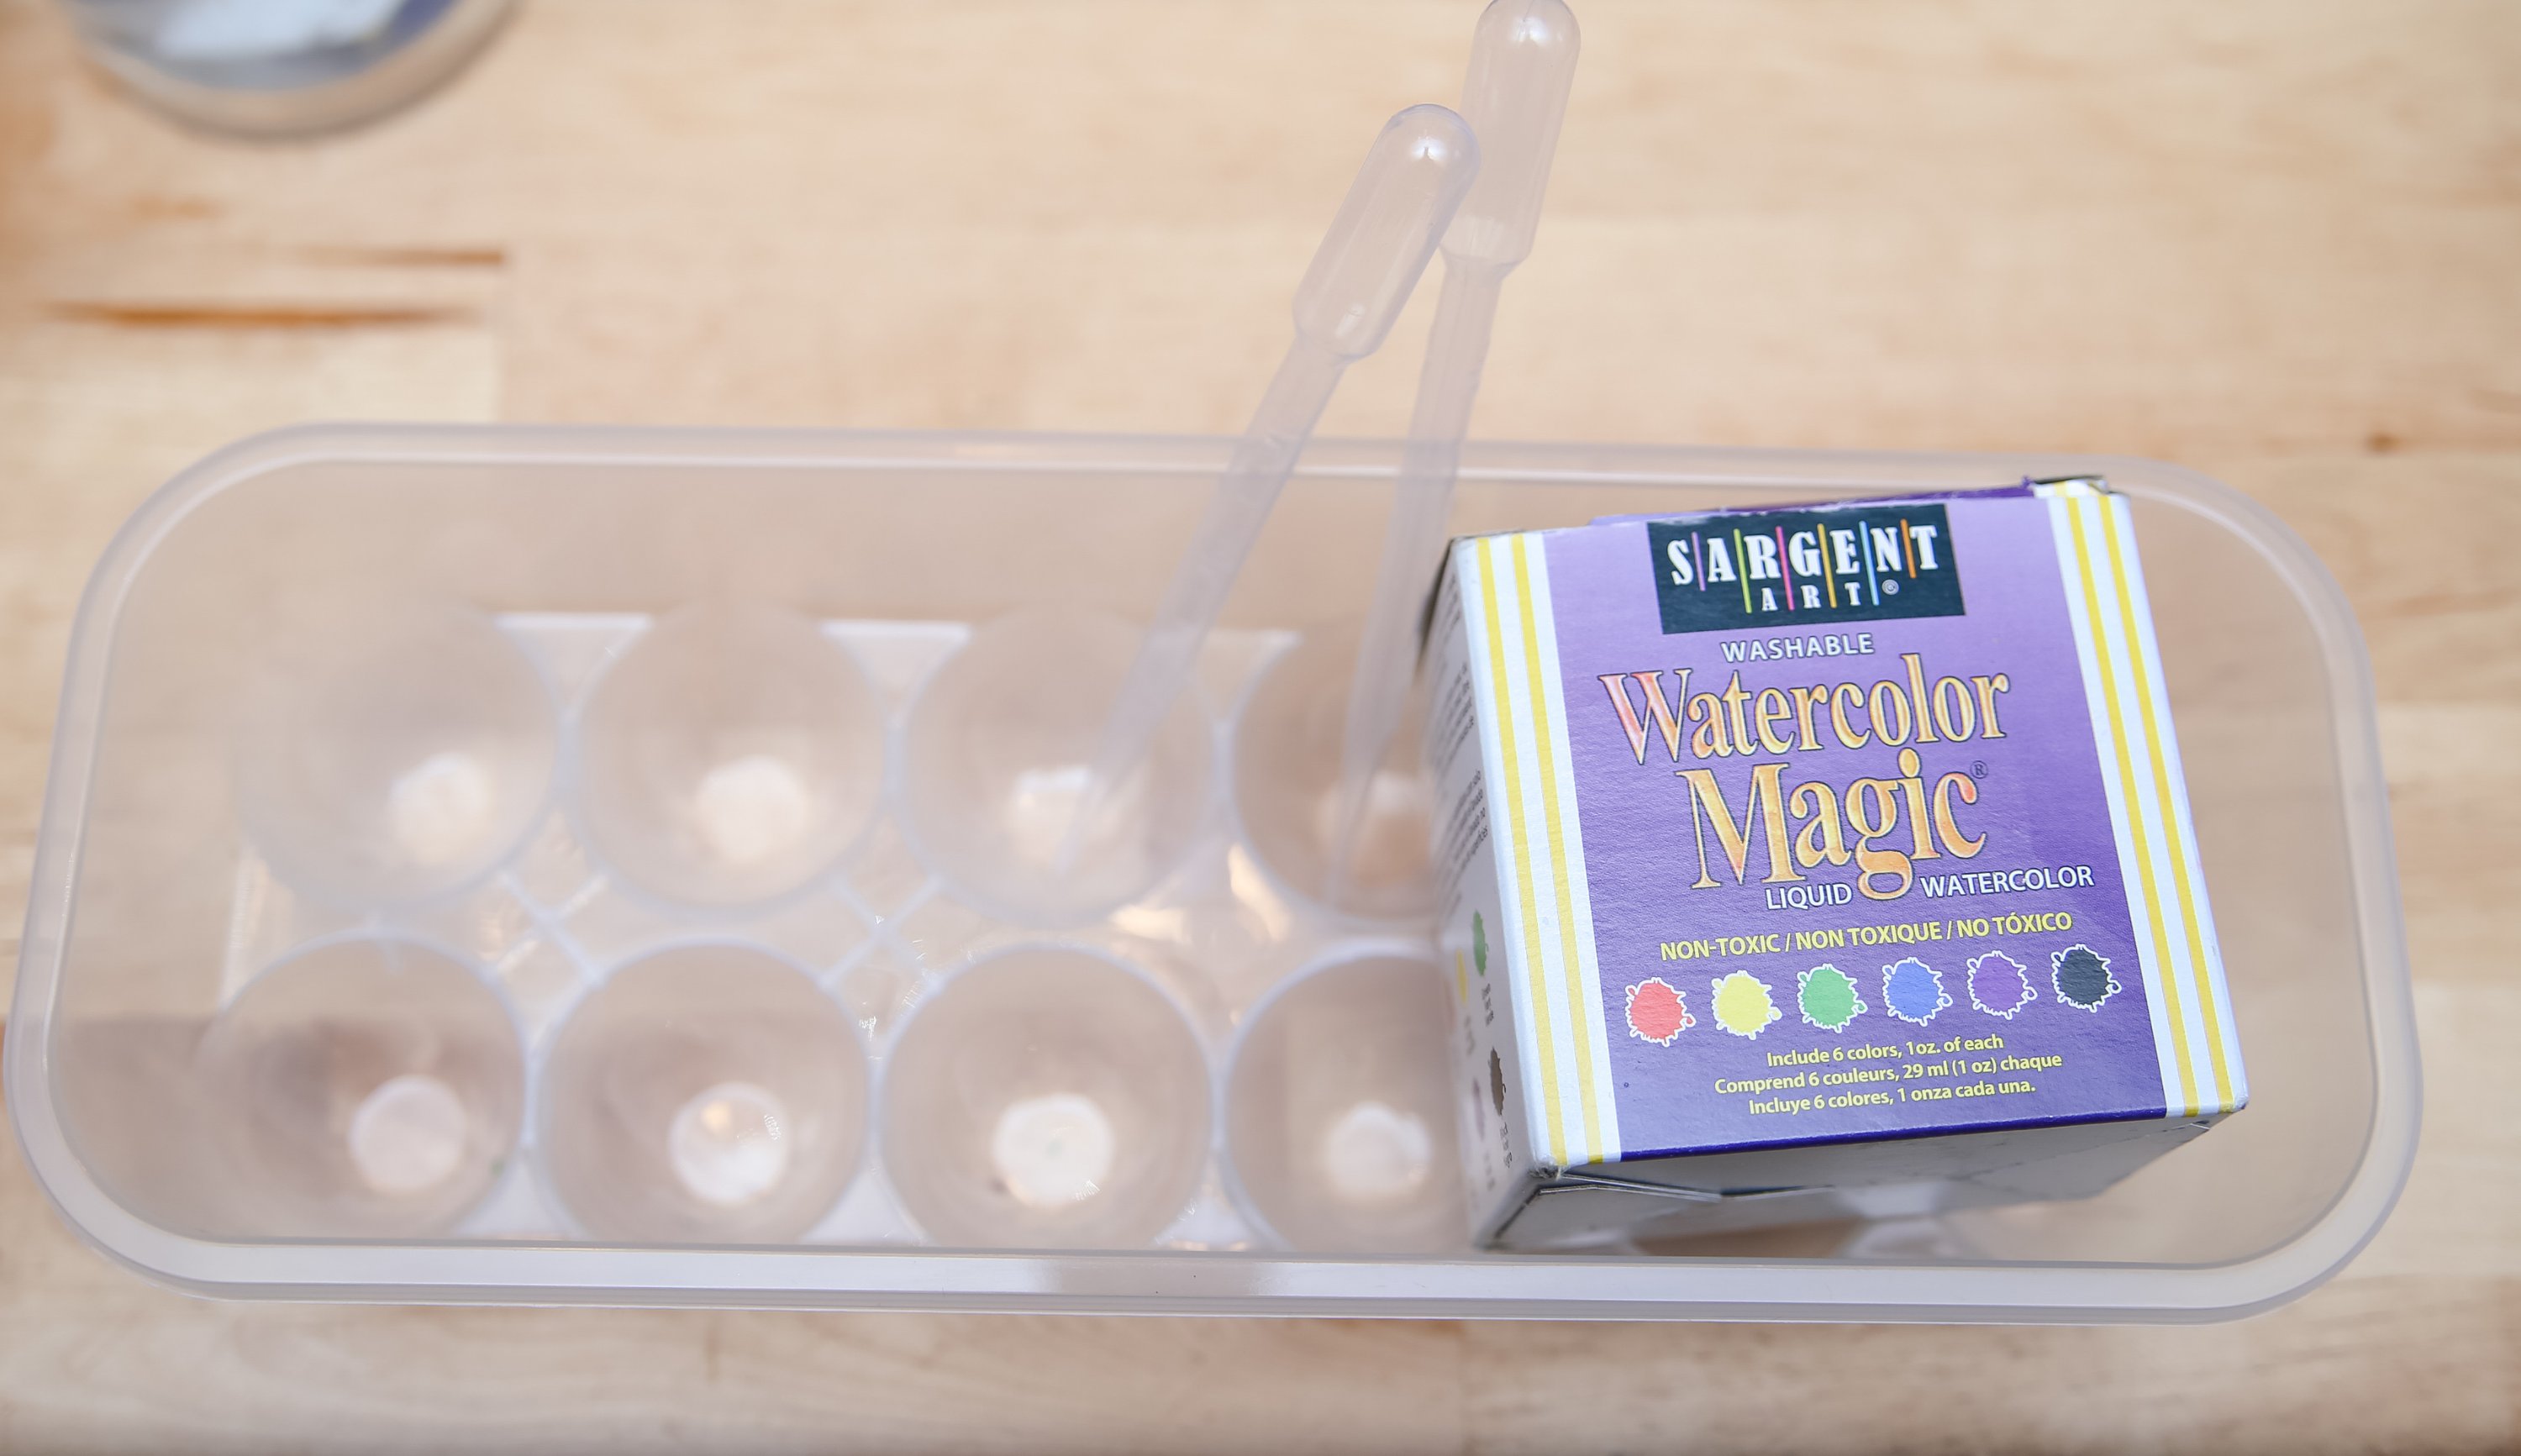
Supplies & Directions:
*Pro Tip: use an egg storage container instead of an ice cube tray to contain the mess*
For this activity, just drop a few drops of coloring in every other cube slot. For coloring I prefer using Sargents Watercolor-it’s washable, makes pretty colors, and is nontoxic. Fill up the empty ones with water. Then let the fun begin! We used pipettes to mix the colors and many cool combinations ensued! During this activity, we discussed what was happening to the colors and named them. 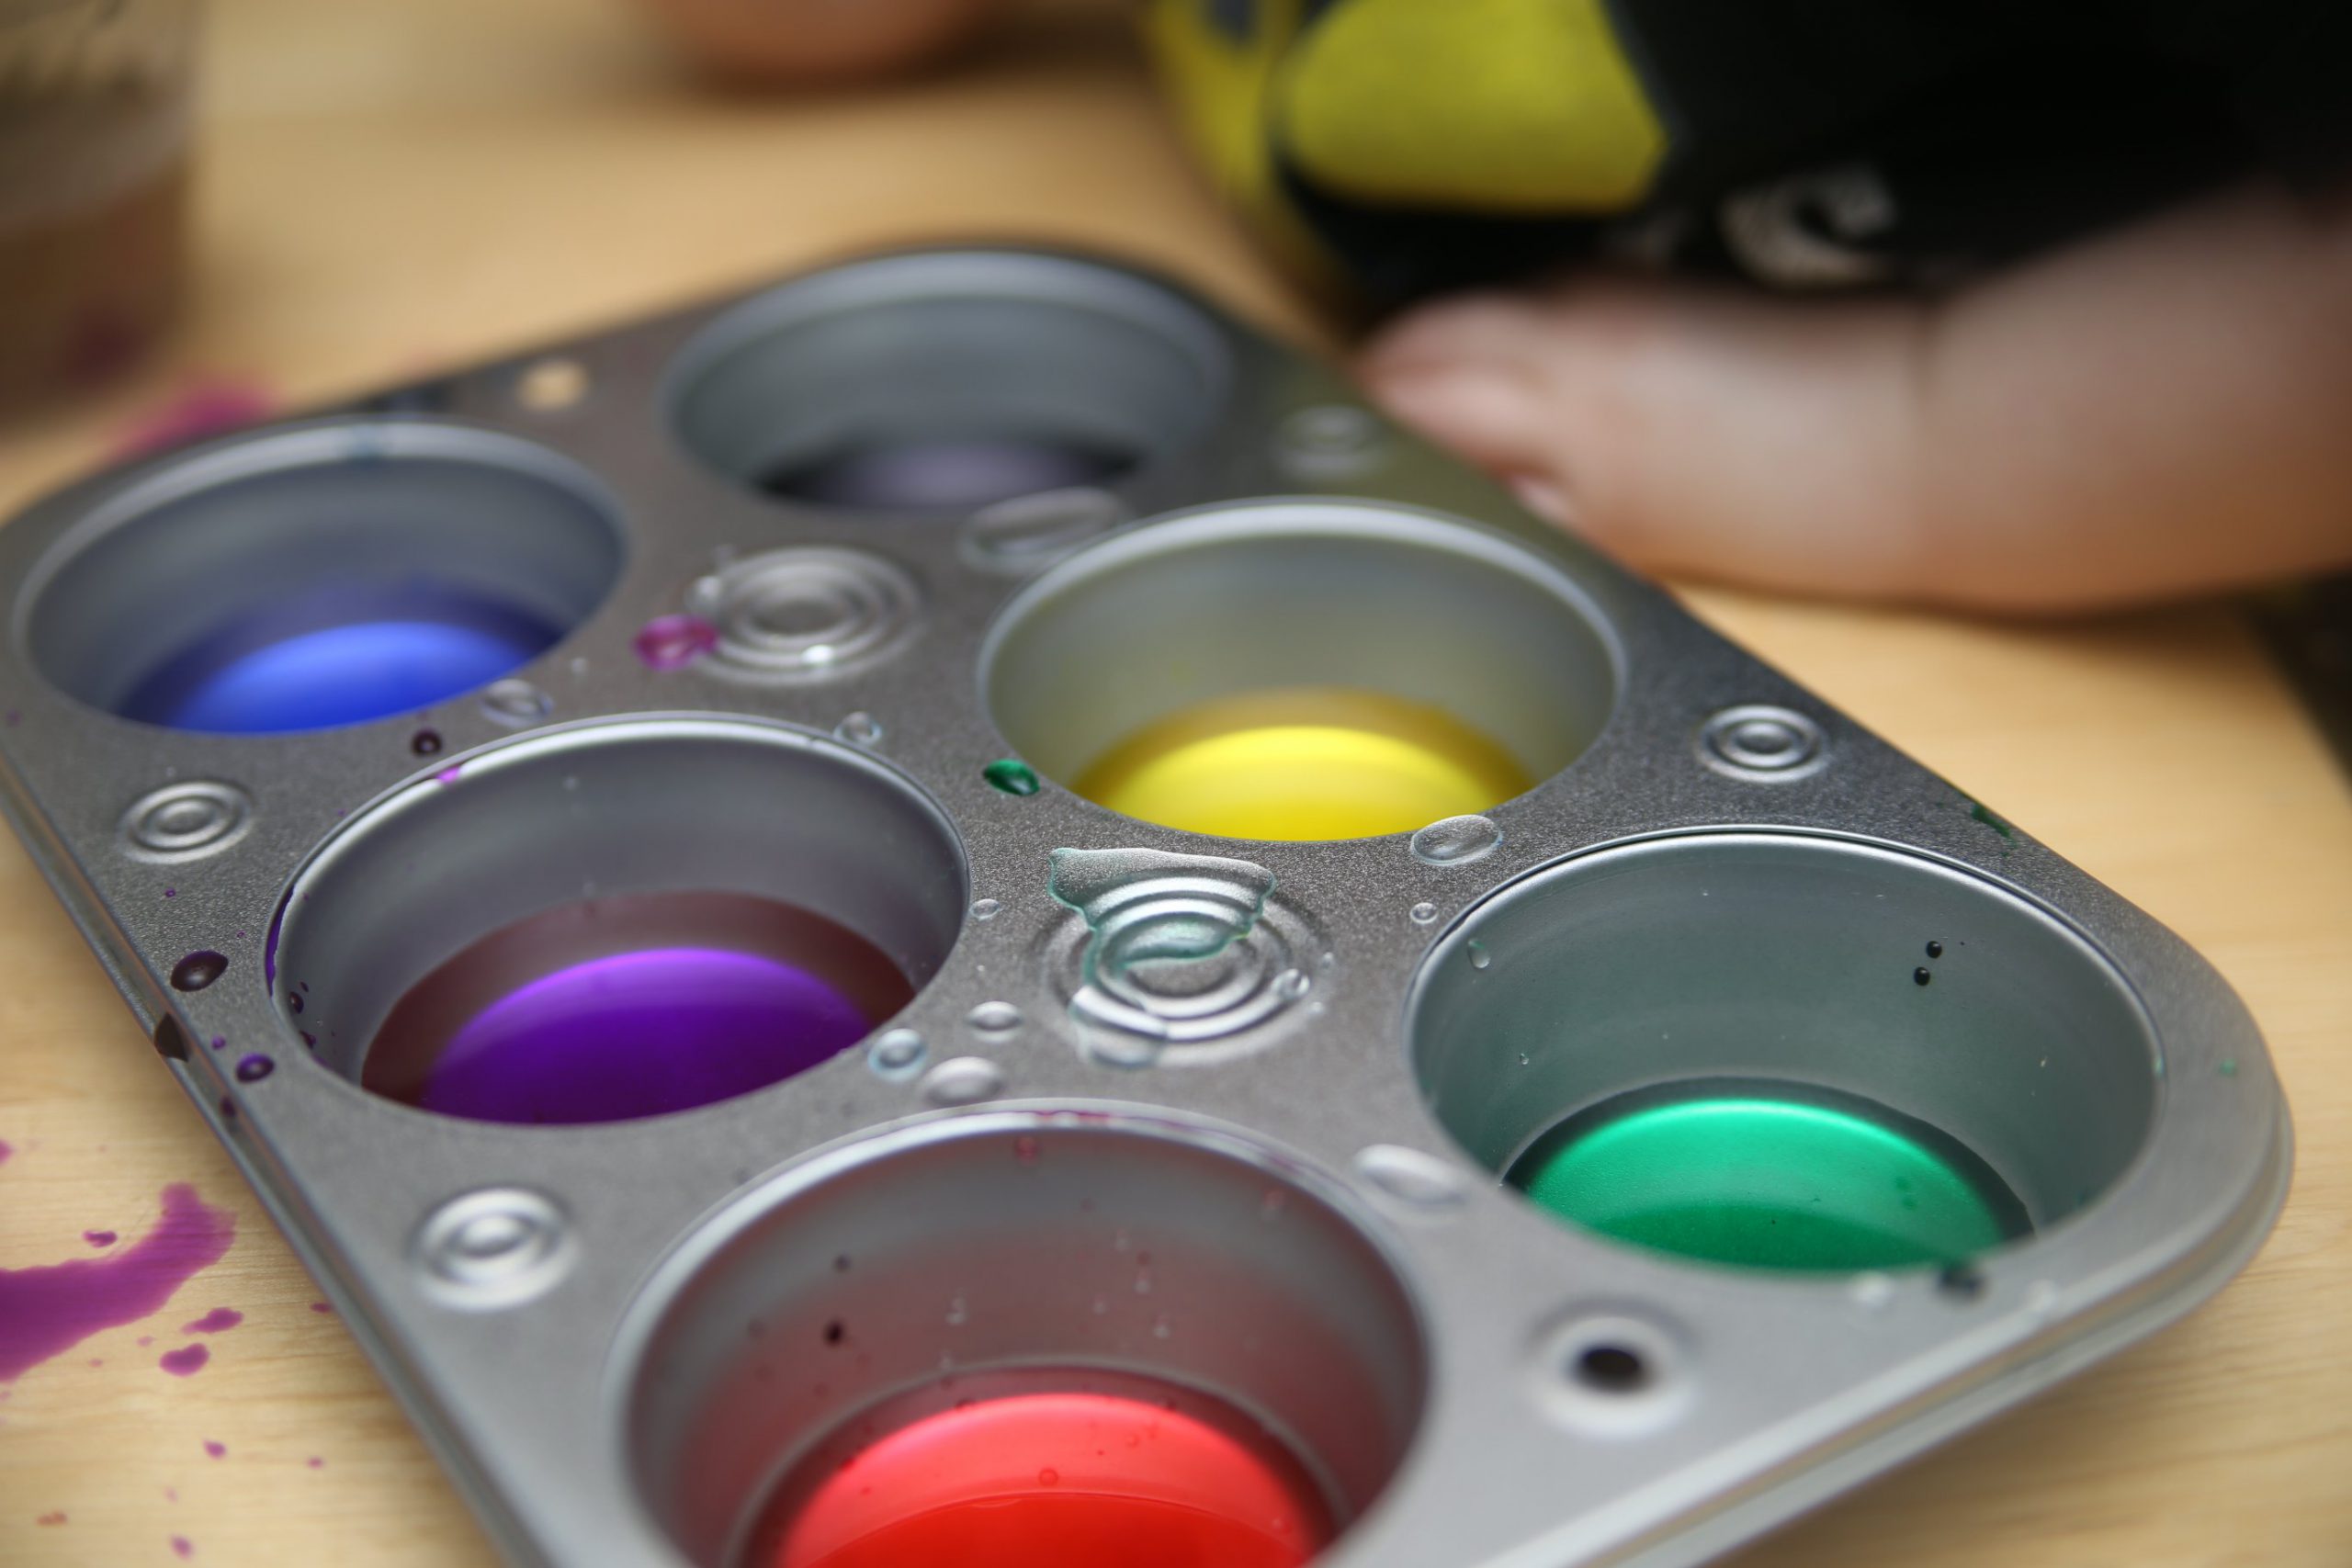
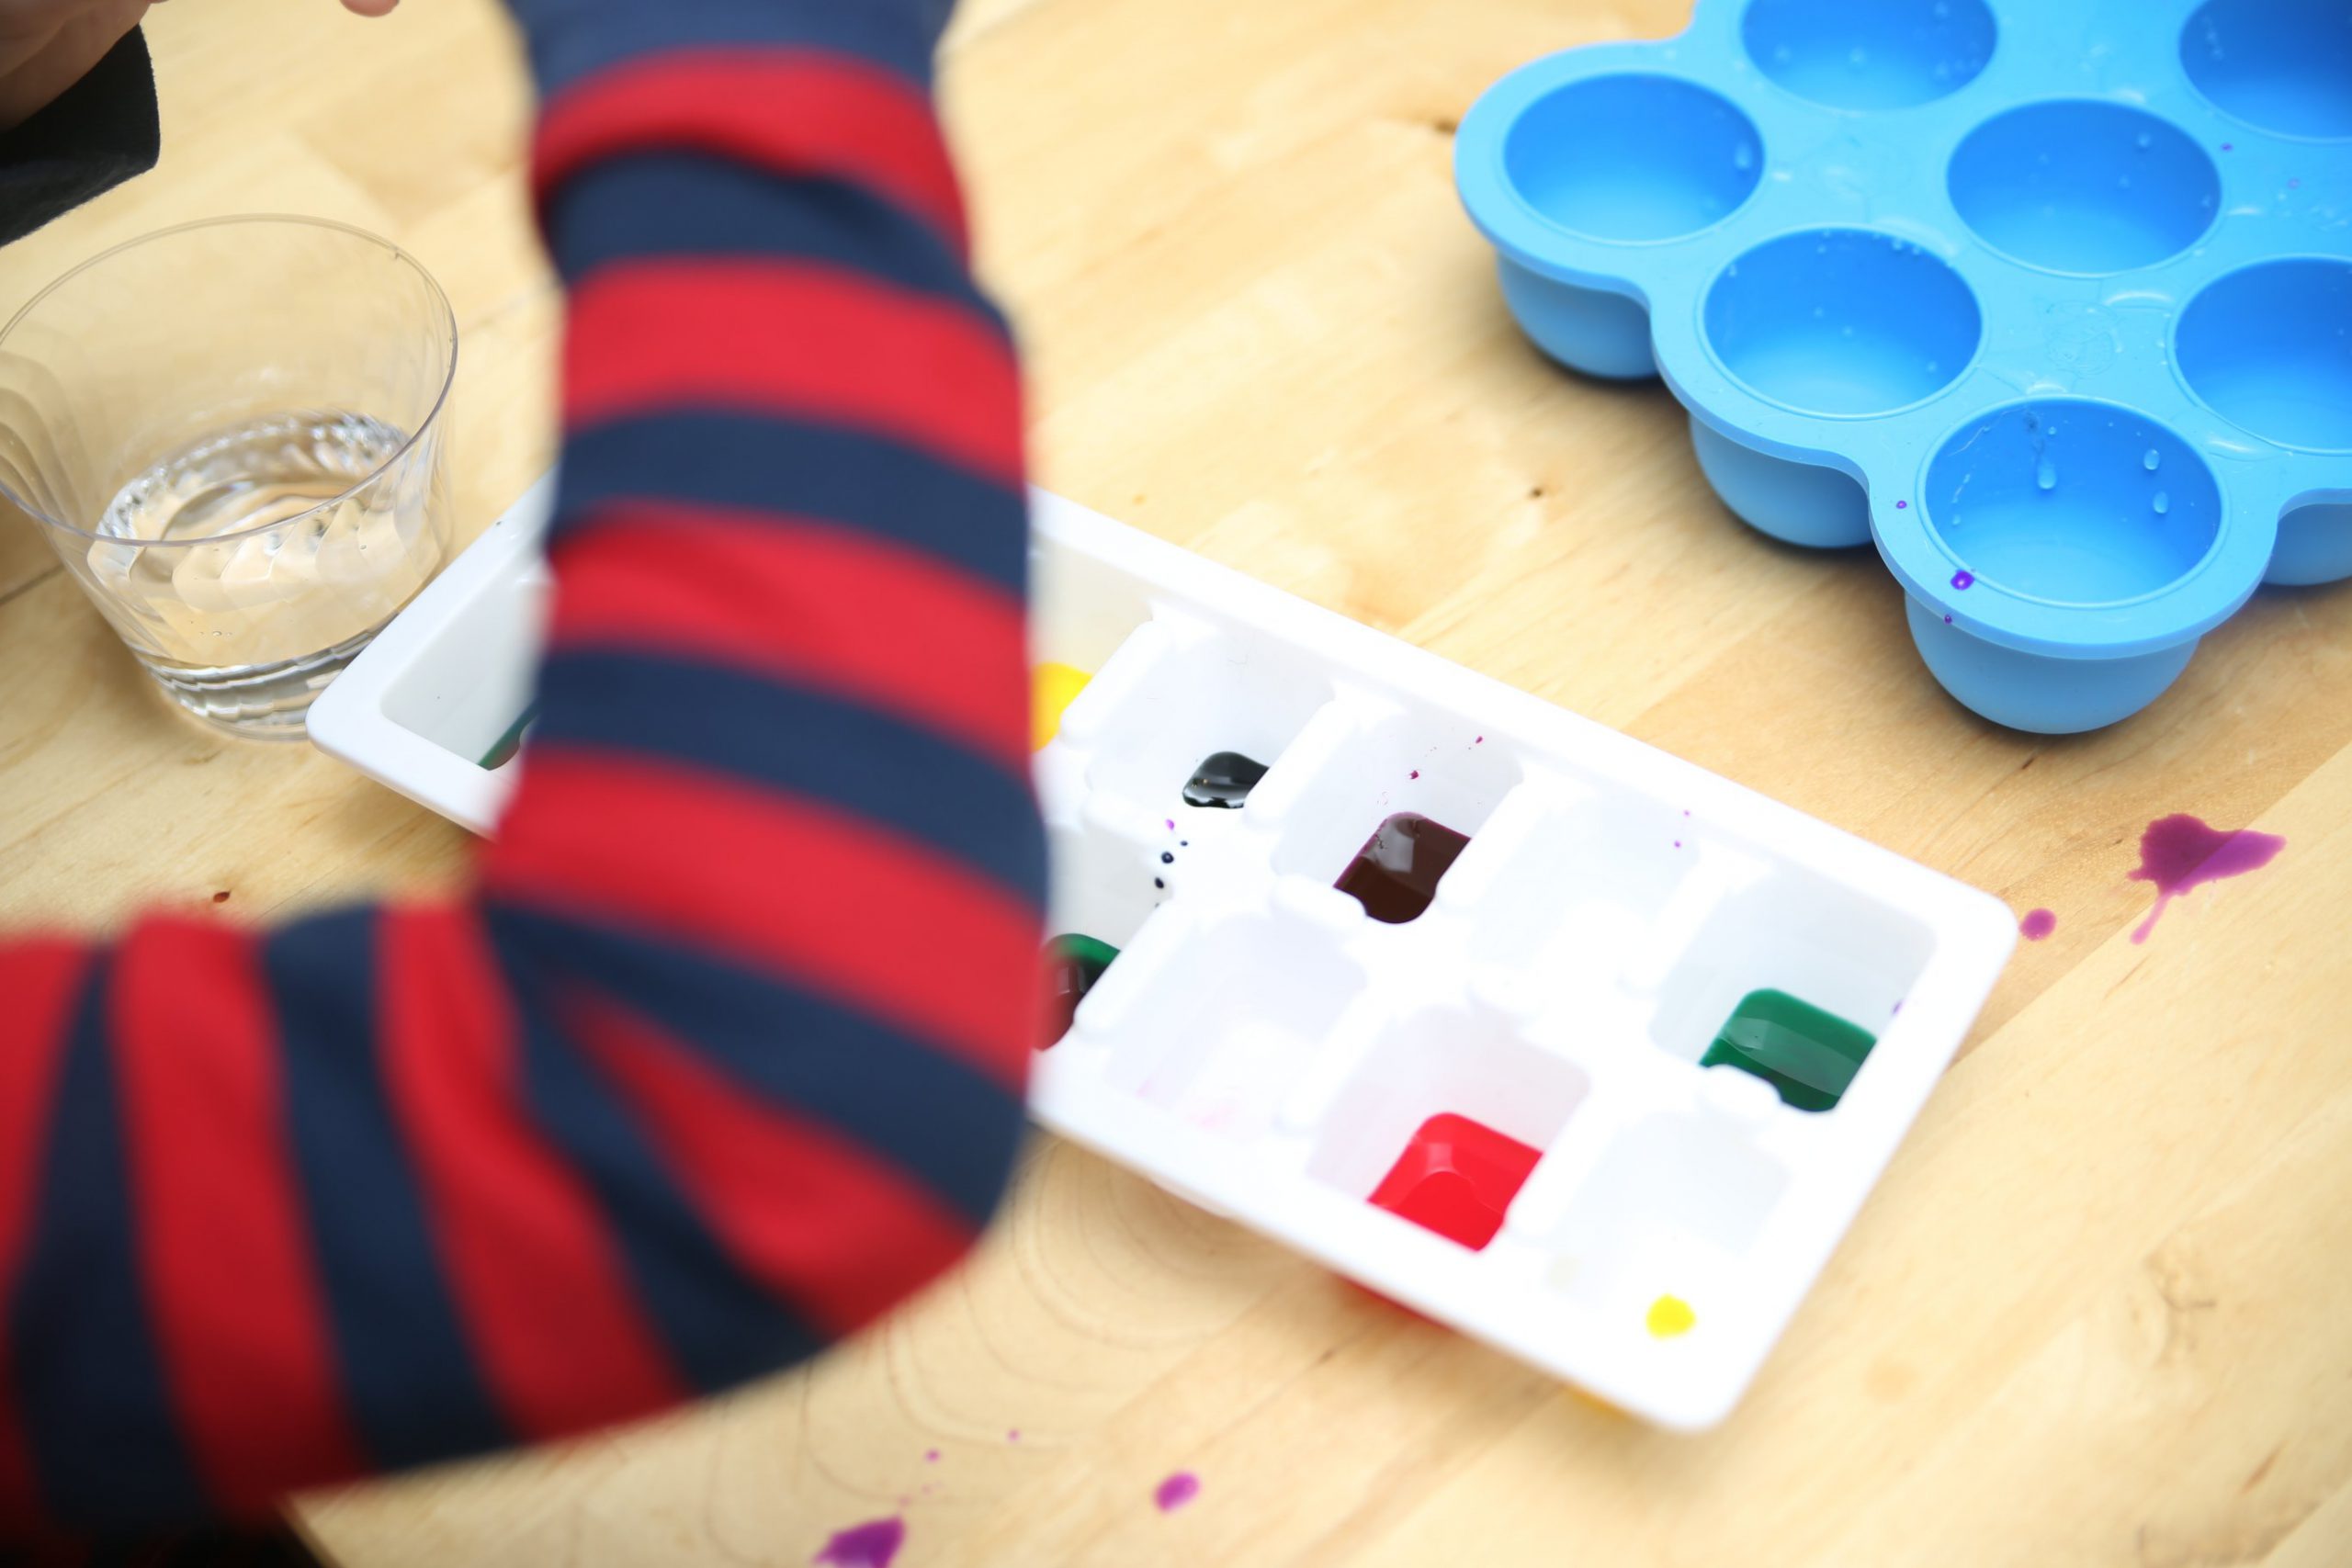
I hope you loved today’s color lessons! For more color fun, check out my previous blog that also incorporates the story “Steam Train Dream Train”
Which activity was your favorite? Comment below and make sure to follow us for more daily fun!
The post Covid-Quarantine Day 1 appeared first on Not So SuperMom VS Society.
]]>