Easter Sensory Bins Read More »
The post Easter Sensory Bins appeared first on Not So SuperMom VS Society.
]]>
Yesterday we made shaving cream paint and it quickly turned into utter chaos. Finn started painting himself, both boys wanted their booties painted, and so on.
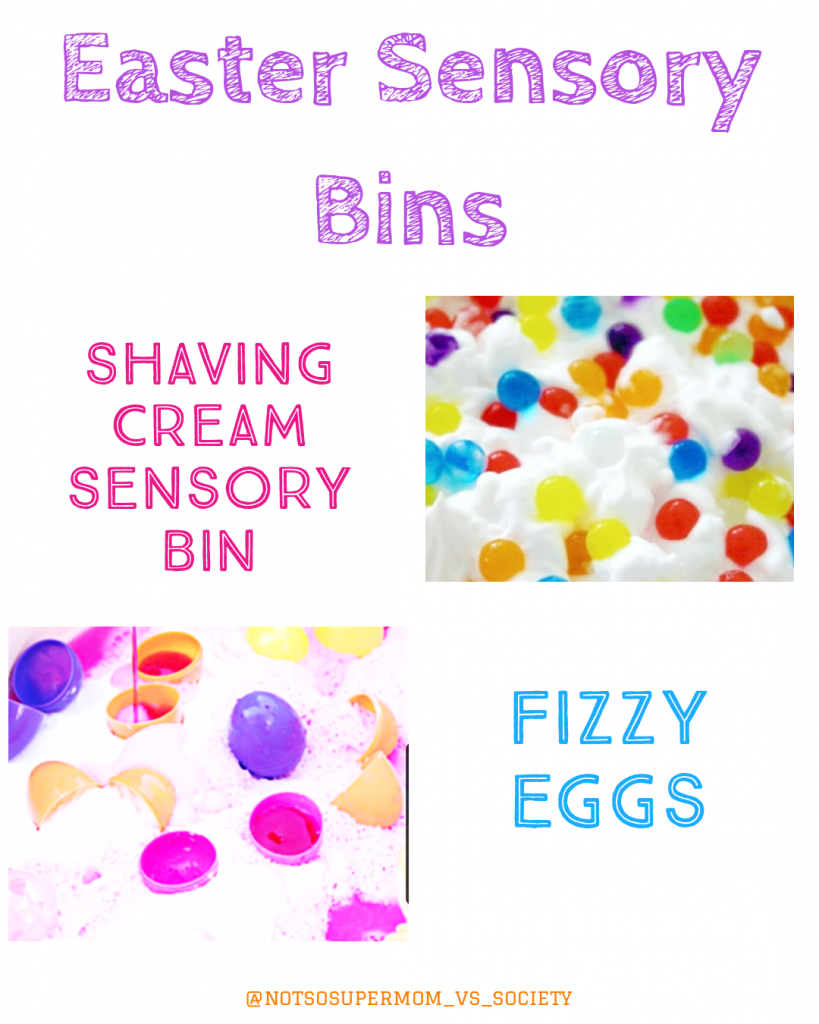
I decided to embrace the chaos of messy play and use the remaining shaving cream for a sensory tub. I used some water marbles, eggs, and also grabbed some vinegar & baking soda to have some extra sensory fun.
Ingredients & Instructions
Sensory Bin
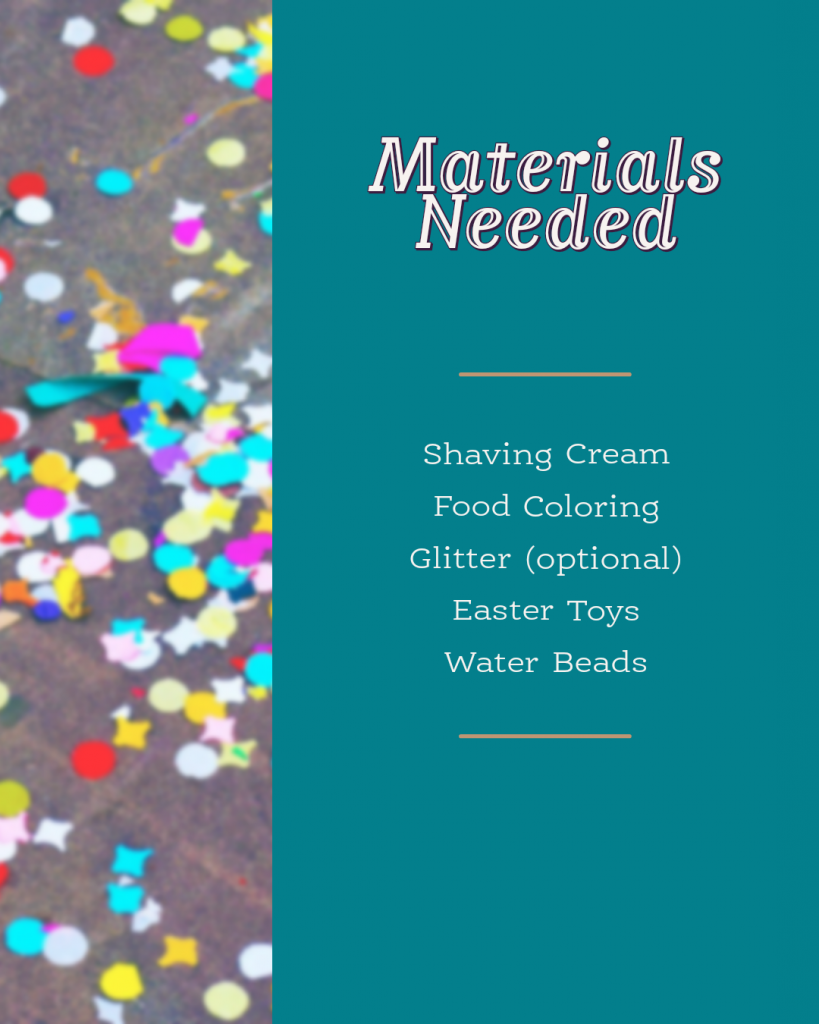
This one is pretty open ended. We had a lot of shaving cream left over from our painting endeavours, leftover water beads, and leftover plastic eggs. You could honestly use almost anything in these tubs. Also, for a more kid safe version of the shaving cream, you can use whipped cream or Mr. Bubble foam soap.
Fizzy Eggs
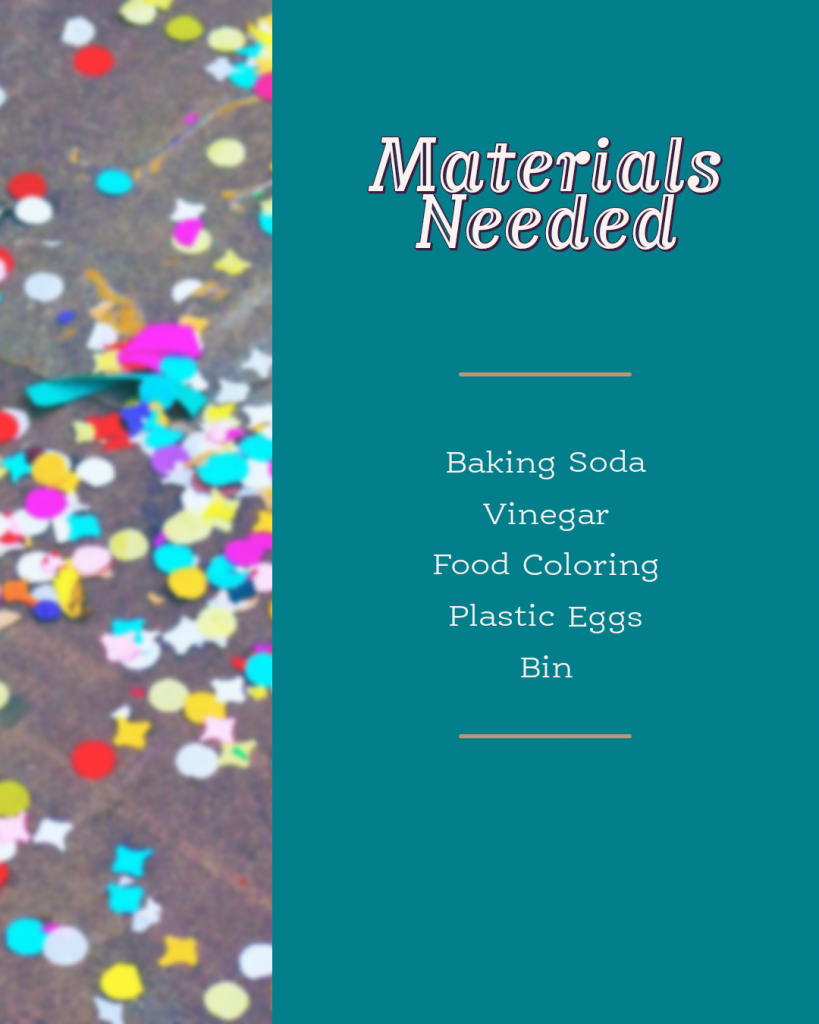
Similar to our Volcano Egg Dyeing, we simply added baking soda to our shaving cream bin and I gave them colored vinegar to put on top. You can use empty plastic eggs, add baking soda to them, and then let them add vinegar with a spray bottle or pipette.
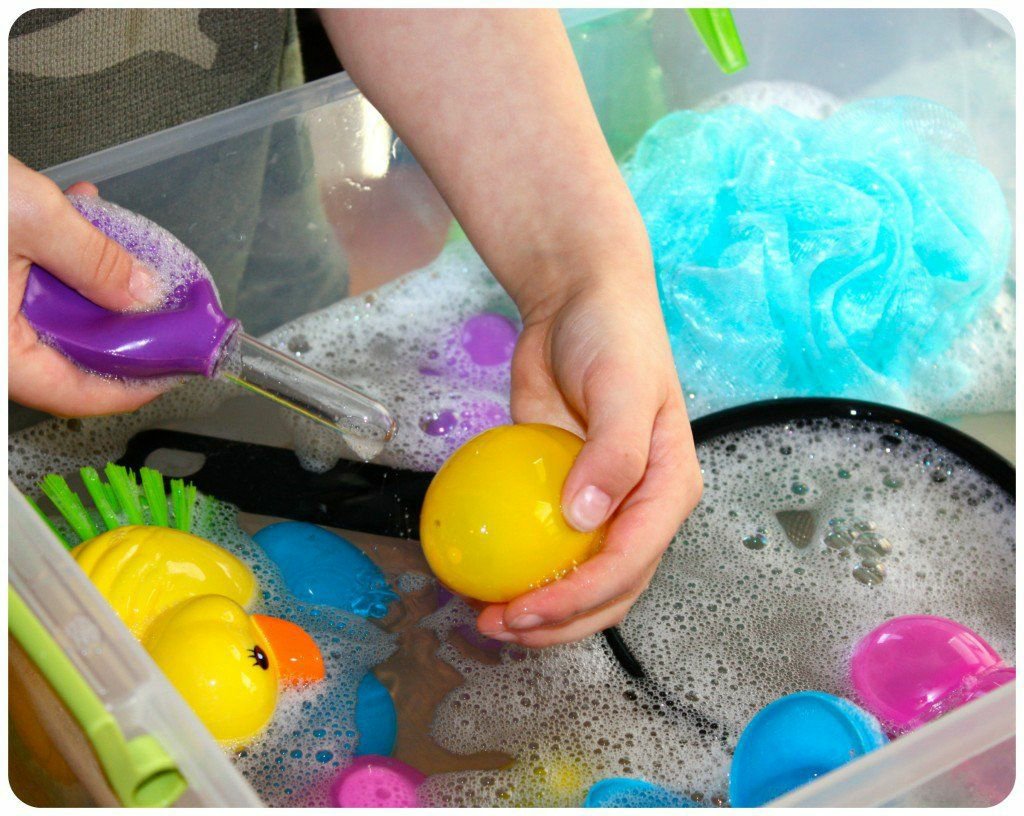
After we were done, we finished up with a fun egg washing water activity!
Did you do one of these? Which one? Did you modify it? Tell us below!
The post Easter Sensory Bins appeared first on Not So SuperMom VS Society.
]]>Rock Easter Egg Hunt Read More »
The post Rock Easter Egg Hunt appeared first on Not So SuperMom VS Society.
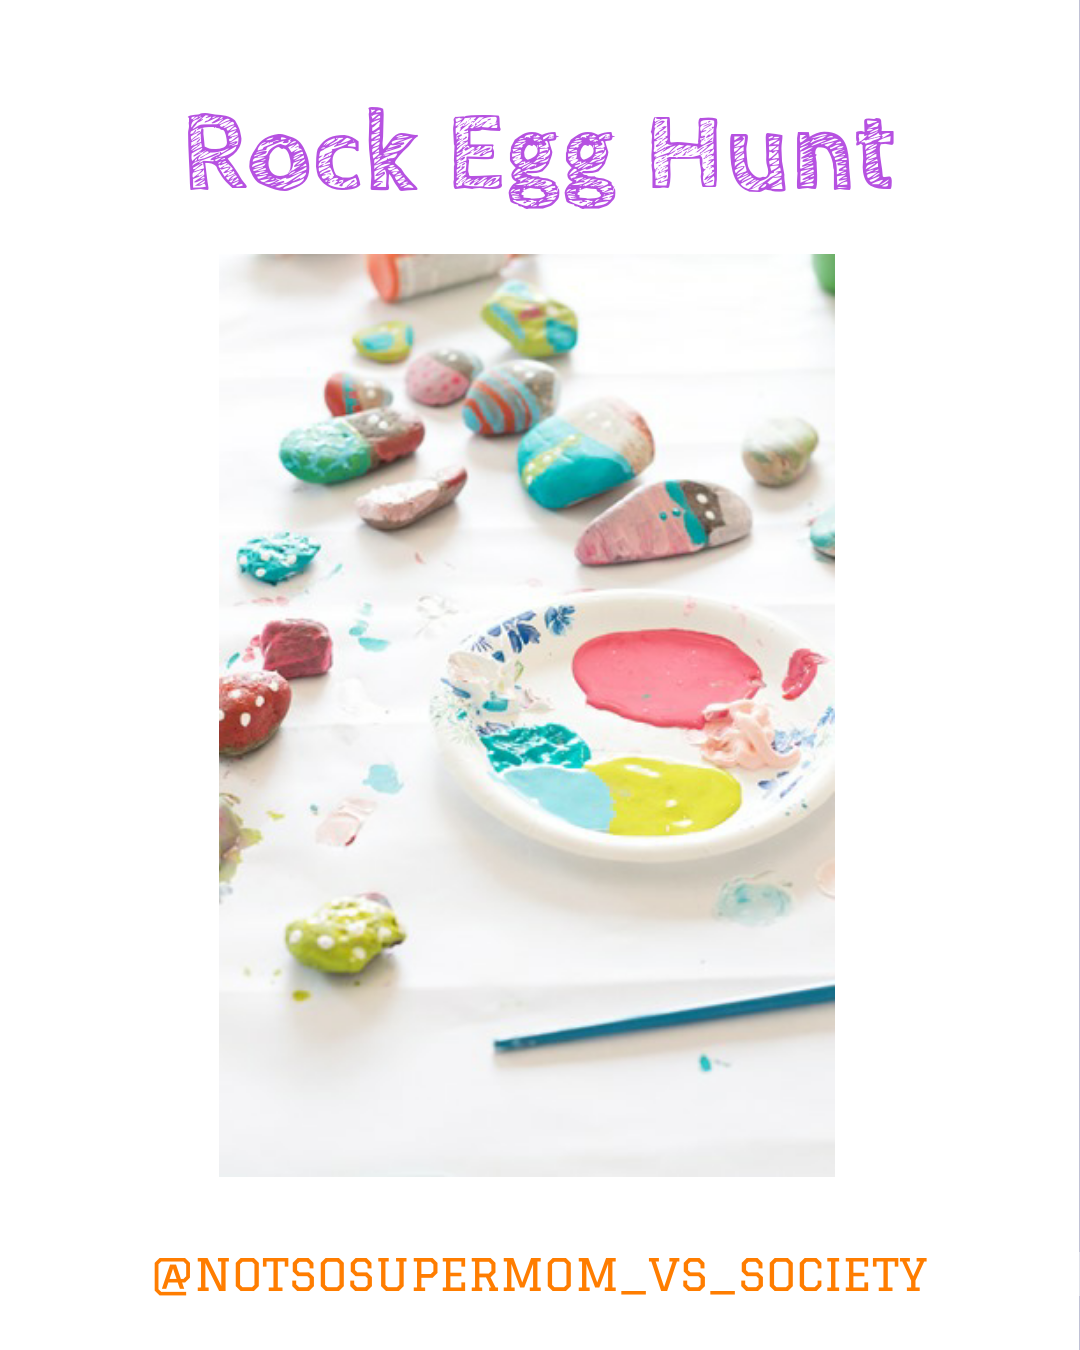
]]>
With everything going on with Covid-19, understandably all of our local Easter Egg Hunts were canceled. The boys were pretty bummed, and although we have some egg filled goodies ready for them to hunt on Easter, we wanted to spread some joy to our friends and neighbors.
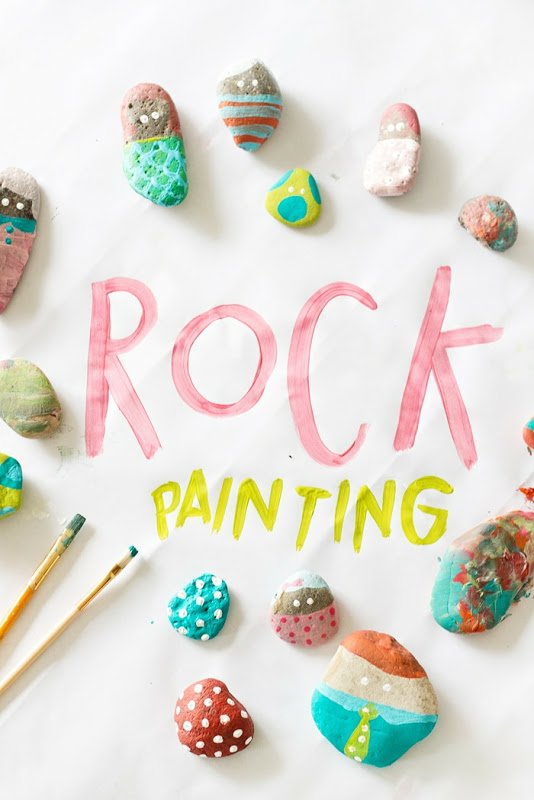
We decided to put on our own little “egg hunt” by painting rocks and hiding them around our neighborhood. We got lucky and found some random bags of rocks from a project my husband did a few years ago that we used. Then the boys went crazy painting rocks. I thought the boys might get bored after painting a couple rocks, but surprisingly they painted around 30. They aren’t very picturesque- most just looked like the paint is randomly globbed on and patchy, however the love behind them truly makes them stunning!
Honestly, art activities like this kind of make me cringe. I hate the mess making that comes with small children and paint. I also had a hard time not micromanaging them to create actual designs instead of my preconceived notions. It was a good experience for all of us- me in getting patience and the boys in creative art fun.
Ingredients & Instructions

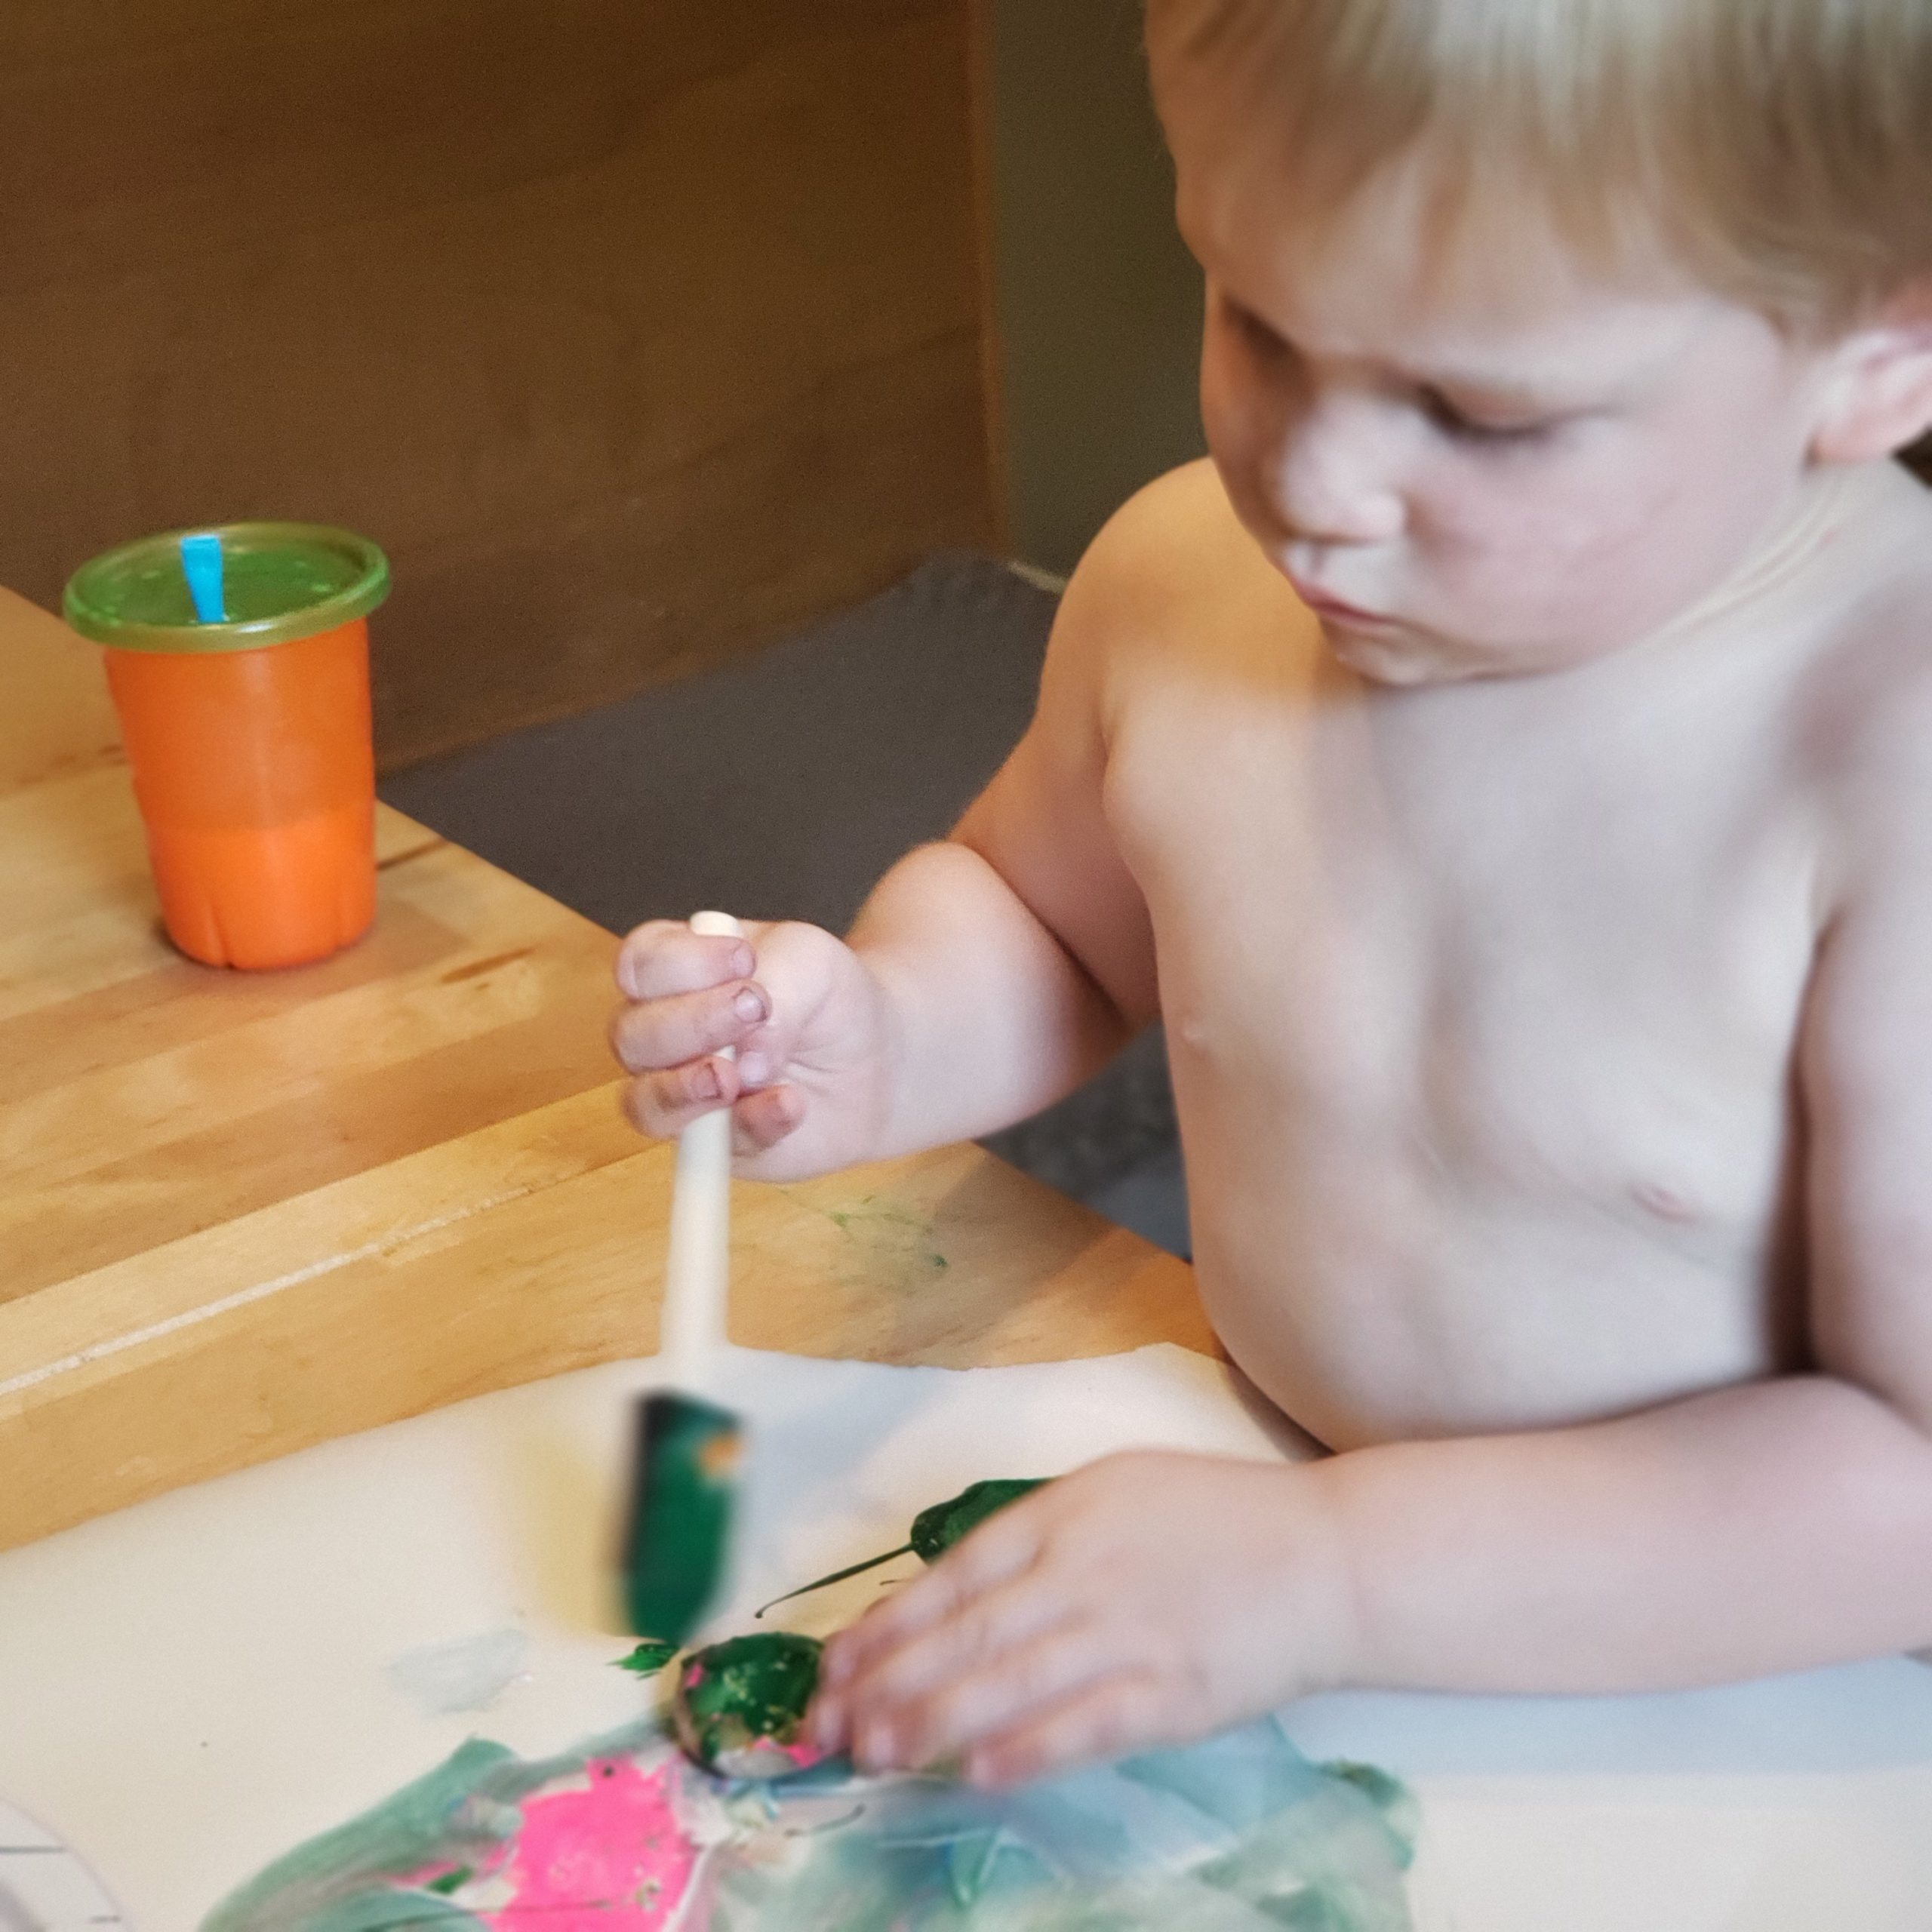
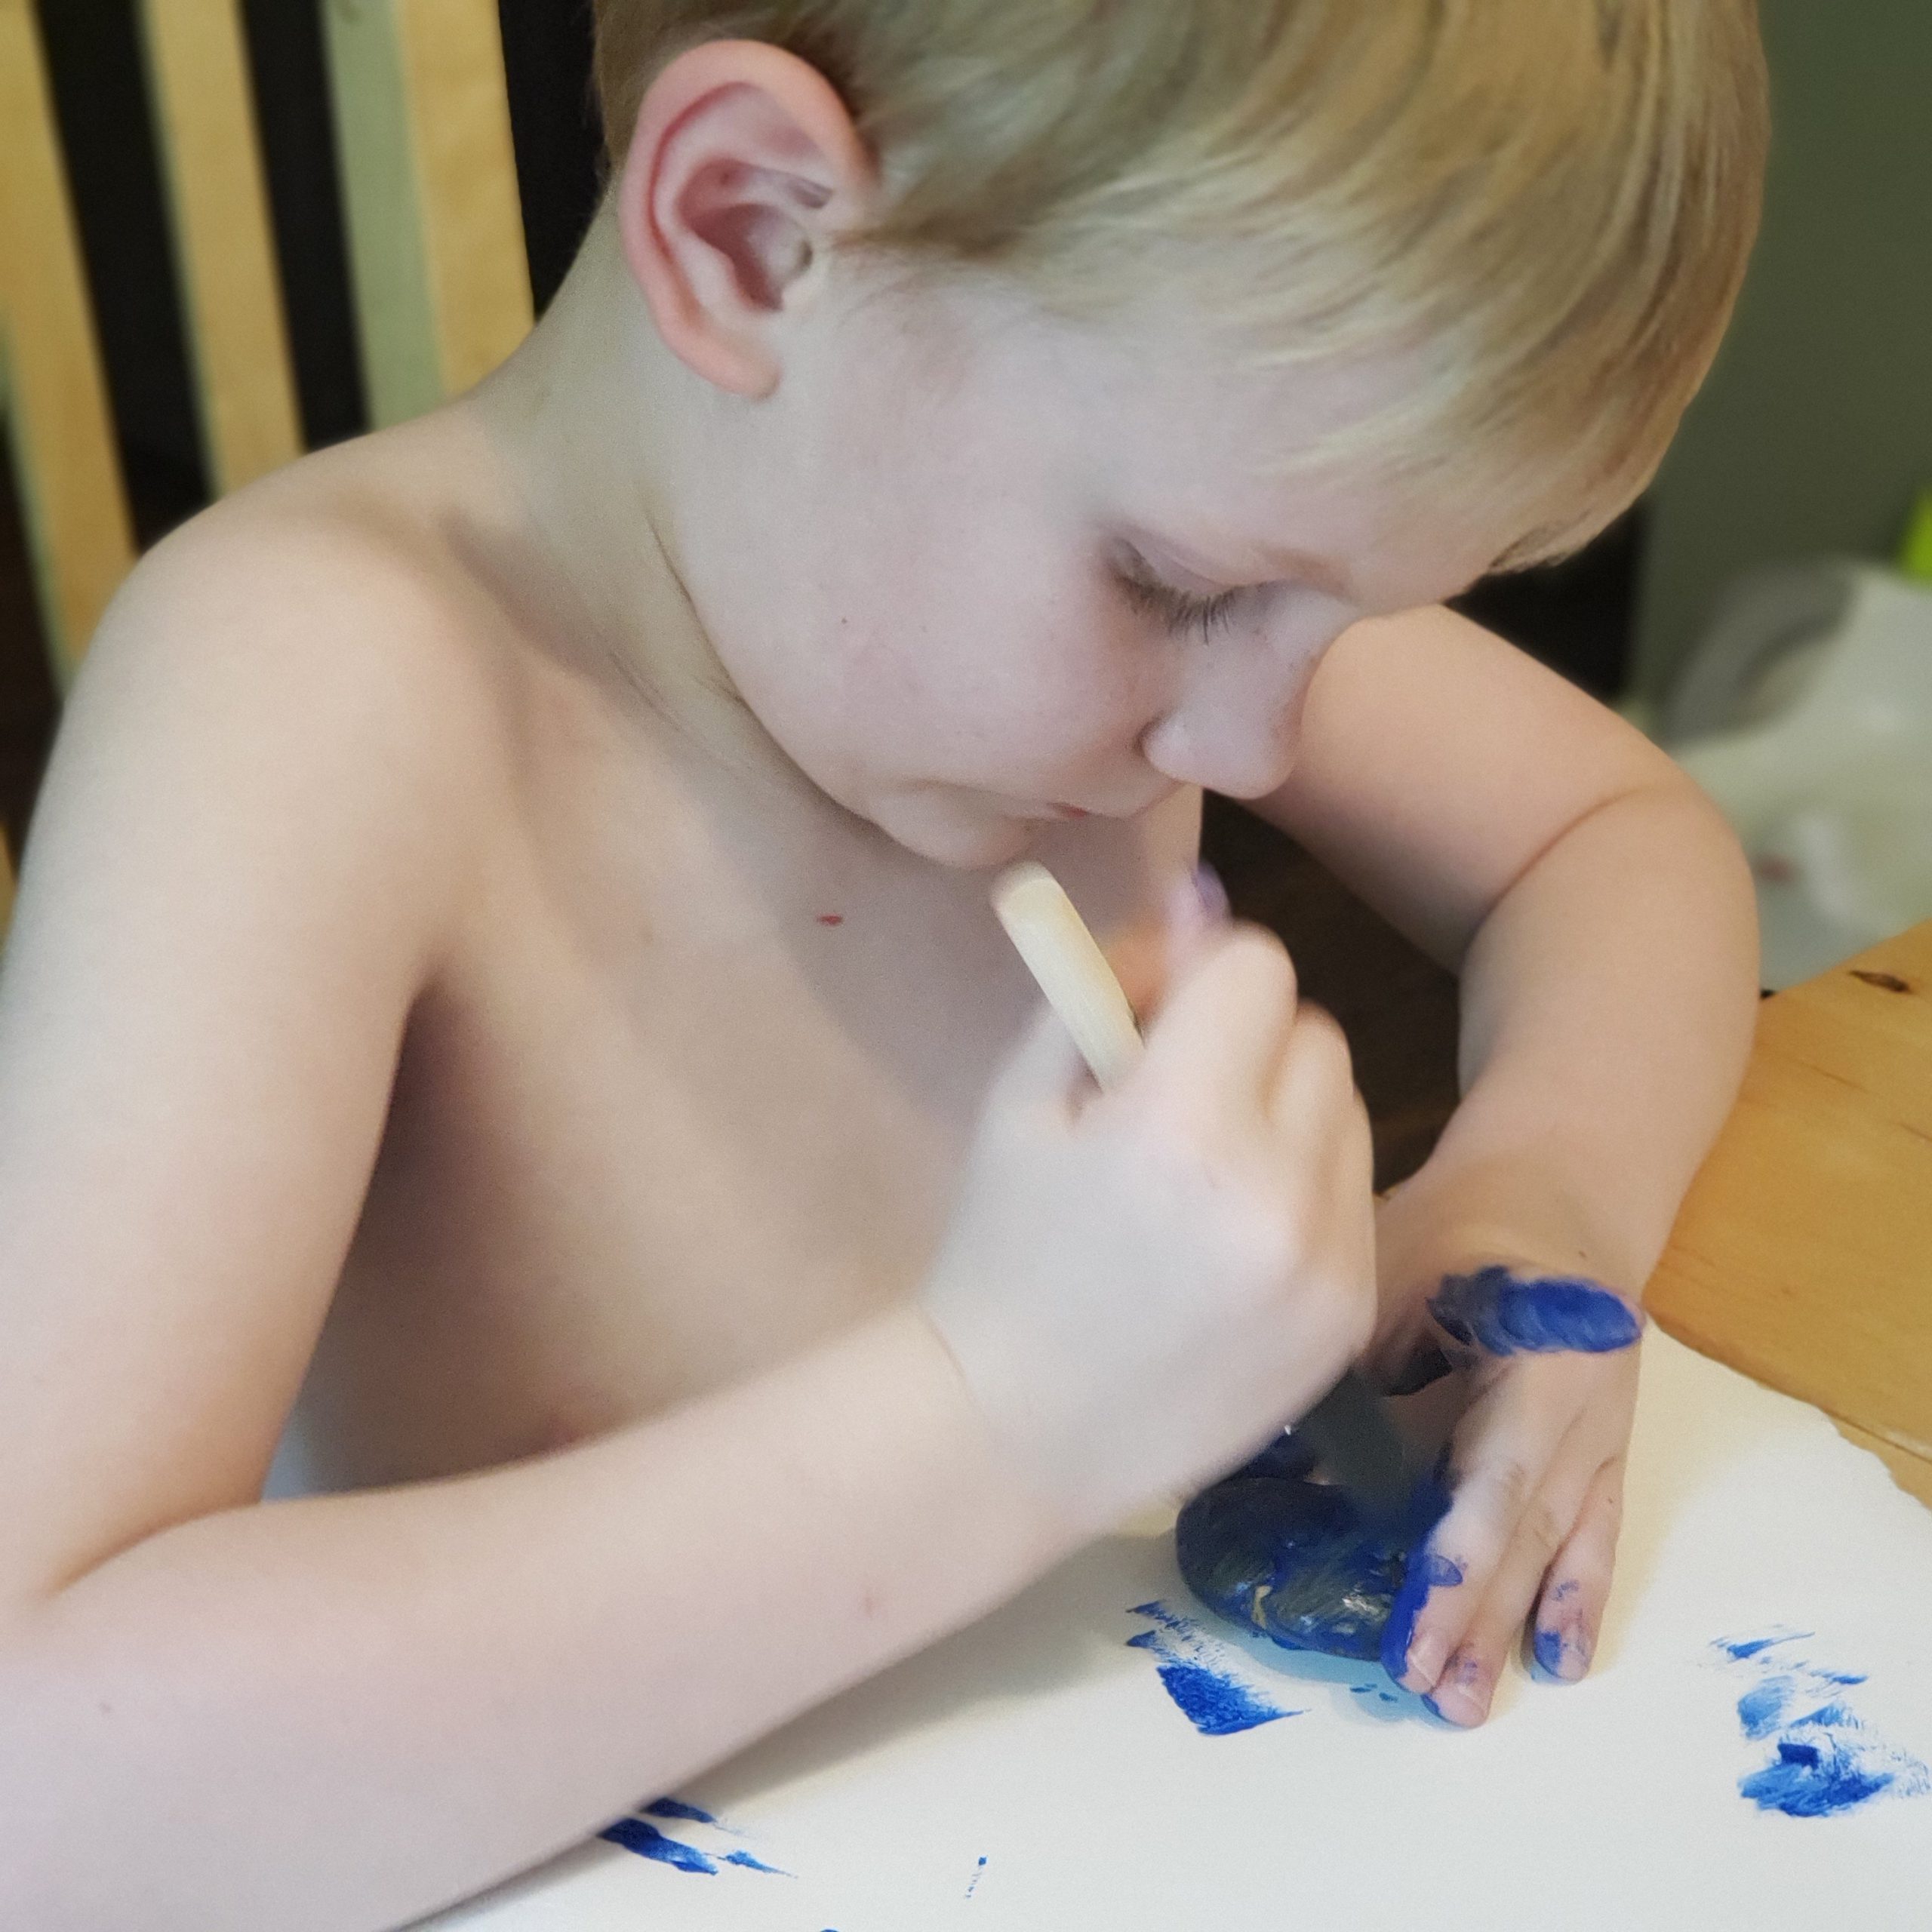
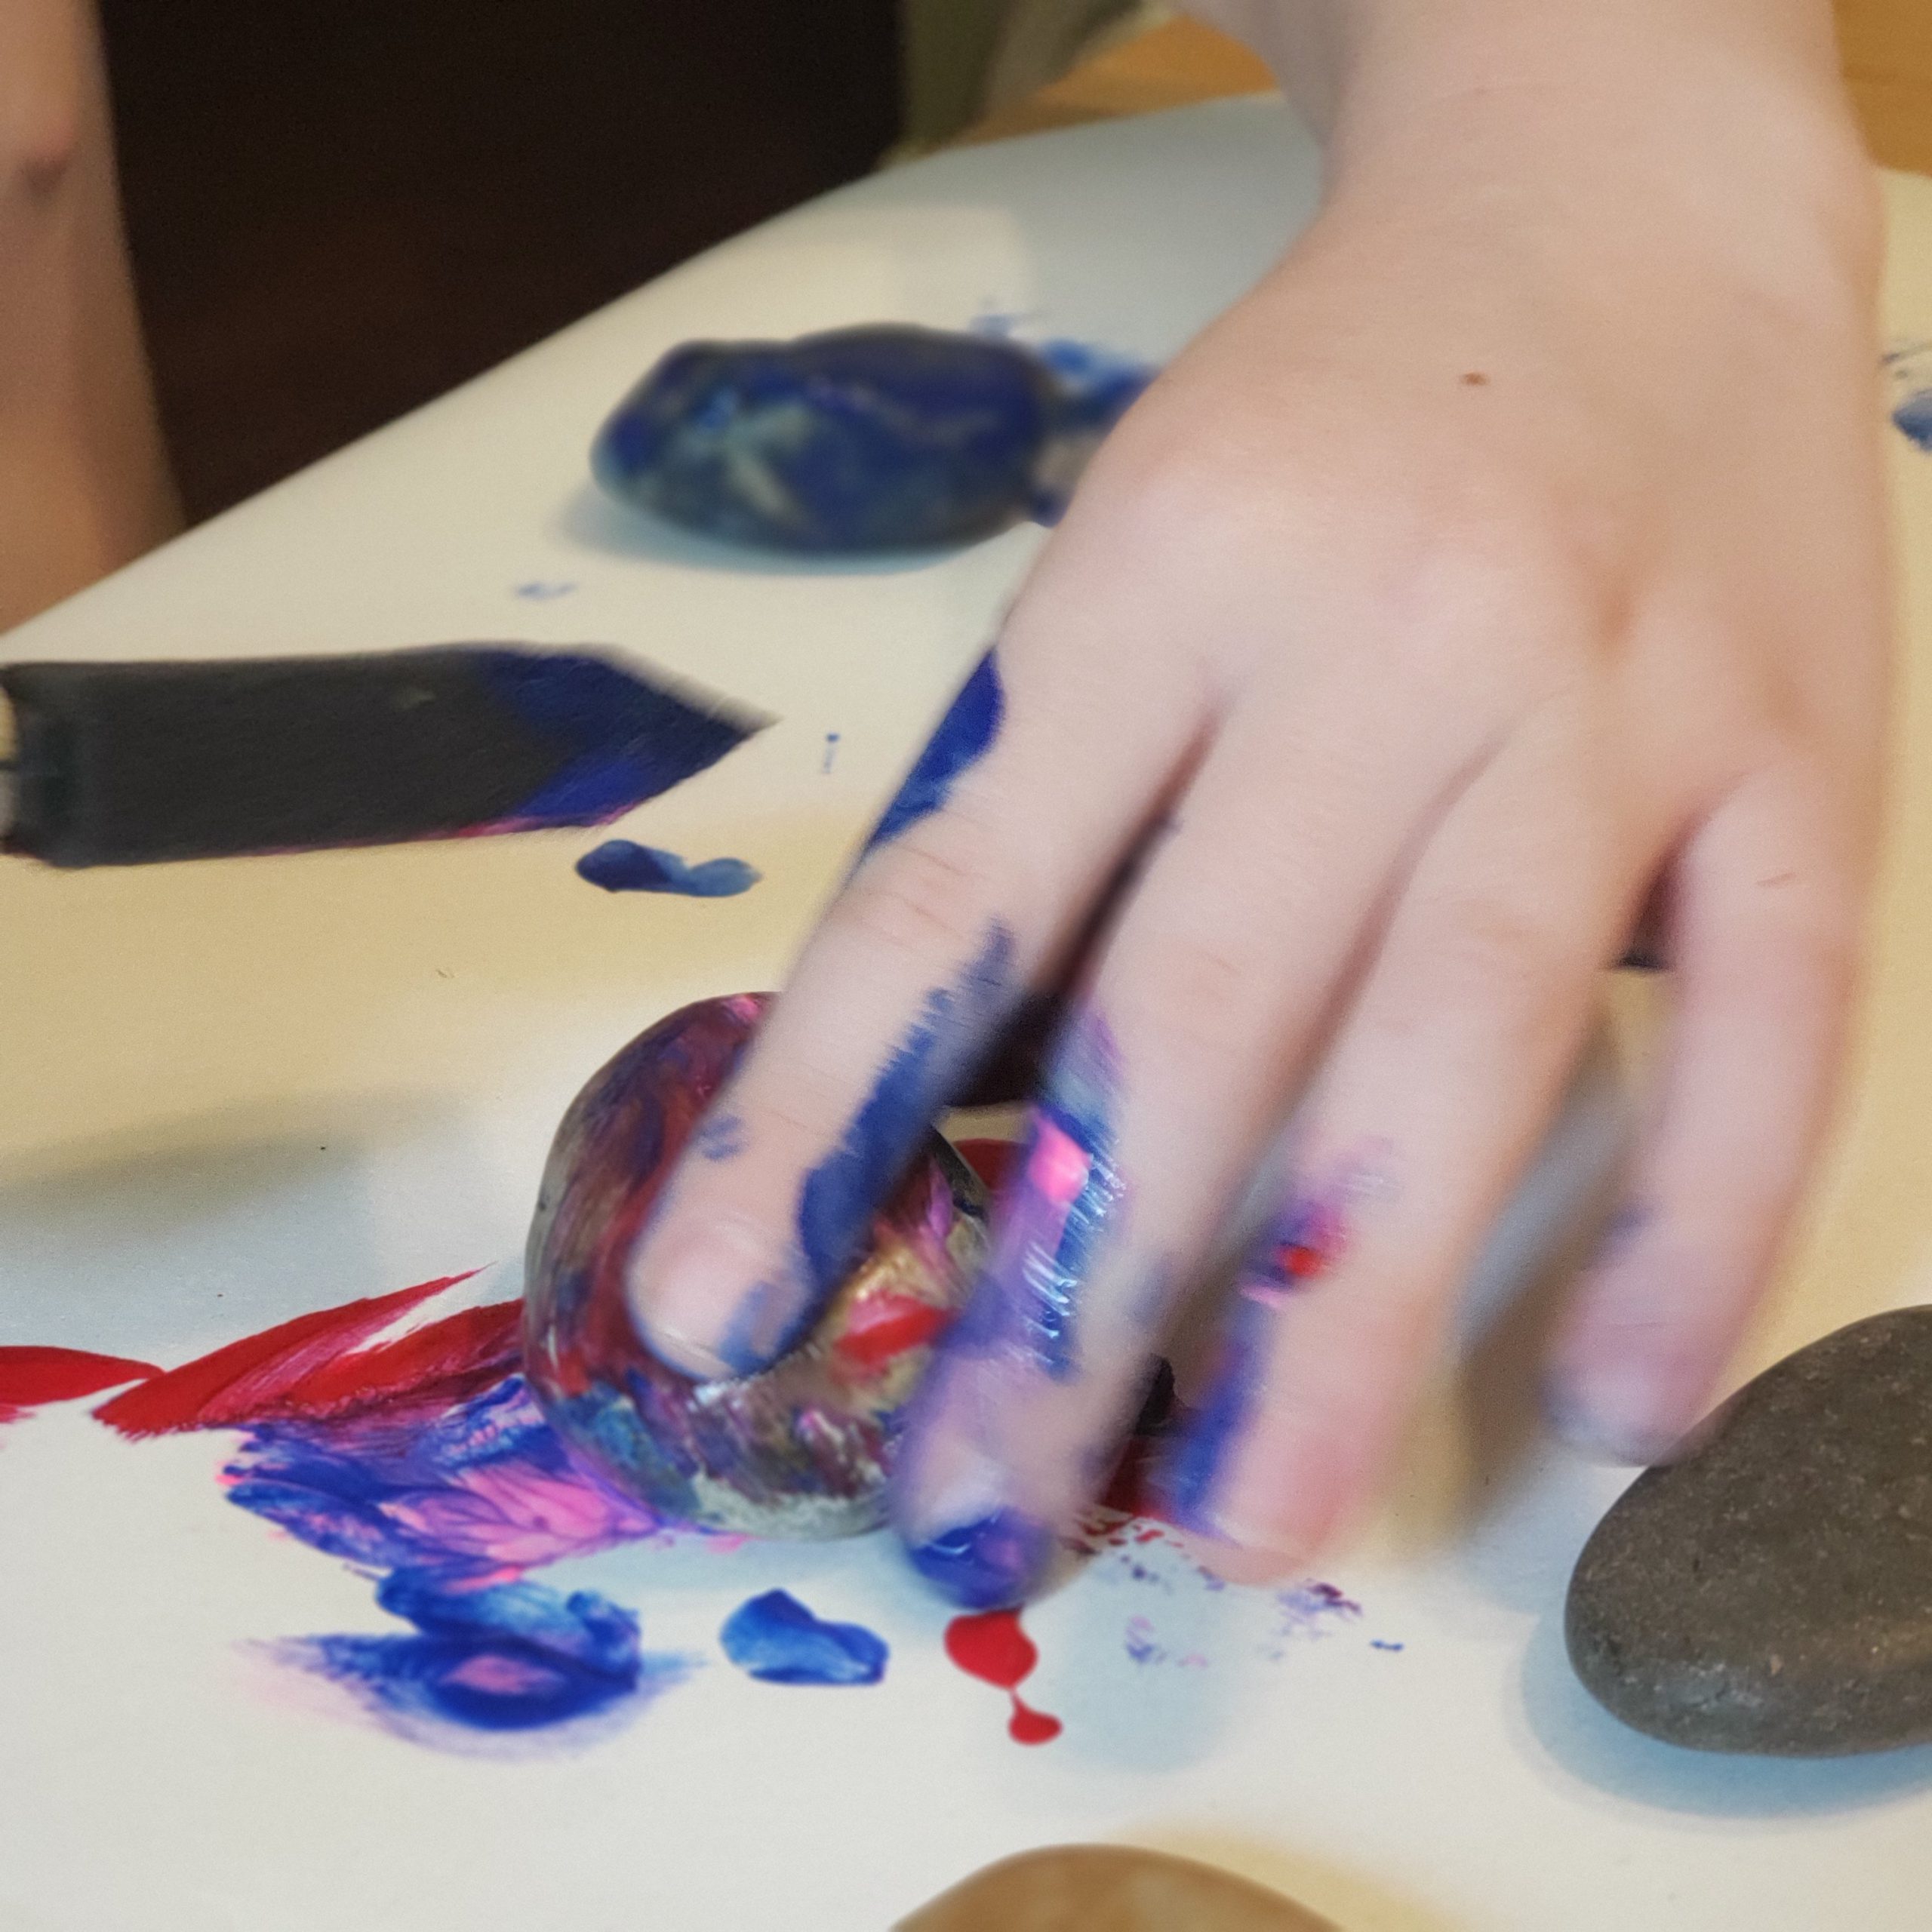
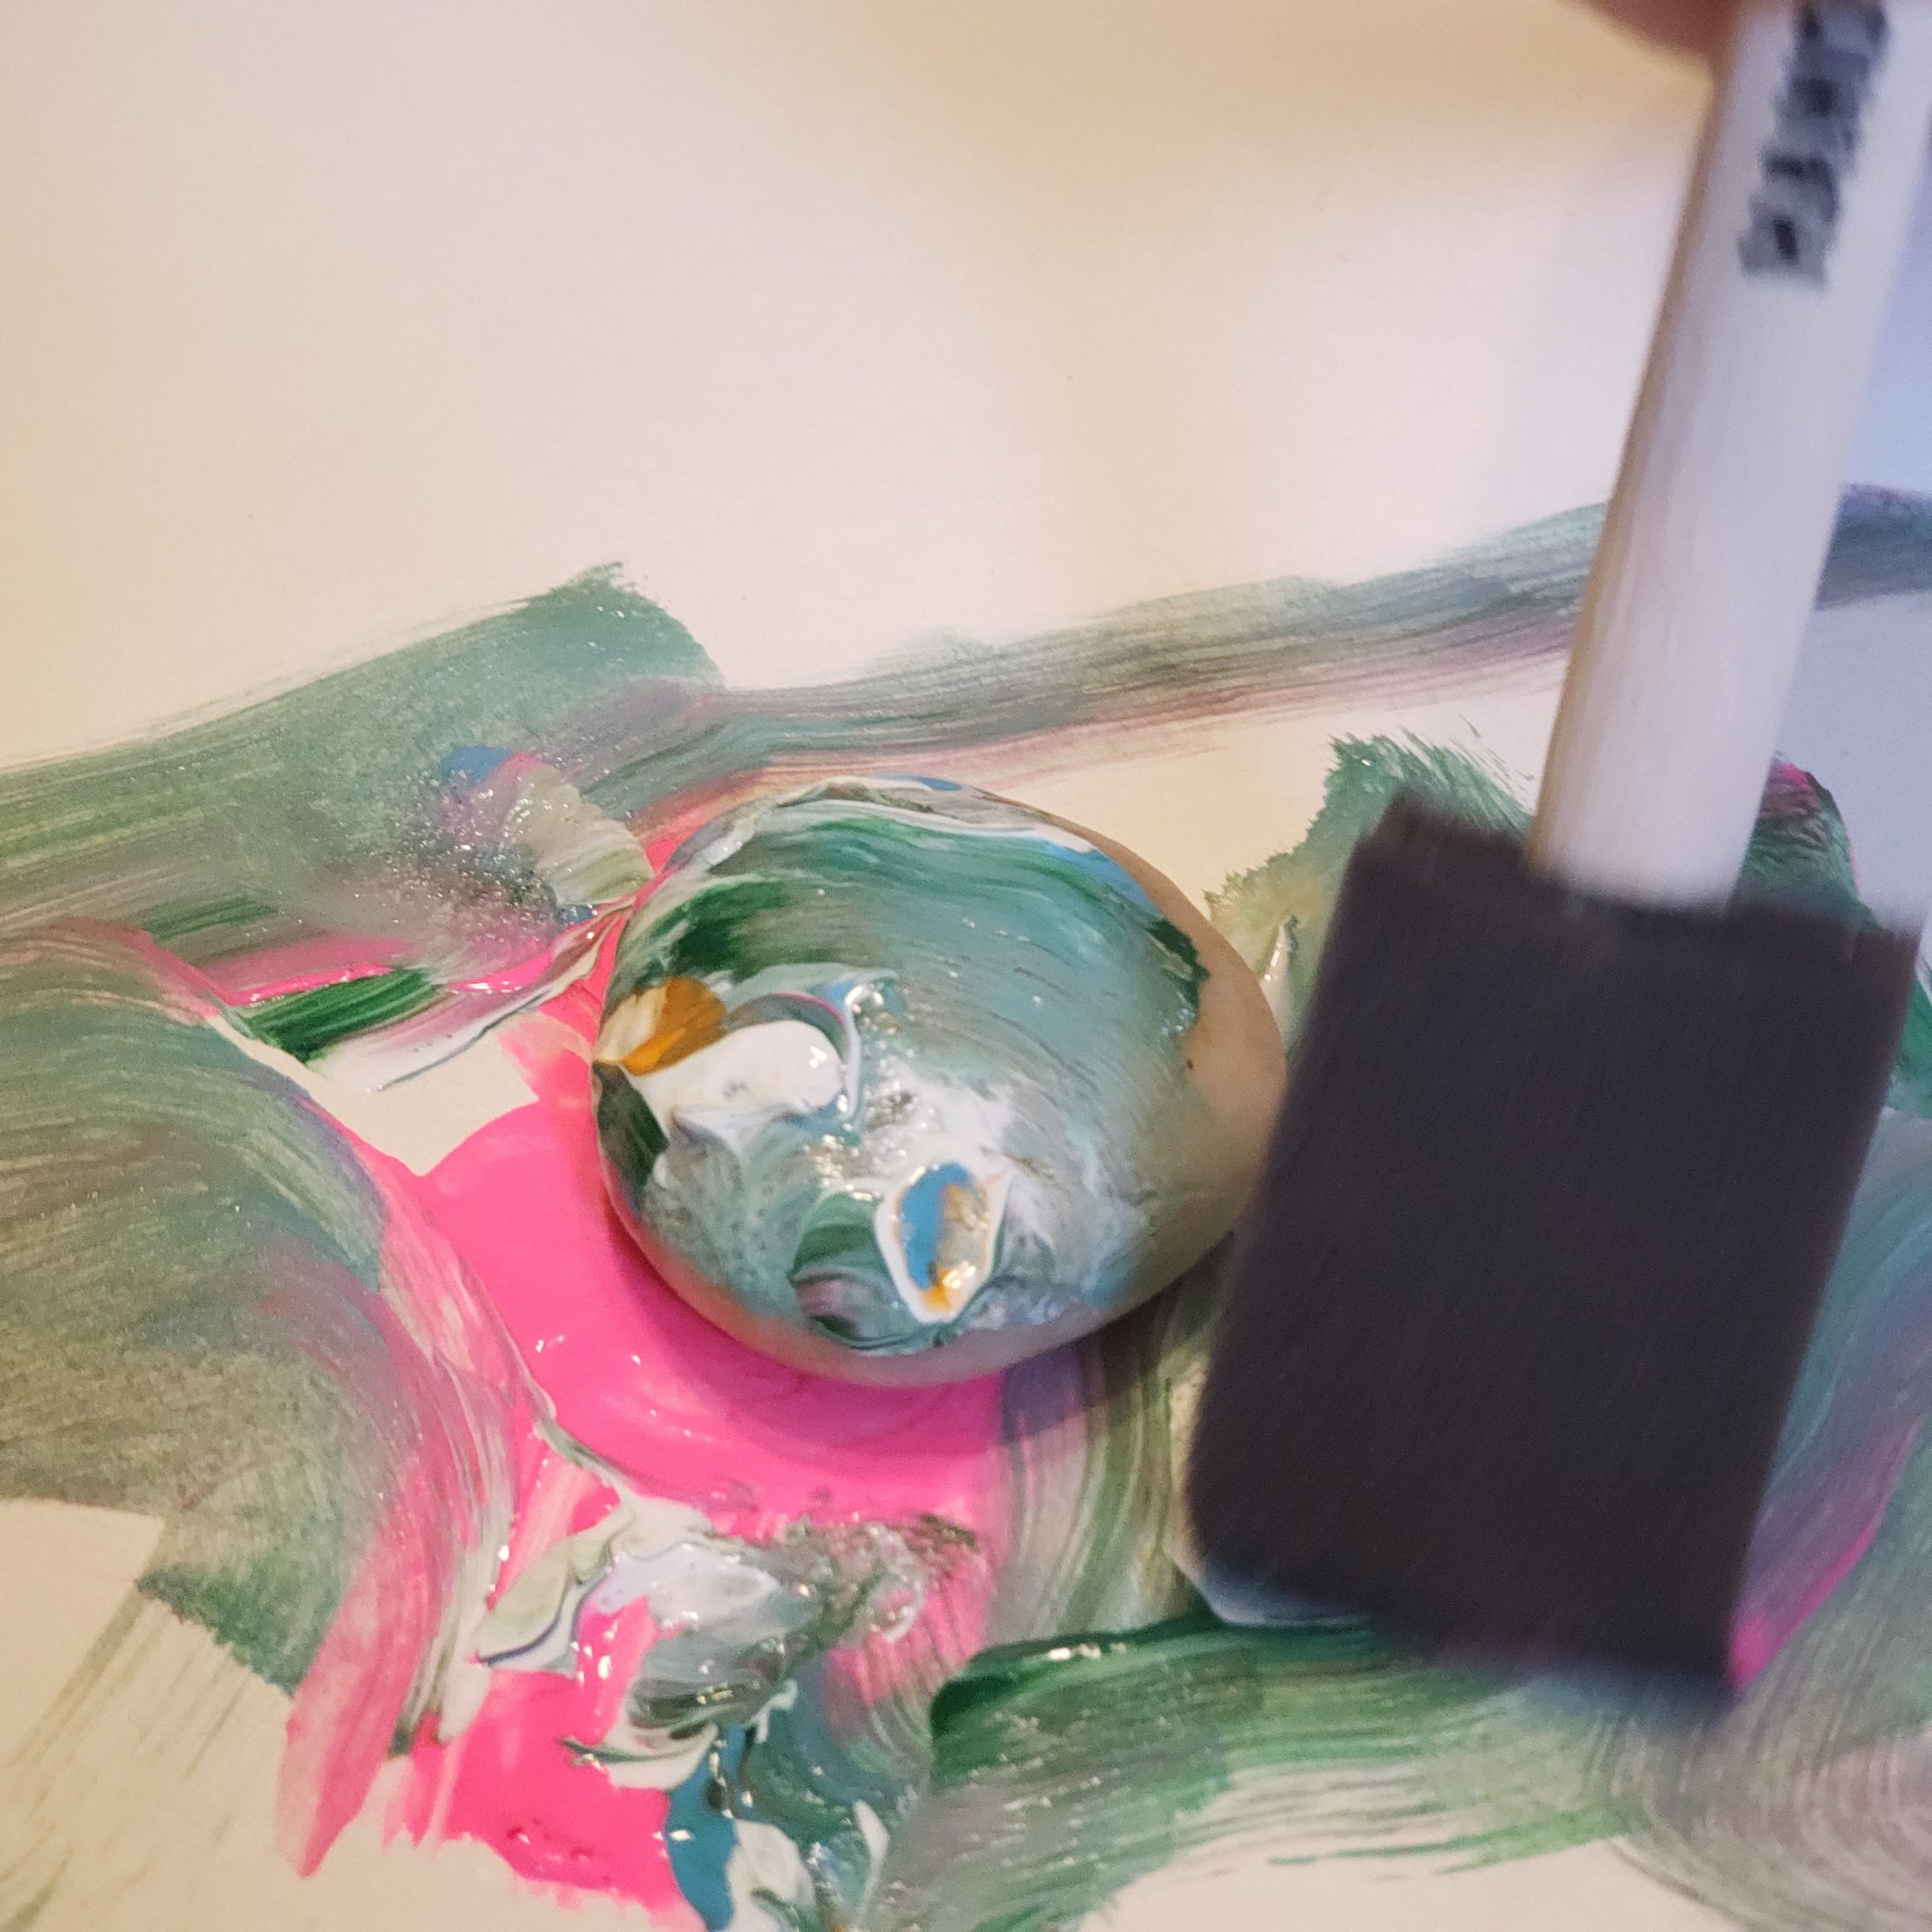
Instructions:
- Wash your rocks and let them dry.
- Put down a drop cloth, newspaper, or anything that will protect your furniture from paint splatters.
- Place the paint on a paper plate or tray.
- Let the kids go wild! Every kid is an artist in their own right.
- Place rocks in a safe place to dry. With the current weather, ours were mostly dry within 4-6 hrs.
- Once rocks are dry, you can add a thin cover of modpodge to protect the painting from elements (we didn’t have any!). You can also add detail work, sayings, googly eyes, etc at this point.
- Take a walk and hide the rocks for your neighbors. Prior to hiding, we washed hands throughly and took our sanitizer with us. We carefully sprayed each rock after setting it down to minimize the risk to our neighbors.
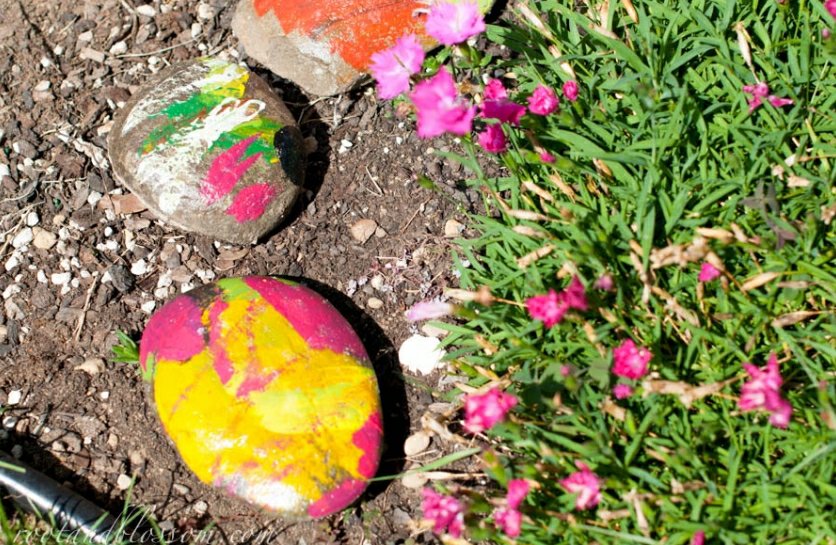
We also placed our blog name on the back and hope people will post/share photos if they find them!
Benefits Of Letting Kids Paint
This process art sneaks in a lot of important learning! When the kids paint these rocks, they are:
- Practicing and gaining fine muscle control and strengthening eye-hand motor coordination. By holding paintbrushes and learning how to control the paint, as well as grasping the rocks, children focus on skills necessary for later writing activities.
- The opportunity to make choices and solve problems. Children make decisions about what colors they use, how to apply them to the rock, and if they will be using a pattern or solid color, to name a few.
- Problem Solving! When the children makes choices, they learn that some of the choices don’t turn out as expected. How can they remove paint once it is on the rock? Also, spills will happen – how best to clean up these spills?
- Experiencing different points of view. The children will find that their siblings paint their rocks differently. Why did they choose yellow while you chose green? It opens up conversations and discussions about why we like different things.
- Imagination and Creativity! There are so many ways they can create their rock masterpieces.
Did you find one of our rocks? Please share an image with us on Instagram or Facebook! Did you do your own rock egg hunt? Tell us below!
The post Rock Easter Egg Hunt appeared first on Not So SuperMom VS Society.
]]>Easter Engineering Read More »
The post Easter Engineering appeared first on Not So SuperMom VS Society.
]]>
Todays Easter Activity is: Engineering!
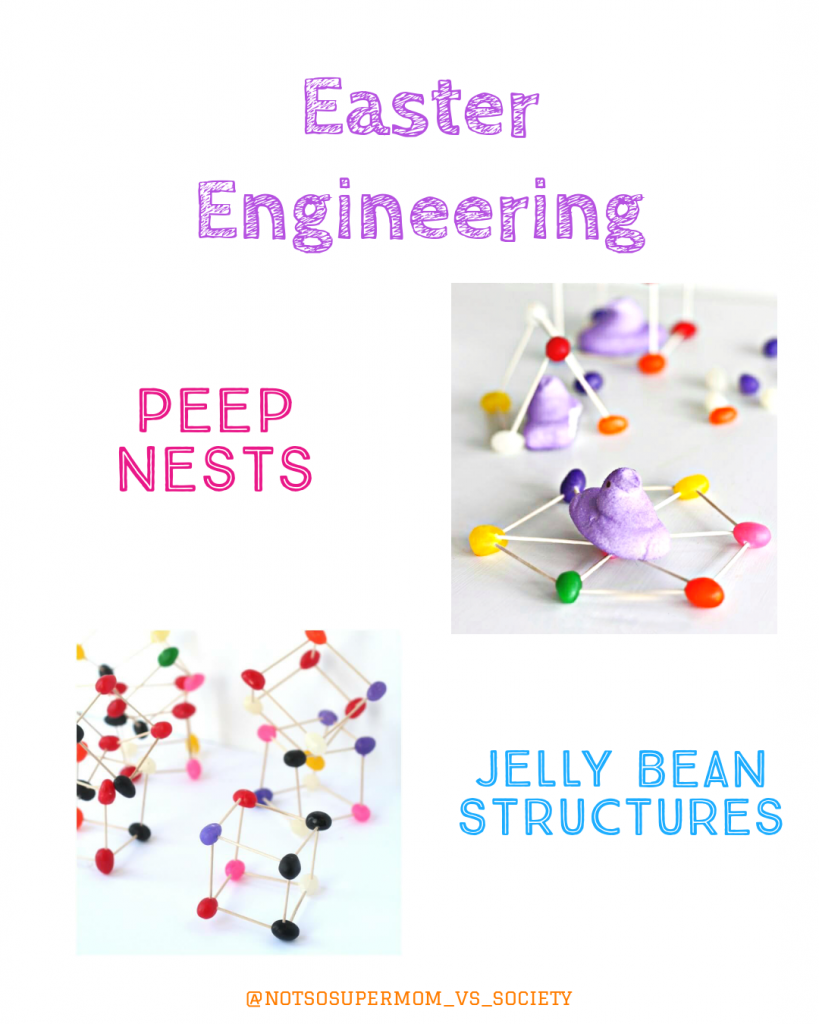
If couldn’t already tell, we LOVE STEAM activities in this house. They are fun and educational on multiple levels. We still had some peeps leftover from yesterday, so we decided to get crafty and build some Easter candy structure challenges.
The cool thing about this activity is that you can easily modify it to engage toddlers through teens. Small simple structures and easy explanations for littles and complex structures with hypotheses and in depth engineering analyses for the older kids. Plus, once you build your structure, you can pretend you’re Godzilla, destroying your structures and eating them!
Ingredients & Instructions
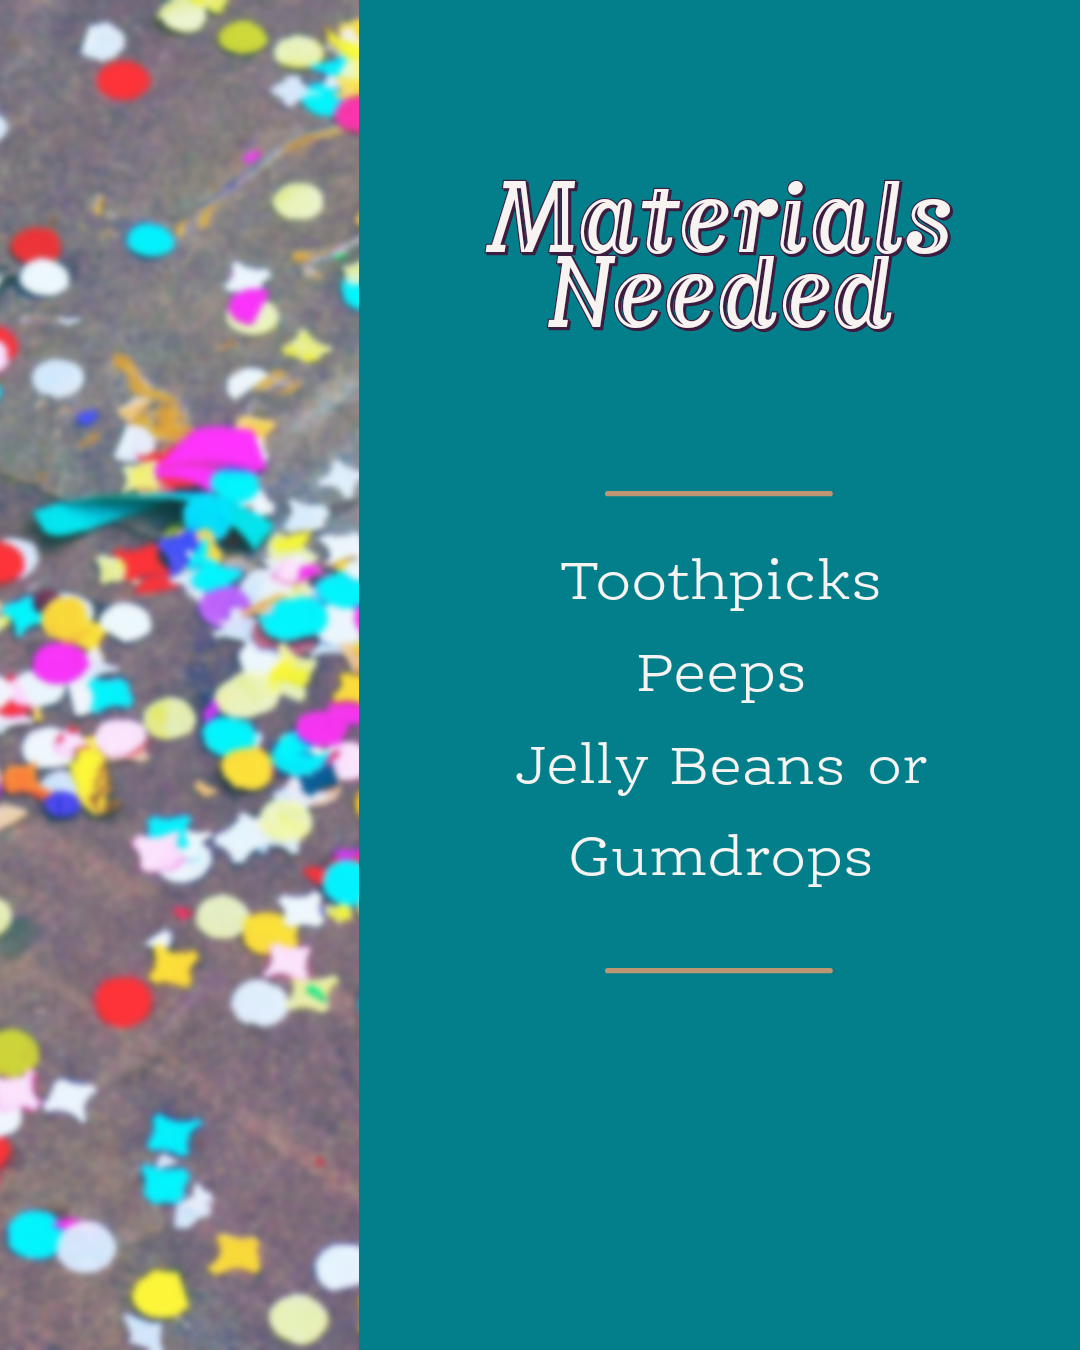
These ingredients are super basic, but you can add additional supplies, such as popsicle sticks, glue, string, etc to make it more challenging and complex.
Instructions:
- Teach your child the basic concepts of structural engineering. For my littles, we watched several programs on structural engineering to help get their brains working and to help them easily understand the concepts of what we were doing.
- Talk with them about the materials you’ve selected and outline what they are building (peep nest or jelly bean structures).
- Get their hypothesis on what shapes they think will work best.
- Have them count out their materials and start building.
- Experiment with different shapes and styles. Try just building with peeps and toothpicks. Ask them questions. See if their structure stands up to a weight test (can it hold a peep? How much more could it hold?) Will it survive if you blow on it super hard?
Science Behind The Experiment
This engineering challenge covers multiple STEAM bases:
Science: Kids will explore the design and construction of a jelly bean construction through individual (or collaborative) use of skills in the scientific method: observing, communicating, comparing, organizing, and relating.
Technology: we are doing a digital building competition with For Mommys Dragons
Engineering: Kids will exhibit simple to complex attempts at design and construction.
Art: Kids will design and create beautiful engineering masterpieces.
Math: Kids will explore patterns, patterning, colors, lines, and angles.
What types of structures did your child build? Were they successful? Let us know below!
The post Easter Engineering appeared first on Not So SuperMom VS Society.
]]>Edible Peep Playdough Read More »
The post Edible Peep Playdough appeared first on Not So SuperMom VS Society.
]]>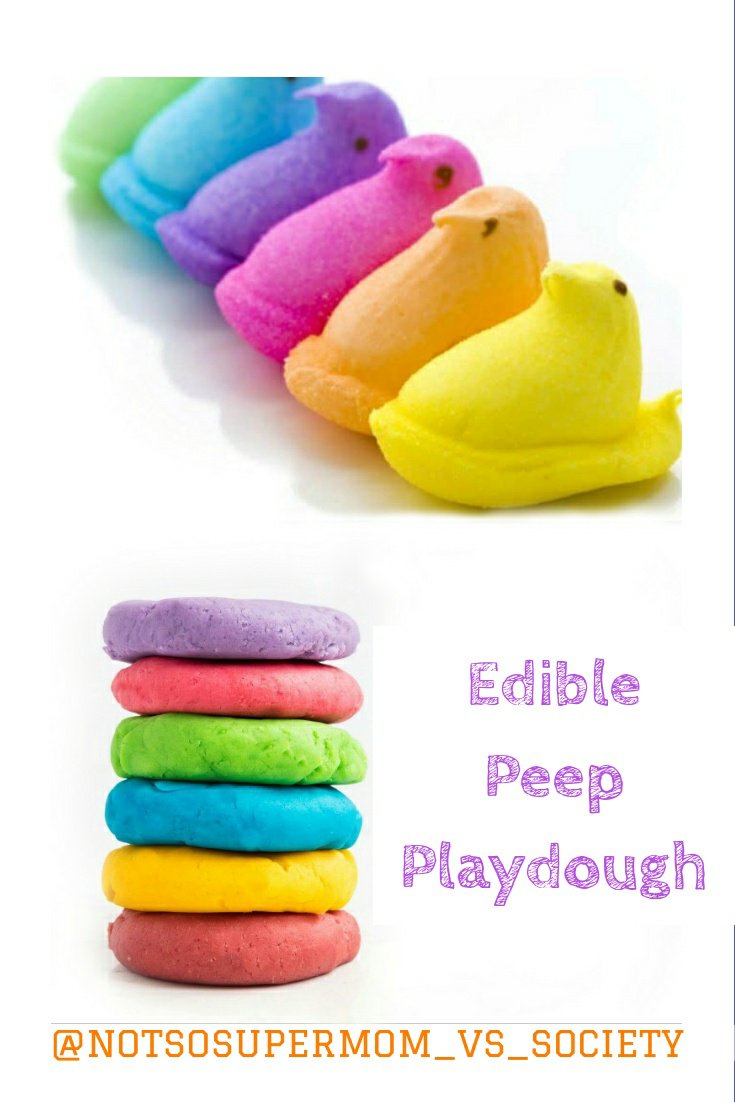
Easter is just around the corner, so this week I’m focusing on fun Easter activities. Today I’ll be focusing on edible peep playdough and slime.
The best thing about this activity, is that it covers all the bases: it’s fun, educational, delicious, easy to make, and pretty to look at!
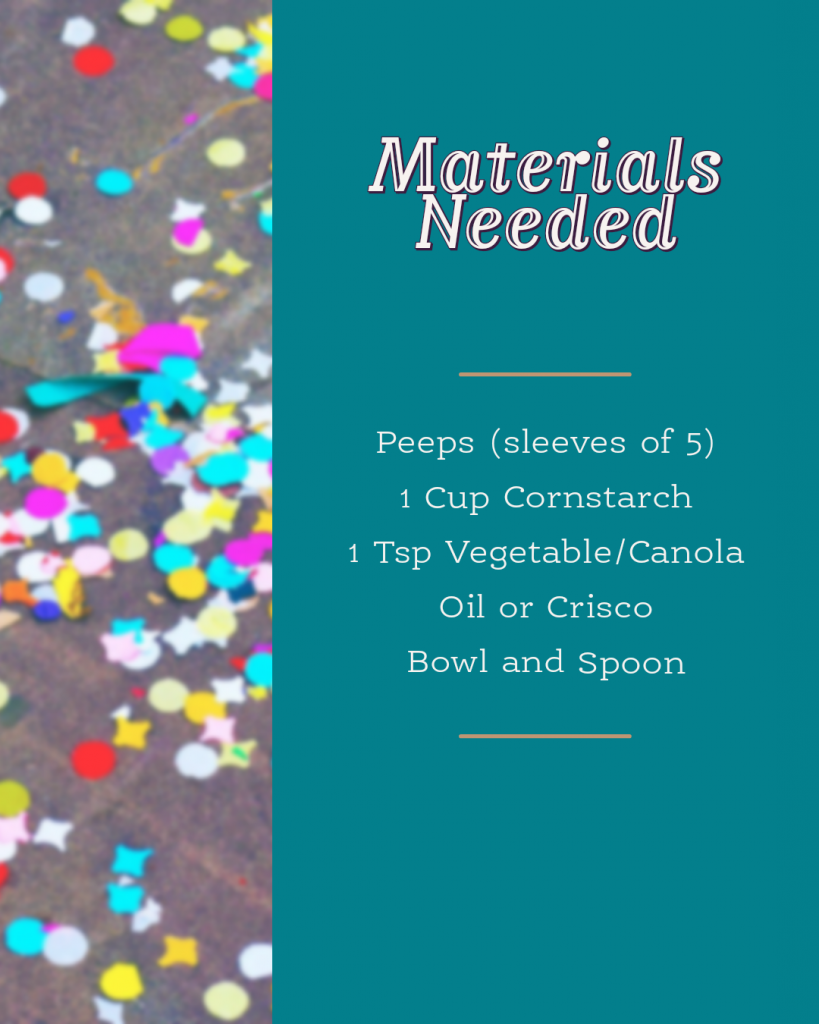
Ingredients & Instructions
Instructions:
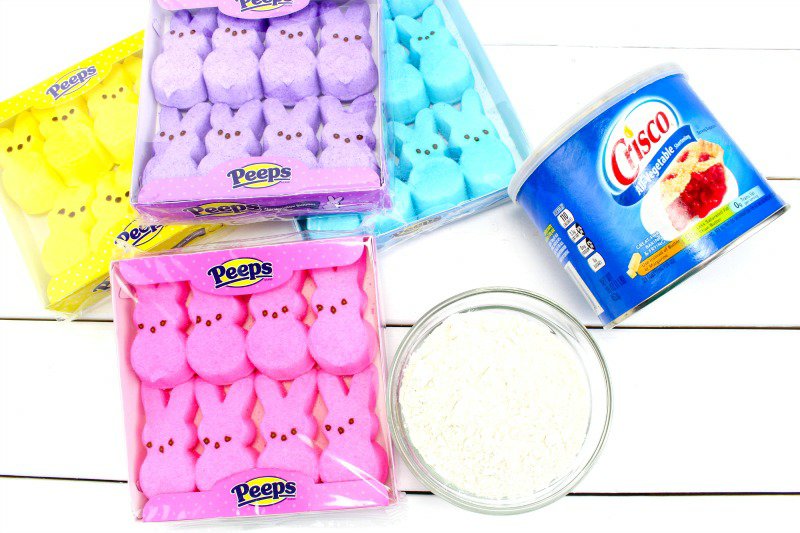
- Place peeps into microwave safe bowl and cook for 30-45 seconds.
- Remove from microwave and add canola oil and 3/4 cups of corn starch.
- Stir until the melted marshmallows can be handled. It’s important to stir until the corn starch is completely mixed in.
- Next, dust hands with corn starch and knead until it’s not sticky and easily pliable.
- Get creative. Use cookie cutters to make shapes. Challenge your child to make cool structures, letters, or shapes.
Pro-Tips:
- Almost any oil will work. My two favorites for making this dough are crisco or coconut. Coconut tastes and smells better (in my opinion), but for those who don’t like coconut, crisco makes a great scent free alternative.
- You can also substitute powdered sugar for cornstarch or make one batch with each and have your children compare/contrast.
- If you’re child is more interested in making slime, decrease the corn starch. Around 3 tablespoons should give you a great consistency, however, I reccomend measuring out 1 tablespoon at a time until you reach the desired consistency. Make sure each tablespoon is thoroughly mixed in before adding the next.
- If it’s too sticky, add more cornstarch/powered sugar. If it’s too stiff add more oil.
- Only store this in a baggie or air tight bowl for around 3 days.
- Use fresh peeps. Stale peeps don’t provide the same consistency.
Science & Sensory Benefits
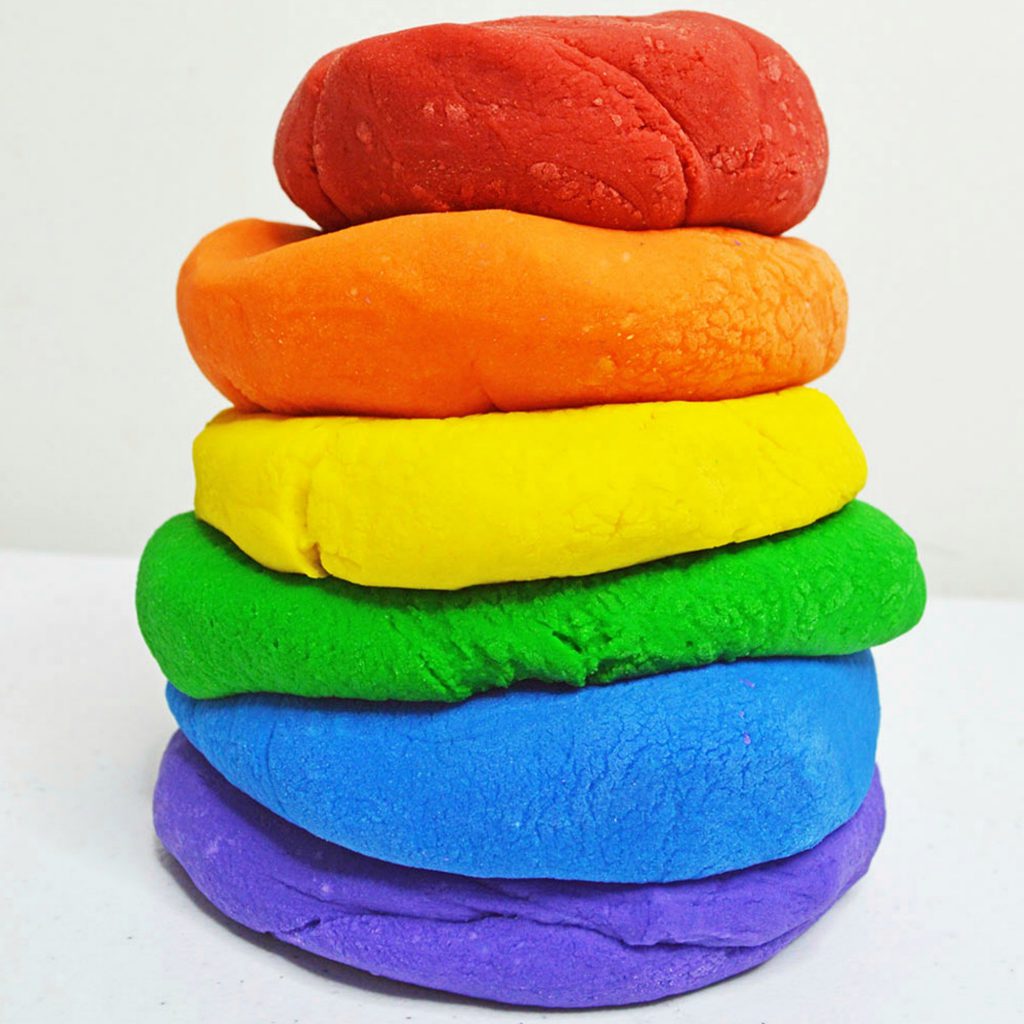
Research shows that sensory play builds nerve connections in the brain’s pathways, which lead to the child’s ability to complete more complex learning tasks. Sensory play supports language development, cognitive growth, fine and gross motor skills, problem solving skills, and social interaction.
Playing with playdough in particular helps little hands improve their fine motor skills, helping improve things like writing. It’s also an amazing tactile experience and gives kids a way to feel unique textures.
The STEAM benefits of this activity are also super awesome:
- Science: How does heating the Peeps change their properties?
- Peeps are marshmallows, and marshmallows are made of tiny air bubbles surrounded by gelatin and sugar syrup (sugar). When the peeps are microwaved, the water molecules in that syrup begin to vibrate and heat up. This process creates steam, and it fills all of the air pockets in the peeps. As the air pockets fill up the peeps expand!
- Technology: What tools do you use to change Peeps into play dough?
- Engineering: What recipe is required to transform Peeps into play dough?
- Art: Which colors are the peeps? What colors can you make mixing them? What shapes can you make?
- Math: How much corn starch is needed to turn Peeps into playdough? How long do the marshmallows have to be heated? What happens if you cook them too long or too little?
Did you try this activity? Let us know your thoughts below!
The post Edible Peep Playdough appeared first on Not So SuperMom VS Society.
]]>The post Fizzy Paint Art appeared first on Not So SuperMom VS Society.
]]>
The kids have been begging to do more “volcano” type activities since making our Lemon-Cano earlier this week. I decided that today we would get a little artsy with them while incorporating our science fun.
This is a really versatile activity that you can do multiple ways. We did it two different ways, Finn got to use vinegar paint and Everett got to use baking soda paint.
We chose vinegar paint for Finn because it was easier for him to just make a cute watercolor abstract style painting. For Everett we used the baking soda paint and paint brush. I wanted him to work on drawing letters, numbers, and shapes.
Ingredients & Directions

Vinegar Painting
If you’re going to do vinegar paint, you can make it two ways. Your first step will be to take your paper and put it onto a cookie sheet. Cover paper in baking soda. Then:
- Add food coloring to the vinegar or
- Drip a few drops of food coloring on it.
After that, add the vinegar to the baking soda using a spoon/pipette/baster. The baking soda will fizz up and make beautiful colors and cool watercolor designs.

Baking Soda Painting
For baking soda painting follow these steps:
- Get several cups (as many as you want colors of).
- Add 1 cup baking soda to each cup
- Drip a few drops of food coloring in each cup
- Add warm water to the cups and stir well. You want the baking soda to get somewhat dissolved into the water.
- Place your paper on a cookie sheet and grab your paintbrush.
- Paint your picture. (Tip have your child mix up the “paint” each time they put their paintbrush in. The baking soda will slowly accumulate on the bottom of the cup, so having them stir it is important!)
- Take your pipette/spray bottle and cover your painting in vinegar.
- Watch the gorgeous watercolor results.
Science
The science behind this fizzy paint moon craft is the chemical reaction that occurs between the baking soda and the vinegar!
Baking soda is a base, and vinegar is an acid. When the two combine, they make a gas called carbon dioxide. You can hear the fizz, see the bubbles, and even feel the fizz if you hold your hand close to the surface of the paper.
Combine the simple science of this chemical reaction with a cool art project for STEAM. Science + Art = STEAM!
For a more in depth scientific explanation click here.
Which method did you choose? Tell us below!
The post Fizzy Paint Art appeared first on Not So SuperMom VS Society.
]]>Colorful Density Experiments Read More »
The post Colorful Density Experiments appeared first on Not So SuperMom VS Society.
]]>
Today we did 2 fun density experiments, underwater fireworks and sugar water rainbows. I plan on doing more fun density related experiments with them another day, but I thought this would be a fun way to get us started.
I let them watch several YouTube videos to kick off the subject about density while I prepped the items. Total prep time for both experiments was under 10 minutes and cleanup was also super easy.
These experiments are super great because they teach everything from color mixing to density to chemistry. We even talked about dental health when making the sugar water!
Underwater Fireworks

Steps:
- Get out 2 glasses or see through containers.
- Fill one glass with water and the other with 2 tablespoons of oil (cooking or baby oil is fine).
- In the glass with oil drop a few drops of food coloring in it. You can use multiple colors or just one.
- With your fork, quickly mix up your oil and food coloring mixture.
- Pour mixture into the water glass.
- Wait and watch. The food coloring will slowly sink in the glass, with each droplet expanding outwards as it falls, looking like fireworks.
Science:
Food coloring dissolves in water, but not in oil. So when you pour in your food coloring/oil mixture the oil will float at the top of the water because it is less dense, and the food coloring will beging to dissolve once they sink through the oil and into the water.
Sugar Water Rainbow

Steps:
- Fill four glasses with 1/4 cup of warm water each. It’s important that each cup has the same amount of water in it.
- Measure and add a different amount of sugar to each glass of colored water. We found that the experiment works best with 4 colors, but you can experiment with all of them.
- Red: 2 tablespoons sugar
- Yellow: 4 tablespoons sugar
- Green: 6 tablespoons sugar
- Blue: 8 tablespoons sugar
- Stir vigorously to completely dissolve the sugar in the glasses. Stirring to completely dissolve the sugar is very important; without the sugar fully incorporated into the water, you’ll have trouble getting the colors to separate. Don’t be afraid to heat up your water a little more, too, if it’s not working – 5 to 10 seconds in the microwave and an extra stirring session should help.
- Use the syringe/baster to transfer about half of the blue water into the empty glass/jar/test tube. This is where you’ll make your rainbow.
- Still using your syringe, transfer half the green water into the rainbow glass. Add it slowly on top of the blue water. It will sit on top. Add the yellow next.
- Finally, carefully add the red, finishing your beautiful rainbow.
WHAT IS WATER DENSITY?
Density is all about compactness of stuff in space. For this experiment, the more sugar in each glass of water, the greater the density of the water. Same space, more stuff in it! The denser the substance, the more likely it will sink. This is how our rainbow sugar water density tower works!
By increasing the amount of sugar in the solution but keeping the amount of water constant, you create solutions that have increasing densities. The more sugar you mix into the same amount of water, the higher the density of the mixture. So density explains why the colored sugar solutions stack on top of each other inside the baster.
You could vary this water density experiment by looking at the density of different concentrations of salt dissolved in water!
Which experiment was your favorite and why? Comment below and let us know!
The post Colorful Density Experiments appeared first on Not So SuperMom VS Society.
]]>How To Make Lemon Volcanoes Read More »
The post How To Make Lemon Volcanoes appeared first on Not So SuperMom VS Society.
]]>
Today’s activity is a great smelling and pretty way to mix up the traditional way of making your standard volcano, let me introduce the Lemon-Cano!
Ingredients & Steps


Directions:
- Start by cutting the ends off the lemons so they will stand up.
- Then cut the lemons in half.
- Mush up the inside of the lemon with your craft stick, keeping the juice inside the lemon.
- Add a few drops of food coloring, a bit of dish soap, a sprinkle of baking soda and the fun can begin! For extra fun add some glitter!
- Have the kids start stabbing the lemon with the craft stick and the lemon juice will mix with the baking soda creating the volcano effect.
Lemon-Cano Science & Further Learning
Make sure to keep the science easy to understand for younger kids. Ask them open ended questions about what they think will happen. Try using various citrus fruits. We also watched several volcano YouTube videos to start the ball rolling and get their imaginations jump started. Full disclosure, this eruption is much less dramatic than its baking soda and vinegar cousin.
Lemon juice contains citric acid which when mixed with baking soda (sodium bicarbonate) reacts to form carbon dioxide and sodium citrate, which causes the liquid to fizz and bubble. Citric acid is a common food additive used in soft drinks as a preservative and flavoring.
How is our lemon volcano erupting? The chemical reaction of course. The critic acid from the lemon juice is reacting to the base of the baking soda creating a gas called carbon dioxide. Bubbling, fizzing carbon dioxide which creates a rainbow of colors. This fizz also helps the dish soap create a more exaggerated eruption.
This experiment produces a very slow eruption of color. If you would like things to move a bit faster or to be more dramatic, you can pour a little extra lemon juice on top of the lemon as well. To keep the foam going, add a little more baking soda.
Did you try this experiment? Comment below and let me know if your kids loved it!
The post How To Make Lemon Volcanoes appeared first on Not So SuperMom VS Society.
]]>Icy Prehistoric Excavations Read More »
The post Icy Prehistoric Excavations appeared first on Not So SuperMom VS Society.
]]>
The awesome frozen dino excavation activity is super simple and an awesome sensory play experience. Ice play in general, is an absolute favourite sensory and science activity for small kids to explore! We have often enjoyed freezing and thawing objects, trying to work out how to release them from the ice blocks and as an added bonus, cooling down from the heat of the day!
Making Frozen Eggs

Making prehistoric eggs is super simple.We added our small dinosaurs (and a few random sea creature toys) to the inside of the balloons (this was a two person job) and then filled the balloons with water to be frozen over night. Be very careful adding the dinos- we had several balloons rip before we worked out a good system. You can add your balloons to a cookie sheet in the freezer if you don’t want the ice eggs to have weird shapes.
Once frozen simply cut the balloons off the ice and you are ready to play!
Pro-Tips:
●Inflate your balloons a few times to stretch them out, making it easier to add the dinos.
●When you tie off your balloons, try to let all the air out of the balloon.

Excavation
For excavating, your imagination is the limit. This is also a great time to give them a problem solving question: “Oh no! The dinosaurs are trapped in the ice eggs. How can we help them to hatch out?!” You can ask your children to work together to try and come up with some methods and materials they might need, then see what they try out.
Within a matter of minutes, we had a collection of random items. Everything from warm salt water, a mallet, hammer, rocks, rolling pin, pipettes, forks, and spray bottles were brought out. We even threw a few off the porch to break them into smaller pieces.
It wasn’t long until the first dinosaurs started to emerge from their frozen eggs, amidst excited shouts. Once they were freed they continued to work away at the ice eggs, chiselling and melting them down to small blocks. I was surprised that they worked through all 8 eggs that I had made. It took them over an hour to excavate all the dinos, all while providing a ton of heavy work, motor skill practice, and problem solving skills.


We used other small ocean animals for some extra fun, but honestly you could really have fun with what you add to your balloon eggs. Mix it up with food coloring, glitter, grass and twigs, and so on.
For more dino fun, check out my Free Dino Pictionary blog!
The post Icy Prehistoric Excavations appeared first on Not So SuperMom VS Society.
]]>Getting Creative With Paint Read More »
The post Getting Creative With Paint appeared first on Not So SuperMom VS Society.
]]>
If you’re anything like me, the mere thought of letting your child loose in the house with messy paint makes your anxiety go through the roof.
It’s okay to be anxious! Kids are small scale tornadoes of destruction!
There are a few simple ways to contain the mess while still having fun! Below are some ideas to help lower your messy memory making activities.

For me, I personally prefer using Crayola Bathtub Paint. Why?
- It’s actually soap
- They have tons of colors
- It’s inexpensive
- You can easily switch between bathtub and paper
Bath paint isn’t a replacement when you’re child is making true works of art, but for fun and easy to clean up arty projects, it’s great!
I also really love tempura paint sticks. They dry almost instantly and don’t require any water.
Getting Creative

When I let the boys do a painting activity, we rarely use paintbrushes. Instead, I rely on various household items. Nothing is really off limits. We’ve used silverware, dinos, nuts, cars and trucks, miscellaneous toy animals, and so on.


For more educational benefits, we talk about what colors become after mixing them and the differences of each items unique prints. Have them name each color and count the items.
Cleanup

Now comes the fun part! Cleanup! If they made a big enough mess and you use the Crayola Bathtub Paint, just toss them and their paint stuff in the tub. The bathtub paint we get is actually soap, so they are getting clean while getting messy! If they remarkably keep their bodies fairly clean, turn your sink into an impromptu toy wash station! Add extra bubbles, give them a rag, and let them have at it! Two fun activities in one! If you don’t want them making a mess of your kitchen, take it outside and let them use the hose.


Now pour yourself a glass of wine and pat yourself on the back for surviving! Good job! You got this!

The post Getting Creative With Paint appeared first on Not So SuperMom VS Society.
]]>The post Masking Tape Fun appeared first on Not So SuperMom VS Society.
]]>
In search of an item that will provide limitless activities to banish your kids boredom? You’ve found it! The solution is tape! It’s cheap, versatile and my kids just love it! Plus tape play is only limited by your imagination.
In today’s blog, I’m only showing 3 different ways to incorporate tape play into your daily repertoire, but I’ll add some extra ideas at the bottom!
Pick Up “Sticks”

For this activity, you will need a clean surface and masking or painters tape. To really have some fun, you could also use different colors of washi tape.
Start by layering multiple pieces of tape in different directions on your clean surface. You can take turns or time yourself peeling the layers of tape off without removing or ripping other pieces of tape. This activity is great for working on social skills such as turn taking, but it also targets fine motor skills and problem solving. You can also make easier patterns for younger children and trickier patterns for older ones.


Sensory Pompom Rescue

For this activity, it’s super simple. We only used tape, pompoms, a tray and tongs. You can mix it up by adding things like shredded paper or various objects for them to grab with the tongs.
Place your items in the tray or bowl. Create your web by taping strips of your masking tape across the center of the tray. The number of strips used can be determined by what you think your child can manage. The more tape strips added, the more difficult it will be for your child to navigate around them to rescue the pom poms.
This activity is great and so open ended. While they are getting practice with fine motor skills, ask questions about the colors and shapes of the objects they are picking up. Have them try to use different hands or to do it with their eyes closed. Make them count how many items they “rescue” and so on.


Window Webs

This activity is so versatile and can be used for multiple age levels. I chose to make a spider web on the window so the boys had a little extra support, but you can also make it in a hallway.
For Everett I made a simple web pattern and then had him place lightweight letters and numbers on the web. I had him identify each one and give me word examples for the letters. For Finn we did colors and shapes. He had to correctly identify each one before placing it on the web.
So not only did we work on motor skills, we also were able to sneak in some fun educational aspects.
For webs in the hallway, I recomend using small balled up pieces of paper (like tissue paper) and have them practice throwing them on the web. Whoever has the most stick wins! This is a great way to also work on motor skills and let them have some fun!


More Tape Ideas
Here are a few tape ideas to keep the fun going:
- Tape Tic Tac Toe
- Tape Obstacle Course
- Tape Maze
- Tape Letters & Numbers
- Tape Balance Beam
- Tape Hopscotch
- Tape Math
- Tape Roads
There are seriously so many ways to keep your kids entertained while using tape. What’s your favorite way? Any activities that you think we should try? Comment below and let us know!
The post Masking Tape Fun appeared first on Not So SuperMom VS Society.
]]>